language-translator
An Obsidian plugin to translate selected text in the desired language
TypeScript★ 53
⚡ Supercharge your canvas experience! Graph view integration and unlimited styling options empower flowcharts, dynamic…
 Developer-Mike
git clone https://github.com/Developer-Mike/obsidian-advanced-canvas.gitDeveloper-Mike/obsidian-advanced-canvas
⚡ Supercharge your canvas experience! Create presentations, flowcharts and more!
This plugin enhances the Obsidian canvas with a wide array of features:
All features can be enabled/disabled in the settings.
Open the Community Plugins tab in the settings and search for "Advanced Canvas" (or click here).
advanced-canvas in your vault's plugins folder (<vault>/.obsidian/plugins/).main.js, styles.css and manifest.json from the latest release and put them in the advanced-canvas folder.Please consider supporting the plugin. There are many hours of work and effort behind it. The two easiest ways to support the plugin are either by starring ⭐ the repository or by donating any amount on Ko-fi ❤️. Thank you!
Compatible with the JSON Canvas format, the Advanced JSON Canvas format takes it a step further by adding more features and flexibility. The Advanced JSON Canvas format was introduced to provide longevity, readability, interoperability, and extensibility for canvases created with Advanced Canvas.
Advanced Canvas enables .canvas files to be indexed by the metadata cache. This means that there is now full compatibility with the graph view, outgoing links and backlinks. You can even enable (optional) the creation of an outgoing link if two embeds in a canvas are connected by an edge. This feature brings the full power of Obsidian's linking system to the canvas file format.
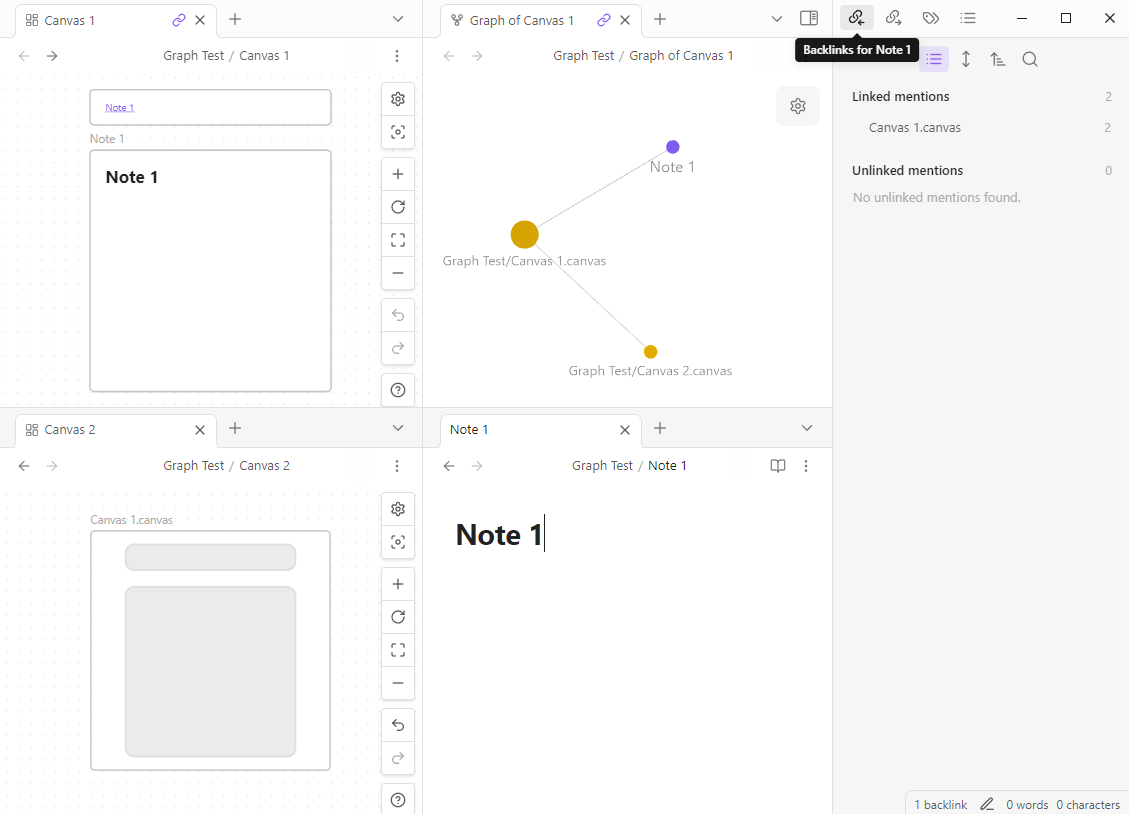
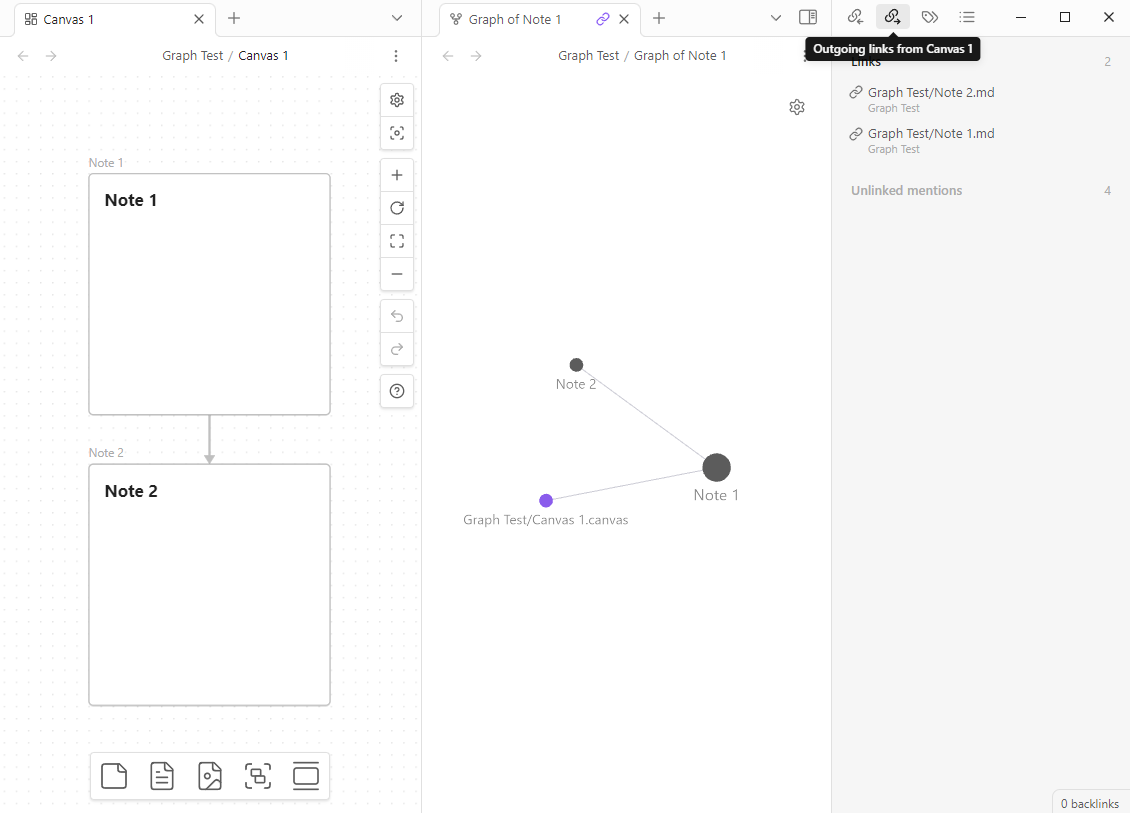
.canvas file now contains a value for the hash key (Generated from the filepath) instead of an empty string.
app.metadataCache.fileCache[<filepath>] object to see the changes.app.metadataCache object - the same object that is used by Obsidian for markdown files.
app.metadataCache.getCache/app.metadataCache.getFileCache now works with .canvas files.position object which is found inside metadata cache entries now contains a new key nodeId for .canvas files..canvas file now contains a new key nodes which is an object of type { [nodeId: string]: MetadataCacheEntry } - this allows for other plugins to access the full metadata cache for single nodes. The MetadataCacheEntry object is the same as for markdown files (even created with the same function - 1:1 compatibility)..canvas files.
app.metadataCache.resolvedLinks object values for .canvas files are implemented in the exact same way as for markdown files.Additionally, Advanced Canvas introduces full frontmatter support for .canvas files. You can now view and edit the frontmatter directly within the canvas view:
tags or custom keys for organization.aliases to create alternative names for your canvas files.cssclasses to apply custom CSS styles to the entire canvas view..canvas files are searchable using Obsidian's global search pane, further integrating canvases into your knowledge management system.This significantly enhances the ability to manage, organize, and customize your canvases alongside your other notes in Obsidian.
Advanced Canvas can automatically create edges between file nodes based on their frontmatter properties. By default (if enabled), it will create edges to files linked in the canvas-edges frontmatter property. This allows you to create fixed relationships between file nodes in your canvas, making it easier to visualize fixed structures or connections between different files.
Advanced Canvas now allows you to link or embed the content of a single node from a .canvas file directly into your markdown files. This provides a granular way to reference specific pieces of information within your canvases. (Take a look at Advanced Canvas: Copy wikilink to node for getting the id of a node).
#:
[[canvas-file-name#node-id]]![[canvas-file-name#node-id]]Quickly locate text within your canvas using a familiar search experience. Advanced Canvas integrates a native-like file search specifically for canvas content.
Search current file command, which is commonly bound to the Ctrl+F (or Cmd+F on macOS) keyboard shortcut.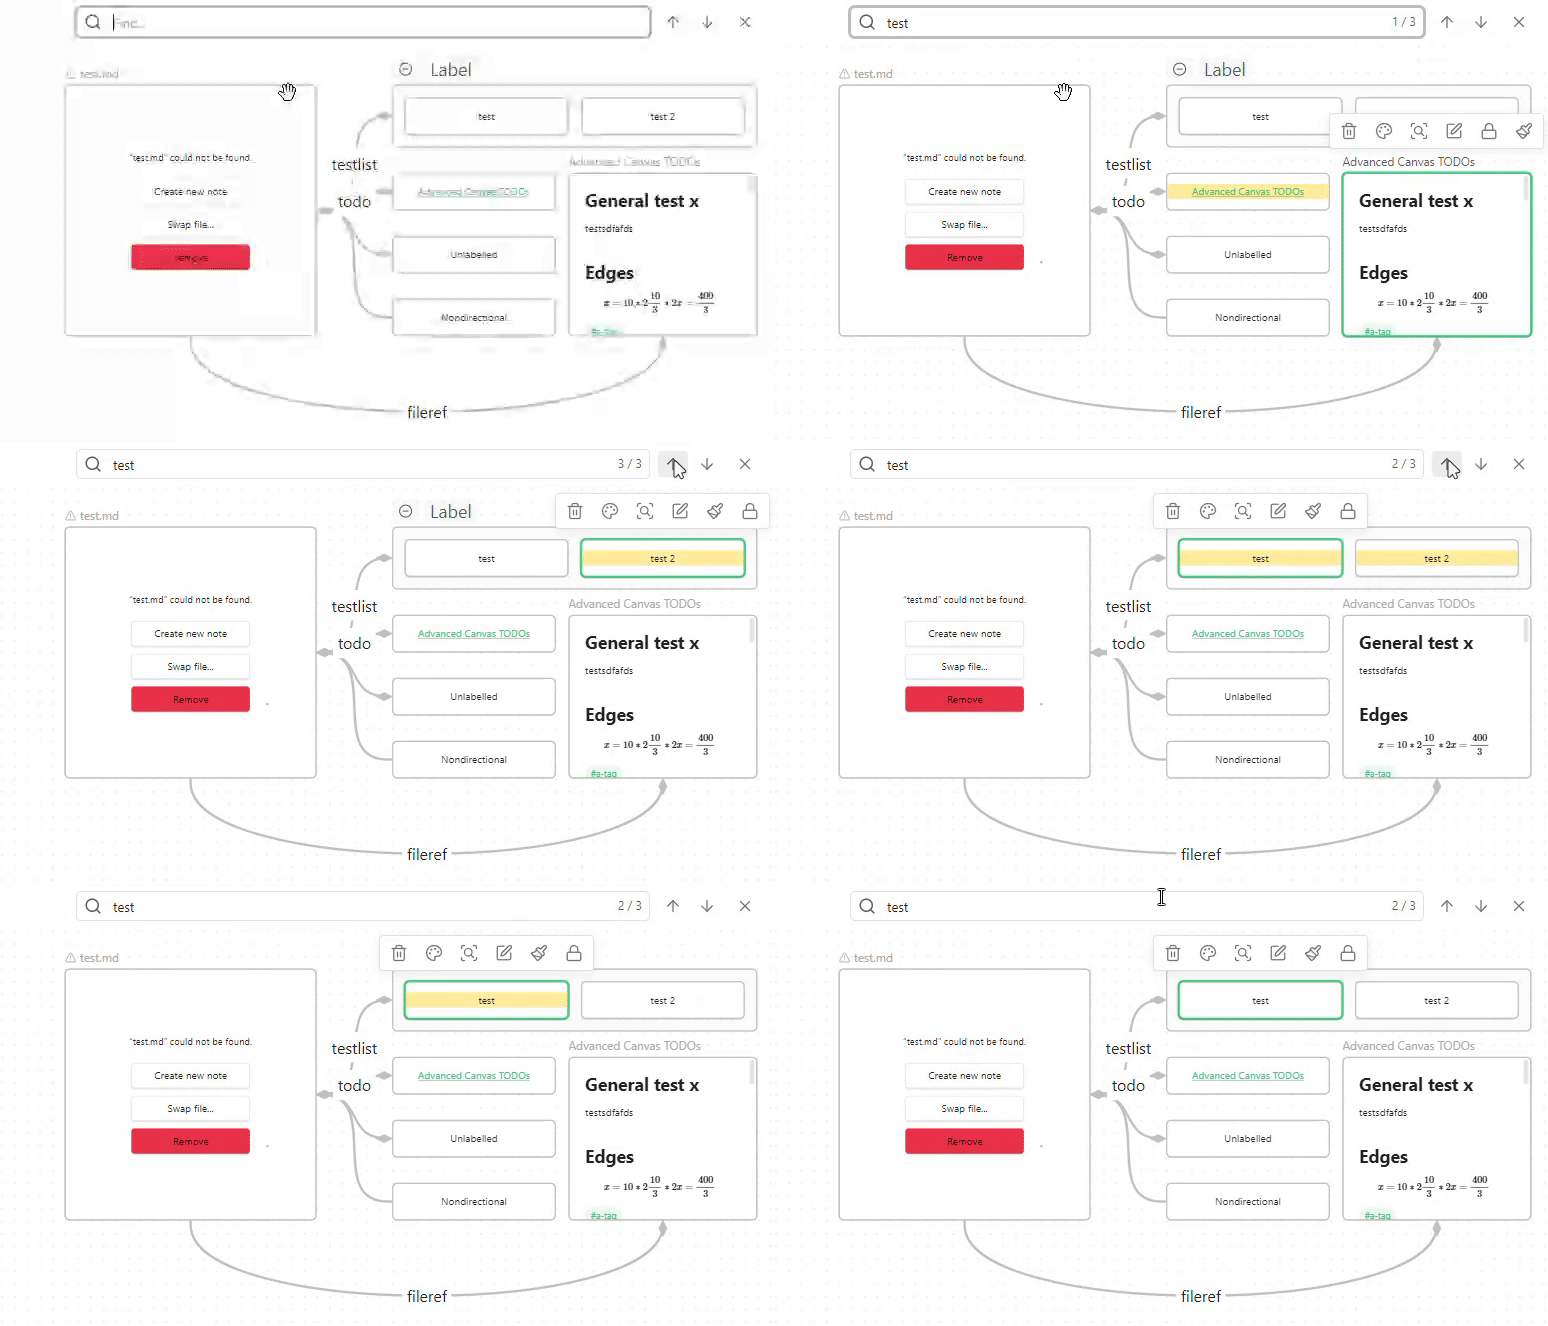
Advanced Canvas: Toggle readonly
Advanced Canvas: Create text node
Advanced Canvas: Create file node
Advanced Canvas: Group selected nodes
Advanced Canvas: Toggle collapse group
Advanced Canvas: Select all edges
Advanced Canvas: Zoom to selection
Advanced Canvas: Zoom to fit
Advanced Canvas: Navigate up/down/left/right
Advanced Canvas: Clone node up/down/left/right
Advanced Canvas: Expand node up/down/left/right
Advanced Canvas: Flip selection horizontally/vertically
Advanced Canvas: Swap nodes
Advanced Canvas: Copy wikilink to node
Advanced Canvas: Pull outgoing links to canvas
Advanced Canvas: Pull backlinks to canvas
Save and reuse node styles as templates. This allows you to quickly apply consistent styling to new nodes without having to manually adjust each style attribute every time.
Saving a node as a template can be done using the new Advanced Canvas: Save node as template if you have exactly ONE node selected. After selecting the icon used for the new template, the template will be available in the card menu (horizontal menu at the bottom of the canvas view) for quick application to new nodes.
To remove a template you can right-click on the template in the card menu and select Remove.
You can customize the default node styles using the settings. This includes various shapes, border styles, and text alignment options.
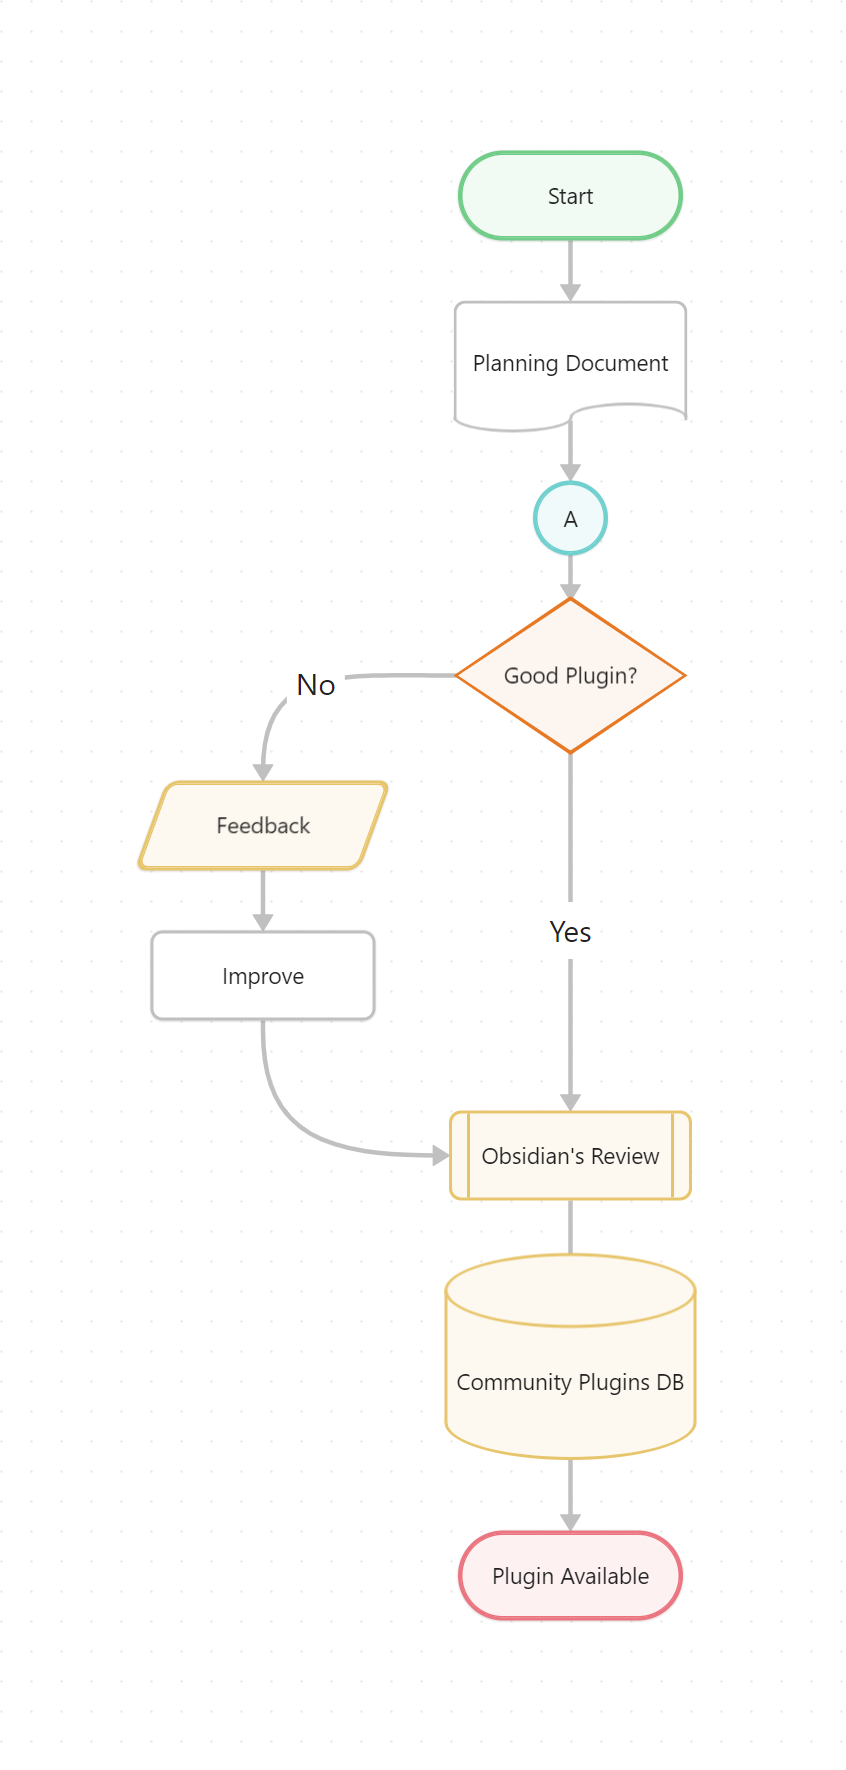
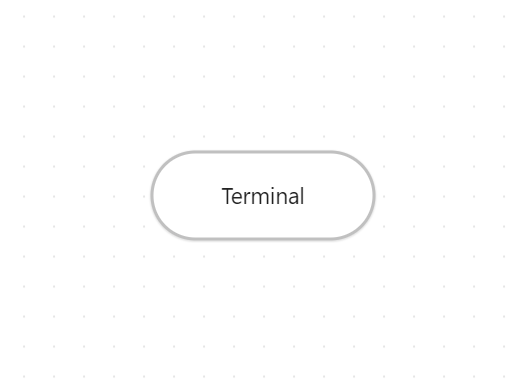
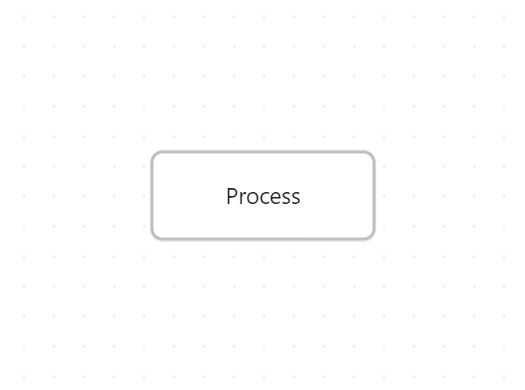
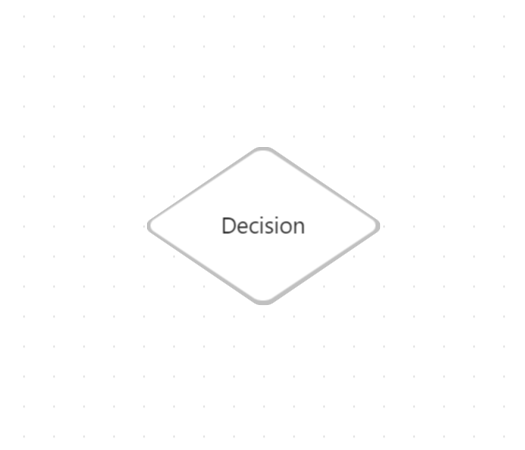
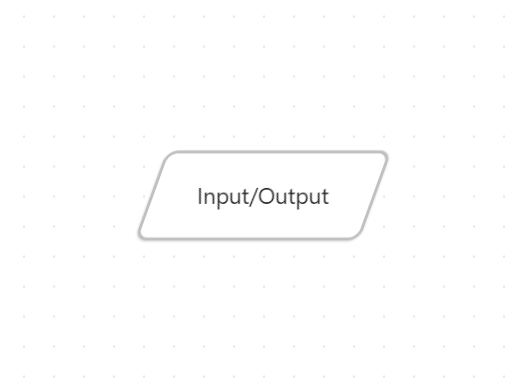

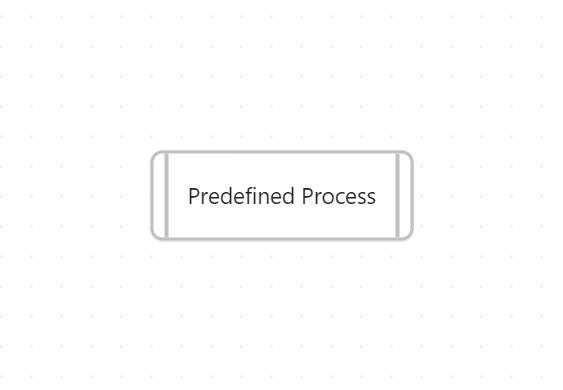
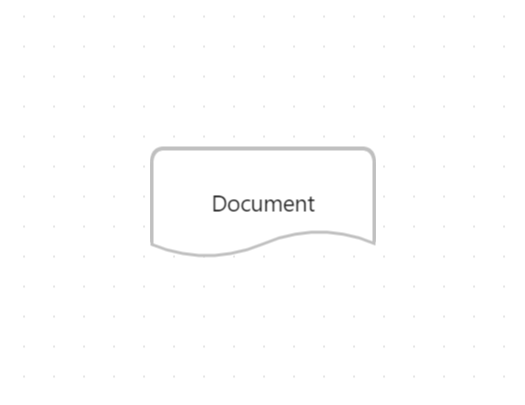
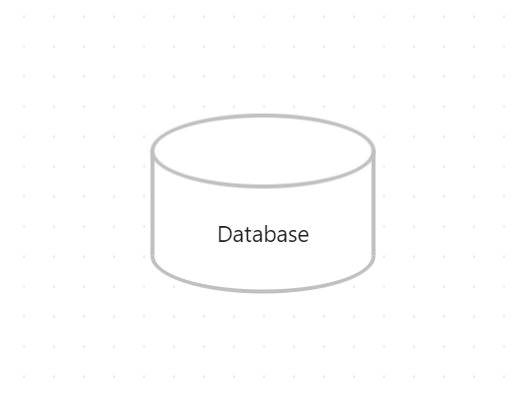
Set the style of the border to dotted, dashed or invisible.
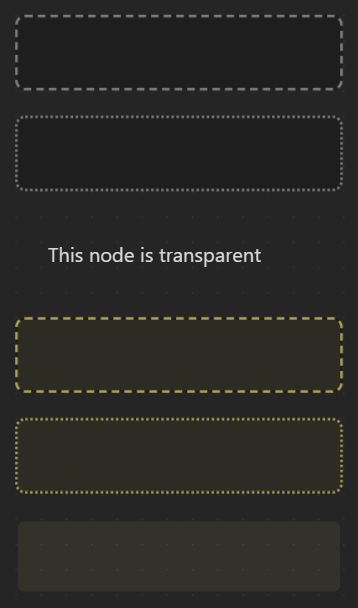
(Note: Text Alignment options (Left, Center, Right) are also available for nodes.)
You can customize the default edge styles using the settings.
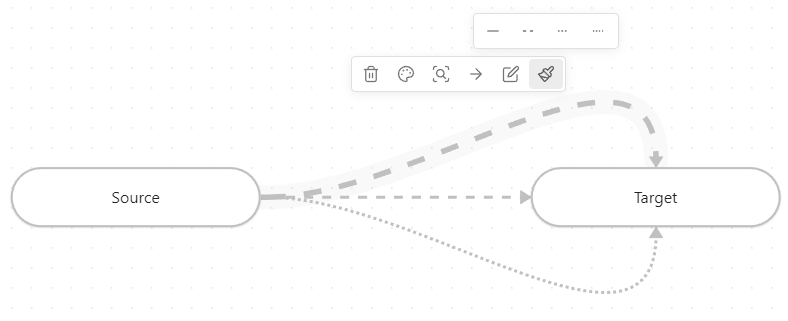
Set the style of the edge paths to dotted, short-dashed or long-dashed.
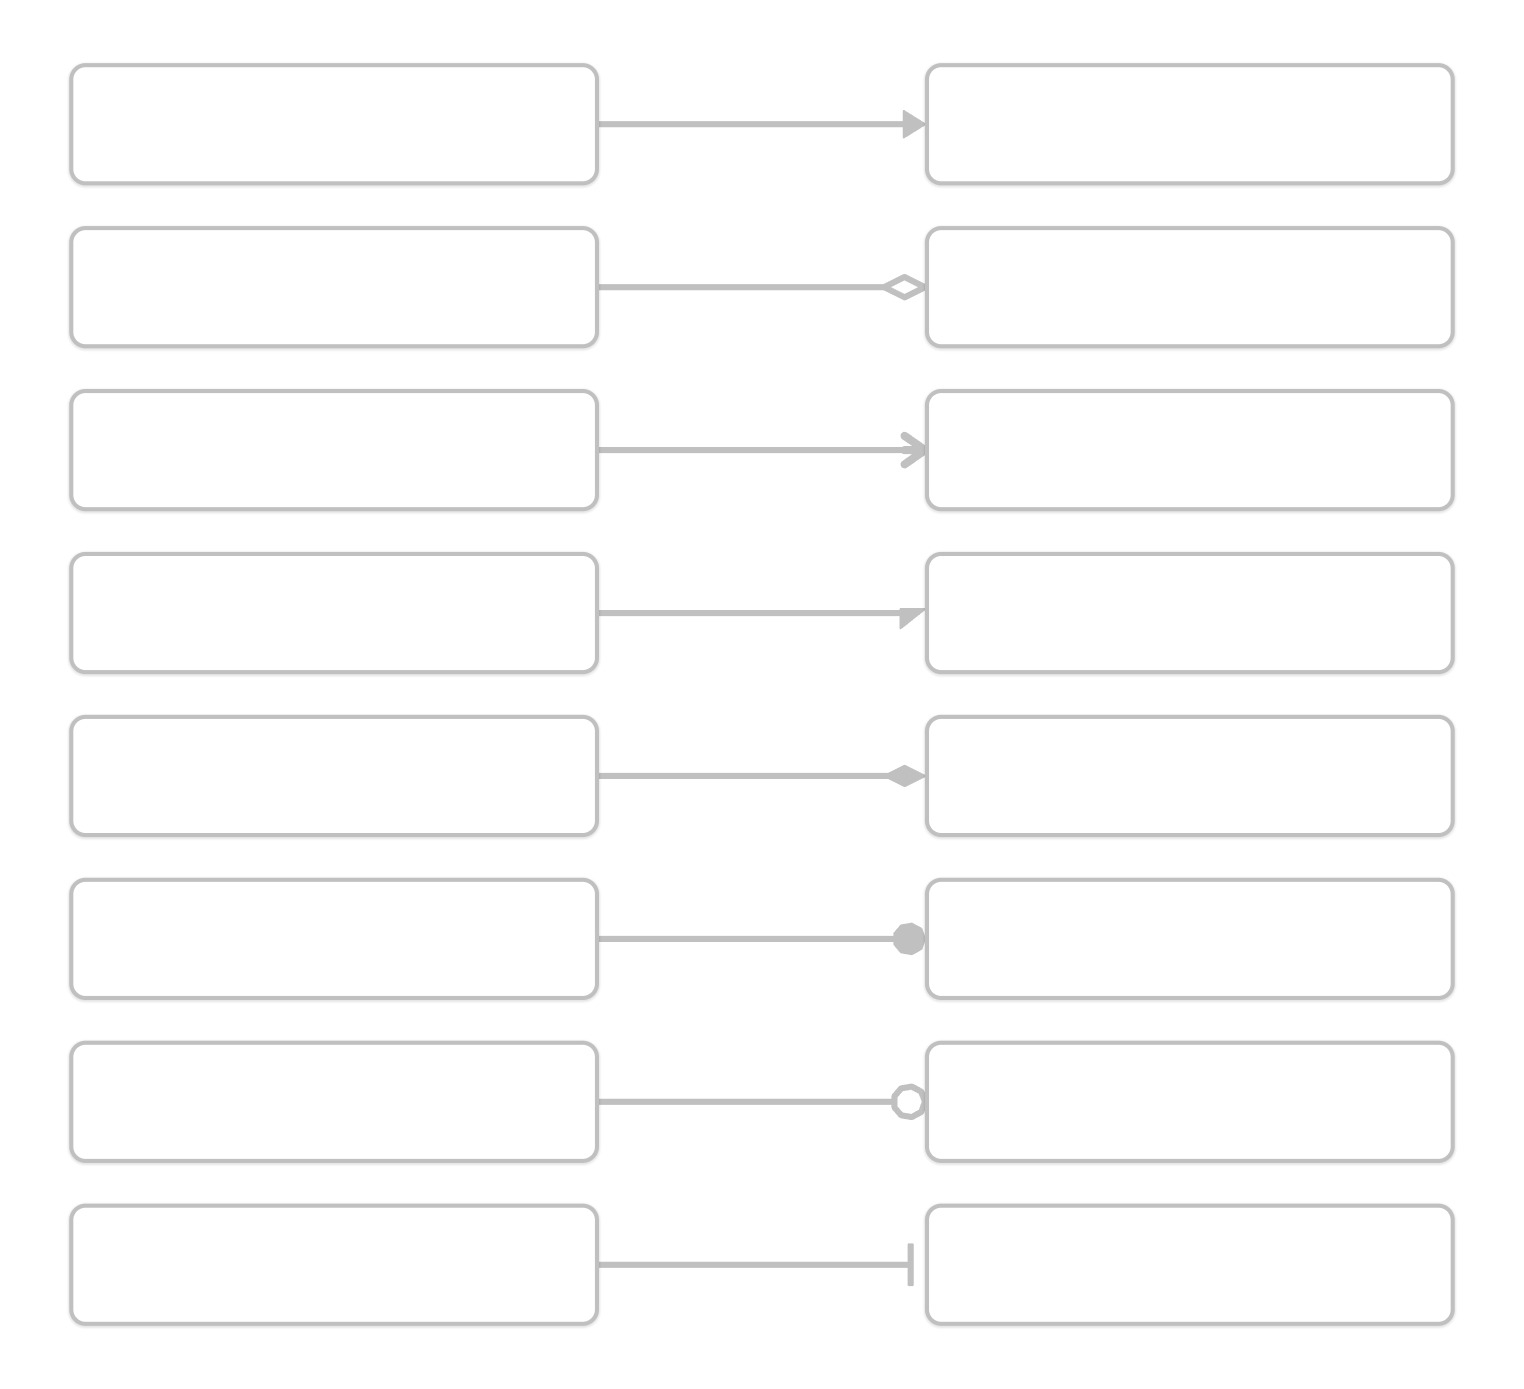
Set the style of the arrows to triangle outline, halved triangle, thin triangle, diamond, diamond outline, circle, circle outline and blunted.
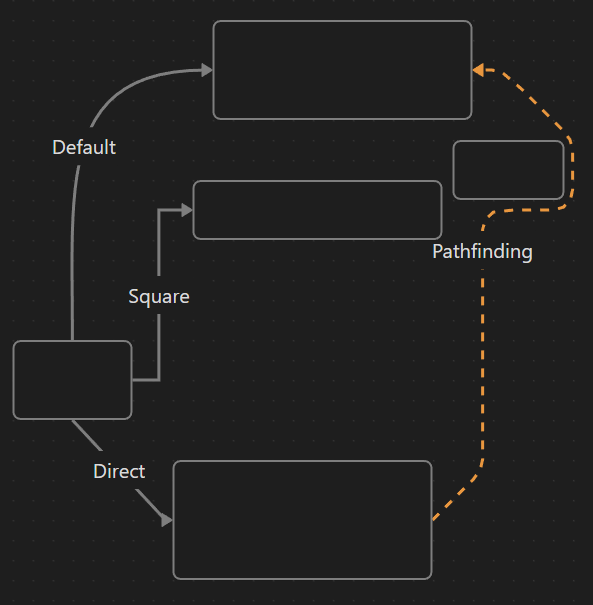
Set the pathfinding method of the edges (arrows) to default, straight, squared or A*.
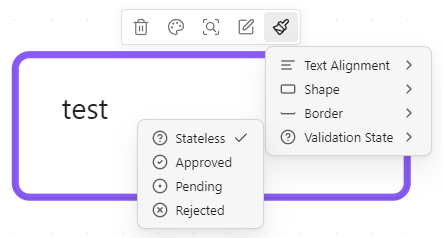
Custom style attributes for nodes and edges can easily be added. They get exposed in the .canvas-node dataset (for nodes) or .canvas-edges path dataset (for edges) and can be styled using CSS. Node styles also get exposed in the node editor iframe in the body dataset and the class canvas-node-iframe-body indicating that the body is inside a canvas node iframe.
Settings > Appearance > *scroll down* > CSS snippets and click on the folder icon to open the snippets folder.my-fancy-node-style.css).icon key should contain the ID of an icon from lucide.dev.@advanced-canvas-node-style to @advanced-canvas-edge-style for edge styles./* @advanced-canvas-node-style
key: validation-state
label: Validation State
options:
-
label: Stateless
value: null
icon: circle-help
-
label: Approved
value: approved
icon: circle-check
-
label: Pending
value: pending
icon: circle-dot
-
label: Rejected
value: rejected
icon: circle-x
*/
Important
There needs to be one option with the value null.
/* General structure */
.canvas-node[data-<YOUR-CUSTOM-STYLE-KEY>="<VALUE>"] {
  /* Your custom styling */
}
validation-state:.canvas-node[data-validation-state] .canvas-node-content::after {
content: "";
position: absolute;
top: 10px;
right: 10px;
font-size: 1em;
}
.canvas-node[data-validation-state="approved"] .canvas-node-content::after {
content: "✔️";
}
.canvas-node[data-validation-state="pending"] .canvas-node-content::after {
content: "⏳";
}
.canvas-node[data-validation-state="rejected"] .canvas-node-content::after {
content: "❌";
}
See an example of a complete custom node style CSS file here.
Add breakpoints to nodes to change at which zoom factor the node's content gets unrendered.
Important
Due to performance reasons, custom breakpoints get cached and are only re-fetched when the canvas gets reloaded. Changes in the CSS snippet won't be applied immediately (only after reopening the canvas).
Create a new CSS snippet in your vault (and enable it in settings):
/* Any CSS selector can be used (As long as the .canvas-node element has the CSS variable defined) */
.canvas-node[data-shape="pill"] {
    /* The zoom factor at which the node's content gets unrendered (Zoom level can range from 1 to -4) */
    --variable-breakpoint: 0.5;
}
Changes how the reading mode of text nodes get rendered to fix visual inconsistencies between the edit mode and reading mode that cause the node's content to jump around when switching between the two modes. This feature is disabled by default and if enabled, alters the default markdown rendering of Obsidian (non-destructive and only applies to text nodes in the canvas view).
Solution is based on stdword's work.
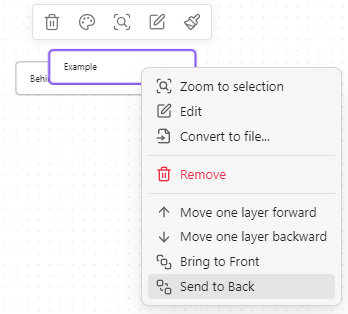
Change z-ordering of nodes using the context menu.
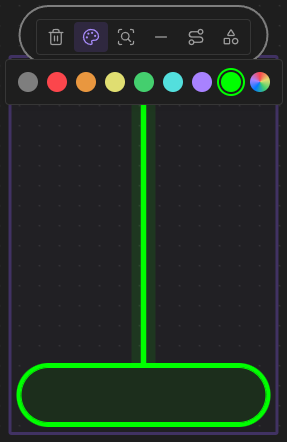
Add custom colors to the color picker. You can add them using the following CSS snippet:
body {
    /* Where X is the index of the color in the palette (1-6 are used by Obsidian) */
    --canvas-color-X: 0, 255, 0; /* RGB values */
}
In presentation mode, you can navigate through nodes using arrow keys or PageUp/PageDown keys (compatible with most presentation remotes). Slides/nodes are connected by arrows. For multiple outgoing arrows from one node, number them to define navigation order. While in presentation mode, the canvas is in readonly mode (so Better Readonly features apply). Exit with ESC or the corresponding command. Use Advanced Canvas: Continue presentation to resume from the last slide.
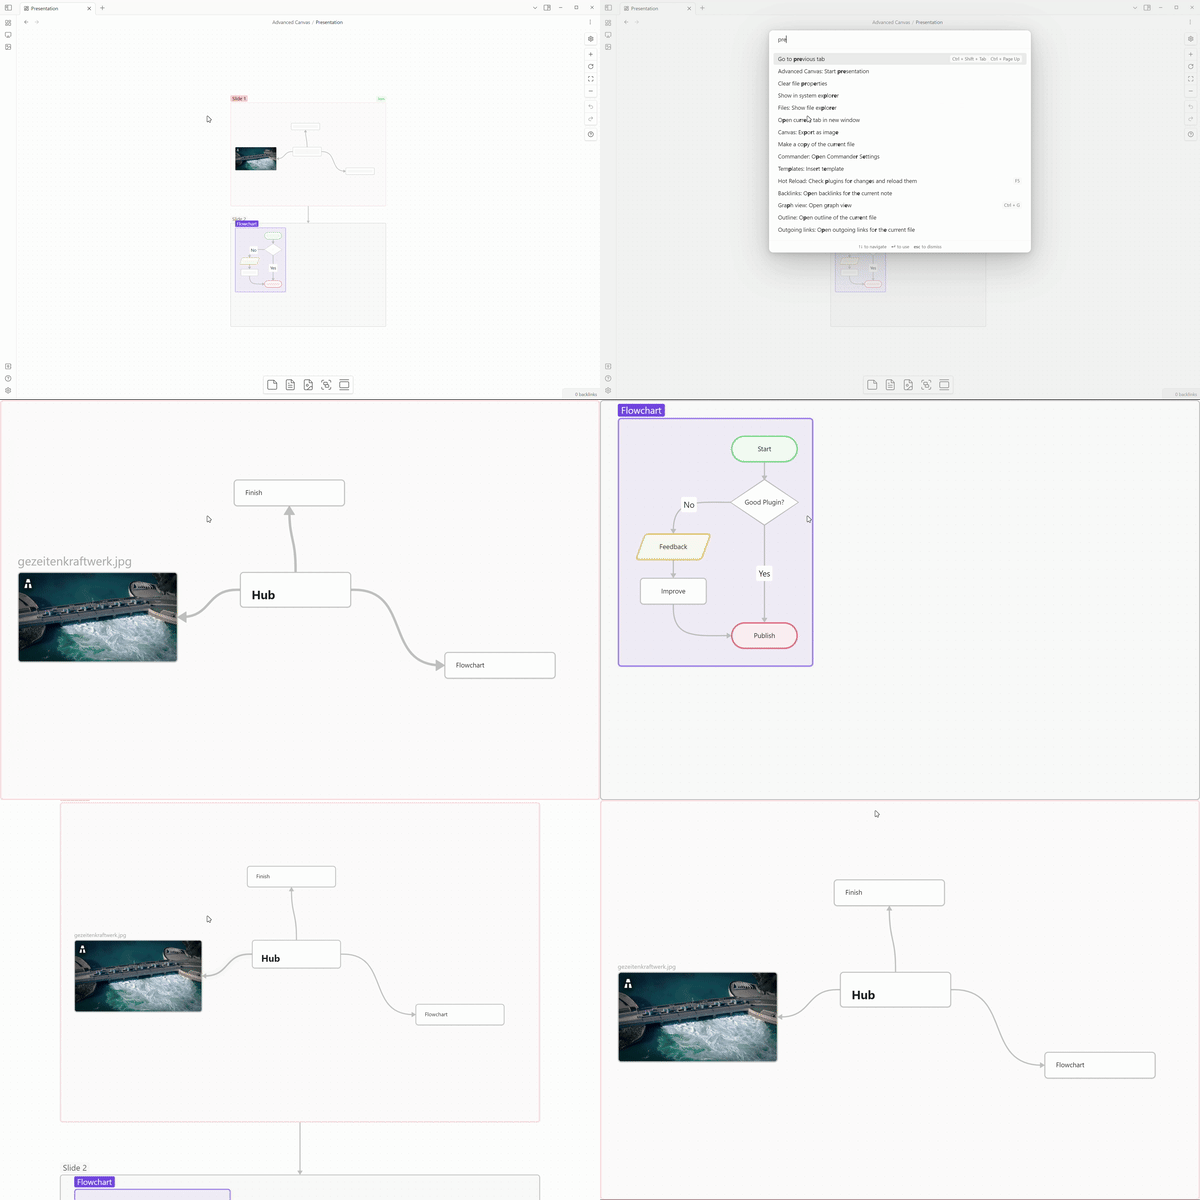
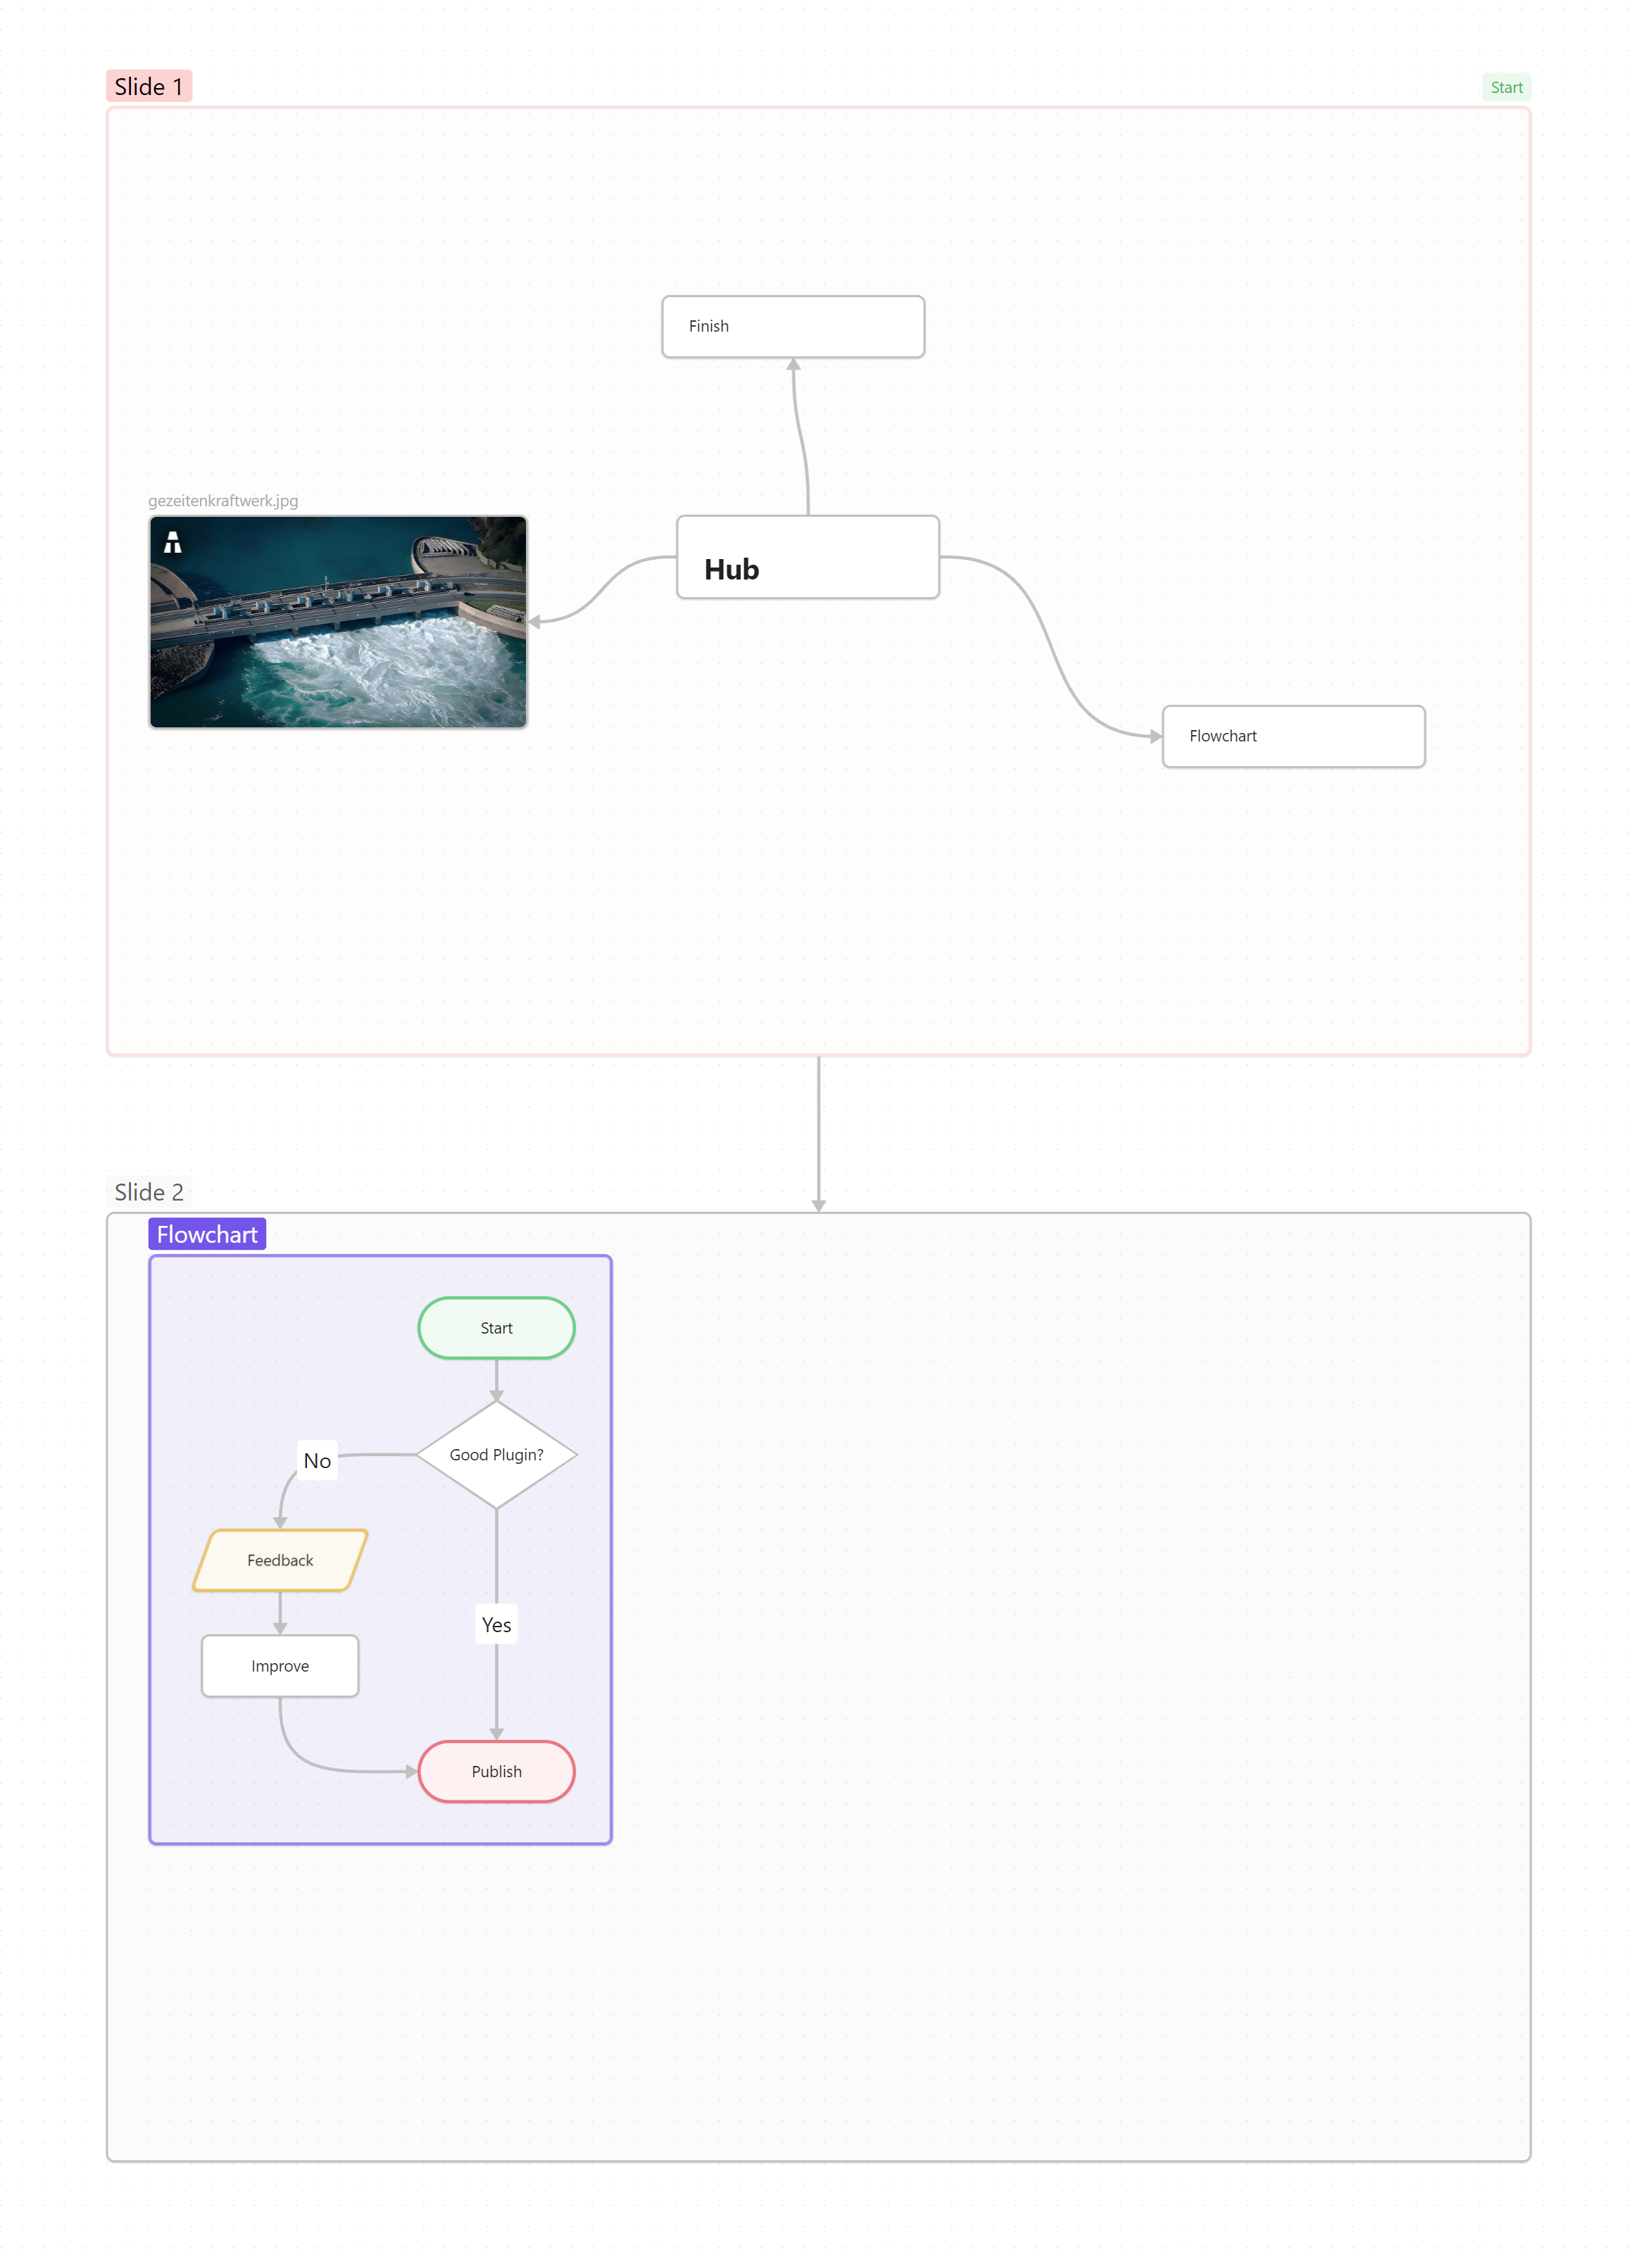
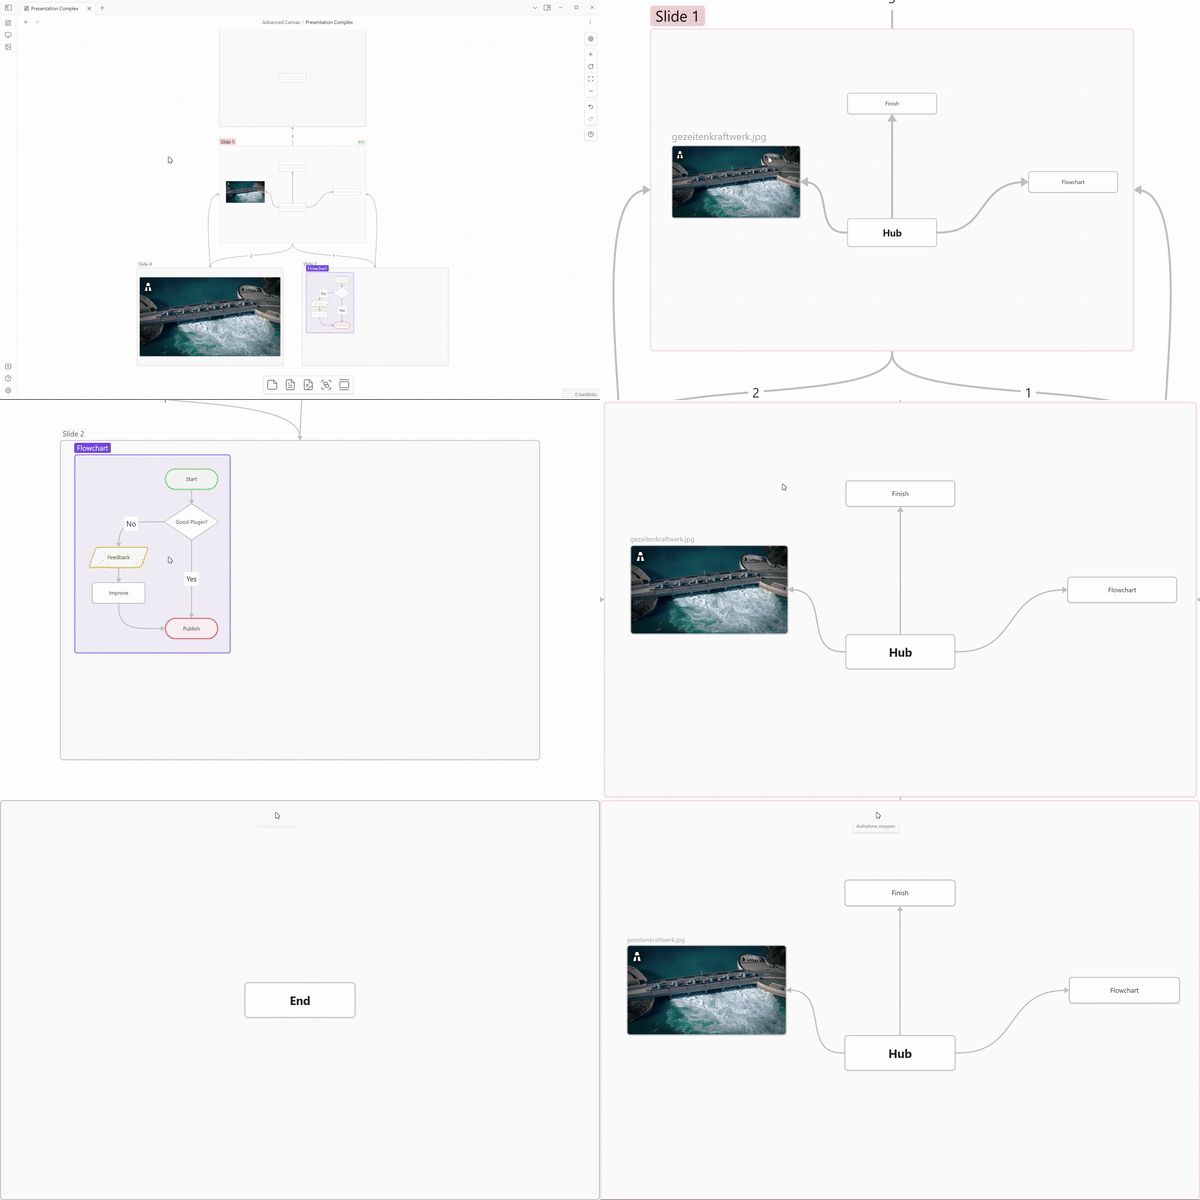
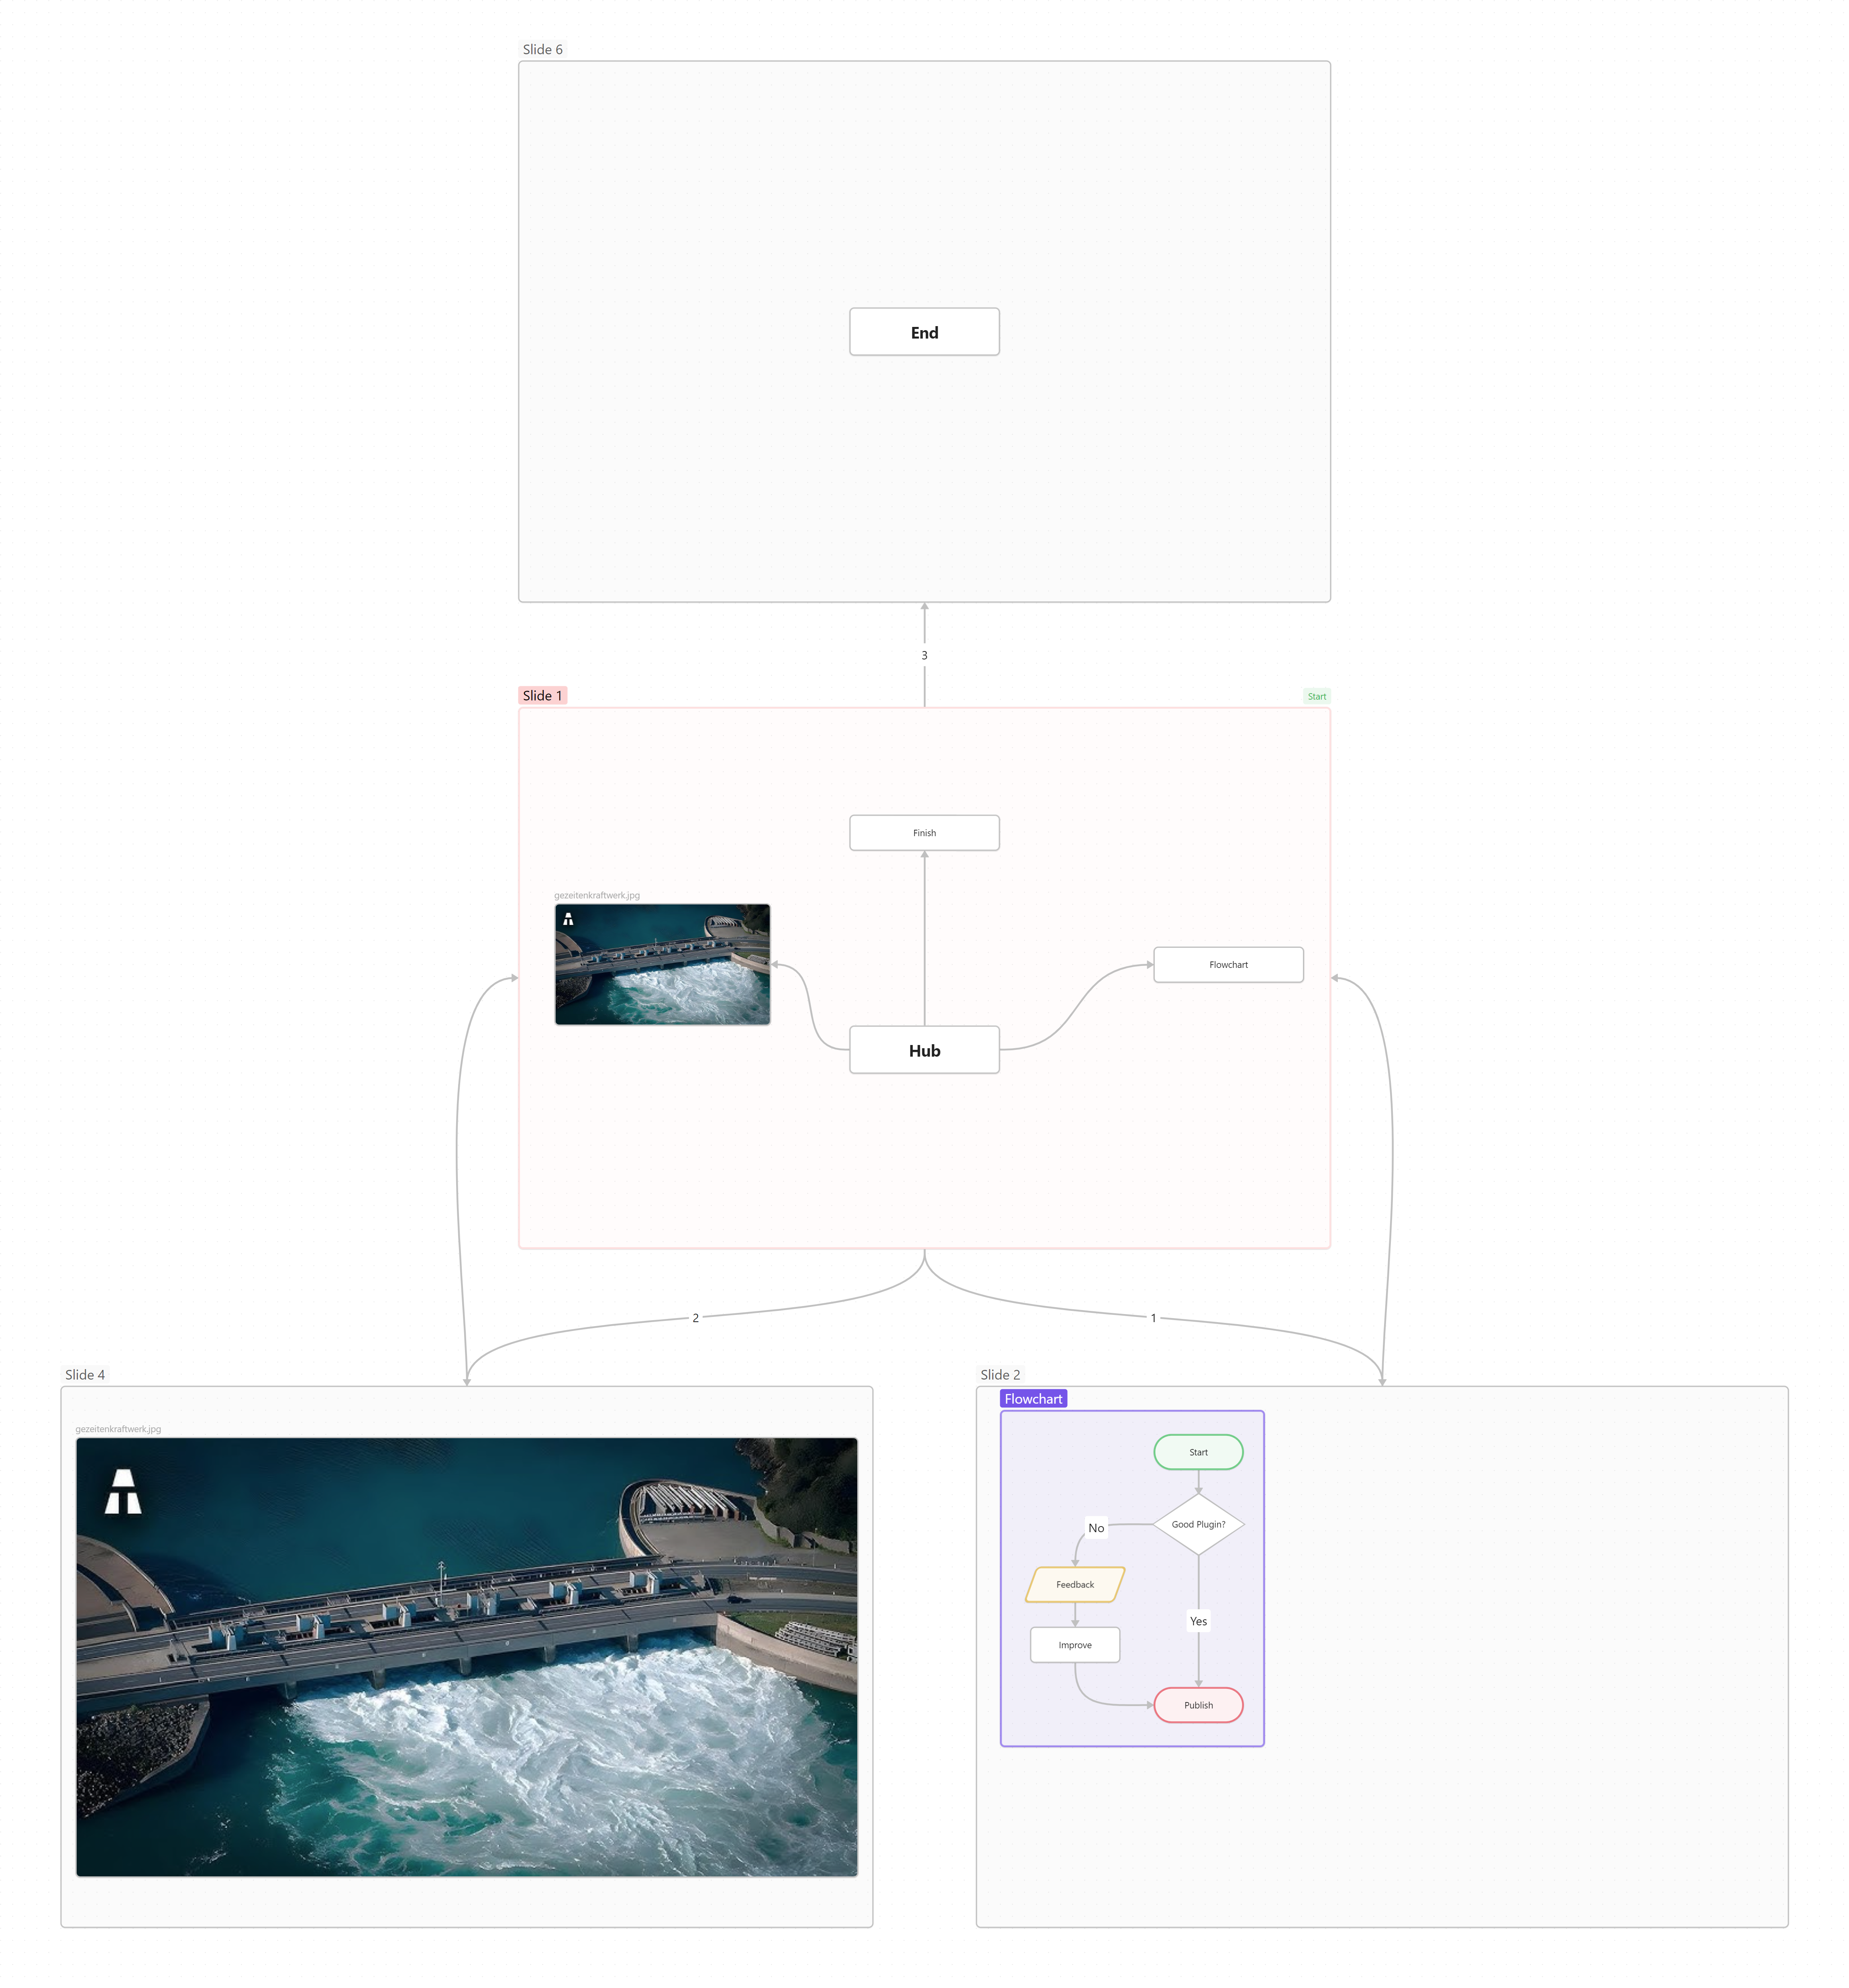
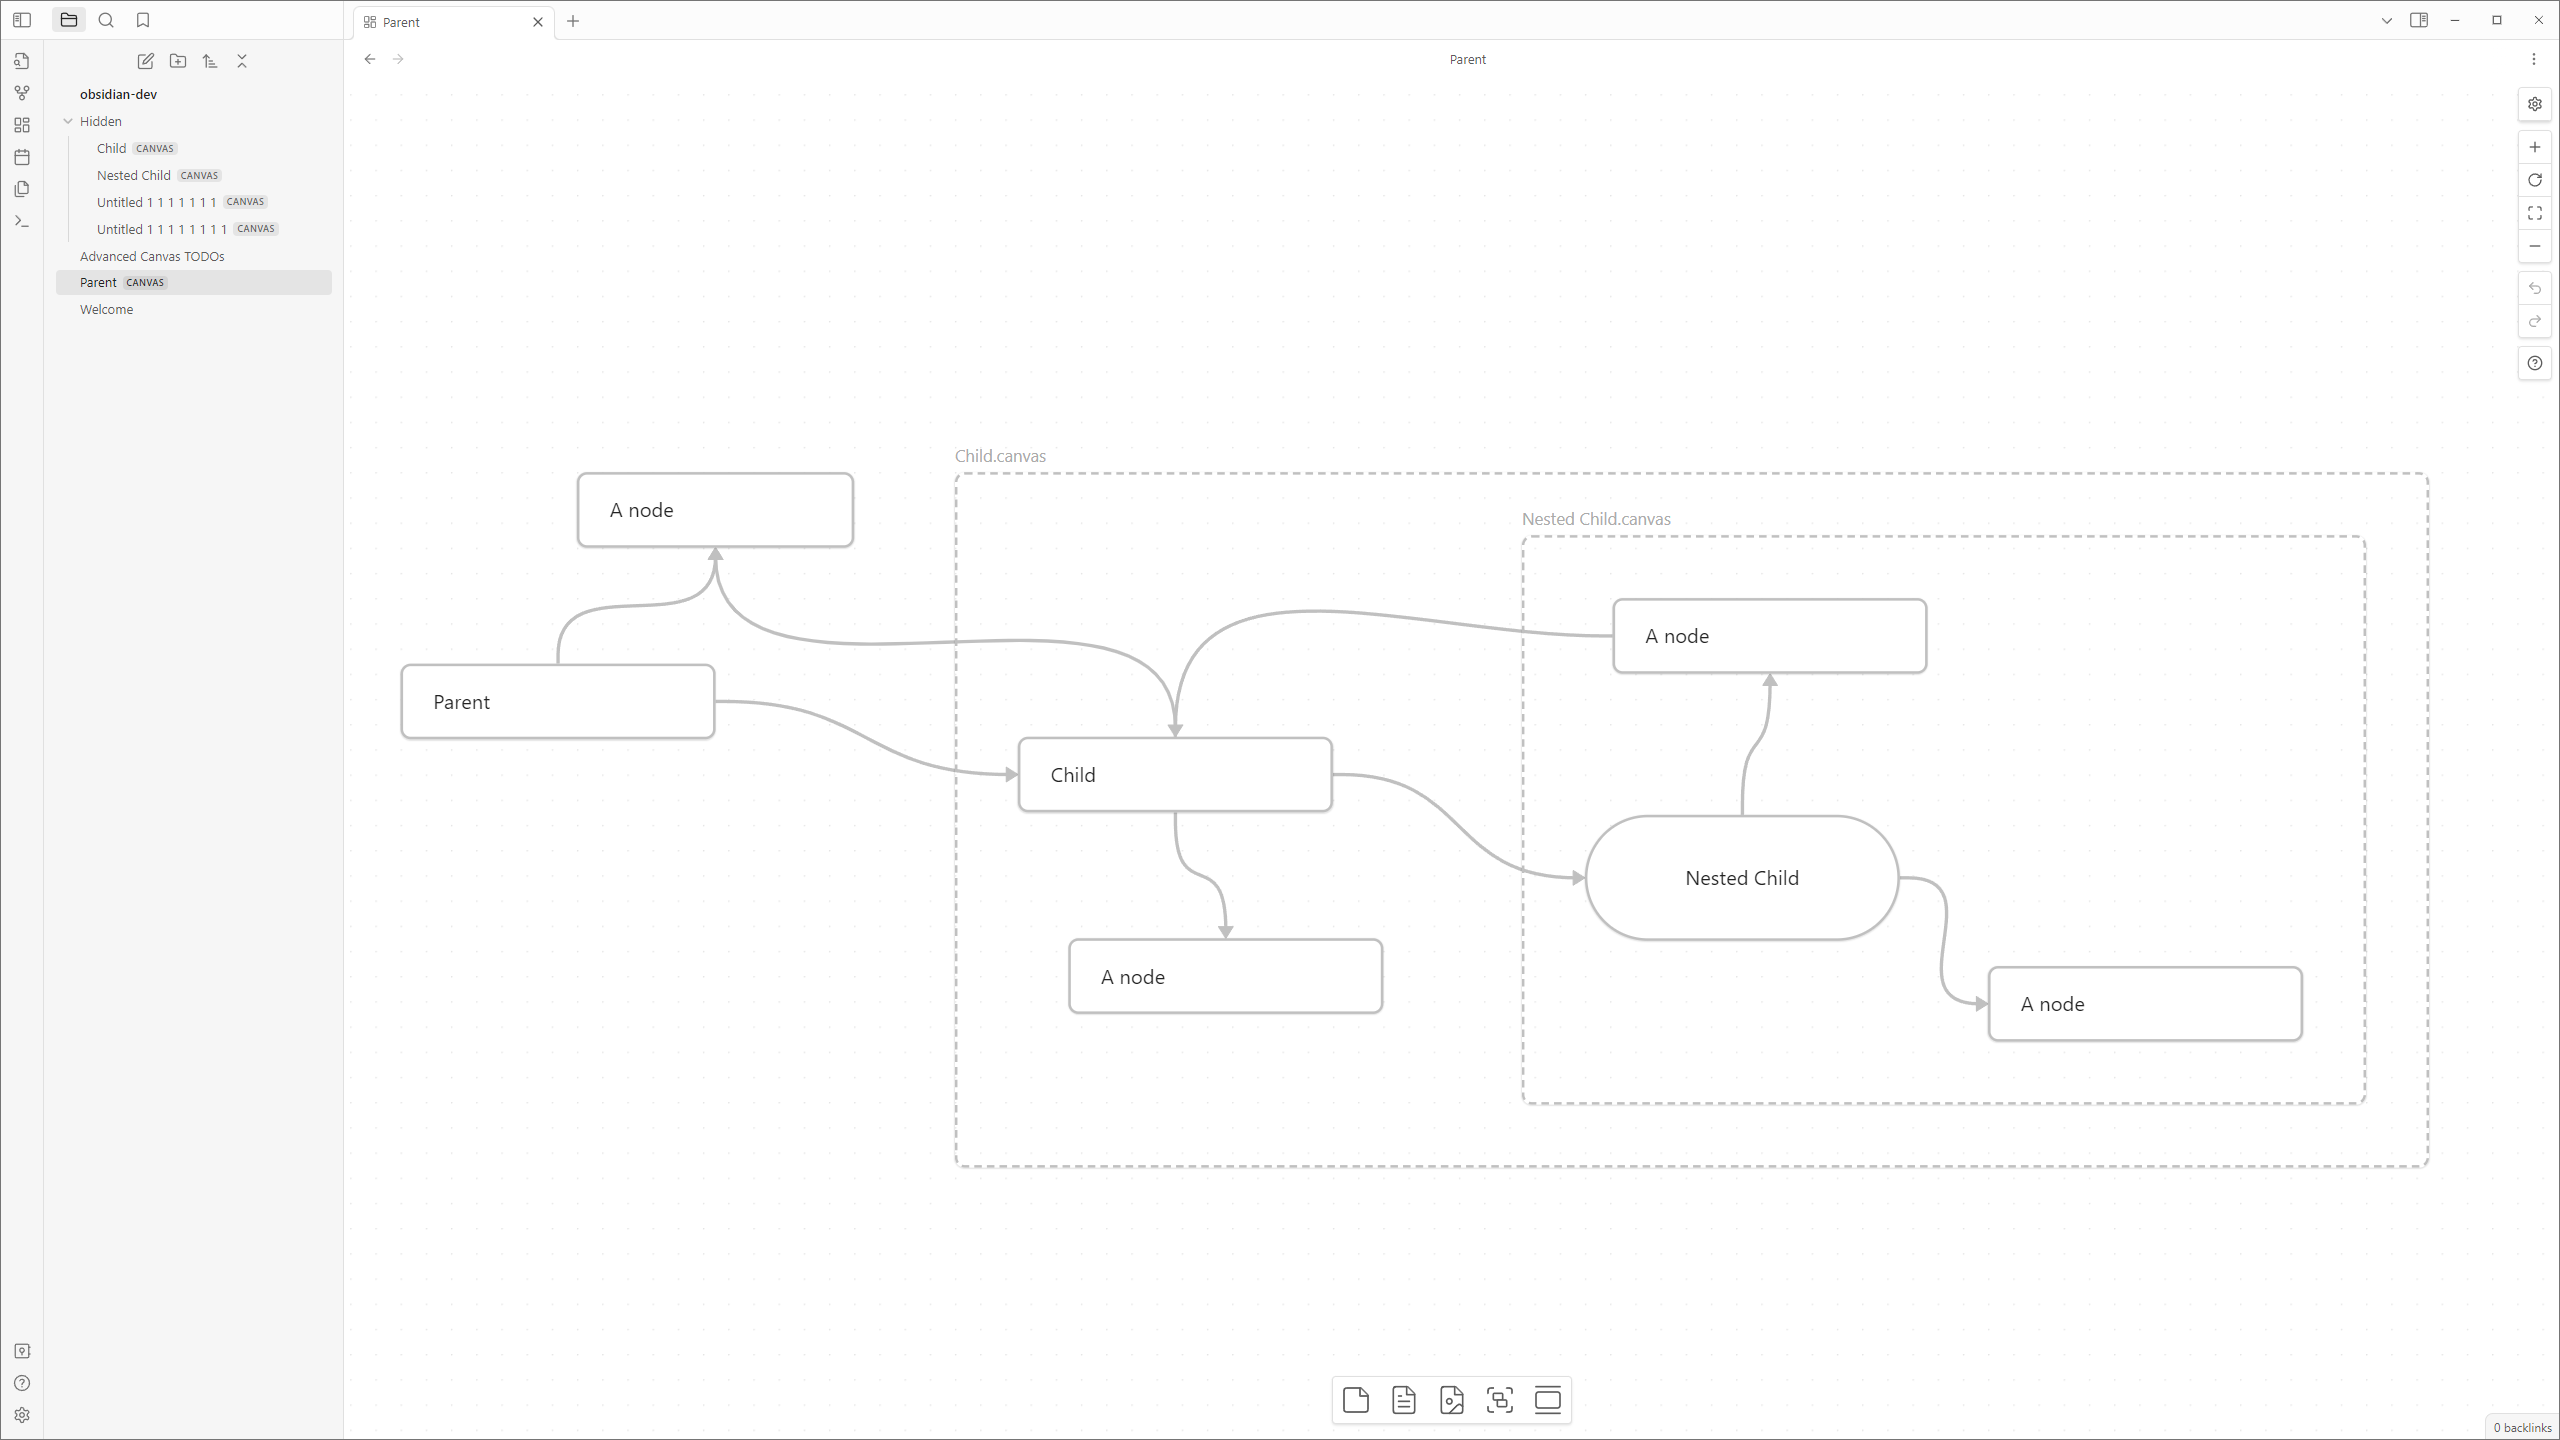
Advanced Canvas: Start presentation).ESC key.Embed other canvases inside your current canvas and create edges (arrows) to the embedded canvas.
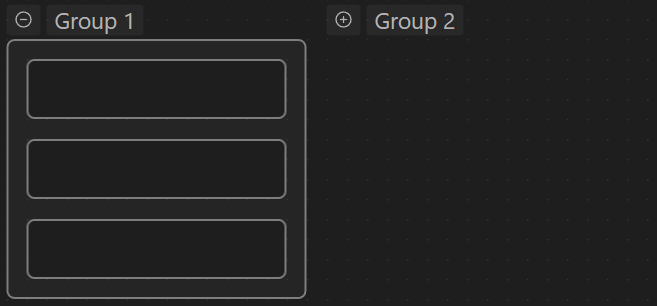
Collapse and expand groups to organize your canvas.
Export the whole canvas or just a selection as a PNG/SVG image with transparency. Core plugin export options like "Privacy Mode" and "Show Logo" (extended to include Advanced Canvas logo) are also available.

Resize nodes automatically when their text content changes. Toggle this feature per-node using the updated popup menu.
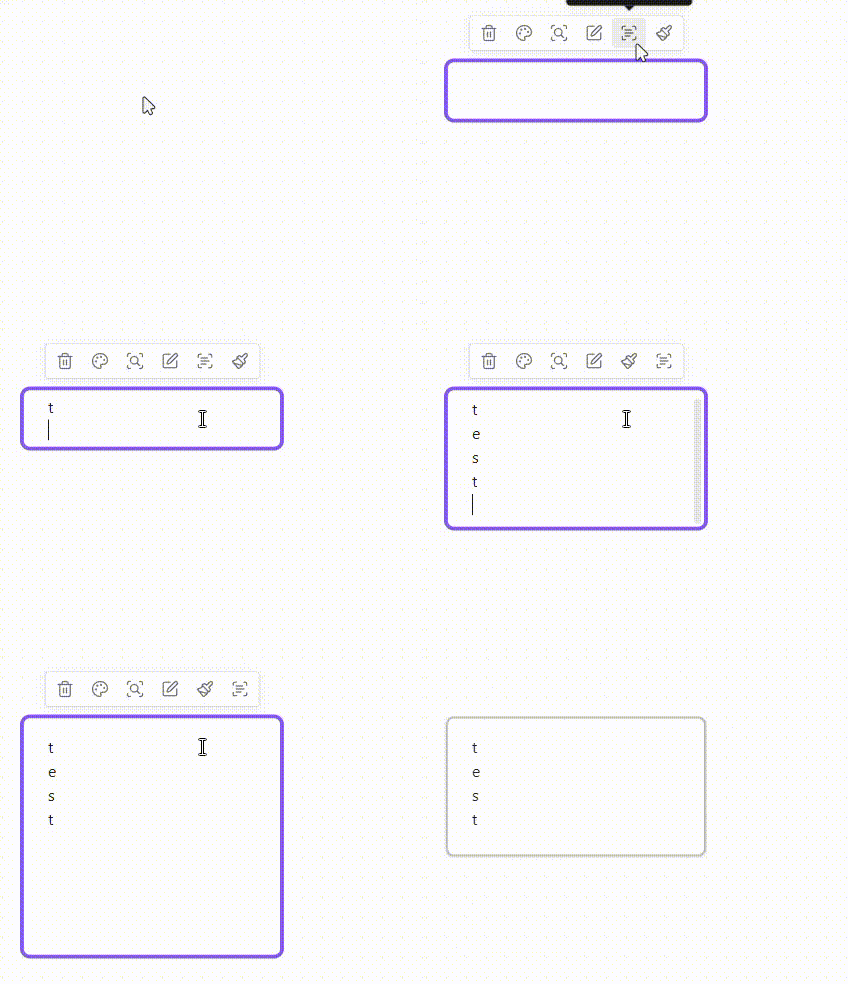
Highlight edges when a connected node is selected. This feature helps to visually identify relationships between nodes.
If you want to edit the look of the highlighted edges, you need to edit the is-focused CSS class in a custom CSS snippet.
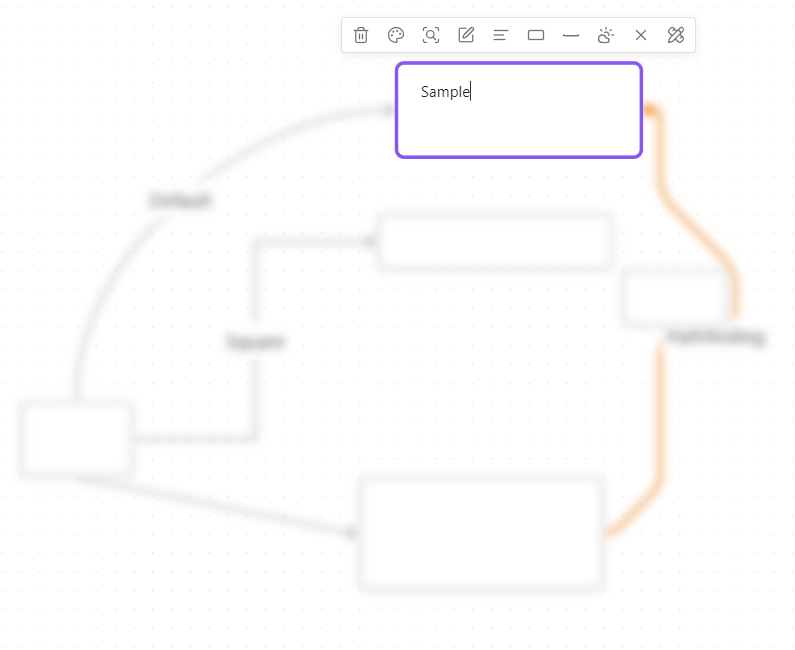
Focus on a single node by blurring all other nodes.
If "Edge Highlight" is enabled, edges connected to the focused node won't be blurred.
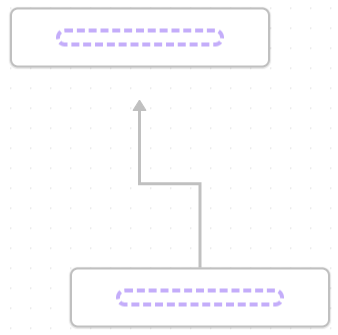
Move the current selection to a new canvas and create a link to it in the current canvas.
Advanced Canvas: Encapsulate selection).Edges automatically change their connection side to the most suitable one. Drag the edge to the indicated drop zone inside the node to make the edge float.
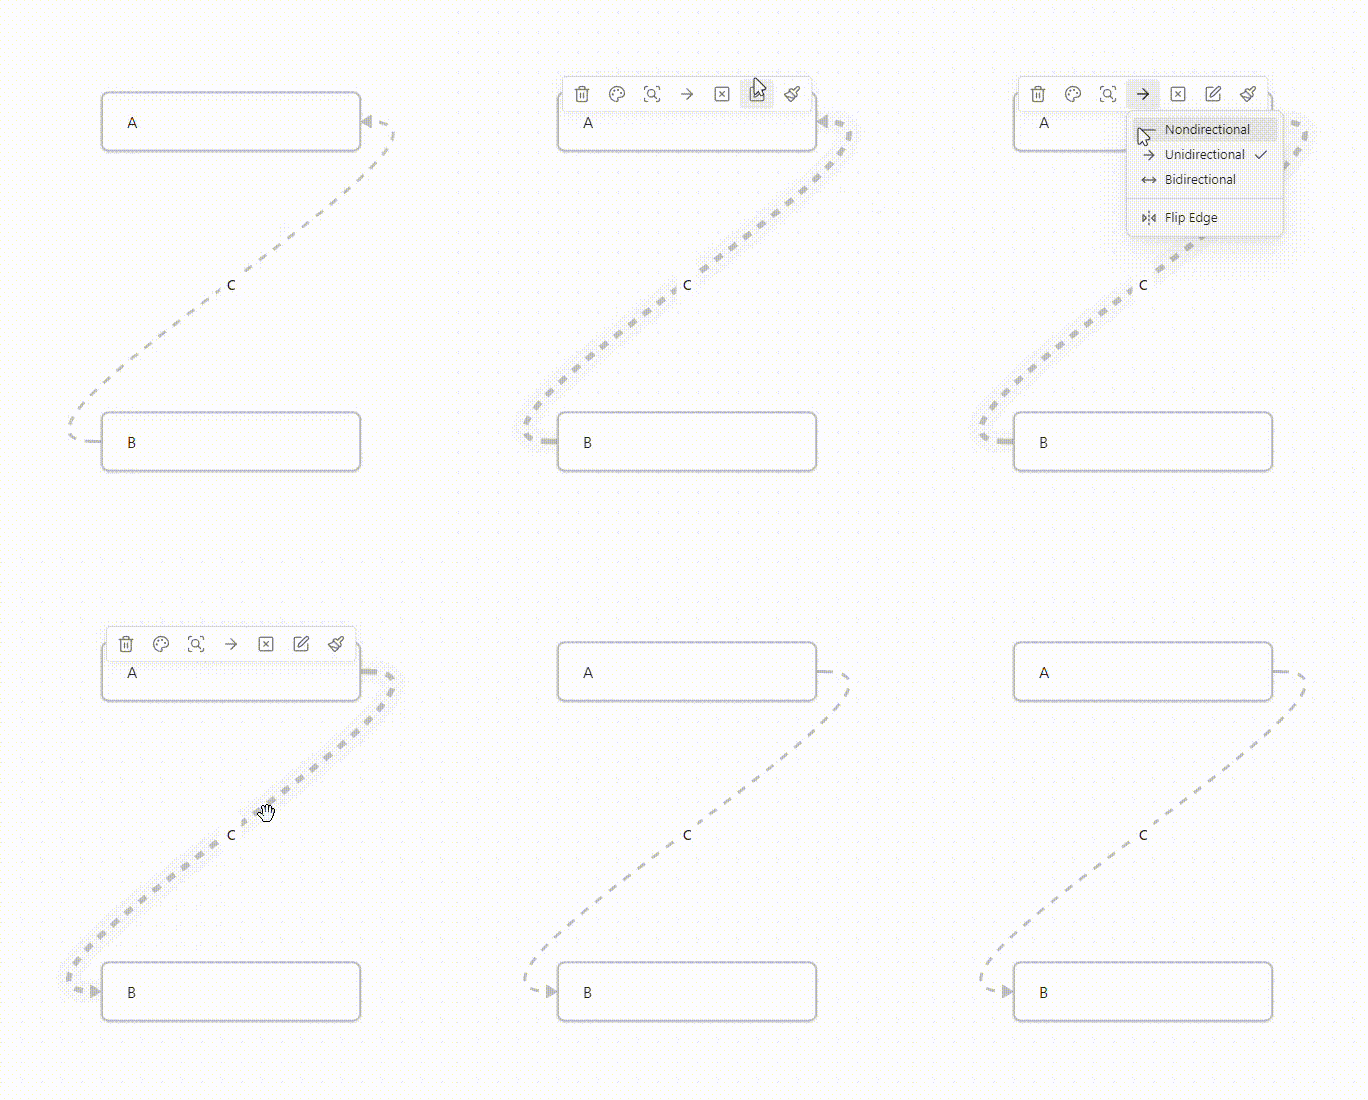
Flip the direction of an edge with one click.
Select edges connected to the selected node(s).
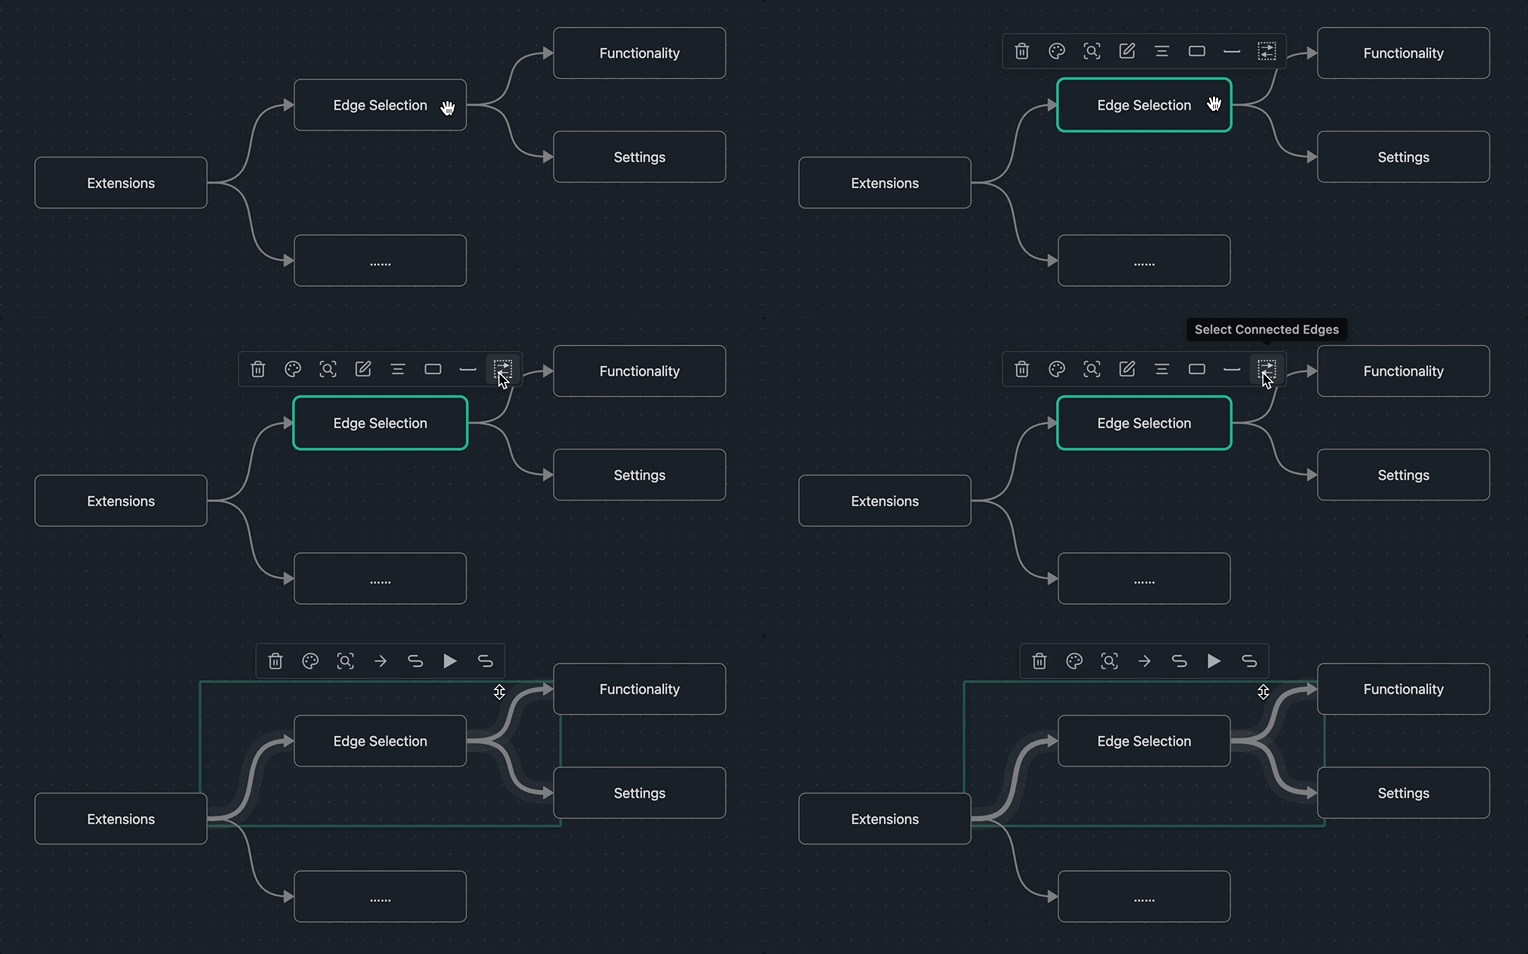
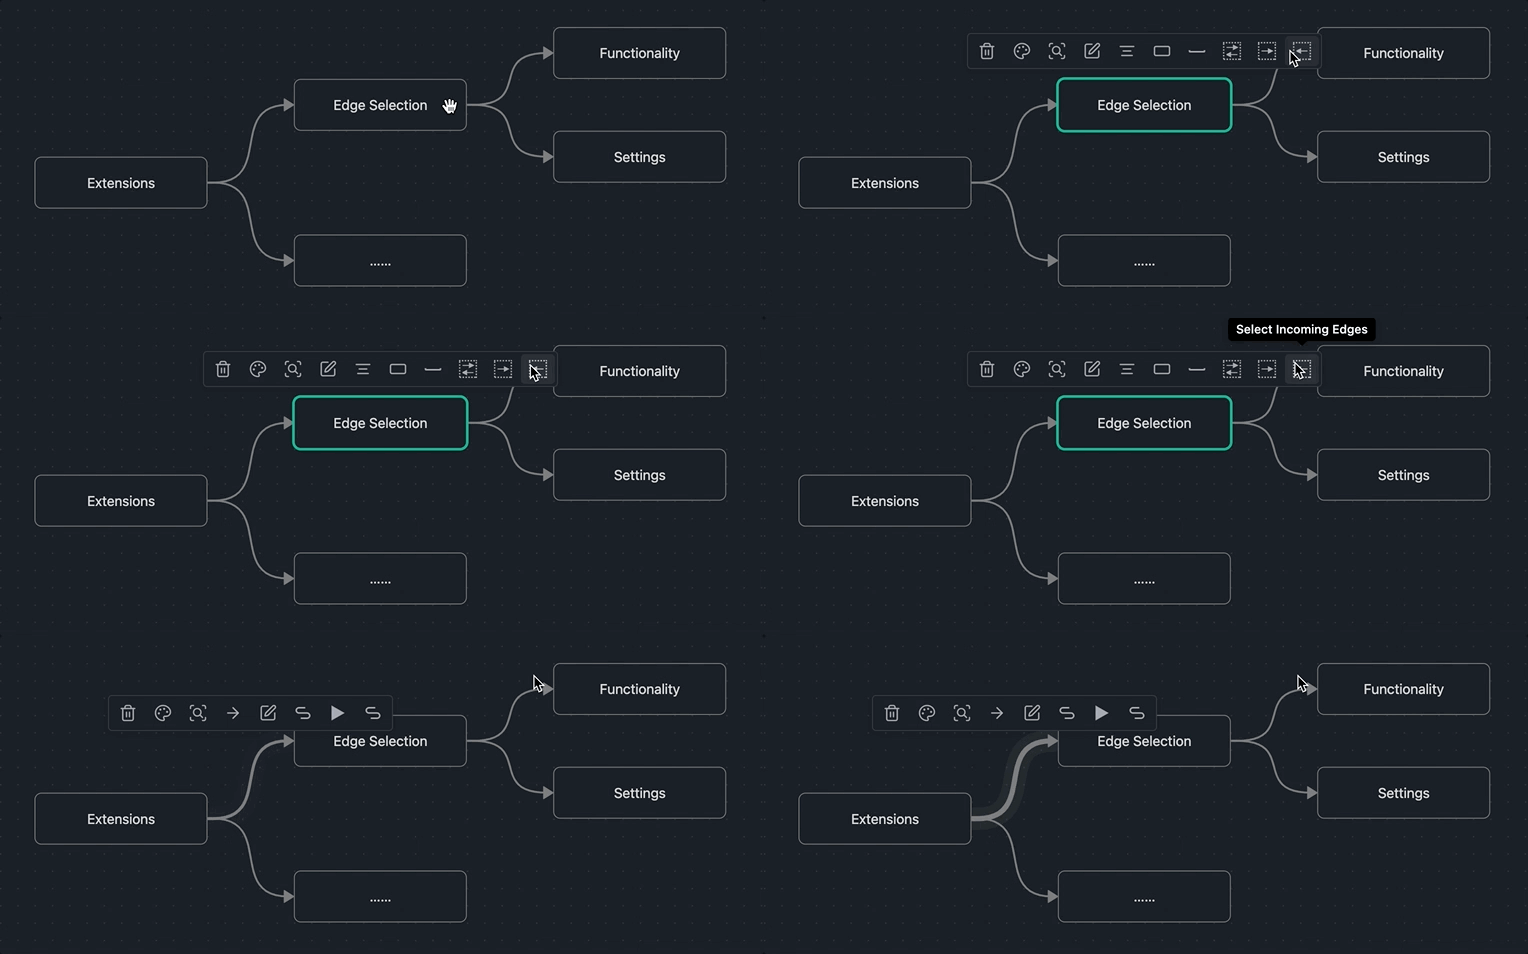
Select incoming or outgoing edges of the selected node(s).
Note: this requires the setting Edge Selection > Select Edge By Direction to be enabled.

All custom events are prefixed with advanced-canvas: and can be listened to using app.workspace.on (just like default Obsidian events).
Check out the list of events here.
Every feature can be enabled/disabled in the settings. All features were made to be as customizable as possible.
All code contributions that aren't made by LLMs or just update the README are welcome!
You may want to check out issues with the PRs appreciated label to find issues you can start with.
But feel free to work on any issue or non-issue you want to work on!
more like this
An Obsidian plugin to translate selected text in the desired language
Automates the creation of JSON template files for Obsidian WebClipper.
search projects, people, and tags