agentlytics
Comprehensive analytics dashboard for AI coding agents — Cursor, Windsurf, Claude Code, VS Code Copilot, Zed, Antigravi…
JavaScript★ 555
an efficient and user friendly OTA server equipped with a powerful WEB UI, designed to effortlessly manage both your ES…
 ErfanDL
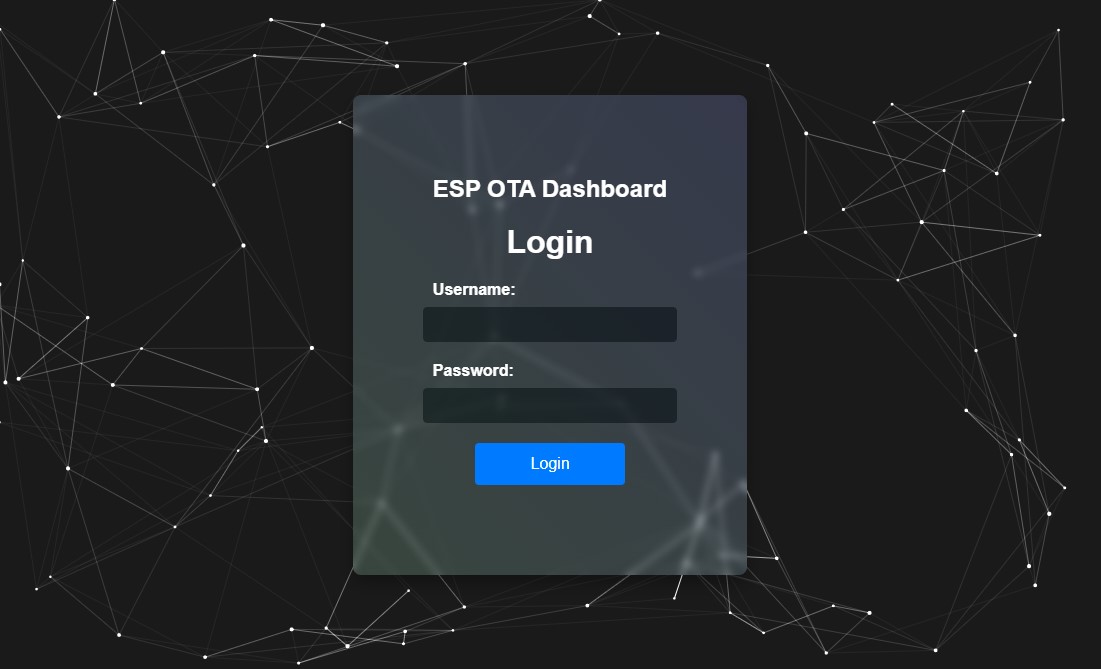
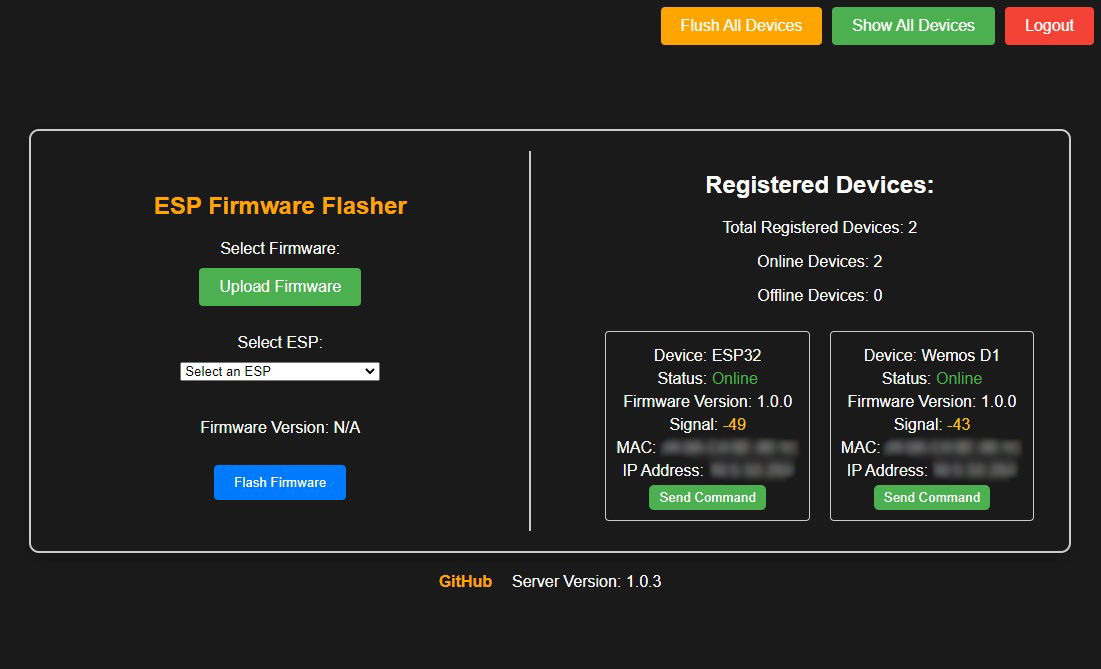
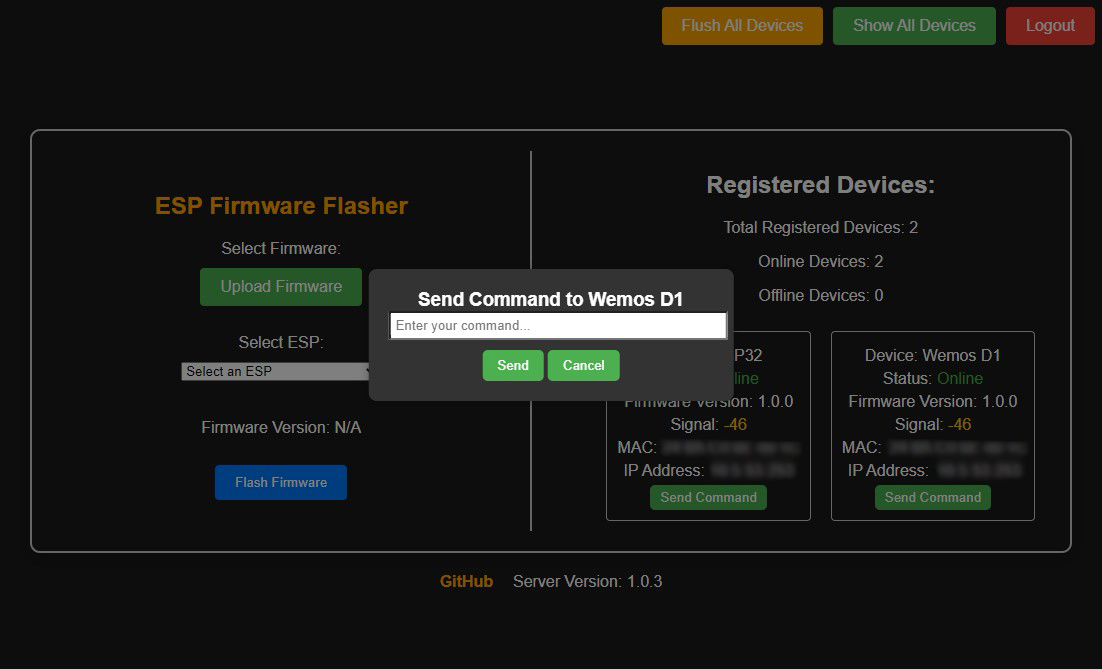
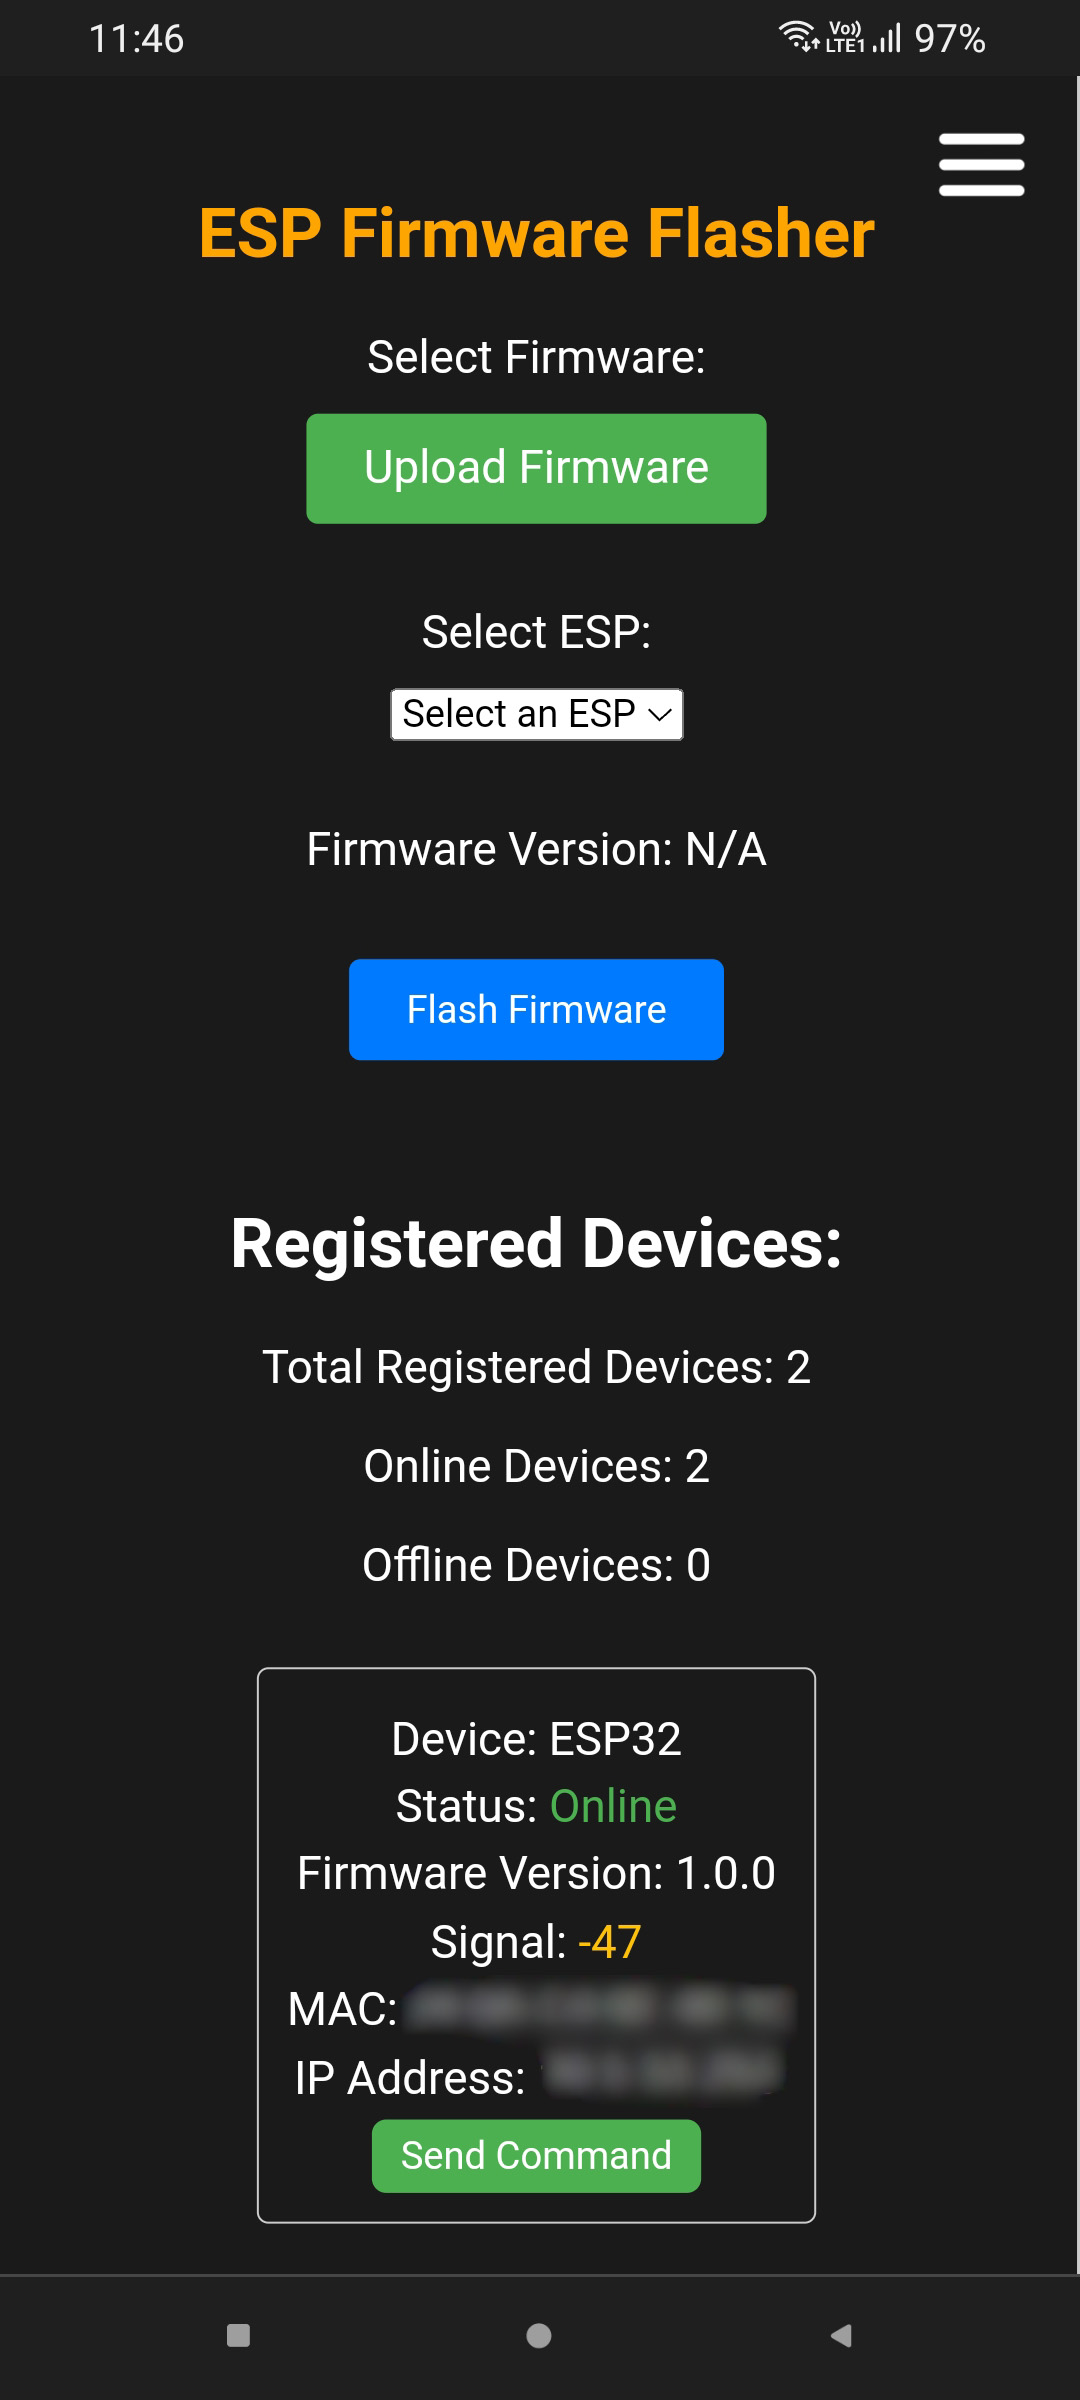
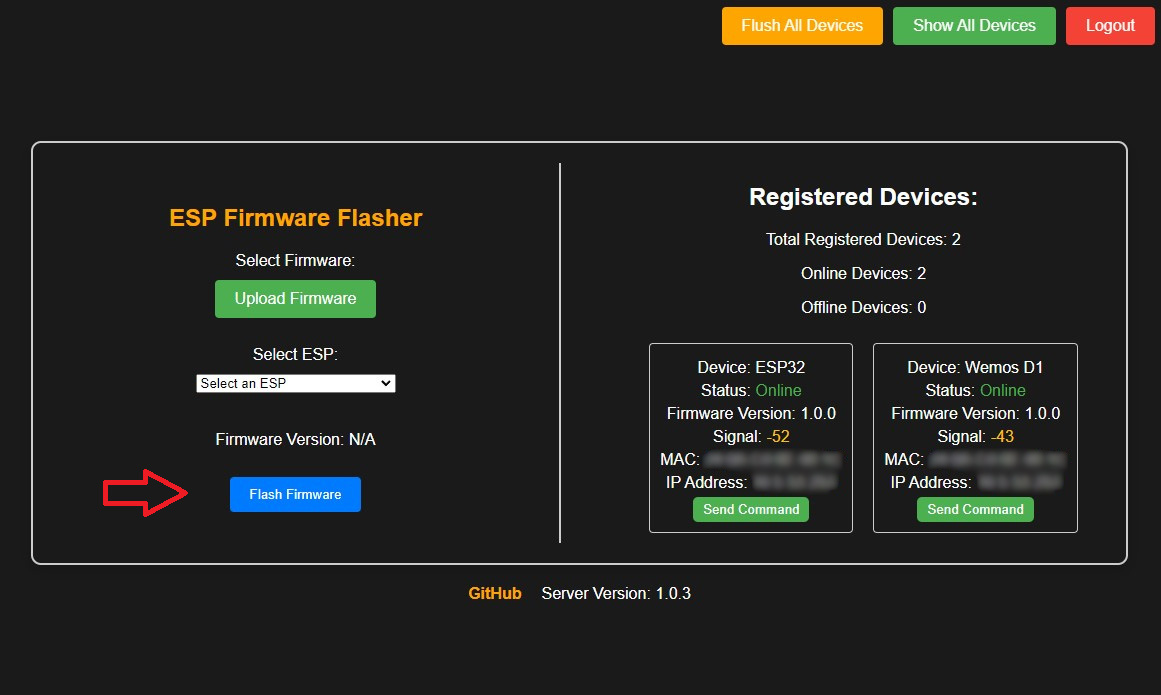
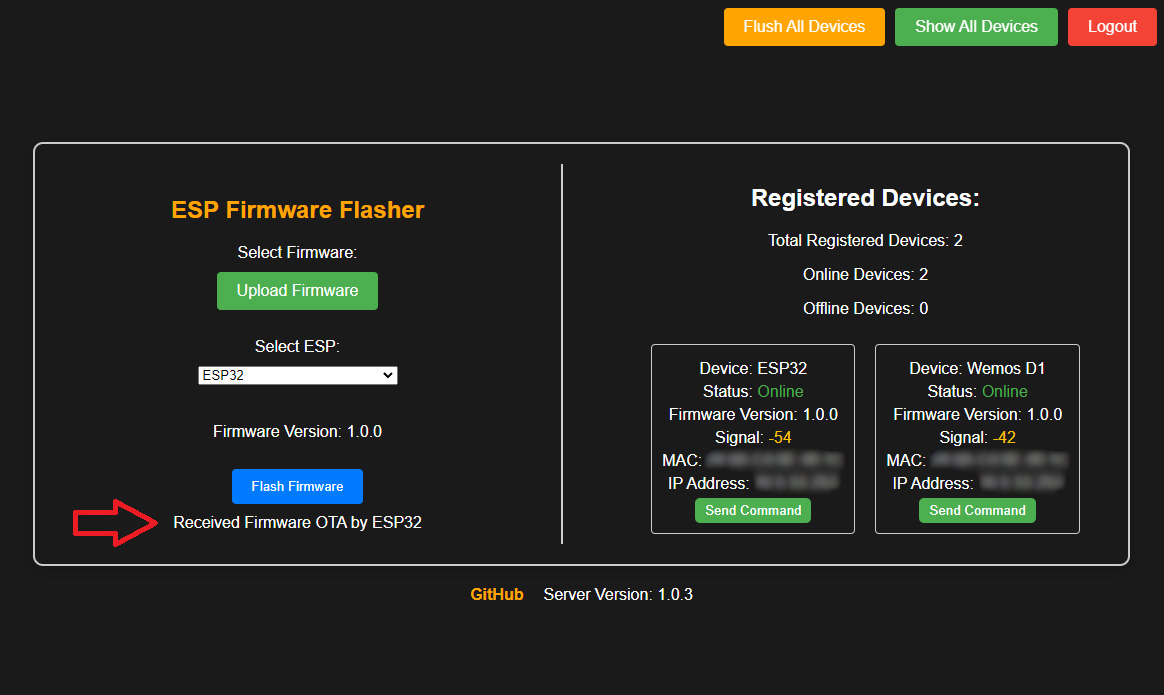
git clone https://github.com/ErfanDL/ESP_OTA_Dashboard.gitErfanDL/ESP_OTA_Dashboardan efficient and user friendly OTA server equipped with a powerful WEB UI, designed to effortlessly manage both your ESP8266 and ESP32 Firmware and Status. This OTA solution simplifies the process of updating and monitoring your ESP devices.
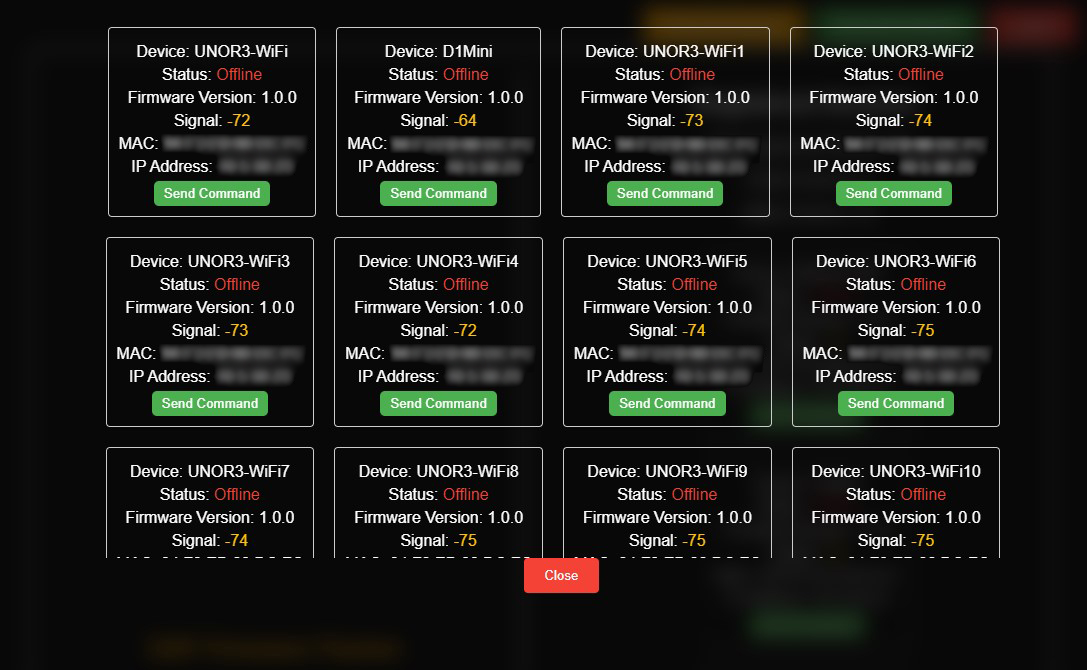
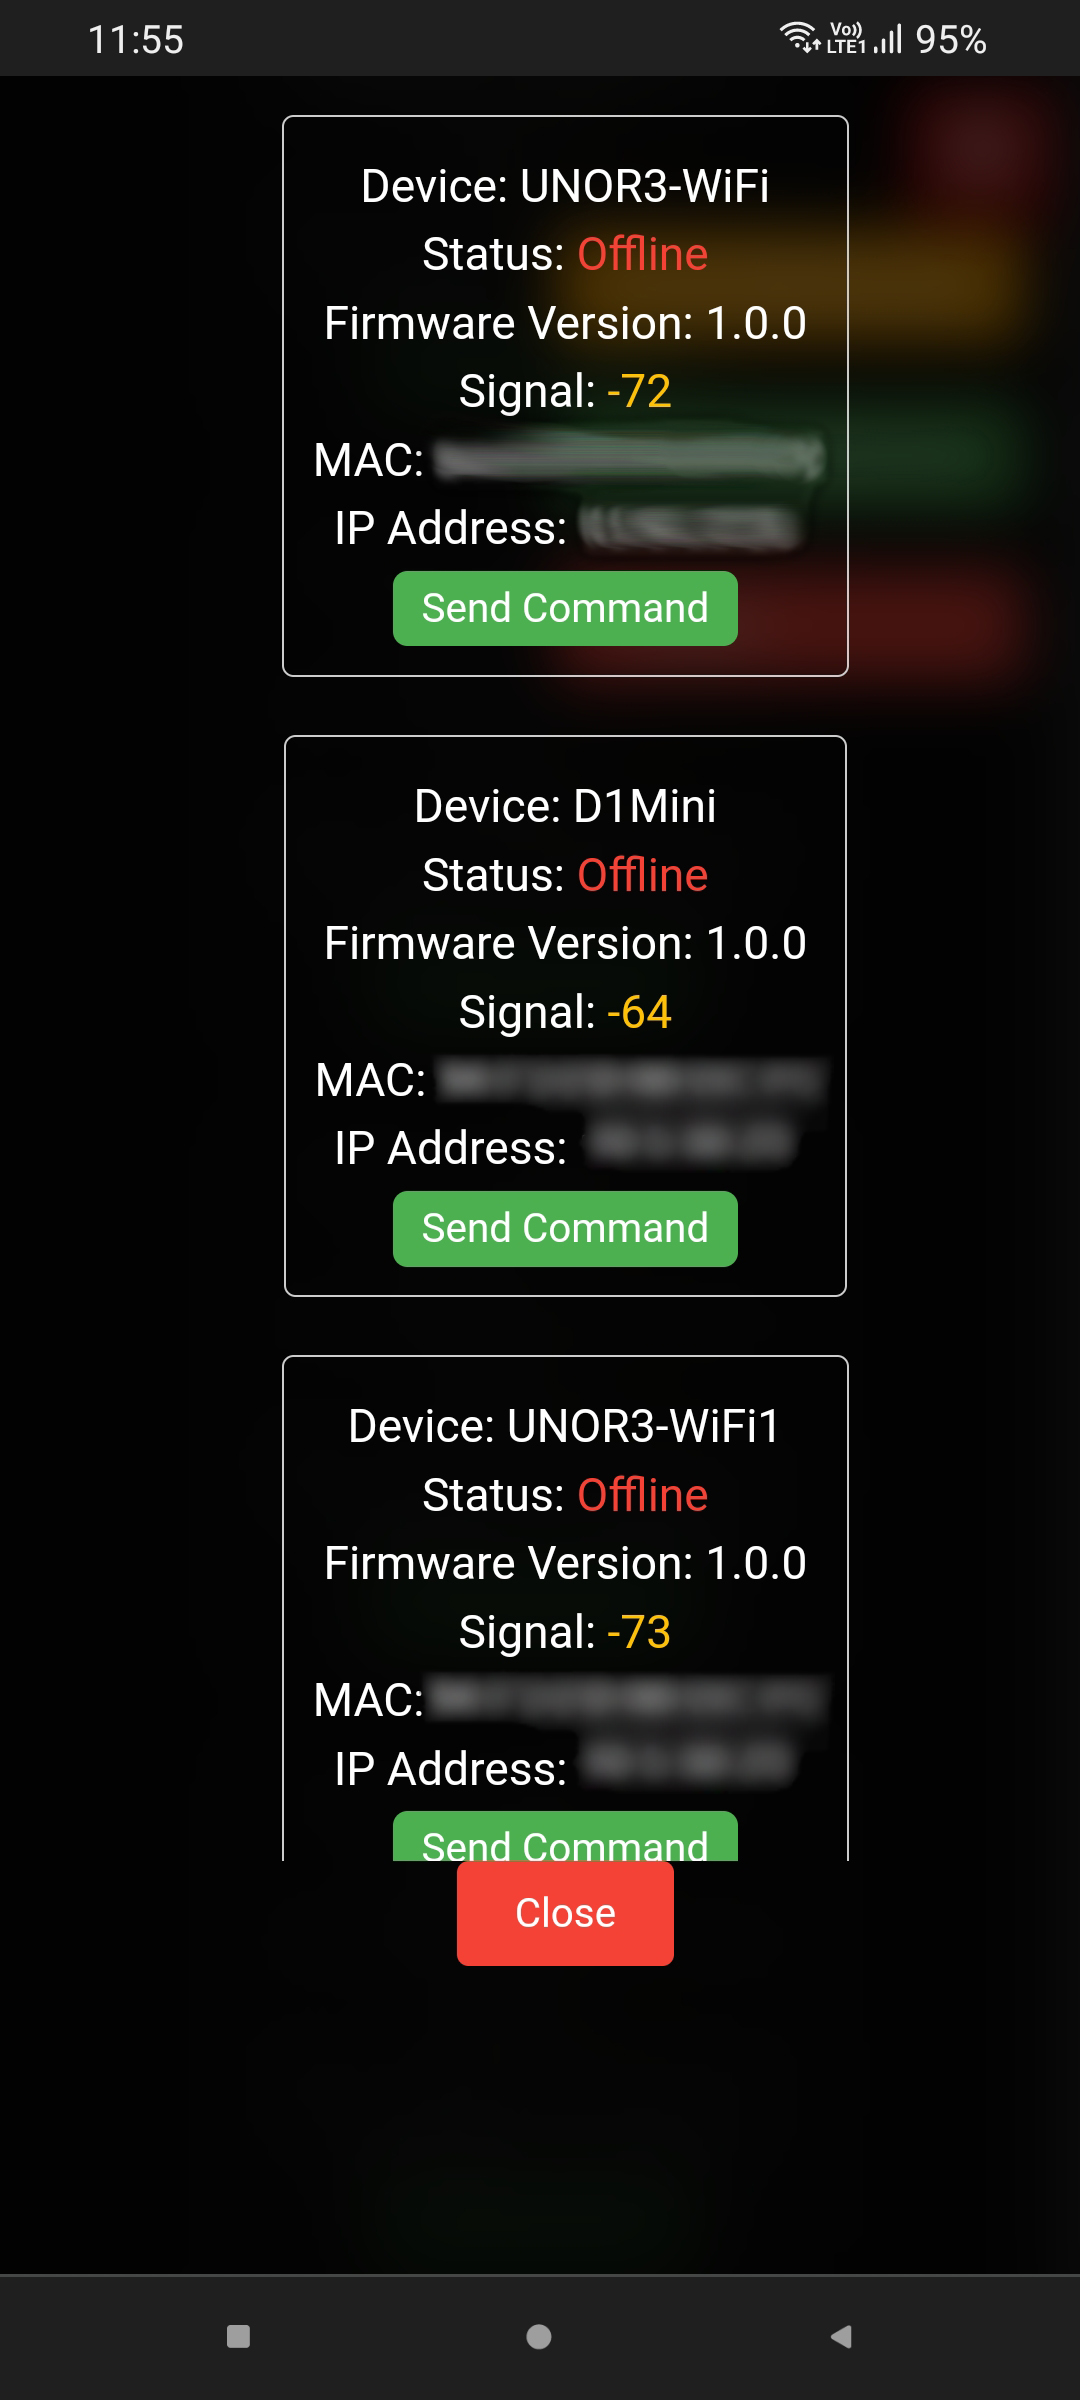
By default, 6 registered devices are displayed. If you have more than 6 devices, click on the 'Show All Devices' button to see the list of all devices.
Prerequisites
Node.js and npm installed on your system.
installation instruction: Node.js and NPM
git clone https://github.com/ErfanDL/ESP_OTA_Dashboard.git
cd ESP_OTA_Dashboard
npm init -y
npm install http path fs express body-parser multer express-session ws express-ws
node index.js
The app will start running on port 3000, as specified in the code.
Open a web browser and visit http://localhost:3000 to access the WEB UI.
Default Username and Password for the login page are: admin
You can change the default Username and Password by editing lines 142 and 143 in the index.js server file.
The default Password for Flash Firmware and Flush All Devices is: admin
You can also modify it on line 176 in the index.js server file.
Download and install the ESPOTADASH arduino library from this link: ESPOTADASH Library
Load the below example sketch in Arduino IDE and upload the sketch to ESP8266 or ESP32
Do not forget to edit ssid, password, serverAddress According to your Wi-Fi network and server IP address
#include "ESPOTADASH.h"

const char* ssid = "Your_SSID";
const char* password = "Your_WiFi_Password";
const char* hostName = "ESP Devices"; // You can modify this to your desired host name
const char* serverAddress = "http://Your_Server_IP:3000"; // Replace with your Node.js server address

unsigned long heartbeatInterval = 10000;     // Modify the heartbeat interval (e.g., 10 seconds)
unsigned long registrationInterval = 30000;  // Modify the registration interval (e.g., 30 seconds)
unsigned long commandCheckInterval = 10000;  // Modify the commandCheck interval (e.g., 10 seconds)
unsigned long updateInterval = 10000;        // Modify the Firmware check Update interval (e.g., 10 seconds)
const char* firmwareVersion = "1.0.0";       // Modify the firmware version

ESPOTADASH ota(ssid, password, hostName, serverAddress, heartbeatInterval, registrationInterval, commandCheckInterval, updateInterval, firmwareVersion);

void setup() {
  ota.begin();
}

void loop() {
  ota.loop();
}

// Implement the processReceivedCommand function here
void ESPOTADASH::processReceivedCommand(const String& command) {
  if (command == "action1") {
    // Perform action 1
    Serial.println("HELLO");
  } else if (command == "action2") {
    // Perform action 2
    Serial.println("ByeBye");
  }
  // Add more conditions for other actions as needed.
}
Now you should see your device in the Dashboard WEB UI devices list.
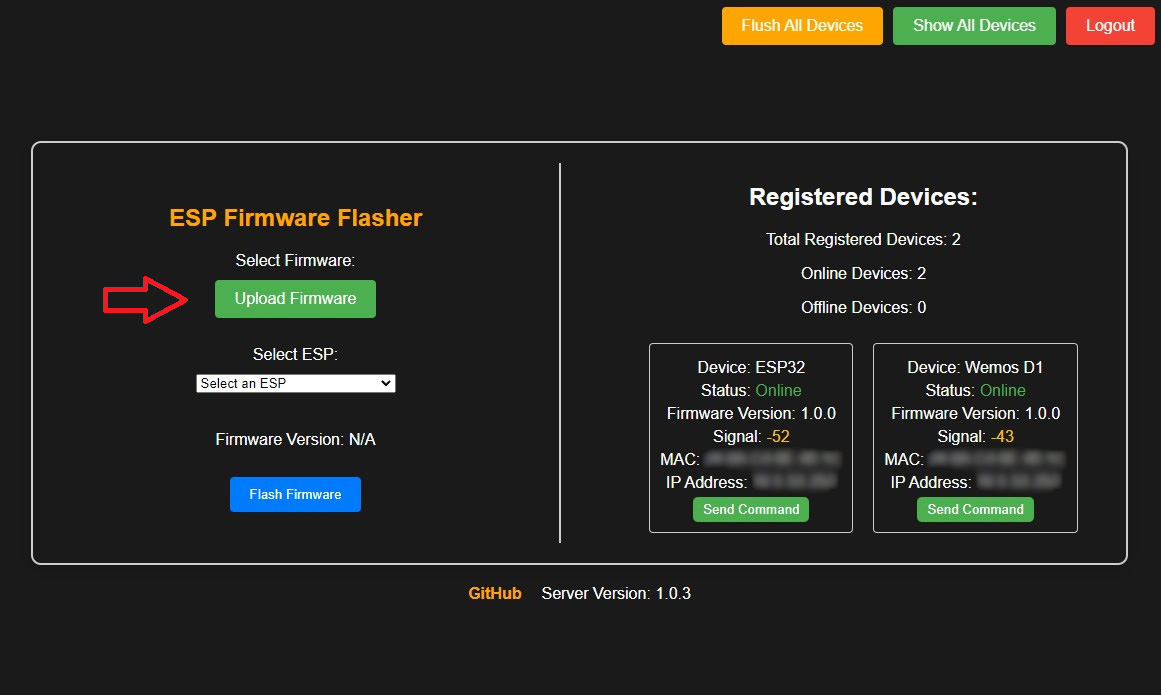
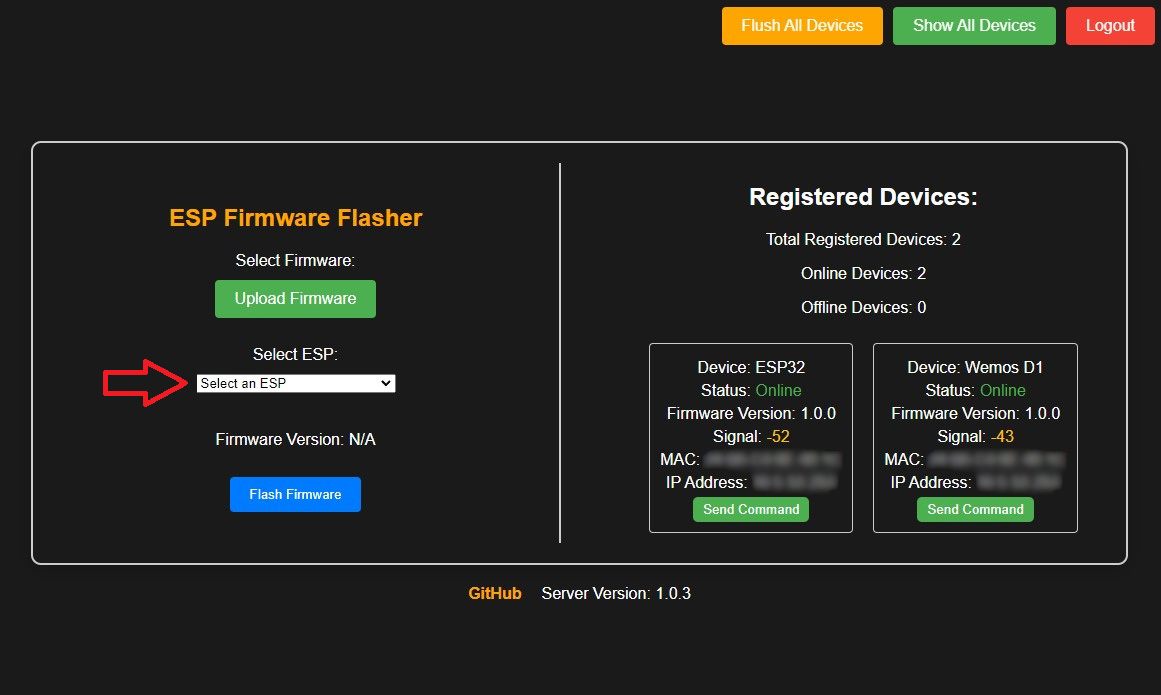
you can flash the firmware through the Web UI by exporting the BIN firmware file from the Arduino IDE and uploading it in the ESP Firmware Flasher WEB UI.
If you like my work and want to support me, you can send me a donation via crypto:
Ethereum: 0x283D333C14500dDB93aEE219D2AC1ab3a95ADd5E
Tether USDT (TRC20): TPTeQGyVVjK7yk3jXCqXeDZto38jWVU4v8
more like this
Comprehensive analytics dashboard for AI coding agents — Cursor, Windsurf, Claude Code, VS Code Copilot, Zed, Antigravi…
Software for a Wordclock based on ESP8266 and Neopixel LEDs with PONG, TETRIS, SNAKE game modes
Code for IoT Journal paper 'ML-MCU: A Framework to Train ML Classifiers on MCU-based IoT Edge Devices'
Arduino library and MATLAB/Simulink API for the AutomationShield Arduino expansion boards for control engineering educa…
search projects, people, and tags