wavio
Music streaming app for Android compatible with Navidrome, Jellyfin and OpenSubsonic servers or a local library
 Joel-Mercier
Wavio

Music streaming app for Android compatible with Navidrome, Jellyfin and OpenSubsonic servers or a local library.

Table of contents
How to install
For now you can only install the app from the releases page.
Two versions are available for 64bit (arm64-v8a) and 32bit (armeabi-v7a) architectures. If in doubt try arm64-v8a first. Simulator architectures (x86, x86_64) are not provided.
We are nearing a official release on the Google Play Store ! Production access request has been submitted.
Use Android Auto with a APK install
Android Auto doesn't detect Wavio automatically if you installed the app via APK on Github, Android Auto detects only Play Store apps automatically. To see Wavio with a APK install on Android Auto :
- On the phone, open Android Auto settings (Settings → Connected devices → Android Auto, or open the standalone Android Auto app's settings, varies by phone).
- Scroll to the bottom and tap "Version" ~10 times until it says developer mode is enabled.
- Tap the ⋮ overflow menu (top right) → Developer settings.
- Turn on "Unknown sources" (sometimes worded "Add new apps to launcher" or "Unknown sources").
- Reconnect the phone to the car (unplug/replug, or restart the Android Auto session).
- If it still doesn't show, check Customize launcher in Android Auto settings and make sure Wavio is enabled/checked.
Features
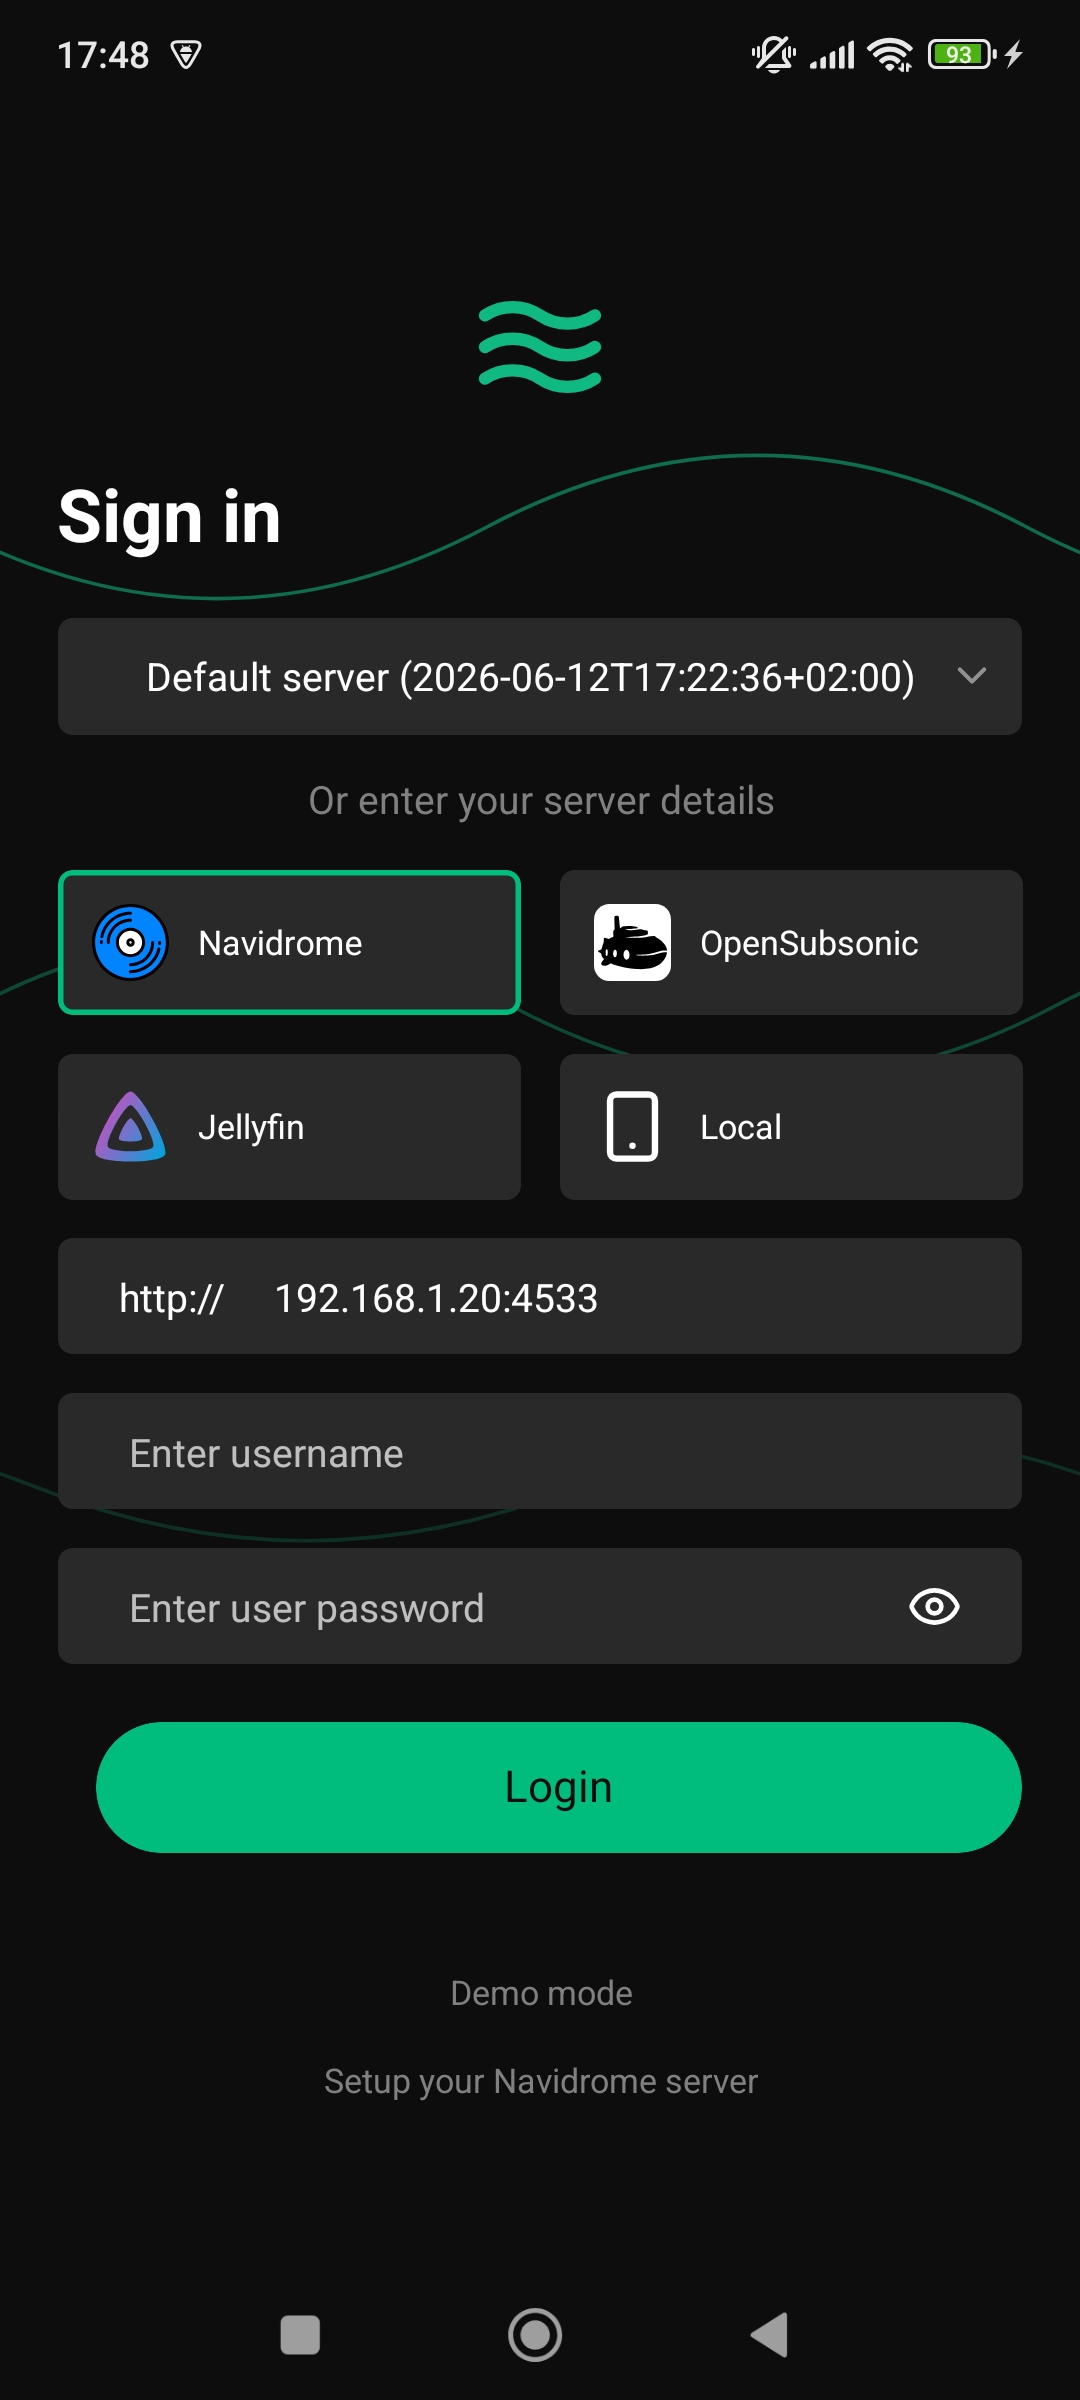
- Supports Navidrome, OpenSubsonic and Jellyfin servers or a local library
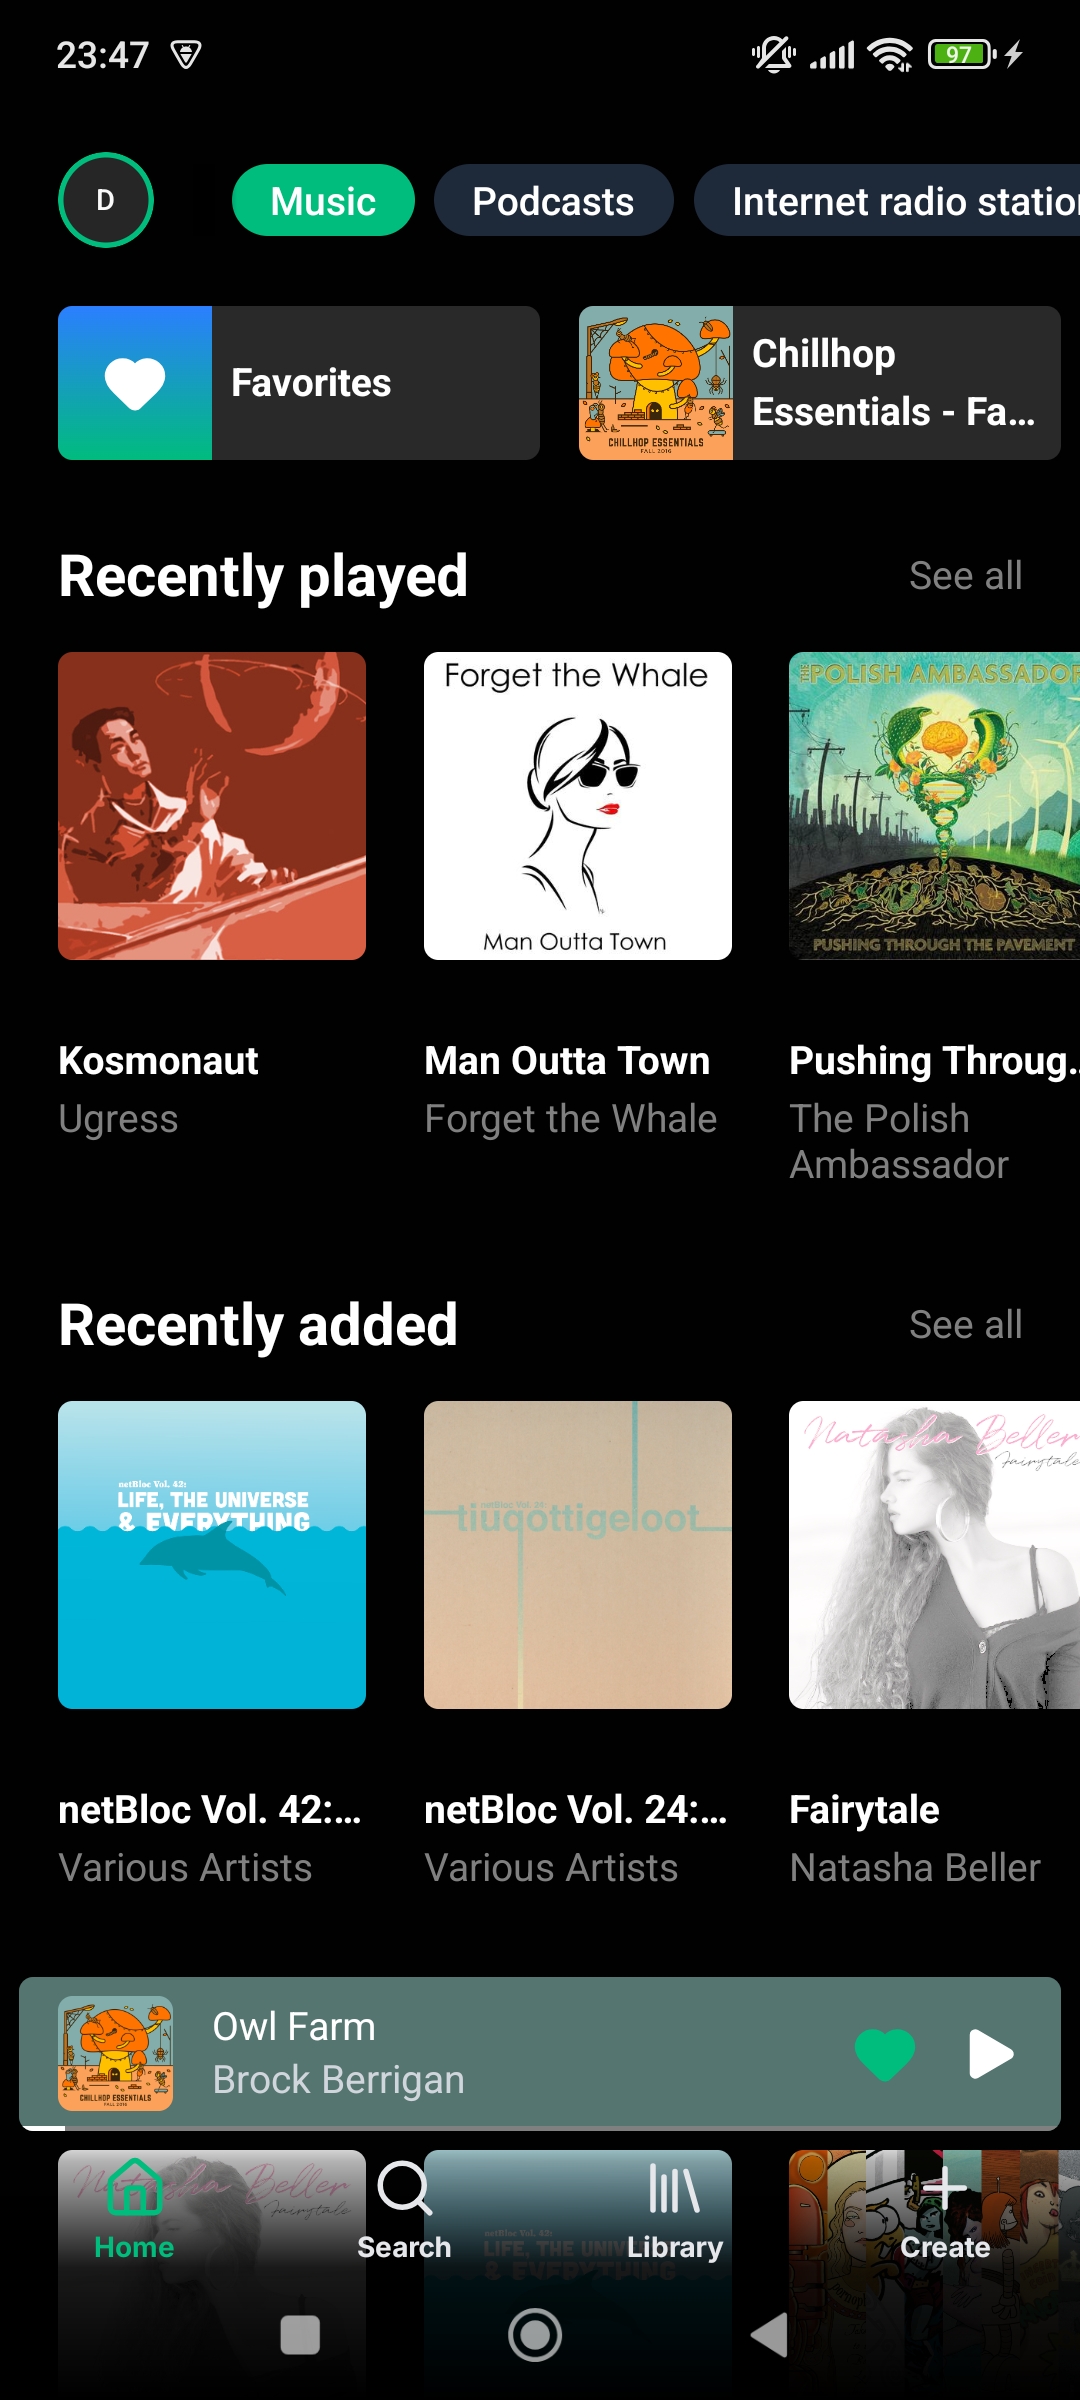
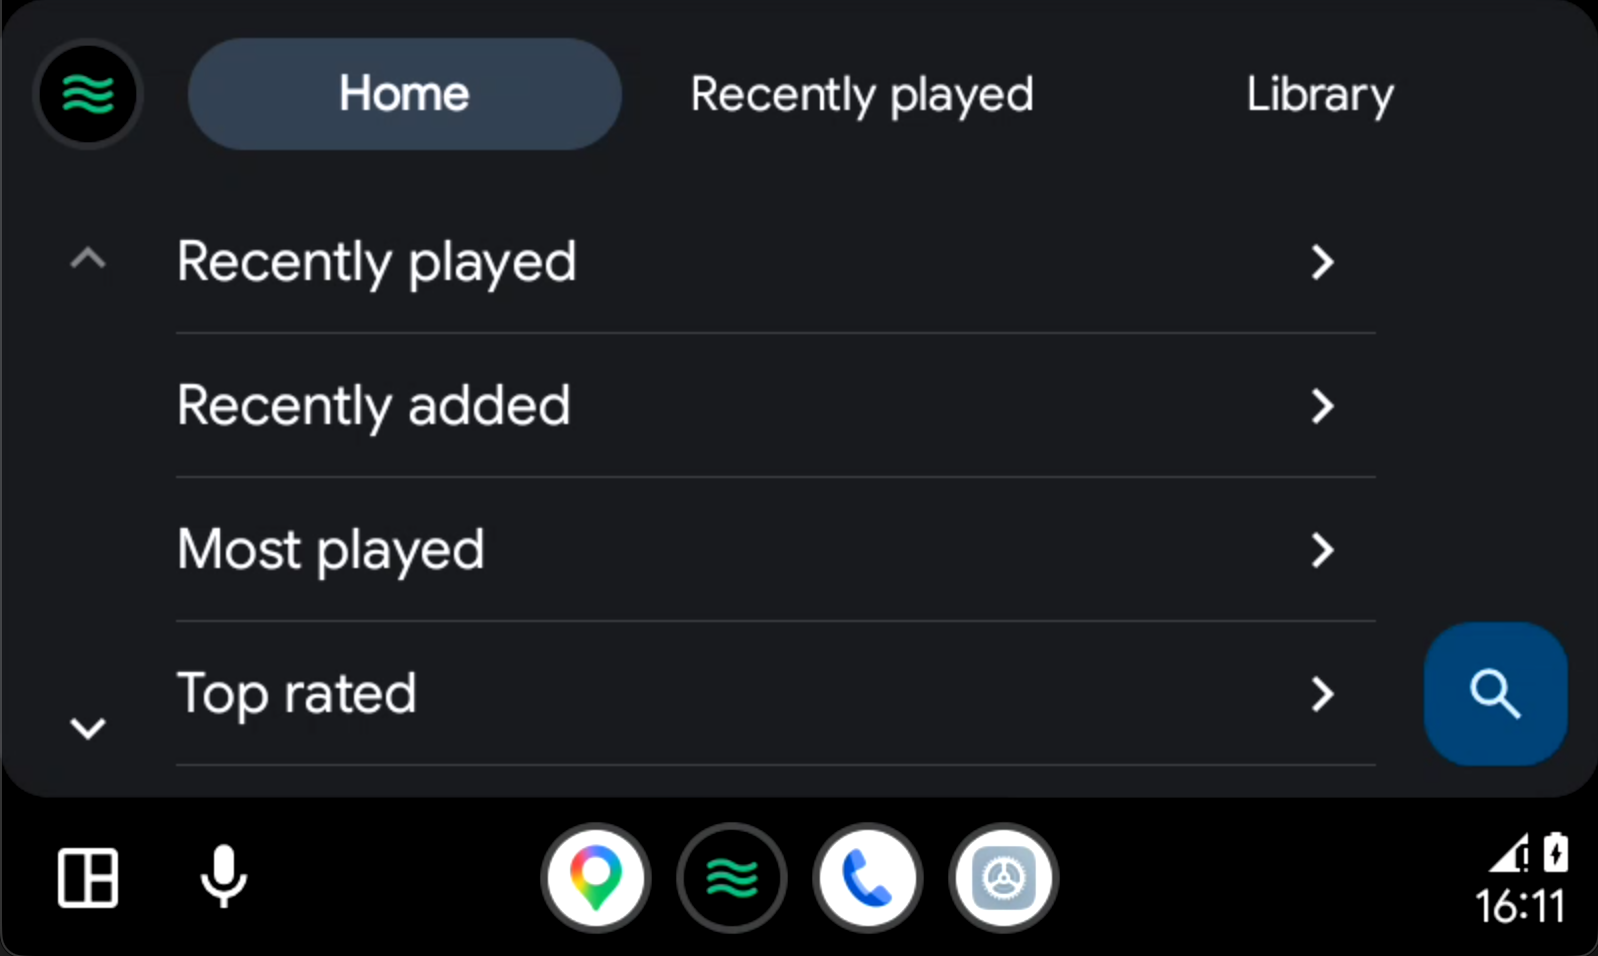
- Home screen with shortcuts and recently played, recently added, most played, more from artist, highest rated, random, most played tracks, playlists, decades, genres, artist spotlights and internet radio stations sections
- Customize your home feed experience by toggling sections
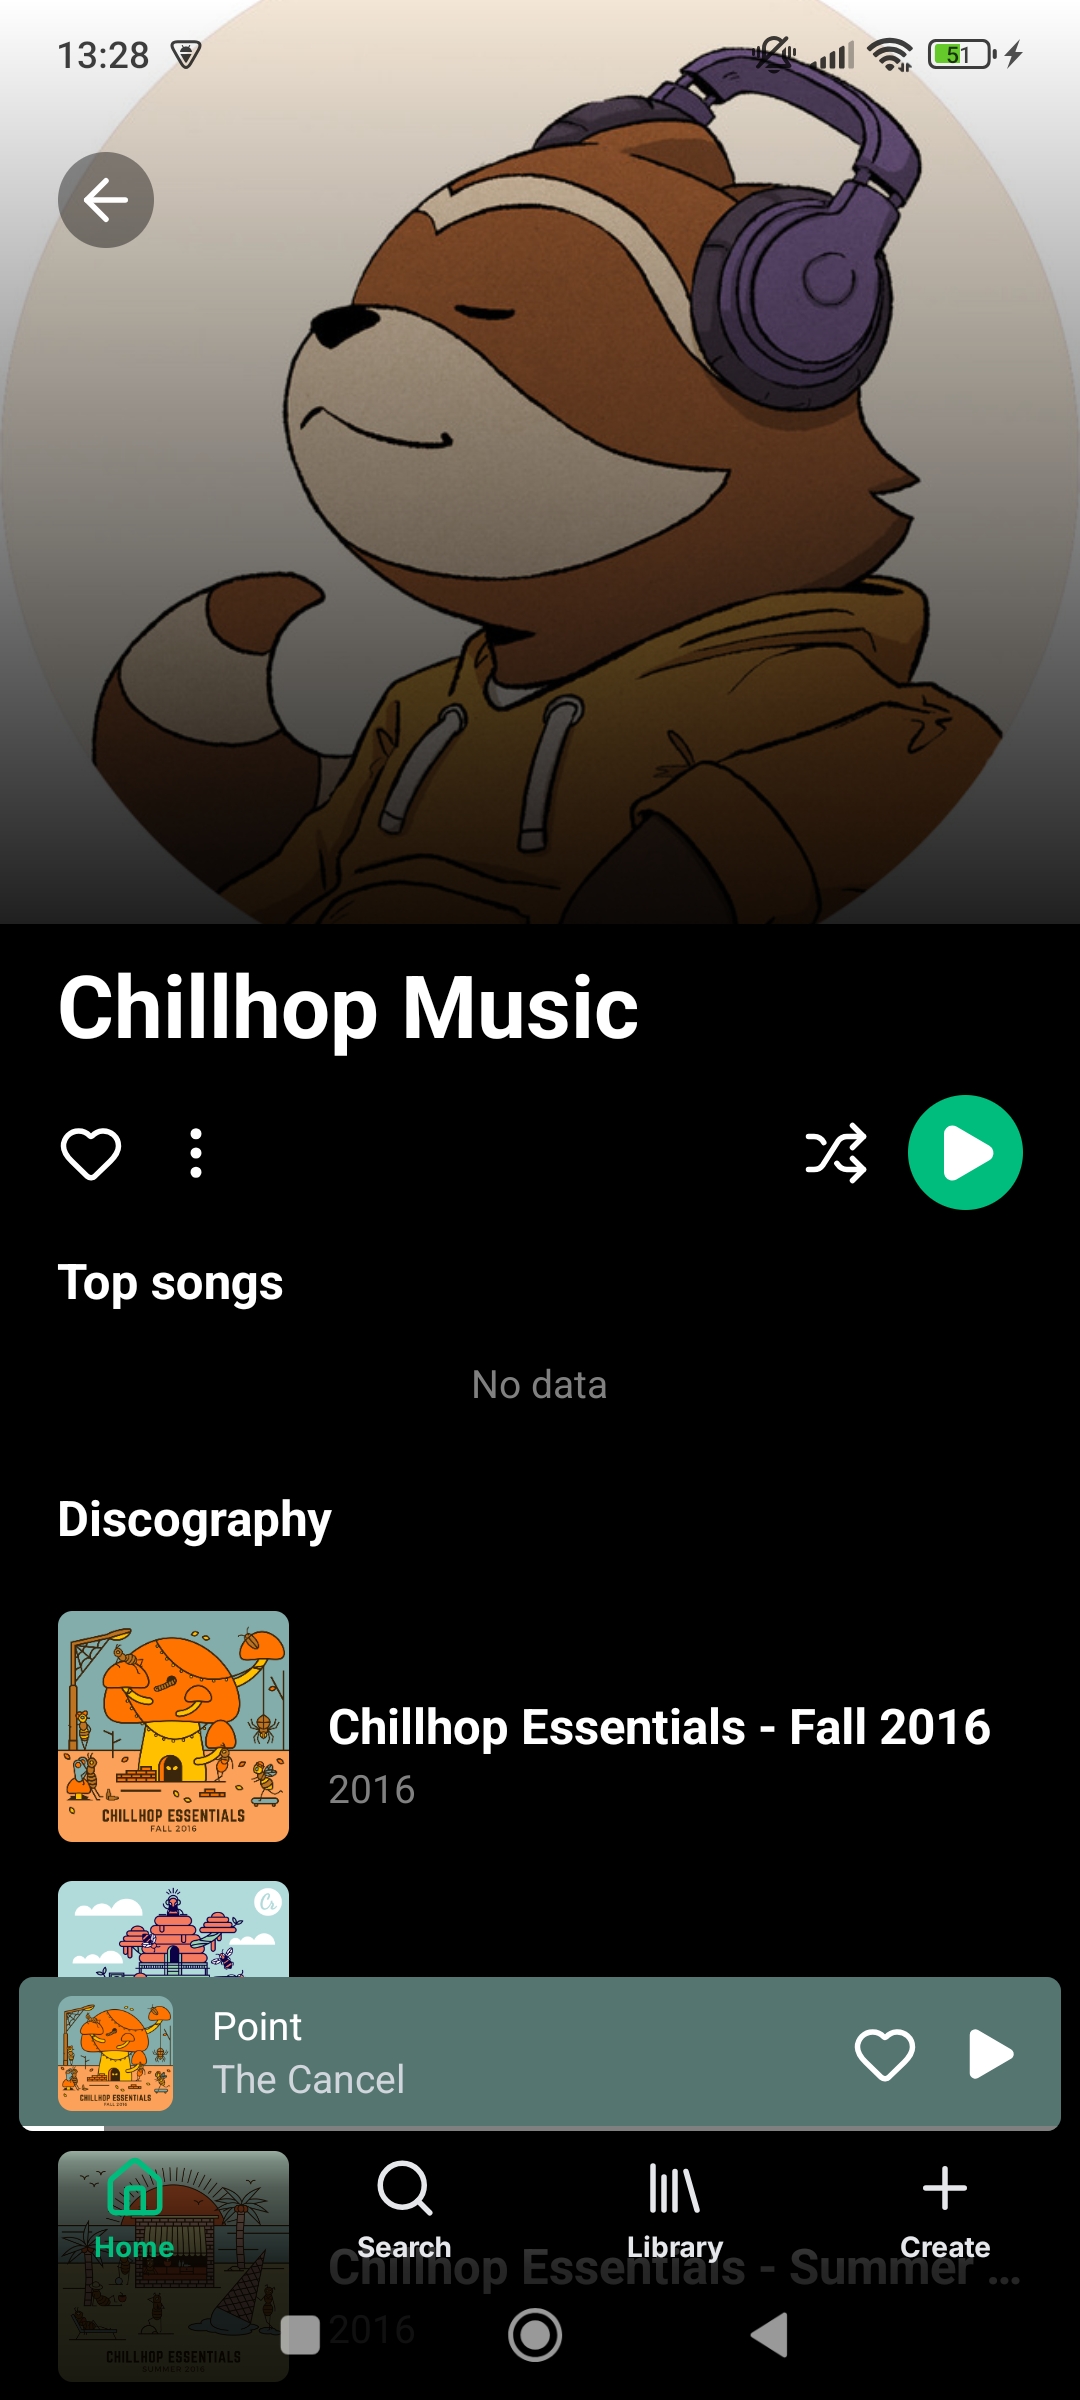
- Artist screen with albums, songs, liked songs, and similar artists
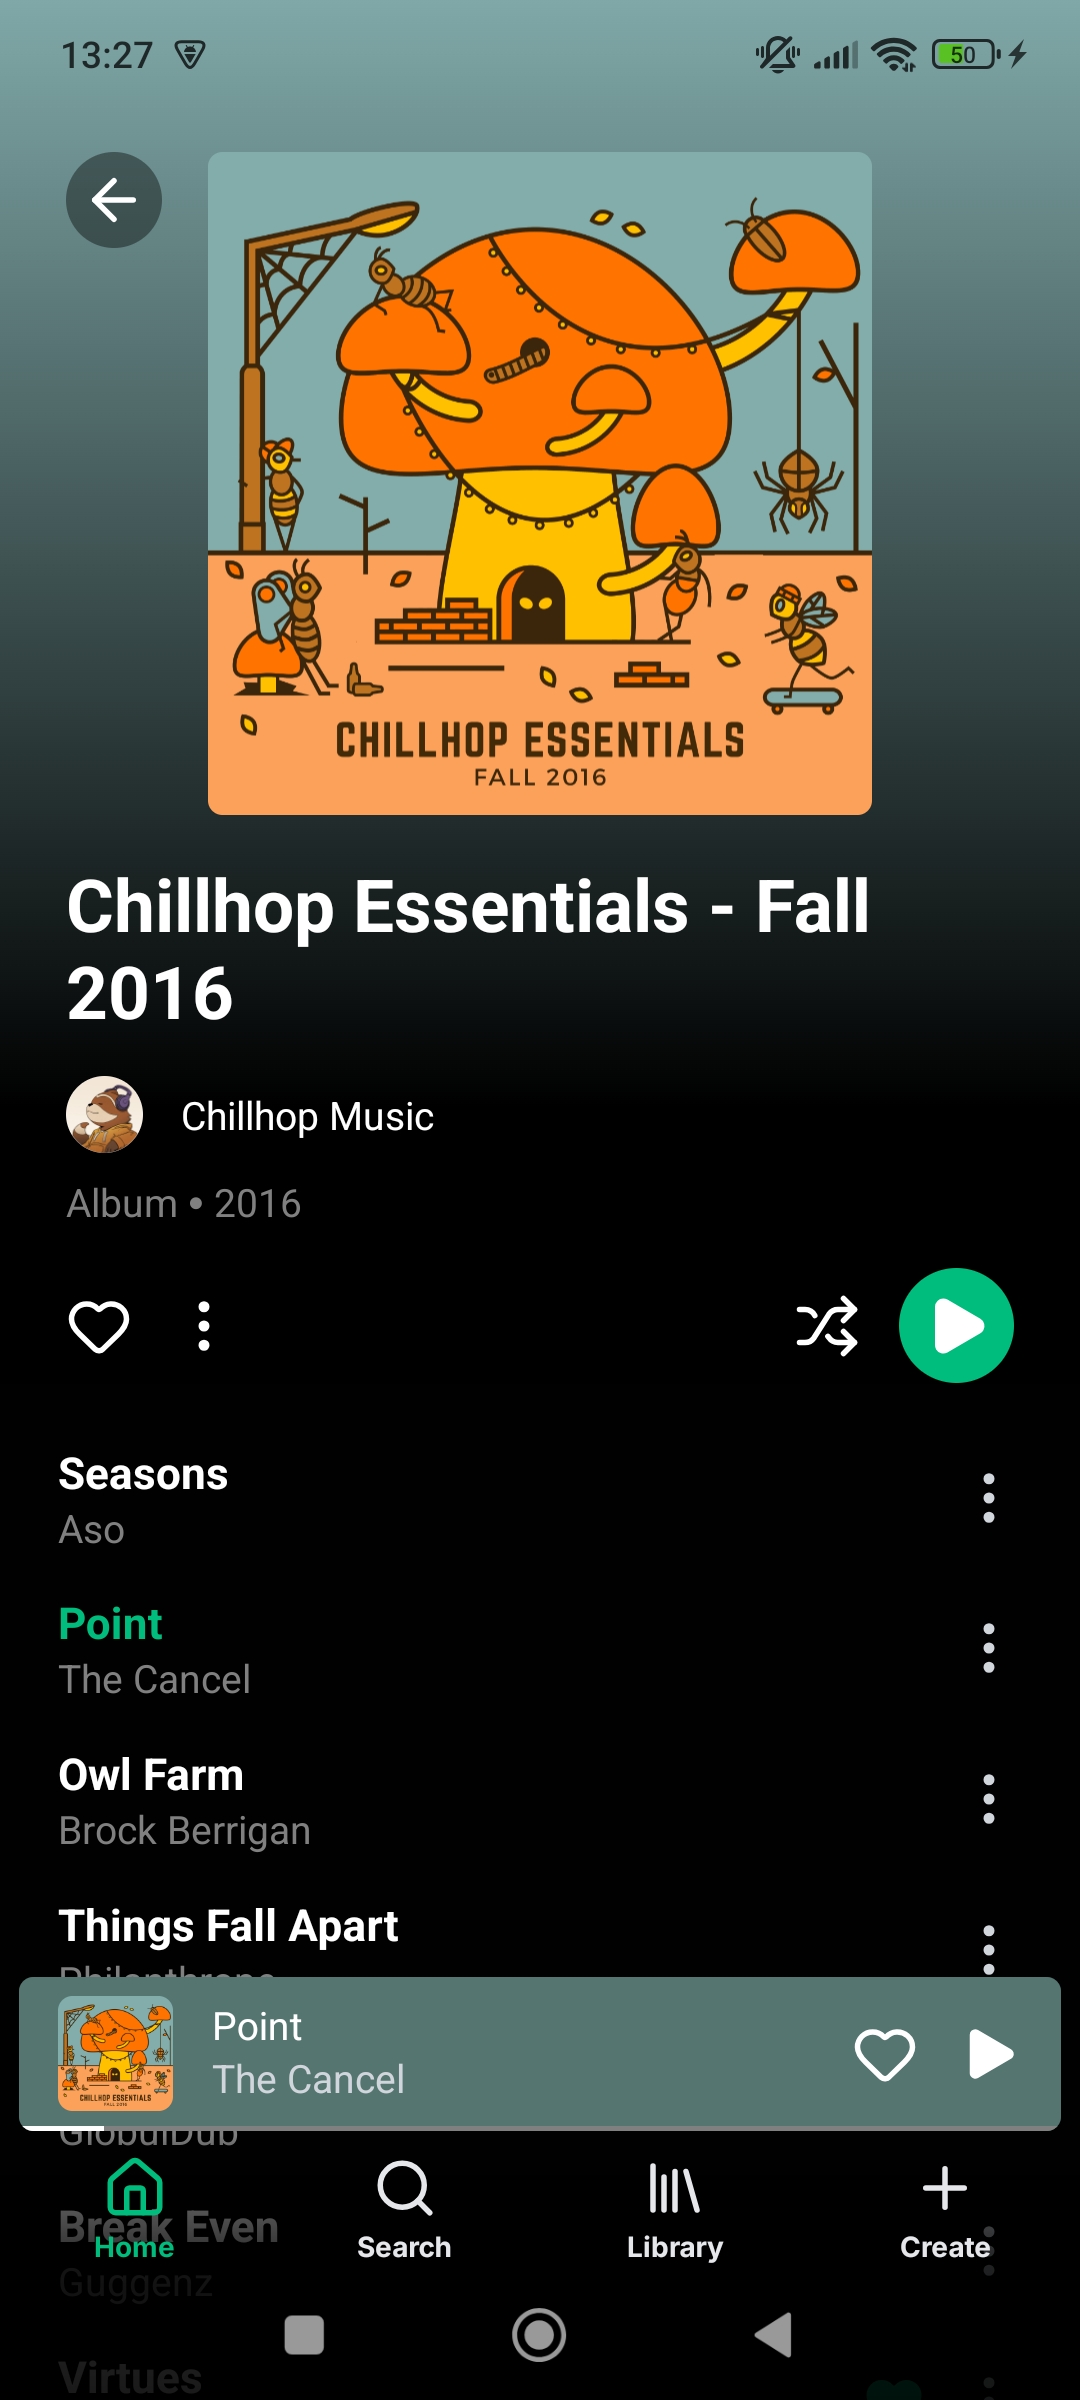
- Album screen with songs and similar albums
- Playlist screen with songs list and editing
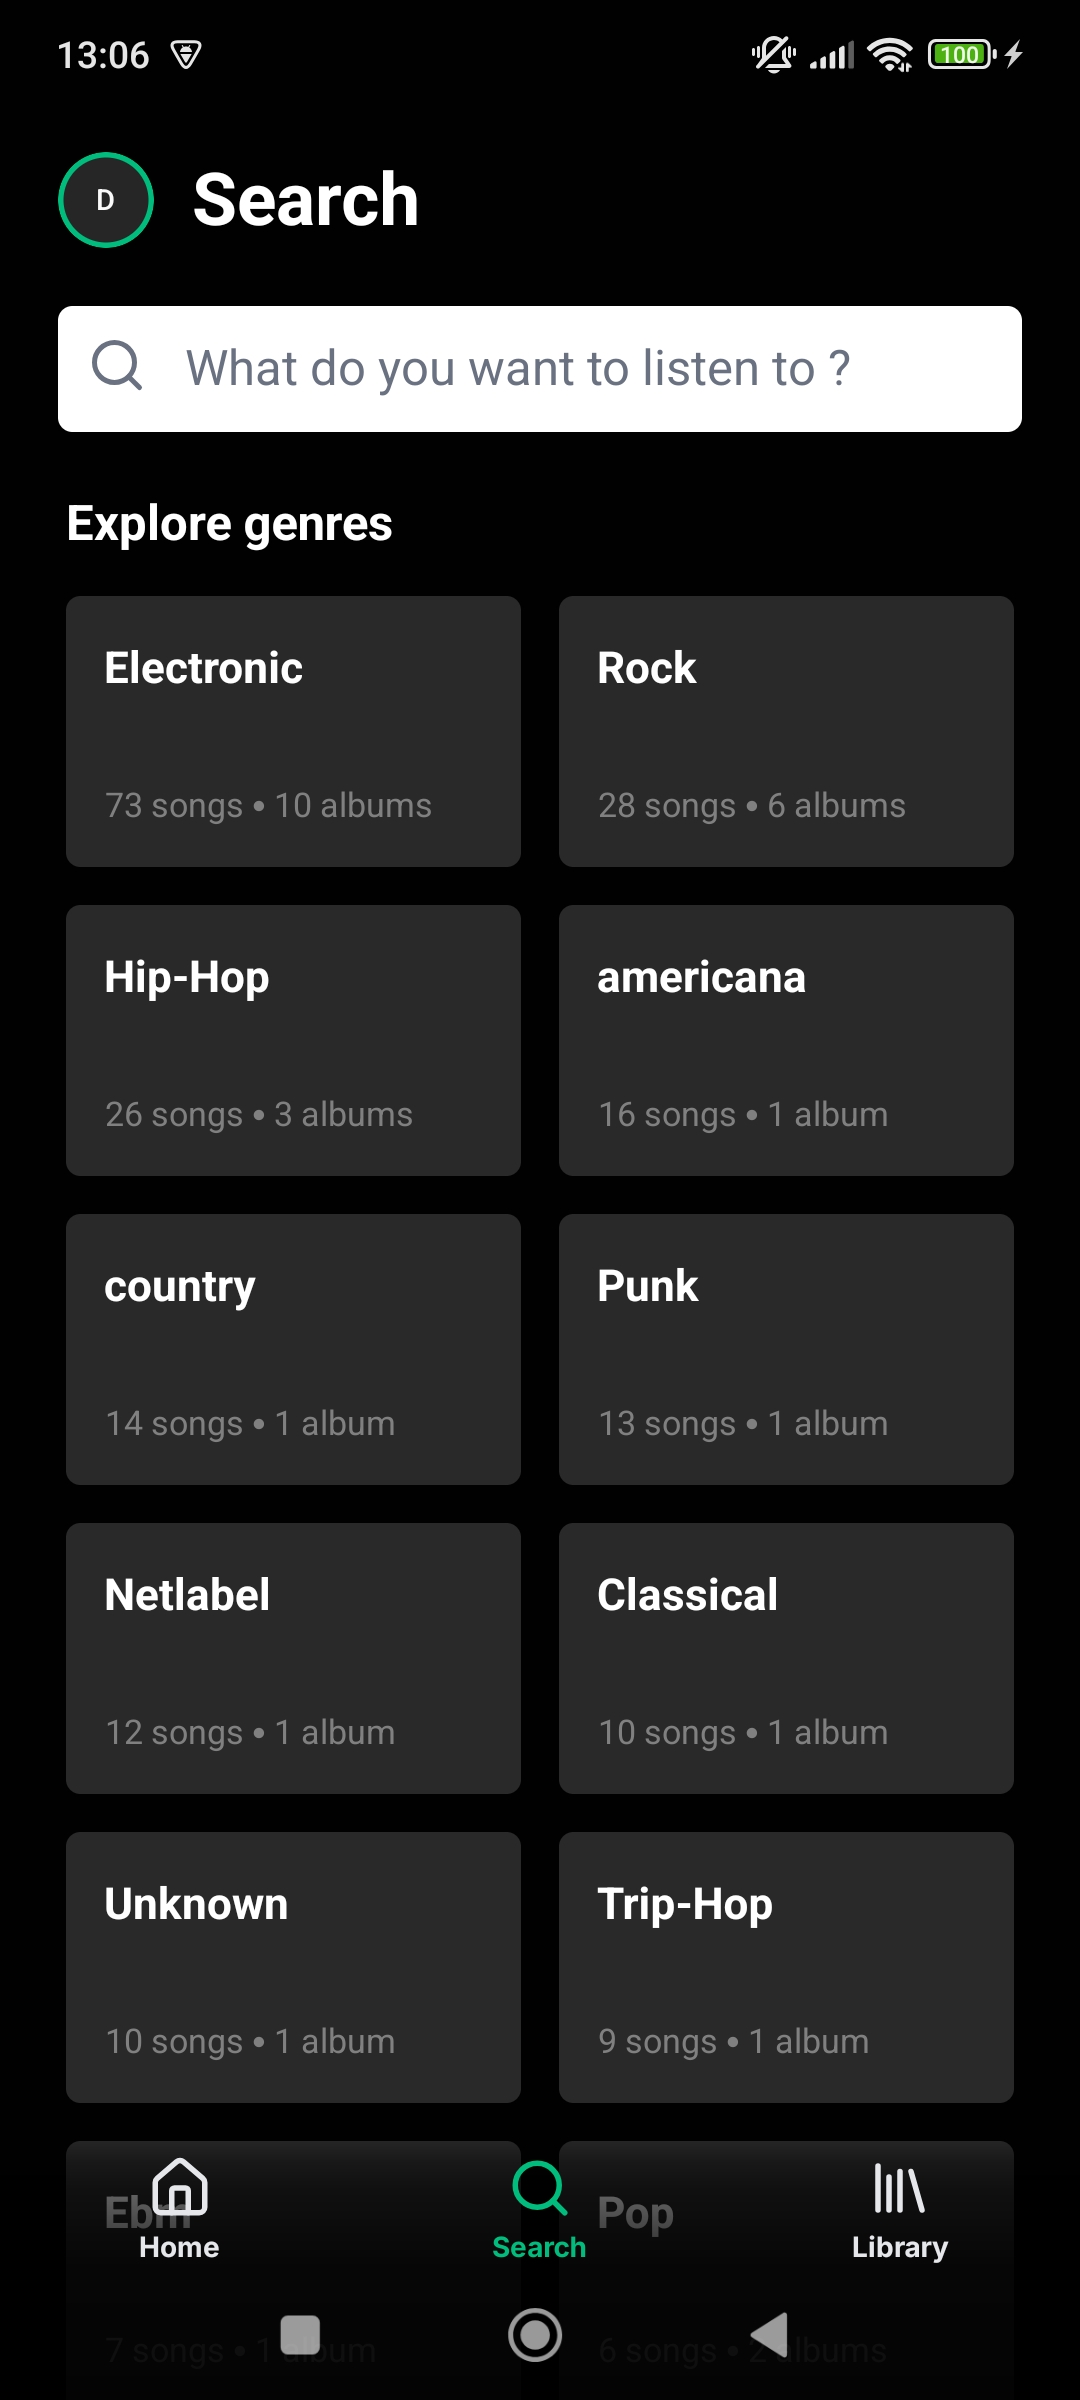
- Search screen with genres, artists, albums, and songs
- Recent searches history
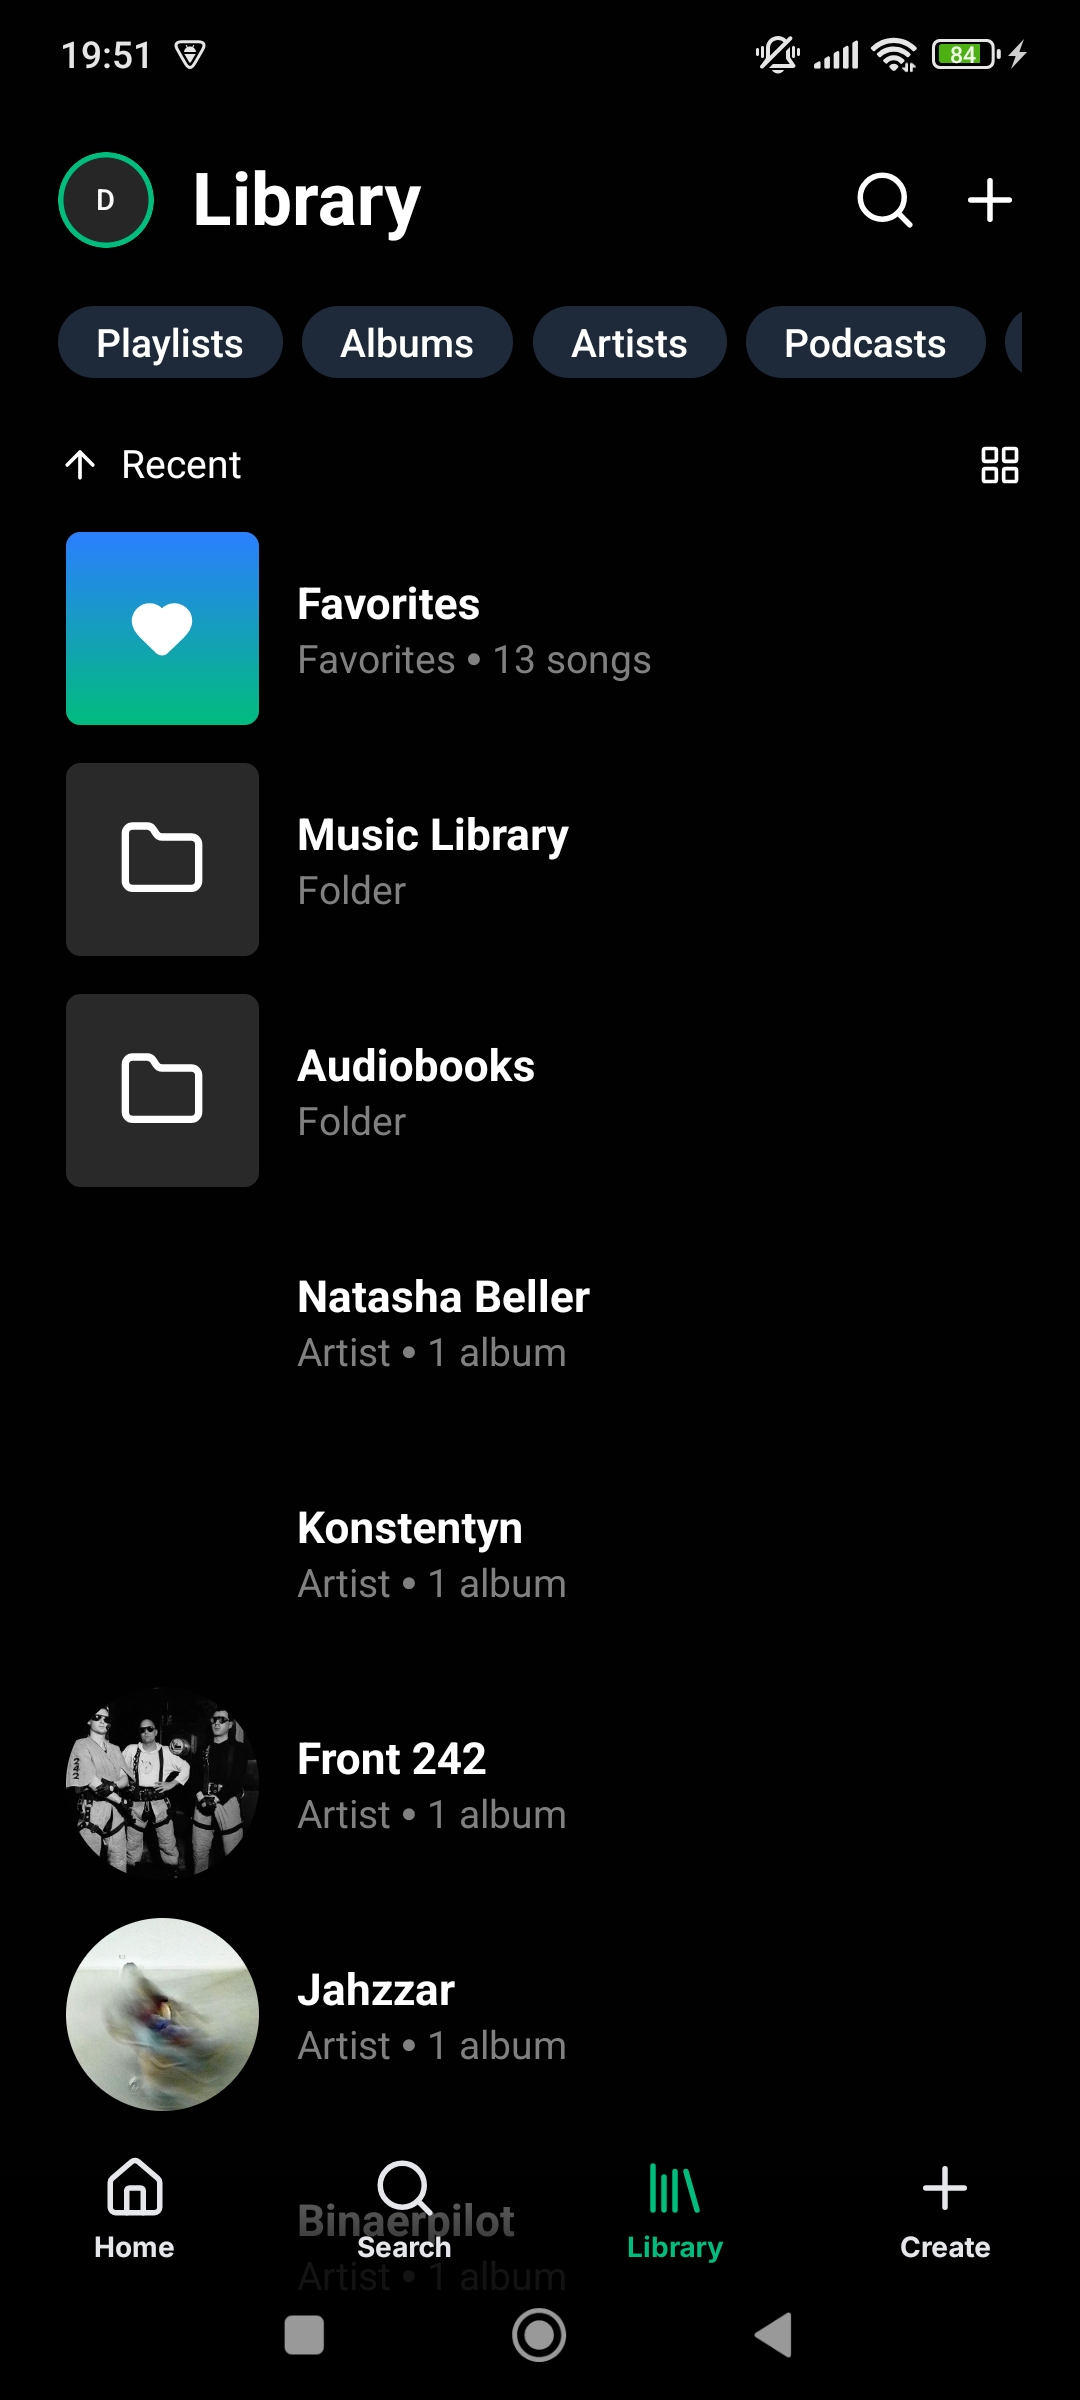
- Library screen with starred playlists, albums, and artists
- Liked songs screen
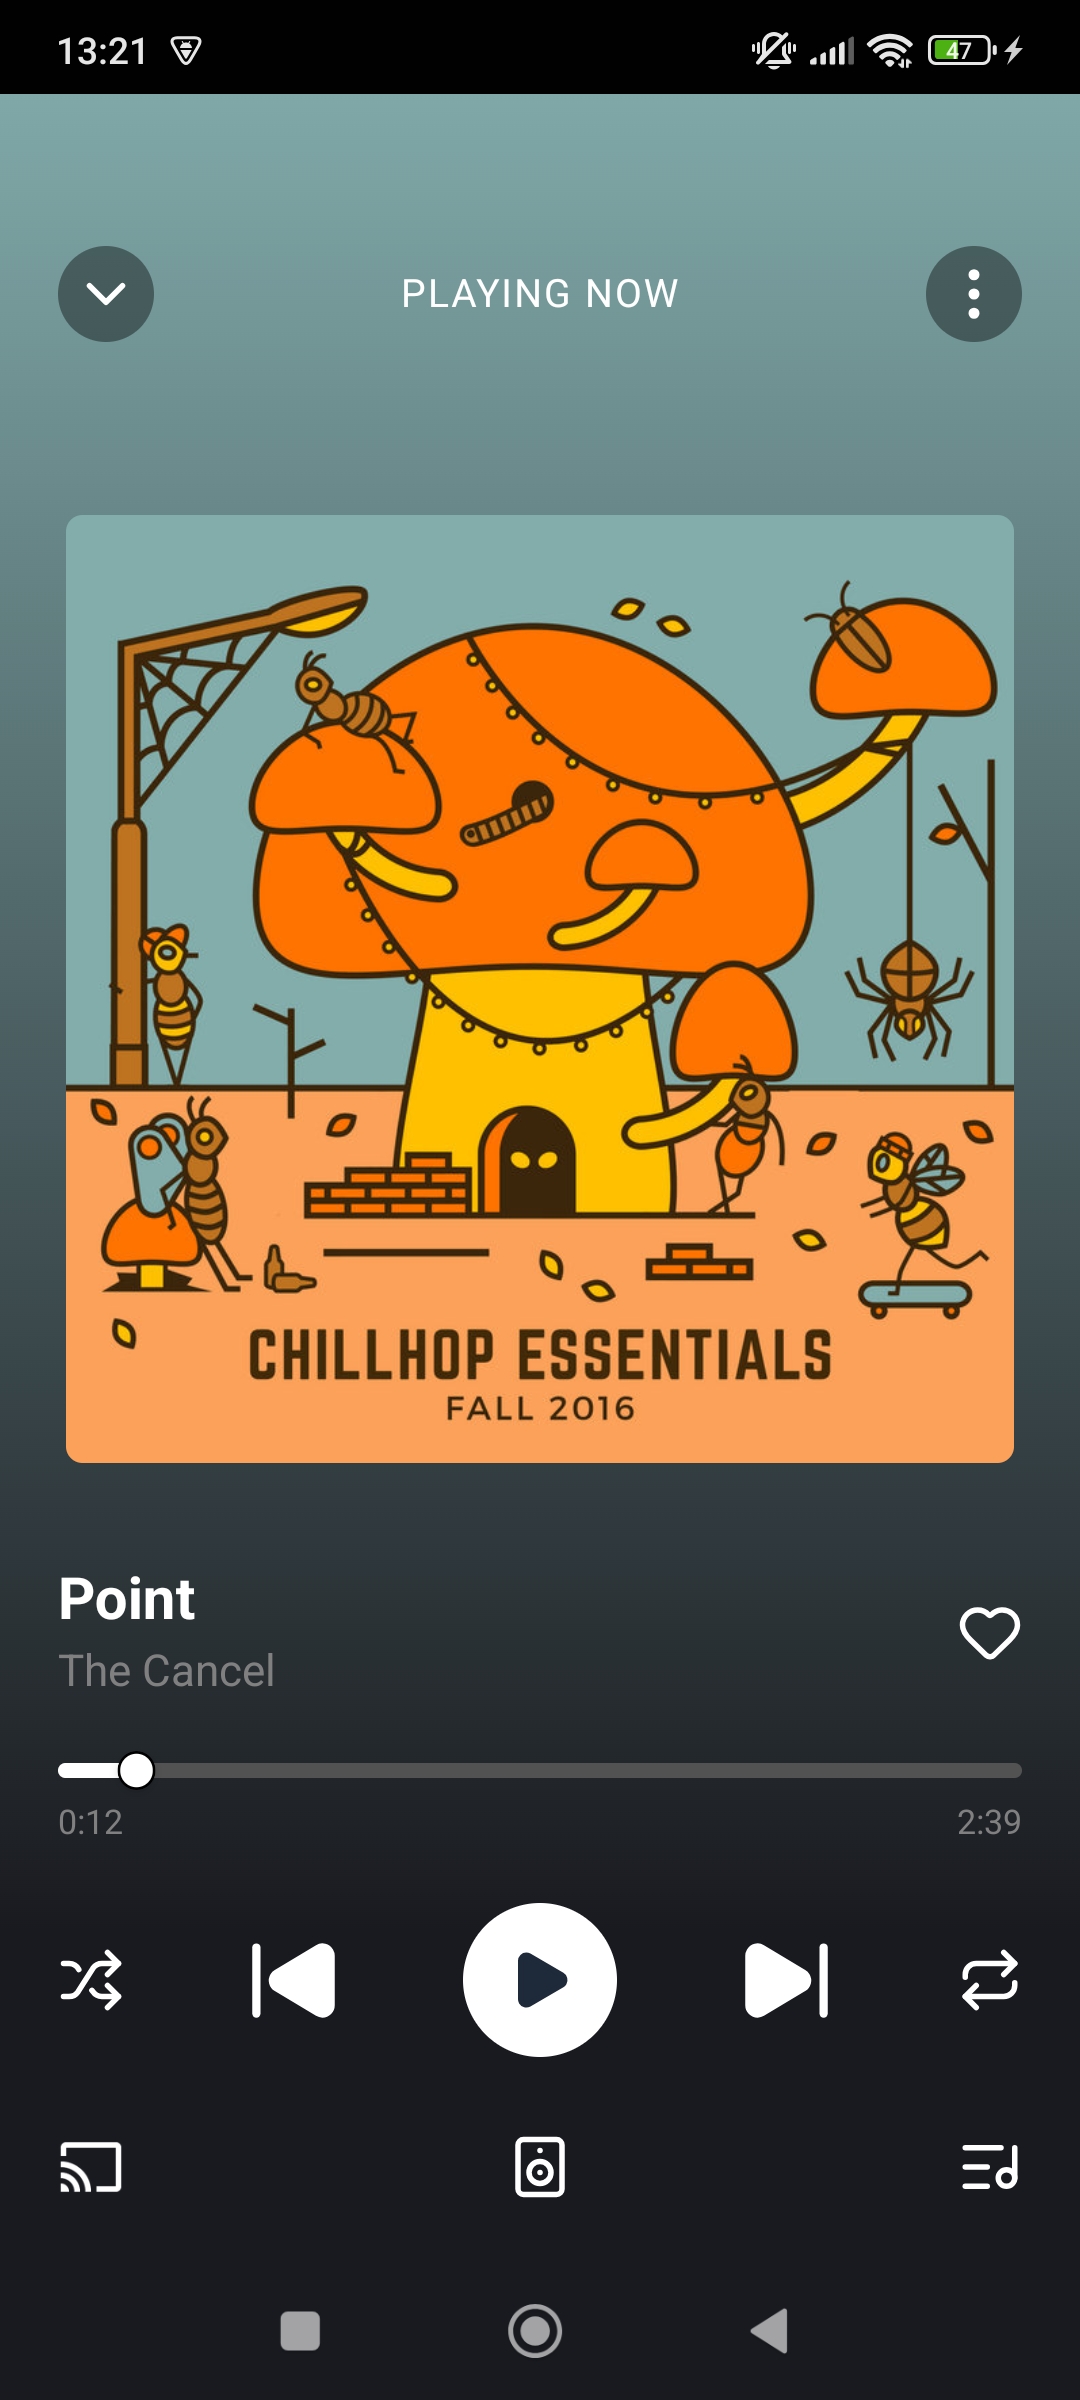
- Player screen with audio controls, navigation gestures, transcoding info and current lyric line
- Floating player for easy access to the currently playing song
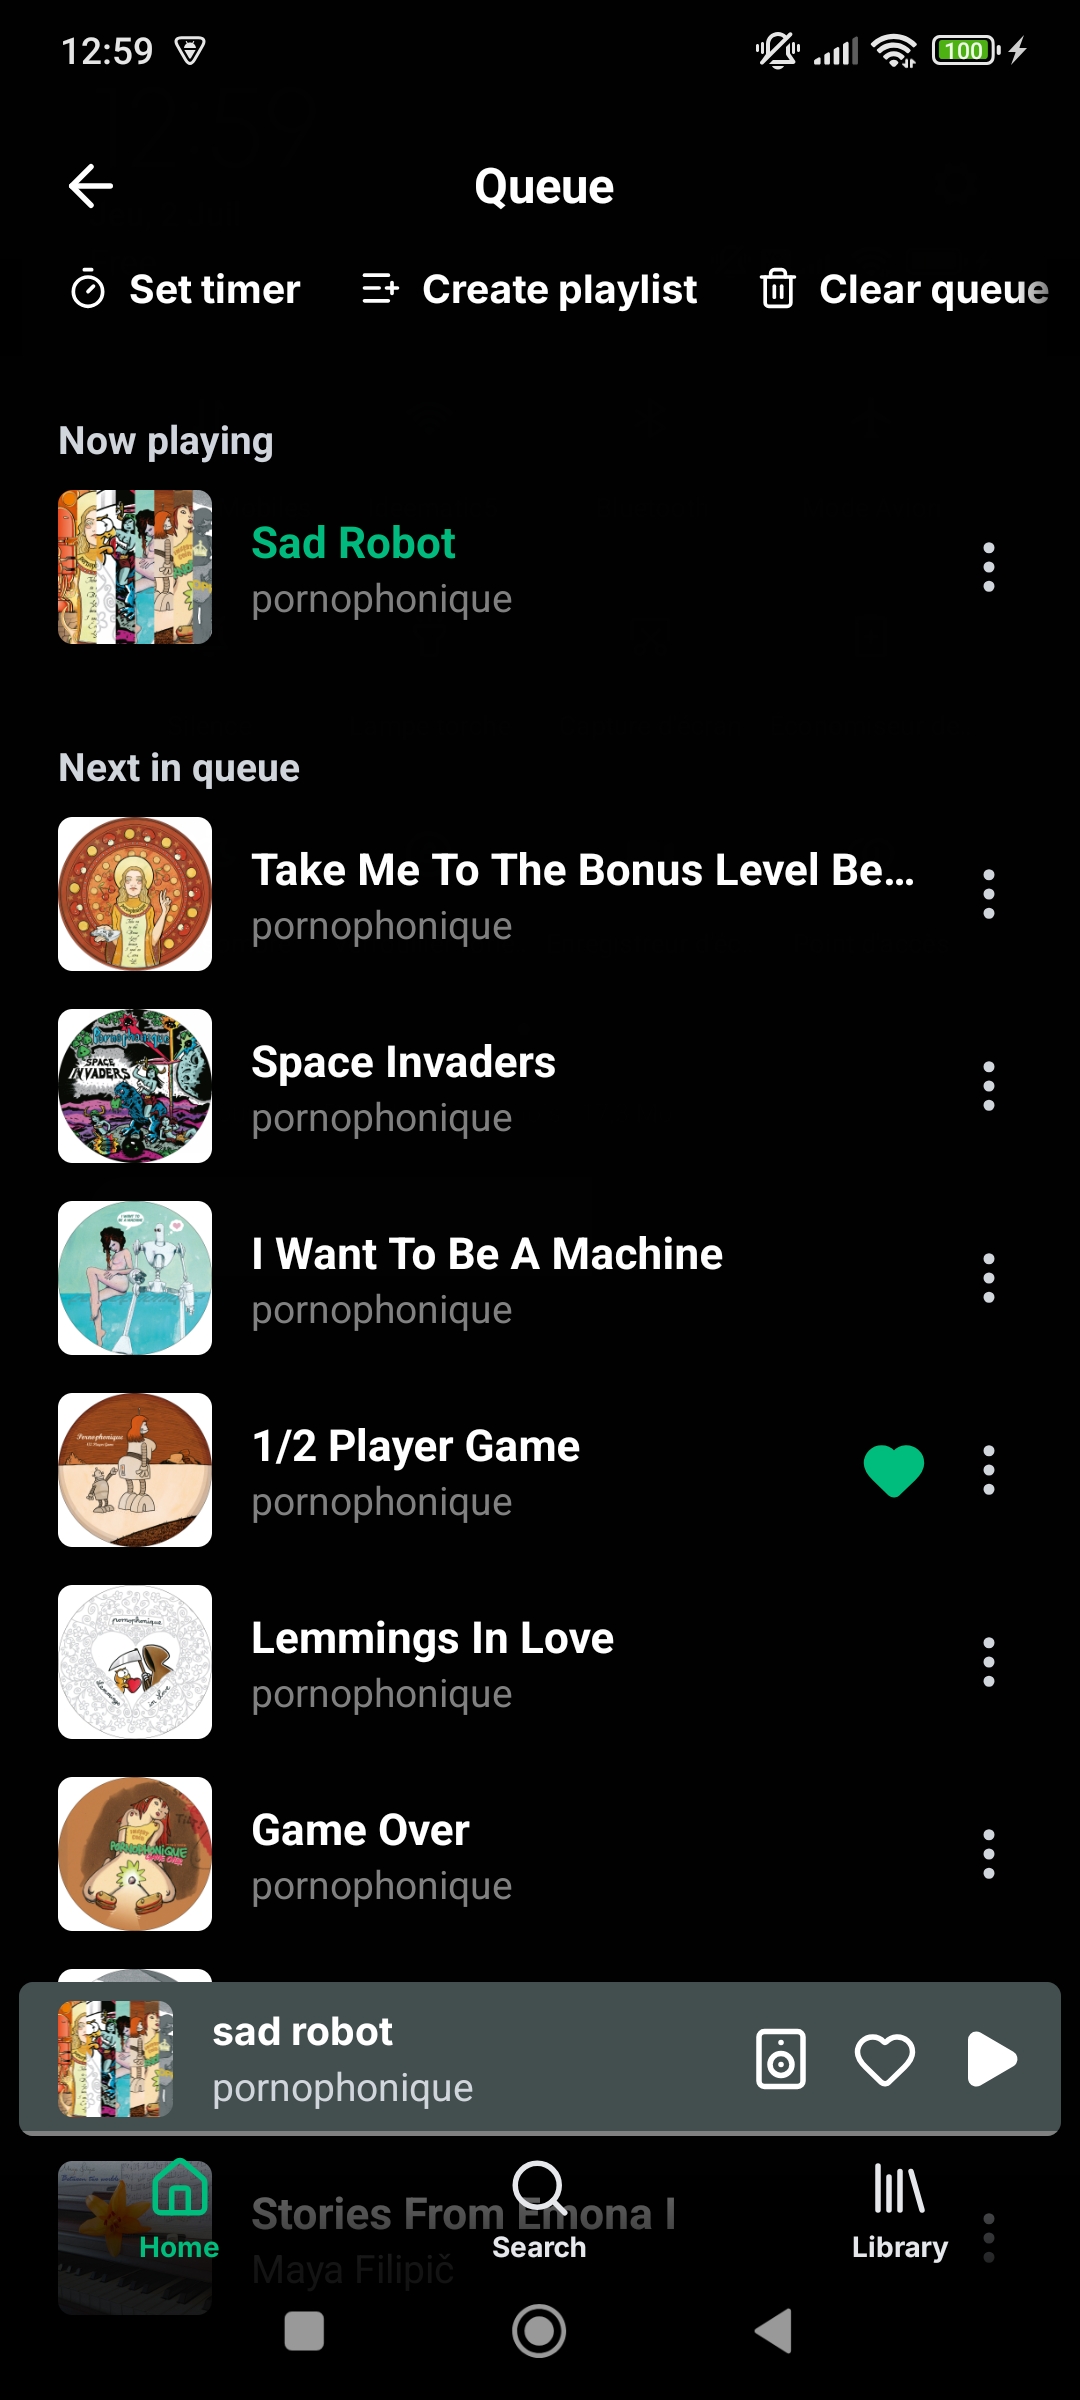
- Queue screen with clearing, editing and reordering support
- Similar songs screen with songs similar to the selected song
- AudioMuse-AI support for AI powered sonic similarity : prompt to playlist, sonic fingerprint playlist, playlist from similar songs, search sounds and lyrics and artist similarity. (Navidrome and Jellyfin only)
- Octo-Fiesta proxy server support. Automatically fetch songs not in your library. (Navidrome and OpenSubsonic only)
- Podcasts screen with search, podcast series and episodes (provided by Taddy API, 500 monthly free requests)
- Add your own favorite podcasts through RSS feeds
- Internet radio stations, listen to radio streams, browse and search (provided by the Radio Browser API, free for non-commercial use)
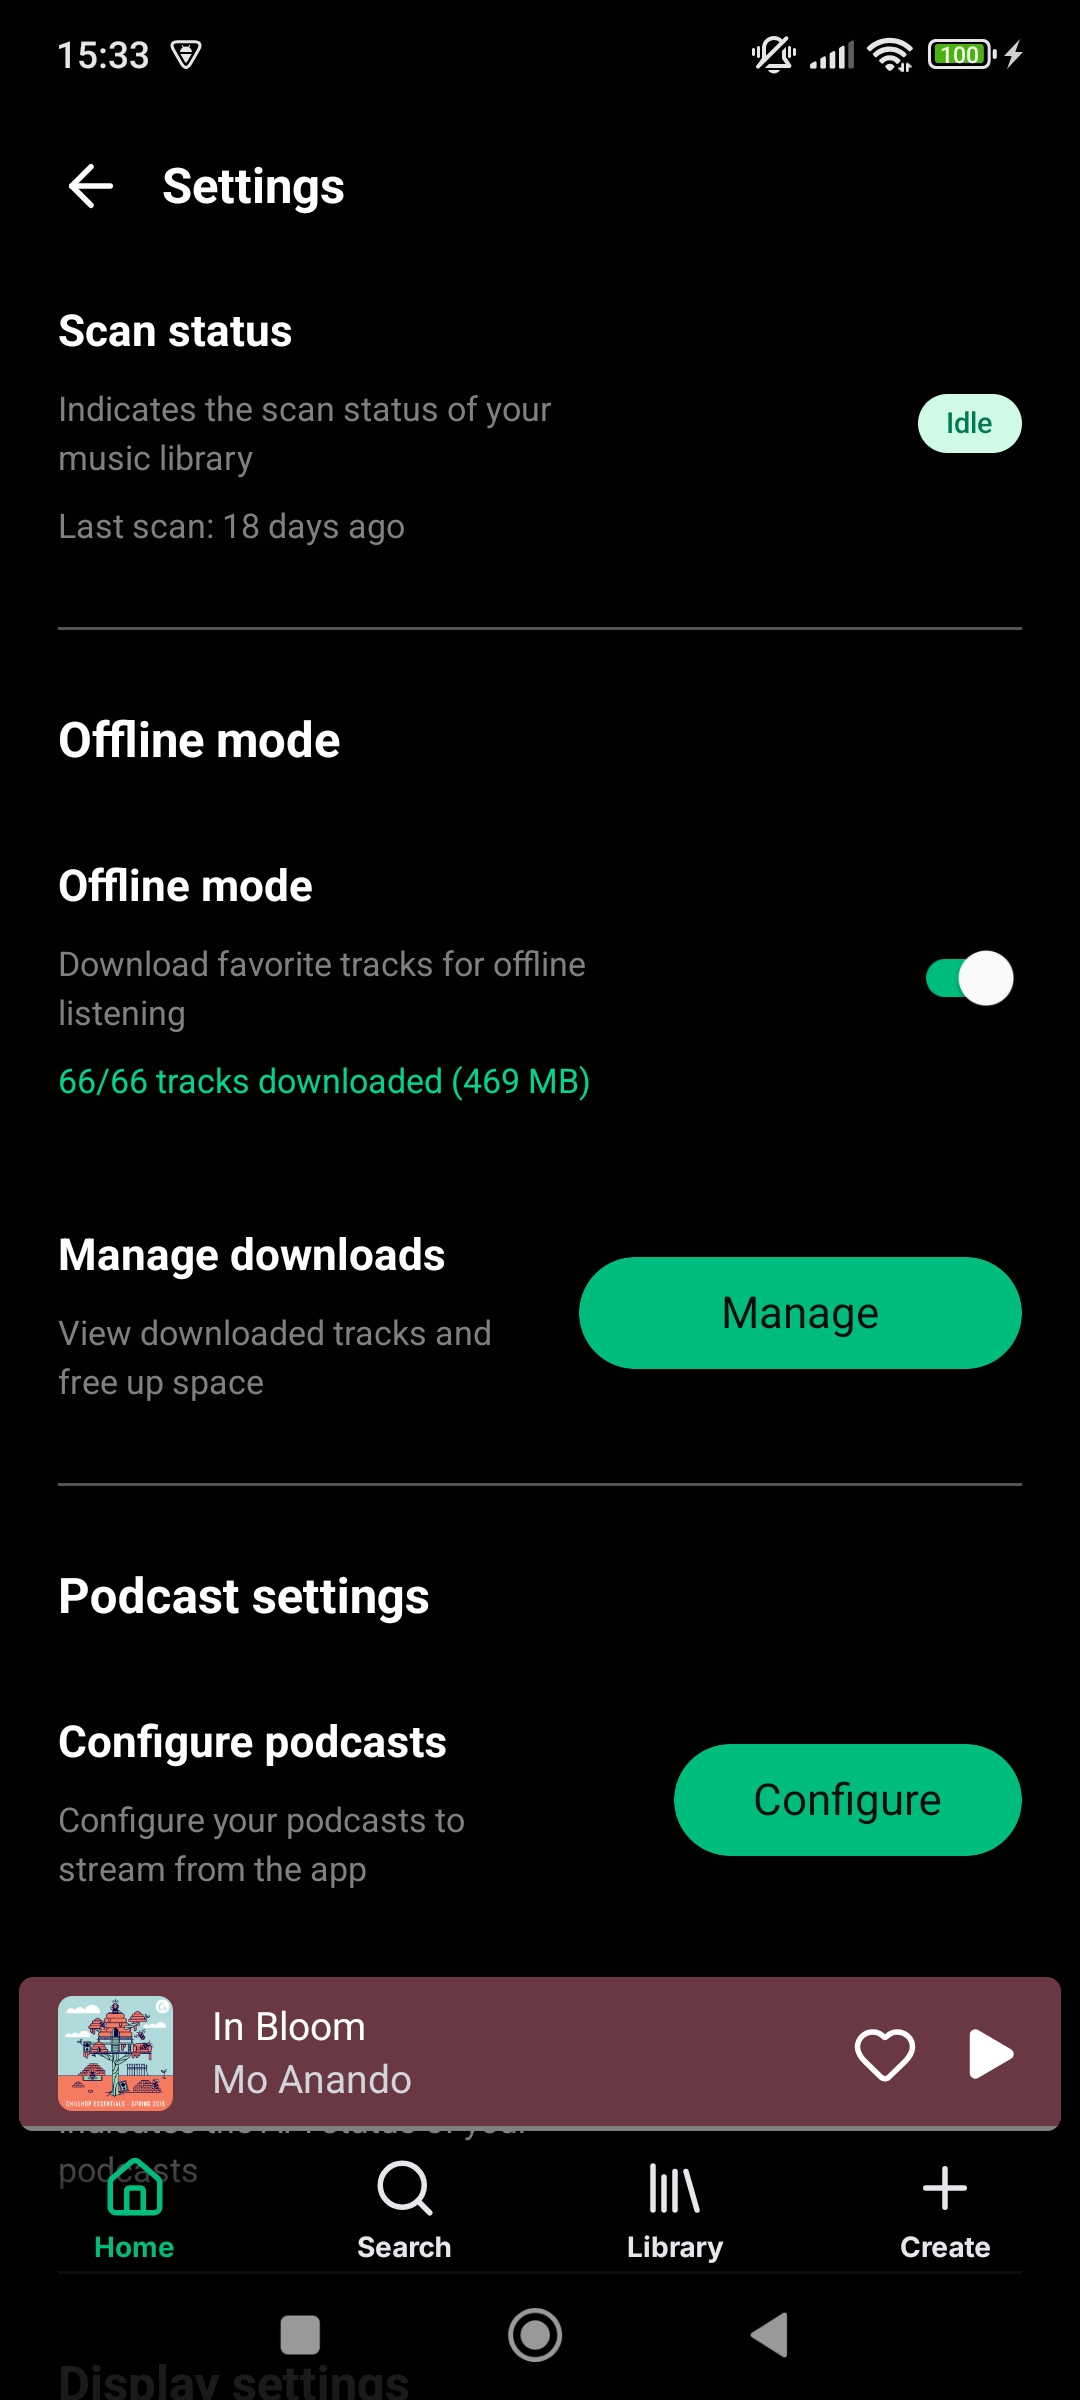
- Offline downloads of albums and playlists and tracks, offline actions, automatic dowload of favorite songs or full library caching, downloads management screen, queued changes screen
- Music folders (libraries) discovery and filtering across home, search, and library
- Activity screen, recently played tracks grouped by source
- Share screen with shareable links (Navidrome only)
- Servers screen with multiple servers support, advanced server settings like fallback URL and mTLS support
- Settings screen with server scanning, offline downloads, playback, content, display, backup and security settings
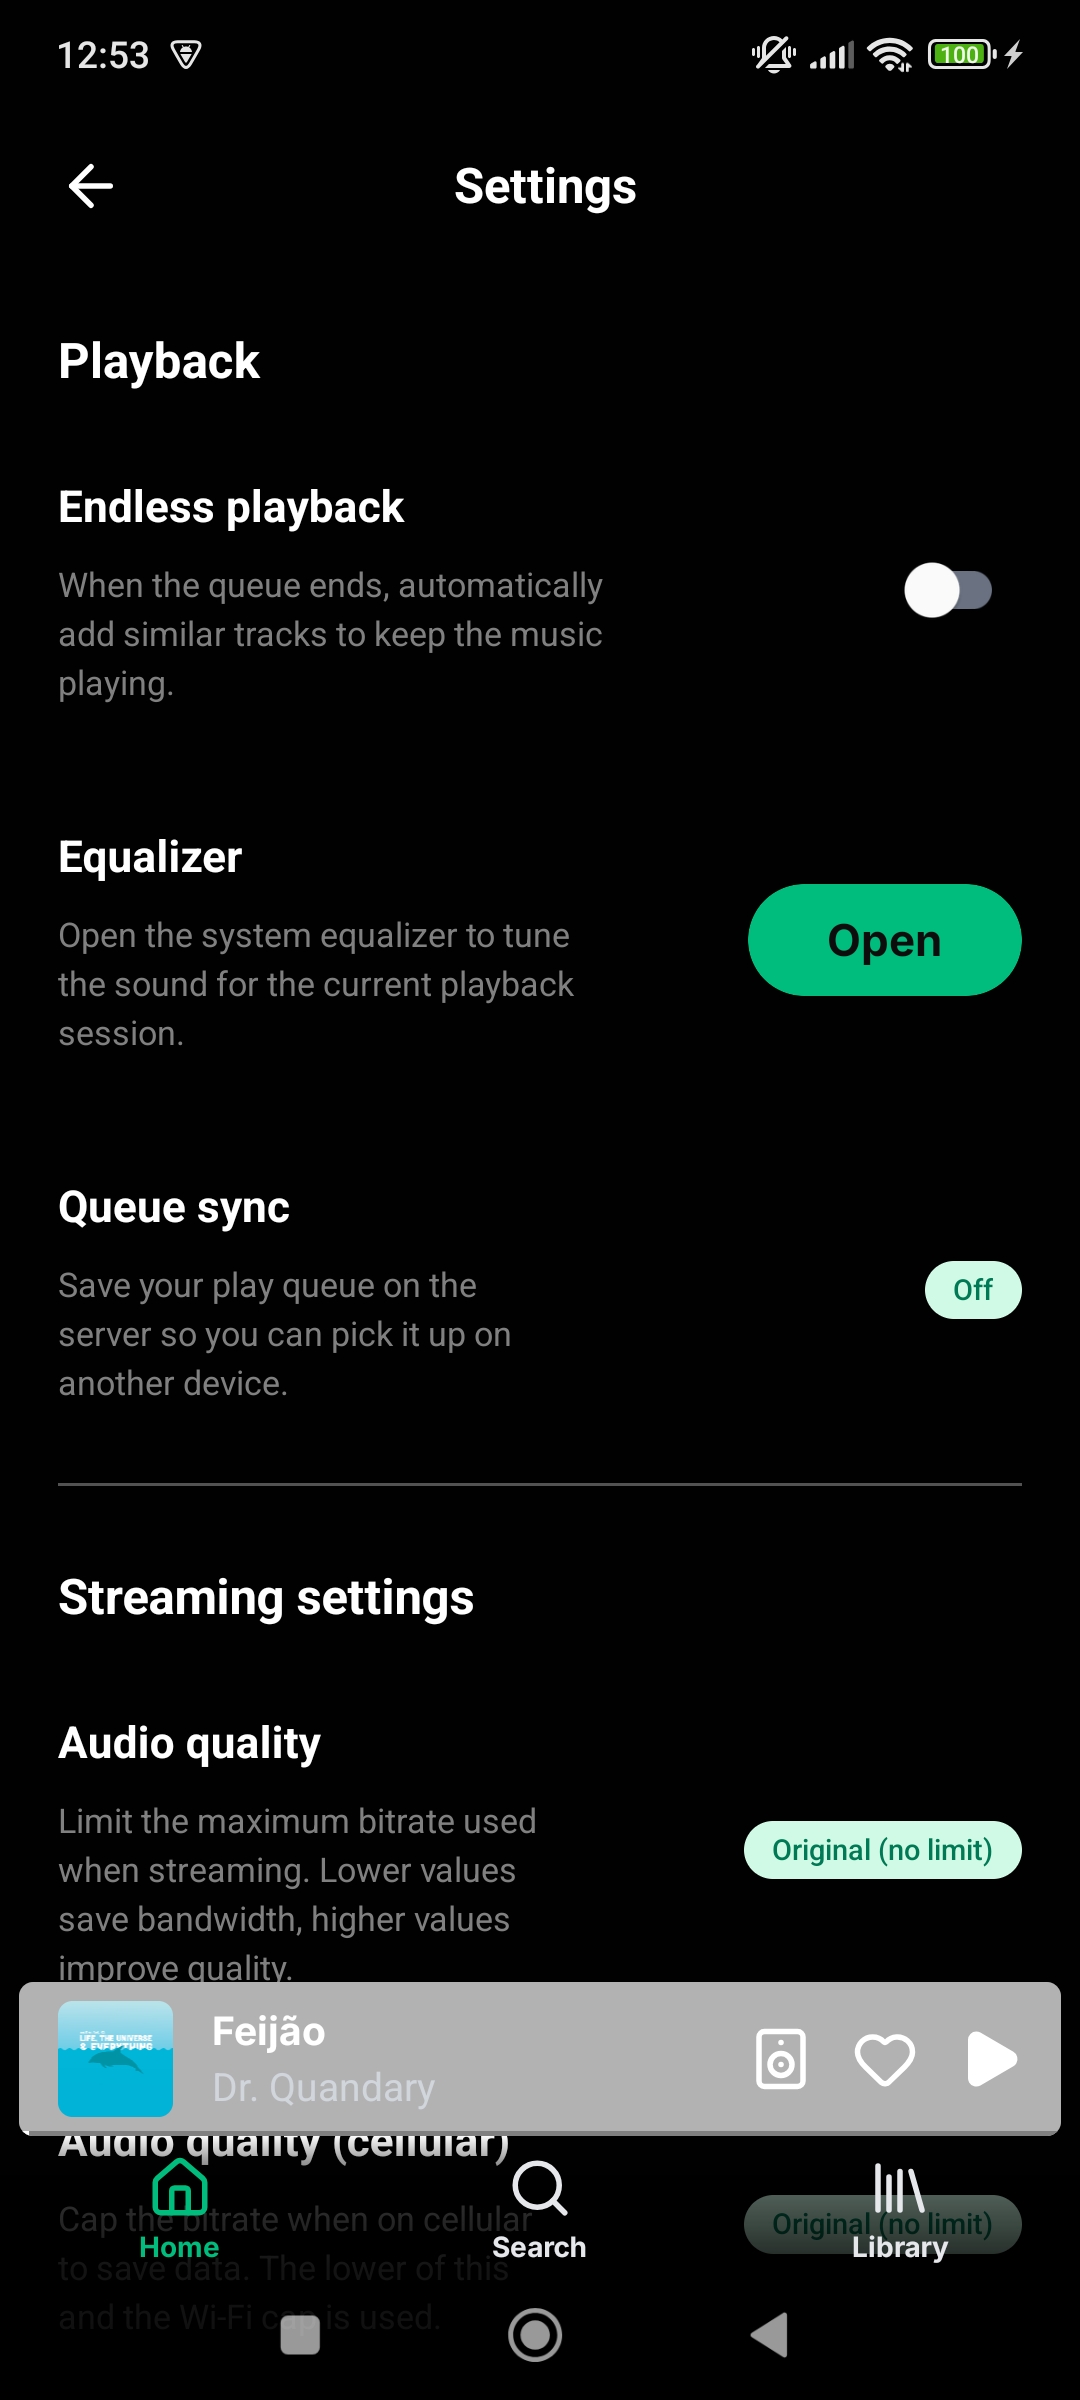
- Audio quality settings, endless playback, replay gain, equalizer and sleep timer
- Profile screen with user playlists
- Edit profile screen with account info and password change
- Synced lyrics support and retrieval through lrclib.net. Navidrome word-by-word karoake style lyrics support with multiple voices, pronunciation and translation support.
- Downloaders section with Lidarr integration. Search and add content to your music library directly from the app. See downloads progress and history.
- MusicBrainz integration for local libraries, tag directly from the app using the MusicBrainz api, write to file or write to app data only option, review workflow, tags to replace selection, auto apply toggle, customizable confidence threshold for auto apply
- Bookmarks support. Easy access to a song or podcast favorite parts
- Customizable swipe gestures for tracks
- Landscape mode support
- Android homescreen widgets
- Android Auto support
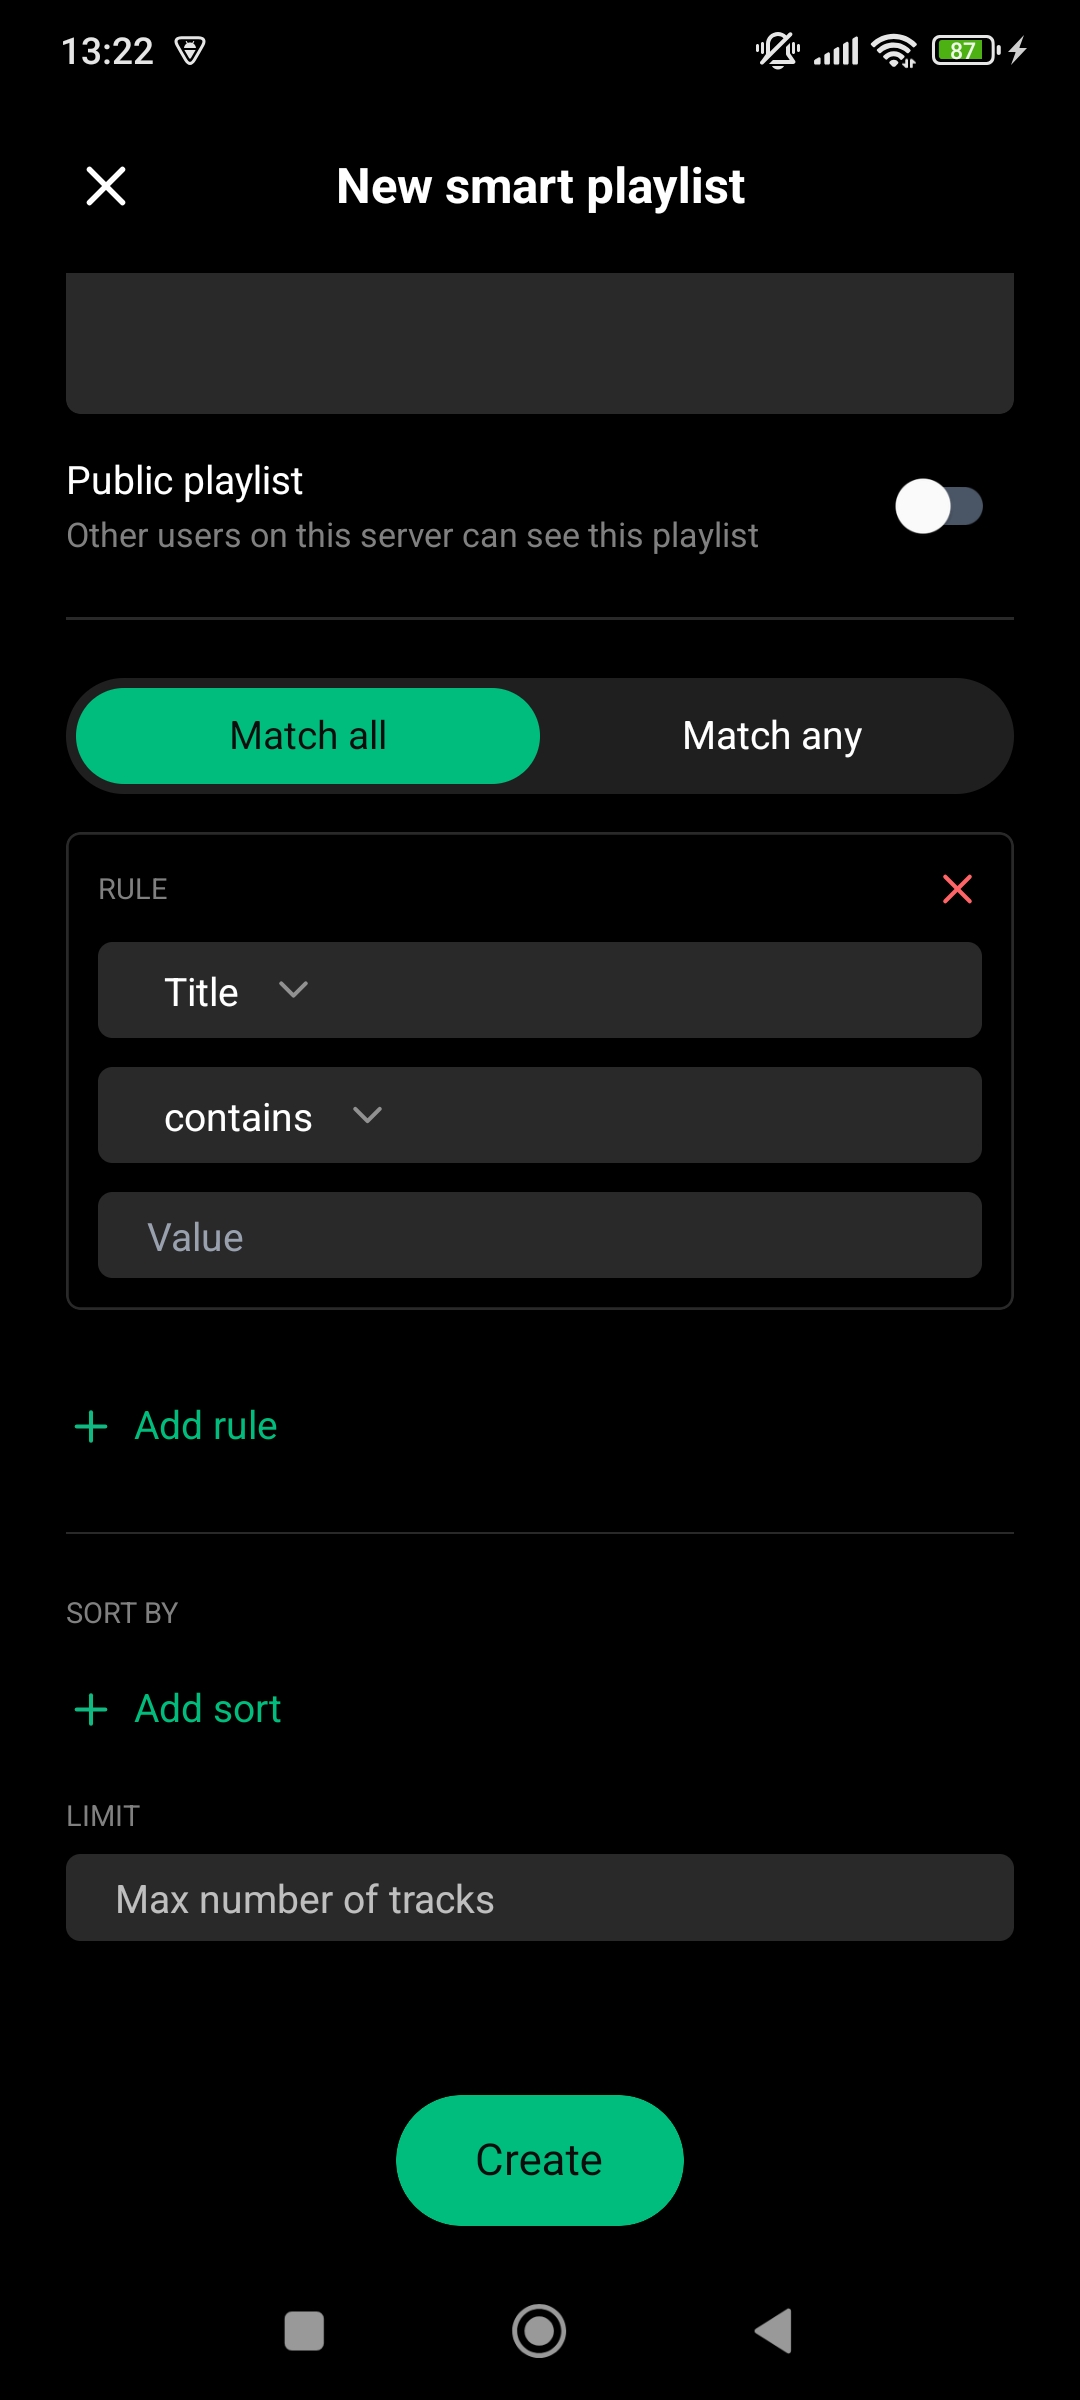
- Navidrome smart playlists support
- Navidrome/Opensubsonic jukebox mode support
- Backup and restore
- Automatic metadata extraction from local files, uses embedded metadata if available or falls back to file system and file name heuristics
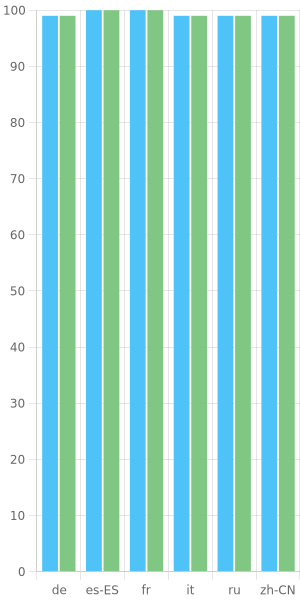
- English, French, German, Italian, Spanish, Chinese and Russian translations
Translations
Wavio is available in multiple languages thanks to the community. If you want to help translate the app, please join the Crowdin project and help us translate the app to your language.
If your language isn't listed, please open an issue to request it.
Currently supported languages: English, French, German, Italian, Spanish, Chinese, Russian.
Development
This repository is a Bun workspace monorepo with two workspaces:
apps/mobile— the Expo mobile appapps/landing— the Astro marketing website
A single bun install at the repo root installs both. Most scripts are exposed at the root as mobile:* / landing:* (which delegate to the relevant workspace), or you can run a workspace's own scripts with bun run --cwd apps/<workspace> <script>.
Prerequisites
- Node v22+ and bun (the repo pins a version in
.bun-version) - JDK 17 (17 is what React Native 0.86 pins source/target compatibility to; a newer JDK generally works too, JDK 11 or older does not)
- Android SDK with platform 36 and the build tools, usually via Android Studio, with
ANDROID_HOME(orANDROID_SDK_ROOT) exported andplatform-toolson yourPATH - An Android device with USB debugging on, or an emulator
You do not need an NDK or CMake: the only C++ in the repo (TagLib, in apps/mobile/modules/audio-tagger) ships as prebuilt .so files committed under jniLibs/, and Gradle only packages them.
You also do not need a Sentry account to develop the app — Sentry is disabled in __DEV__ and only matters for release builds. An Expo account is optional too: it's needed for EAS builds and for the bun run mobile:start/android/ios/web scripts, but not for the bunx expo … workflow below. See Using your own Expo account.
Getting started
- Clone the repository
- Install dependencies with
bun install— from the repo root, not fromapps/mobile. The rootpackage.jsonownspatchedDependencies(patches forexpo-audio,expo-font,expo-navigation-bar,lucide-react-nativeandzod) andbunfig.tomlpinslinker = "hoisted", both of which Metro andjest-expodepend on. Installing inside the workspace skips the patches and produces a layout Metro can't resolve. - Create your env file:
cp apps/mobile/.env.example apps/mobile/.env. This step is required for everyone, maintainers included — it is how the app gets its Subsonic API version and client name during local development (see Environment variables)..envis gitignored. - Build and install the development client on a connected device or emulator:
cd apps/mobile && DARK_MODE=media bunx expo run:android
The first Gradle build takes a while. This produces a debug dev-client APK — the app talks to the Metro bundler on your machine, so JS changes reload instantly and you never need to rebuild for a JS-only change. - On later sessions, just start the bundler:
cd apps/mobile && DARK_MODE=media bunx expo start, then open Wavio on the device.
DARK_MODE=media is read by the Gluestack/Tailwind setup at bundle time — keep it set or the theme resolves incorrectly.
You normally don't need bun run mobile:prebuild: apps/mobile/android/ and apps/mobile/ios/ are committed, so expo run:android builds them as-is. Re-run prebuild only after changing app.json or a config plugin in apps/mobile/plugins/ — and note it regenerates those directories, so review the diff before committing.
Why
bunx expoinstead ofbun run mobile:android? Themobile:start/mobile:android/mobile:ios/mobile:webscripts wrap the Expo CLI ineas env:exec --non-interactive development "…". That wrapper pulls the Taddy podcast credentials out of the EASdevelopmentenvironment, and it resolves against the Expo account and project declared inapps/mobile/app.json(owner: "jmercier"andextra.eas.projectId) — so it fails for anyone who isn't a member of that account, before Metro or Gradle ever start.That wrapper is a convenience, not a requirement: the Subsonic API version and client name come from your local
.enveither way, and podcasts can be configured by hand in Settings. Runningbunx expo …directly gives you a fully working app. If you'd rather have themobile:*scripts work too, see Using your own Expo account.Everything else (
mobile:lint,mobile:test,mobile:typecheck,mobile:prebuild) needs no Expo account.
Using your own Expo account
Optional. Do this if you want the mobile:start / mobile:android / mobile:ios / mobile:web scripts to run, or if you plan to make EAS builds from your fork.
- Create a free Expo account and log in with
eas login(check witheas whoami) - In
apps/mobile/app.json, change"owner"to your Expo username (or remove the field) - From
apps/mobile, runeas initto create a project under your account — it rewritesextra.eas.projectId - Create the
developmentenvironment variables the wrapper expects, if you want podcasts seeded automatically:eas env:create --environment development --name EXPO_PUBLIC_TADDY_PODCASTS_API_USER_ID --value <your-id> eas env:create --environment development --name EXPO_PUBLIC_TADDY_PODCASTS_API_KEY --value <your-key>
Skip this and the scripts still work — they just inject nothing extra.
⚠️ Steps 2 and 3 modify apps/mobile/app.json, which is tracked. Don't commit those changes — revert with git checkout apps/mobile/app.json before opening a PR, or keep them out of your commits with git update-index --skip-worktree apps/mobile/app.json.
Environment variables
apps/mobile/.env.example lists every variable the app reads. For local development only the first two matter:
| Variable | Needed for | If missing |
|---|---|---|
EXPO_PUBLIC_OPENSUBSONIC_API_VERSION |
Sent as v= on every Subsonic/Navidrome request |
Requests go out with v=, and servers reject them with error 10 "Required parameter is missing" — login fails against any OpenSubsonic server |
EXPO_PUBLIC_CLIENT_NAME |
Sent as c= on every Subsonic/Navidrome request |
Same as above |
EXPO_PUBLIC_TADDY_PODCASTS_API_USER_ID / _KEY / _LANGUAGE / _COUNTRY |
Seeds the Taddy podcast config | Podcasts simply need to be configured by hand in Settings; nothing else breaks |
SENTRY_AUTH_TOKEN |
Sourcemap upload during release builds only | Nothing — Sentry is disabled in __DEV__ |
The values in .env.example are the correct defaults for the first two, so copying the file verbatim is enough to get a working app. Every EXPO_PUBLIC_* value is inlined into the JS bundle at build time, so none of them are secret in a shipped build.
How the same variables reach a release build is different, and worth knowing if you touch eas.json:
- The two Subsonic vars are declared inline in every profile's
envblock inapps/mobile/eas.json, soeas buildsupplies them.eas env:execdoes not read those blocks — which is why a local.envis needed for development regardless of your EAS setup. - The Taddy credentials and
SENTRY_AUTH_TOKENlive in EAS server-side environment variables (eas env:create, scoped perdevelopment/preview/production), and eacheas.jsonprofile names theenvironmentit pulls from.
Keep secrets out of .env — a local eas build --local reads both .env and EAS, so anything stray in .env ends up in a release bundle.
Android Auto
In order to test Android Auto, you need to :
- Install the Android Auto Desktop Head Unit Emulator via Android Studio in SDK Manager > SDK Tools > Android Auto Desktop Head Unit Emulator.
- Make sure to enable the developer mode in your devices Android Auto settings by tapping the version number 10 times.
- Run the head unit server in the Android Auto settings
- On your development machine, run
adb forward tcp:5277 tcp:5277and start the emulator with~/Library/Android/sdk/extras/google/auto/desktop-head-unit - Enable
Unknown sourcesin Android Auto's developer settings (⋮ menu > Developer settings > Unknown sources) if the app doesn't show up in the emulator - You can check the logs related to the android auto service with
adb logcat -c && adb logcat ReactNativeJS:V CarAuto:V "*:S"
iOS
Mostly functional, no carplay or widgets support yet. No plan yet to publish to the App Store.
Troubleshooting
- Black screen after the bundle loads (dev menu bubble visible) — the JS bundle reached the device but the root layout rendered nothing. Check
adb logcat -c && adb logcat ReactNativeJS:V "*:S"for the real error, and watch the Metro terminal. A stale Metro cache is a common cause: restart withbunx expo start --clear. Shaking the device opens the dev menu, from which you can reload. - Login always fails / the server rejects every request — you're missing
apps/mobile/.env, sov=andc=go out empty on every Subsonic request (see Environment variables). eas env:execerrors, or "entity not authorized" — amobile:start/mobile:android/mobile:ios/mobile:webscript is resolving against an Expo project you're not a member of. Either use thebunx expo …commands from Getting started, or follow Using your own Expo account.- Odd Metro resolution errors, or patched packages misbehaving — you probably ran
bun installinsideapps/mobile. Deleteapps/mobile/node_modulesand runbun installat the repo root. - Gradle fails on an unsupported Java version — check
java -versionresolves to JDK 17+ and thatJAVA_HOMEpoints at it. - Anything else —
bun run mobile:doctorchecks the project for common Expo issues.
Marketing website (apps/landing)
The landing page is a static Astro site (Tailwind v4, en/fr i18n), independent from the mobile app.
- Install dependencies with
bun install(from the repo root, shared with the app) - Start the local dev server with
bun run landing:dev(defaults tolocalhost:4321) - Build the production site with
bun run landing:build(output toapps/landing/dist/) - Preview the built site with
bun run landing:preview
For Astro CLI commands, run them inside the workspace: cd apps/landing && bun run astro ....
E2E tests
The mobile app has E2E tests that are powered by Maestro.
To run the tests, you need to have the Maestro CLI installed and need access to a iOS or Android simulator.
The test scenarios are defined in apps/mobile/maestro/flows. Each flow is a sequence of steps that are executed in order.
To run the tests, run maestro test apps/mobile/maestro/ from the repo root.
You can find more information about the test scenarios in the E2E tests README.
Useful commands
Run from the repo root:
bun run mobile:start: Start the app in development mode (⚠️ needs an Expo account)bun run mobile:android: Start the app in development mode on Android (⚠️ needs an Expo account)bun run mobile:ios: Start the app in development mode on iOS (⚠️ needs an Expo account)bun run mobile:web: Start the app in development mode with web support (⚠️ needs an Expo account)bun run mobile:prebuild: Prebuild the native development appbun run mobile:typecheck: Type-check the appbun run mobile:lint: Lint the codebasebun run mobile:lint:fix: Fix linting issuesbun run mobile:test: Run the test suitebun run landing:dev: Start the marketing site dev serverbun run landing:build: Build the marketing sitebun run landing:preview: Preview the built marketing sitebun run doctor(insideapps/mobile): Check the app for any potential issueseas build --profile preview --platform android(insideapps/mobile): Build the app for Android with the desired profile and platform (add--localto build locally)eas whoami: Check the current usereas login: Login to Expo
⚠️ The four marked scripts are wrapped in eas env:exec against the Expo project declared in apps/mobile/app.json. Either point that project at your own account (Using your own Expo account), or skip them entirely and run cd apps/mobile && DARK_MODE=media bunx expo run:android / bunx expo start. See Getting started.
Useful links
- OpenSubsonic API documentation
- Navidrome documentation
- Jellyfin documentation
- Expo documentation
- React Native documentation
Gallery
more like this
DroidKlipp
Install and monitor KlipperScreen on Android via DroidKlipp APK, USB ADB forwarding, and WiFi fallback