ML-MCU
Code for IoT Journal paper 'ML-MCU: A Framework to Train ML Classifiers on MCU-based IoT Edge Devices'
C★ 51
Arduino Sketch and a Web Bluetooth API for loading models and running inference on the Nano Sense 33 BLE device.
 googlecreativelab
git clone https://github.com/googlecreativelab/tf4micro-motion-kit.gitgooglecreativelab/tf4micro-motion-kitThis repo contains the Arduino Sketch and a Web Bluetooth API for loading models and running inference on the device.
Flashing: Using the Arduino Nano Sense 33 BLE
Install the Arduino IDE
Setup Arduino board:
Plug in the board
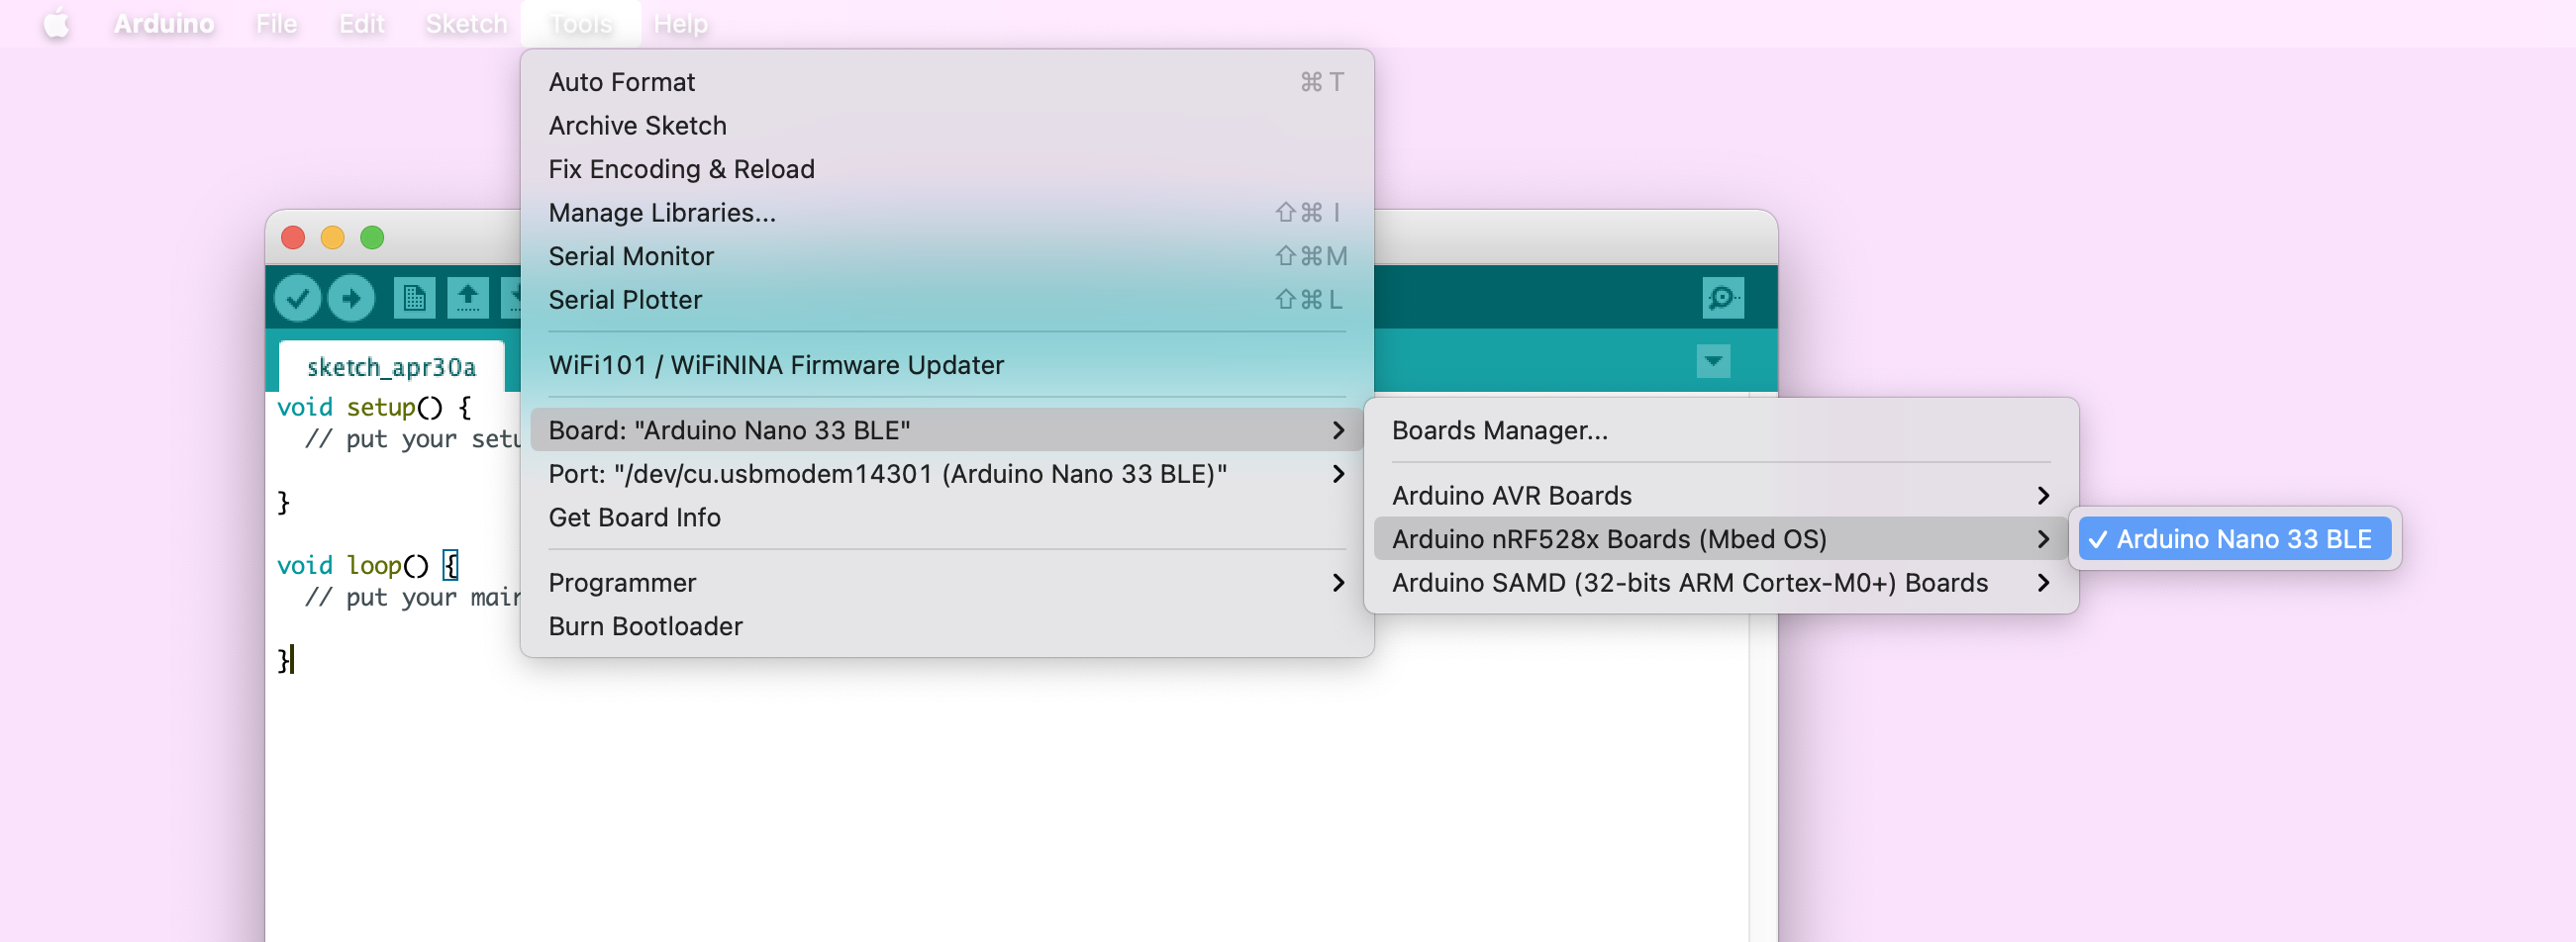
Install the board by navigating to Tools > Board > Boards Manager and search for Arduino Mbed OS Nano Boards. Full instructions (including drivers required for Windows) here.
FAQ for connection problems can be found here.
After the board is installed, select it under to Tools > Board > Arduino Mbed OS Nano Boards > Arduino Nano 33 BLE
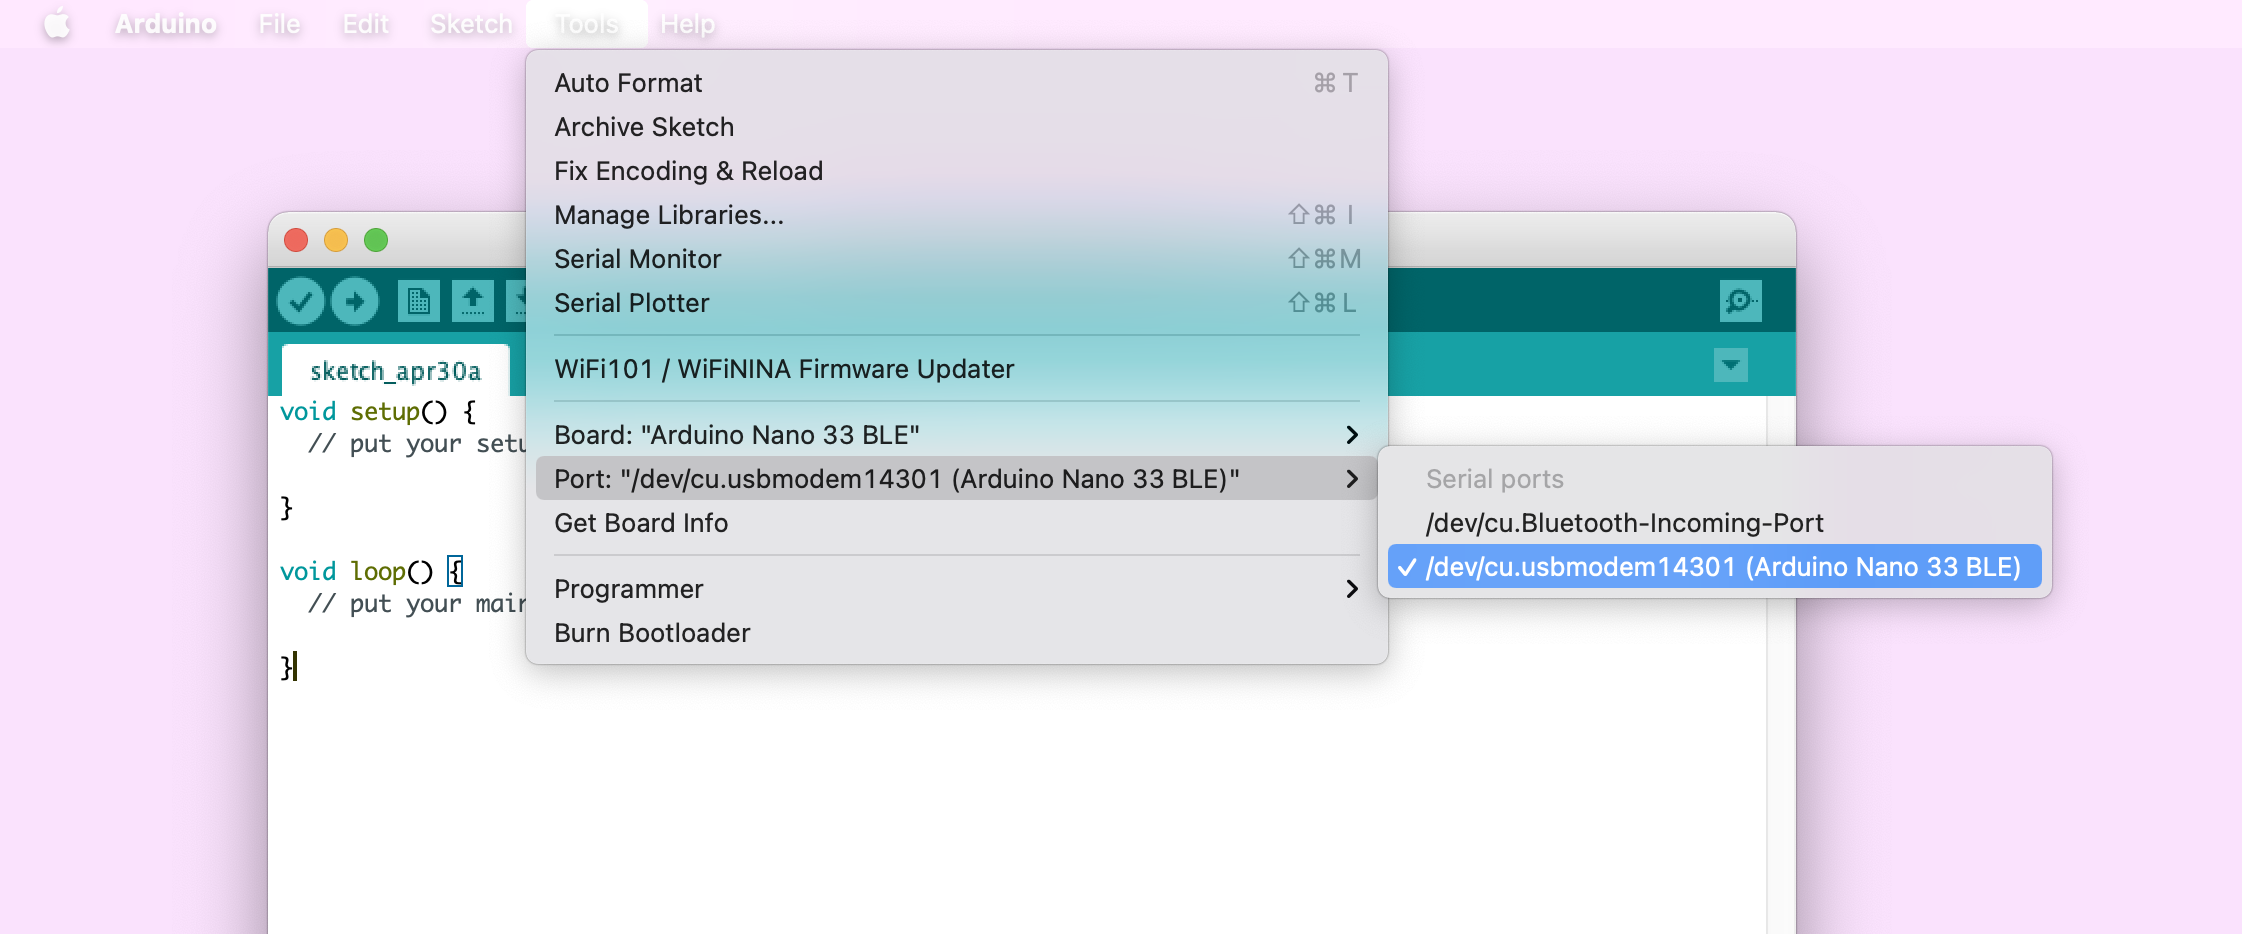
Select the port by navigating to Tools -> Port -> dev/cu... (Arduino Nano 33 BLE)
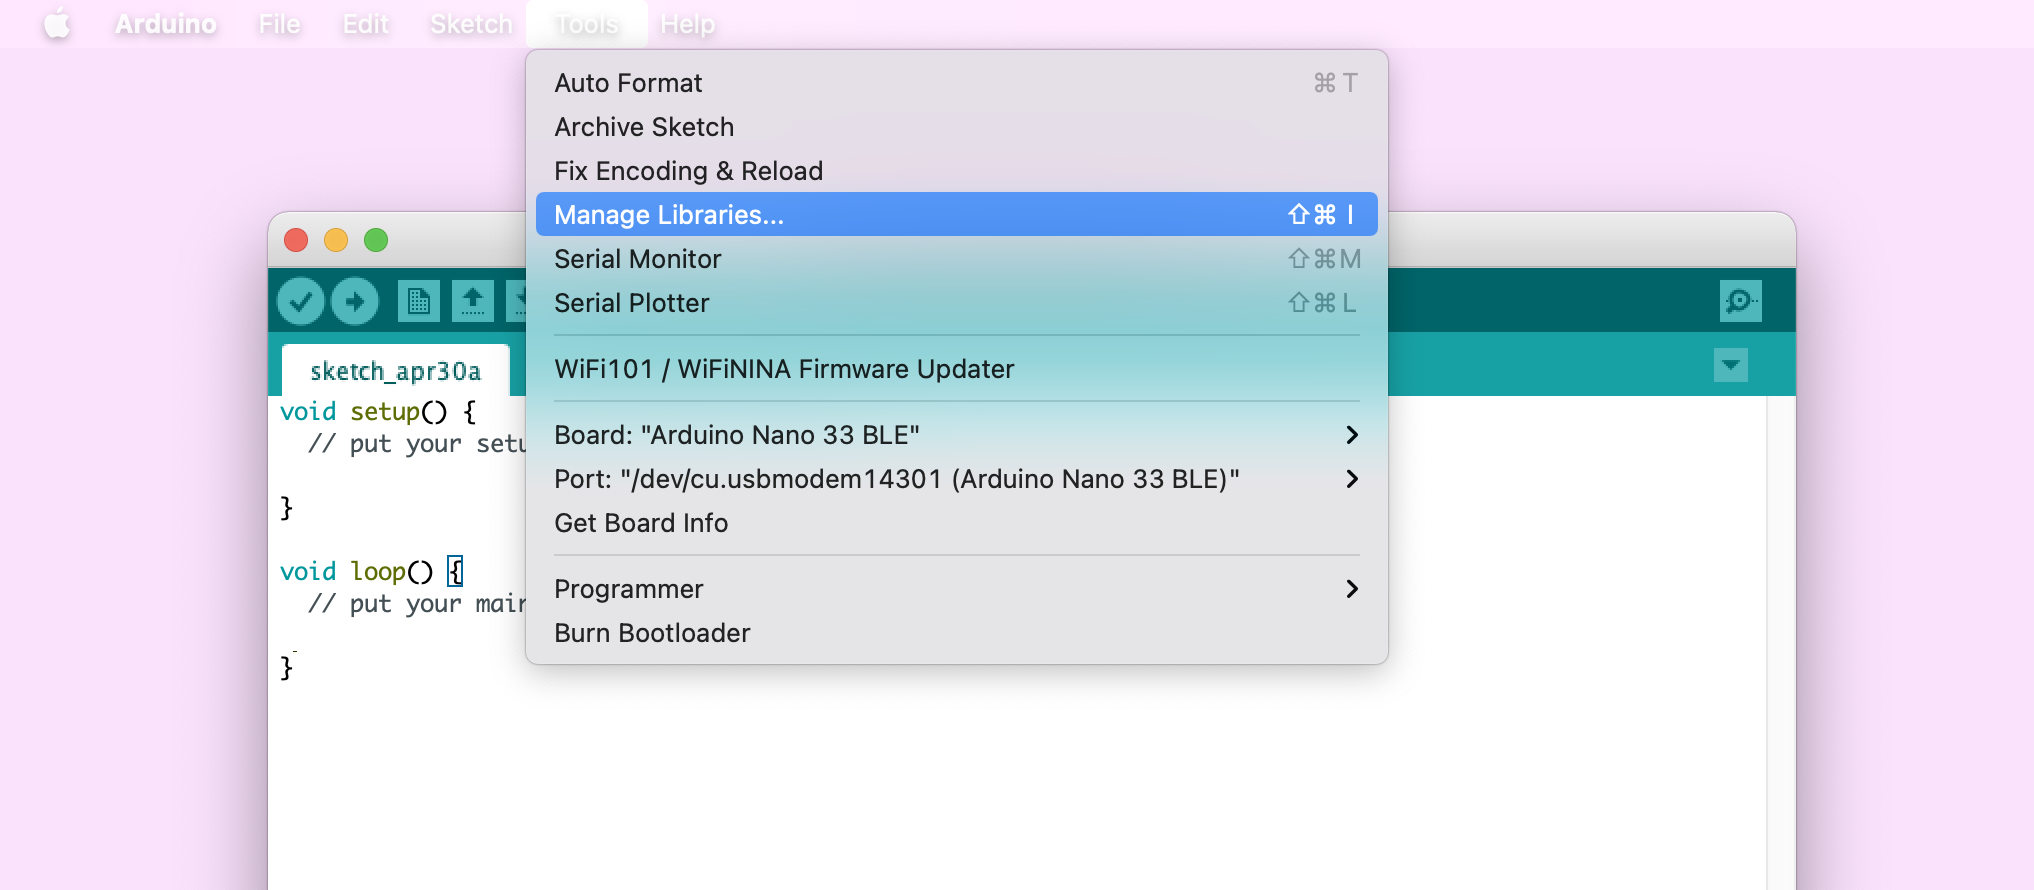
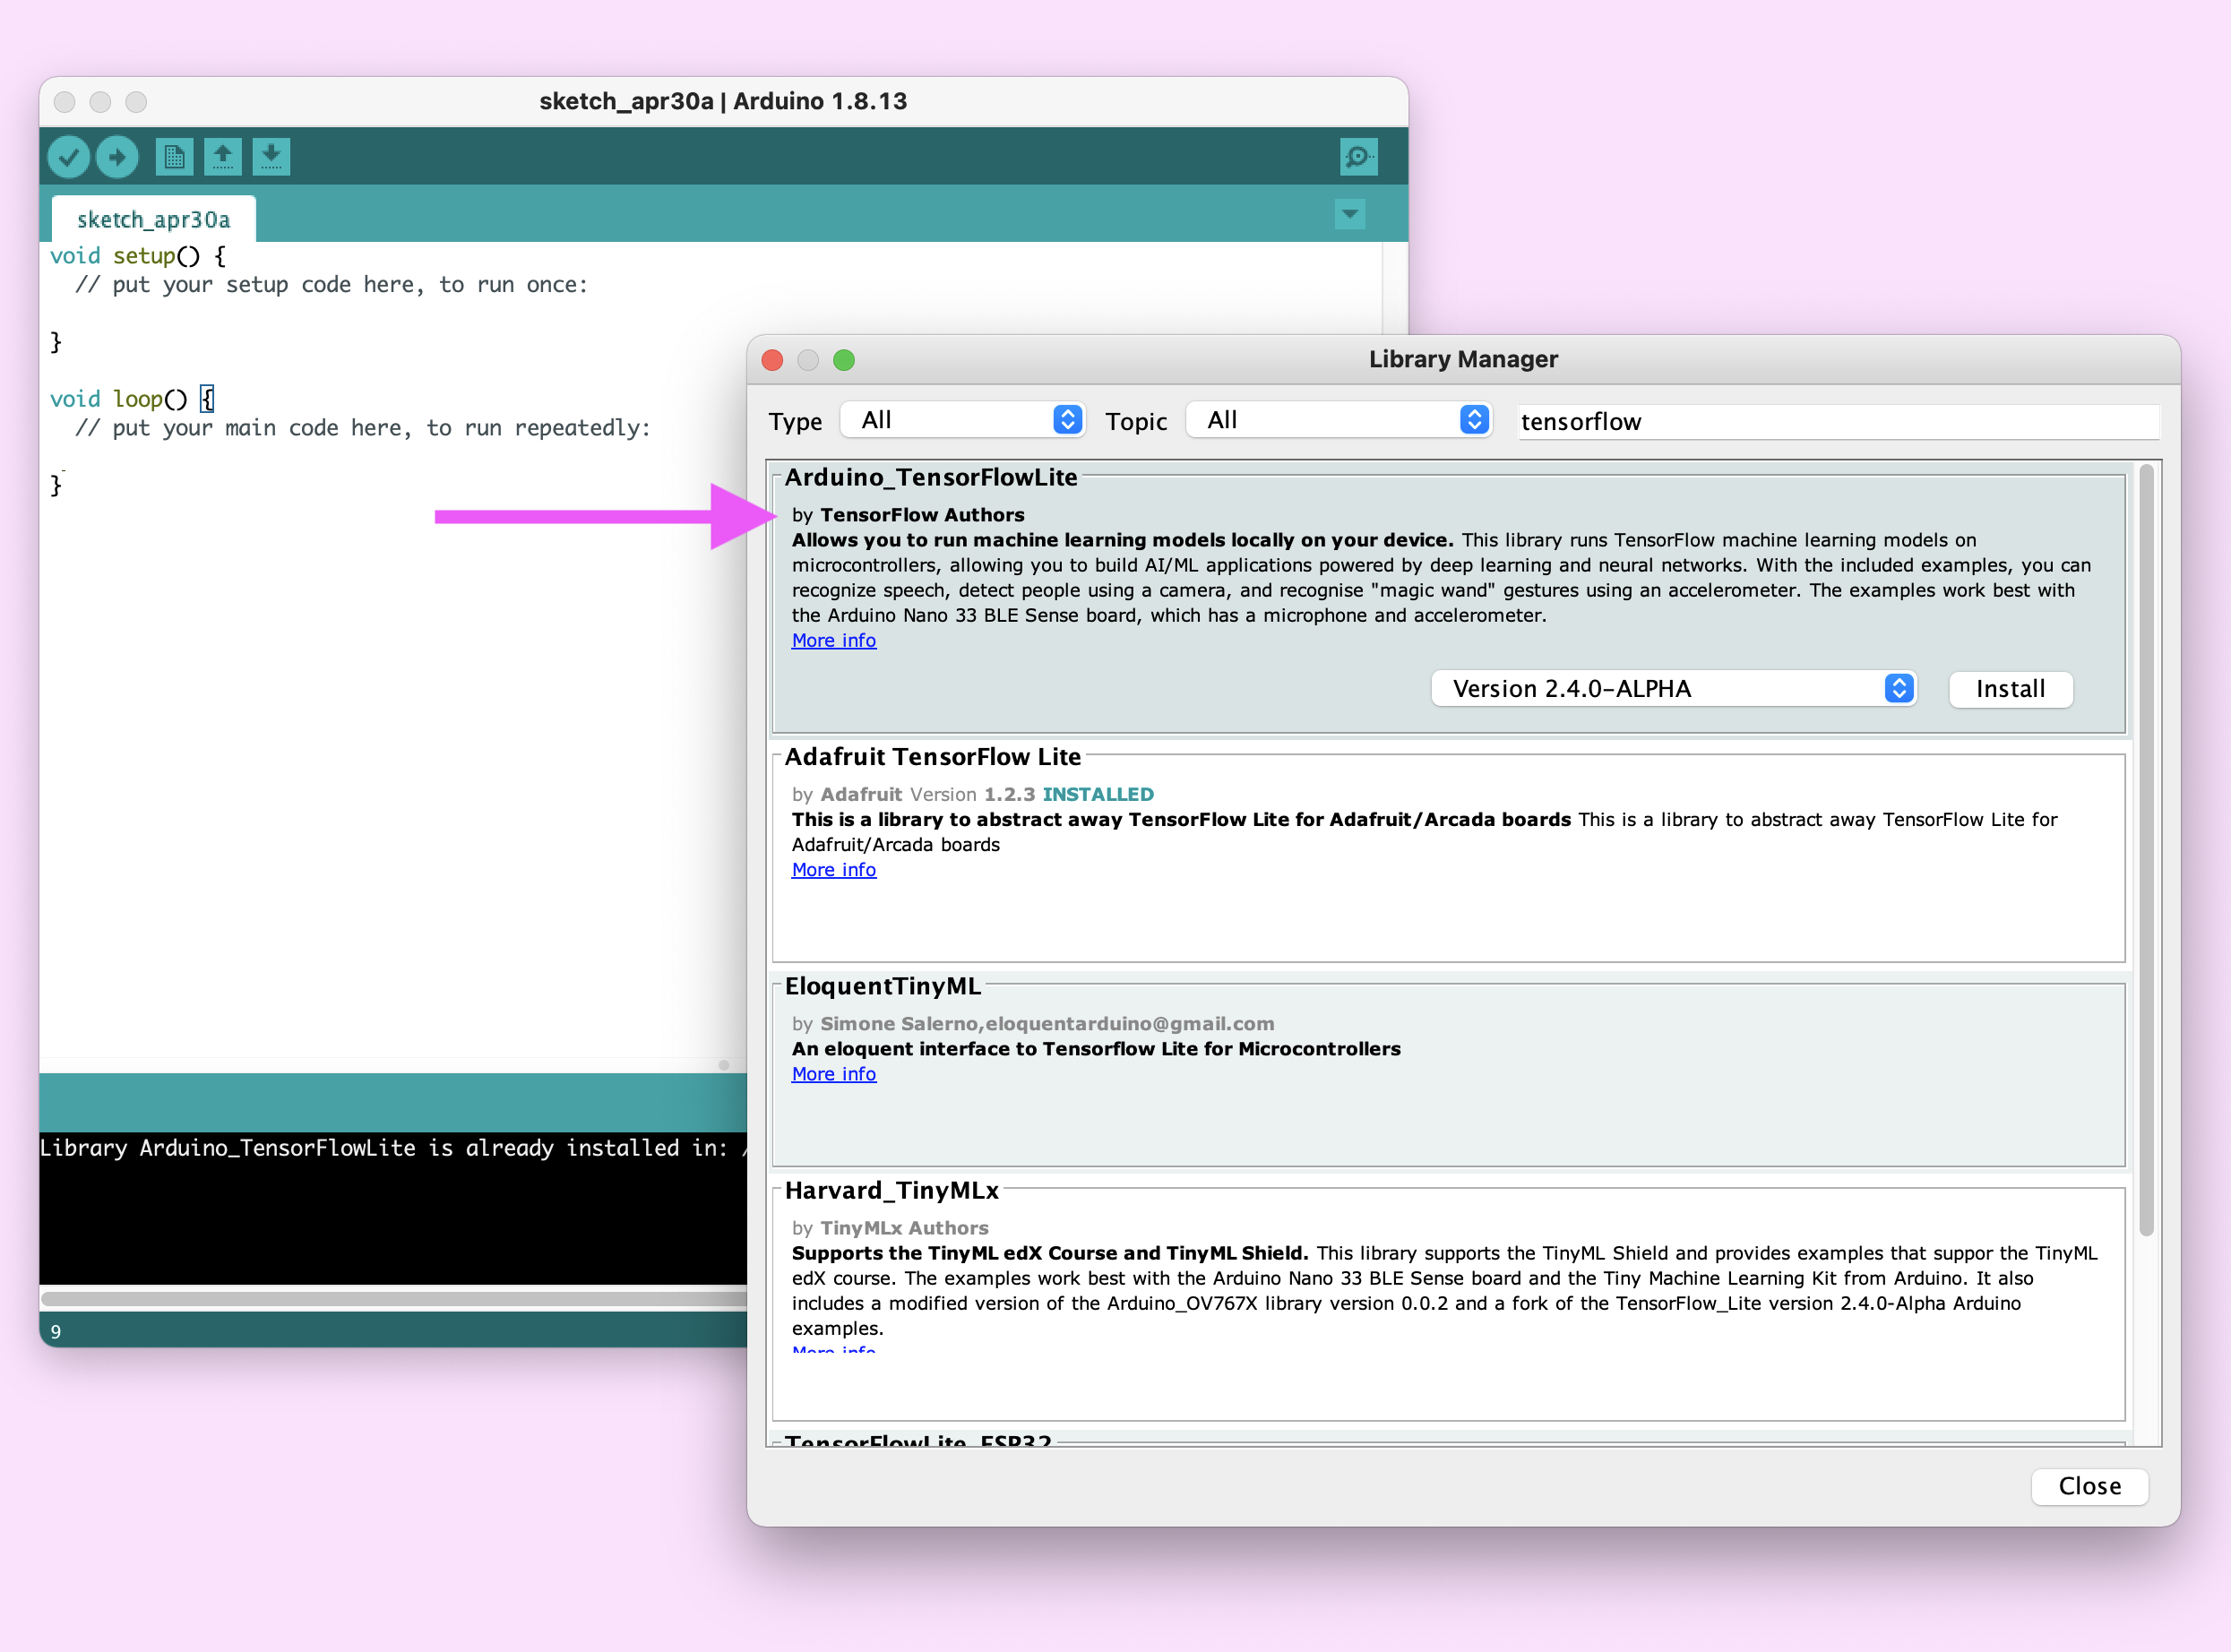
Download the latest release here
Open the arduino/tf4micro-motion-kit and double click on <tf4micro-motion-kit.ino> file
Click the Right arrow in the top left corner to build and upload the sketch.

Warning: This process may take a few minutes. Also, warnings may populate but the upload should still succeed in spite of them.
If the sketch is installed, the LED on the board should flash red and green.
The board that comes with the TensorFlow Lite for Microcontrollers Kit by SparkFun comes preflashed with a sketch that will work with some of the experiments right out of the box. If you are using one of the “TensorFlow Lite for Microcontrollers” kits and you just want to jump right into playing with the experiments then you can simply connect your arduino to a power source (USB or Battery) and connect to one of the following experiment URLs:
Either use the button.js module to create a button that will connect and transfer your model togheter with your setting to the arduino over BLE.
Example:
import connectButton from "./tf4micro-motion-kit/web/button";

function handleGesture({index, value, velocity}){
   console.log(index, value, velocity);
}

function handleTransferProgress(progress){
  console.log(`Loaded ${Math.round(progress * 100)}%`);
}

connectButton(containerElement, {
   model: "./model.tflite",
   numClasses: 4,
   threshold: 0.169,
   numSamples: 10,
   captureDelay: 125,
   onGesture: handleGesture,
   onTransferProgress: handleTransferProgress,
   useMagnetometer: true
 }).addEventListener("click", () => {
   soundManager.userInit();
 });
or
Use the full api module (either by importing index.js or whatever functions you need from api.js).
$ cd web$ sh serv.shYou need live-server, python2 or 3 installed
Then go to localhost:9090 in your browser and follow instructions
This is not an official Google product, but a collection of experiments that were developed at the Google Creative Lab. This is not a library or code repository that intends to evolve. Instead, it is a snapshot alluding to what’s possible at this moment in time.
We encourage open sourcing projects as a way of learning from each other. Please respect our and other creators’ rights, including copyright and trademark rights when present, when sharing these works and creating derivative work. If you want more info on Google's policy, you can find that here.
more like this
Code for IoT Journal paper 'ML-MCU: A Framework to Train ML Classifiers on MCU-based IoT Edge Devices'
Arduino library and MATLAB/Simulink API for the AutomationShield Arduino expansion boards for control engineering educa…
search projects, people, and tags