NotBlox
3D Three.JS, Node.js Multiplayer Game - Cars - Physics - WWW.NOTBLOX.ONLINE - Roblox Like
 iErcann
Three JS Multiplayer Game Demo
Welcome to Notblox! This project showcases a simple multiplayer game engine built with Three.js and TypeScript, featuring an Entity Component System (ECS) for efficient network synchronization and utilizing Rapier.js for physics.
Online Demo
- Demo link: NotBlox.online
- Hosted on a European server. Note: There is no client-side prediction, so the game may feel laggy if you're far from the server.
Test World

Obby Parkour

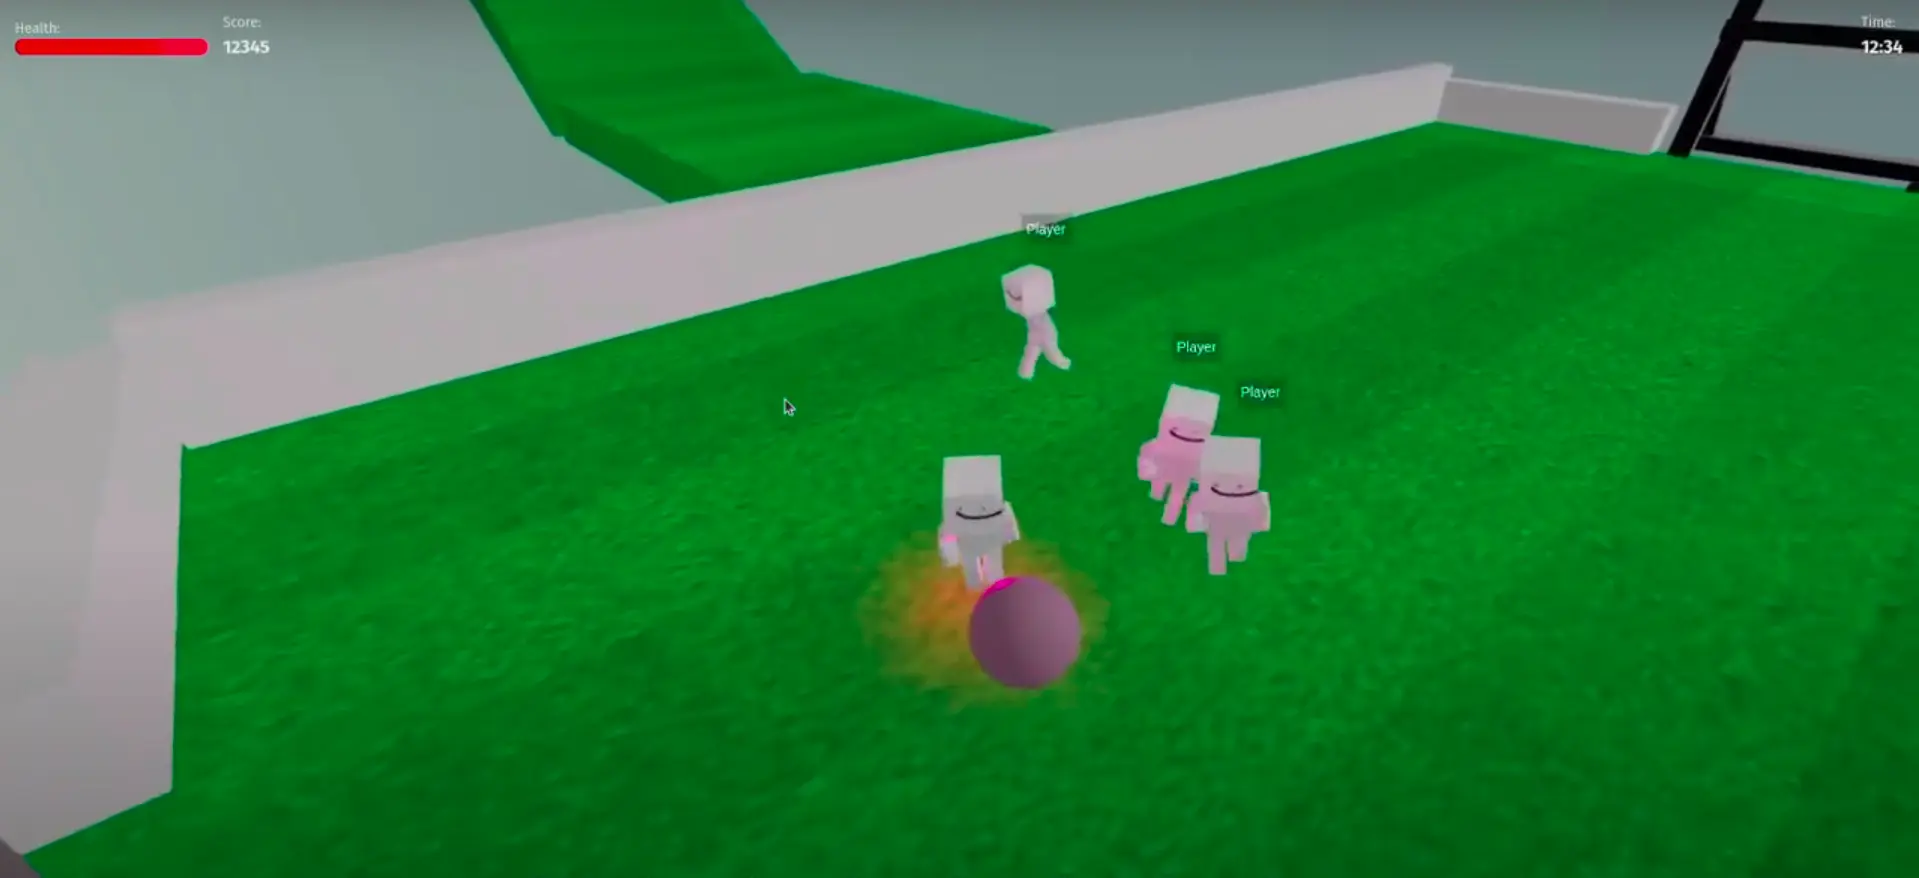
Football

Videos :
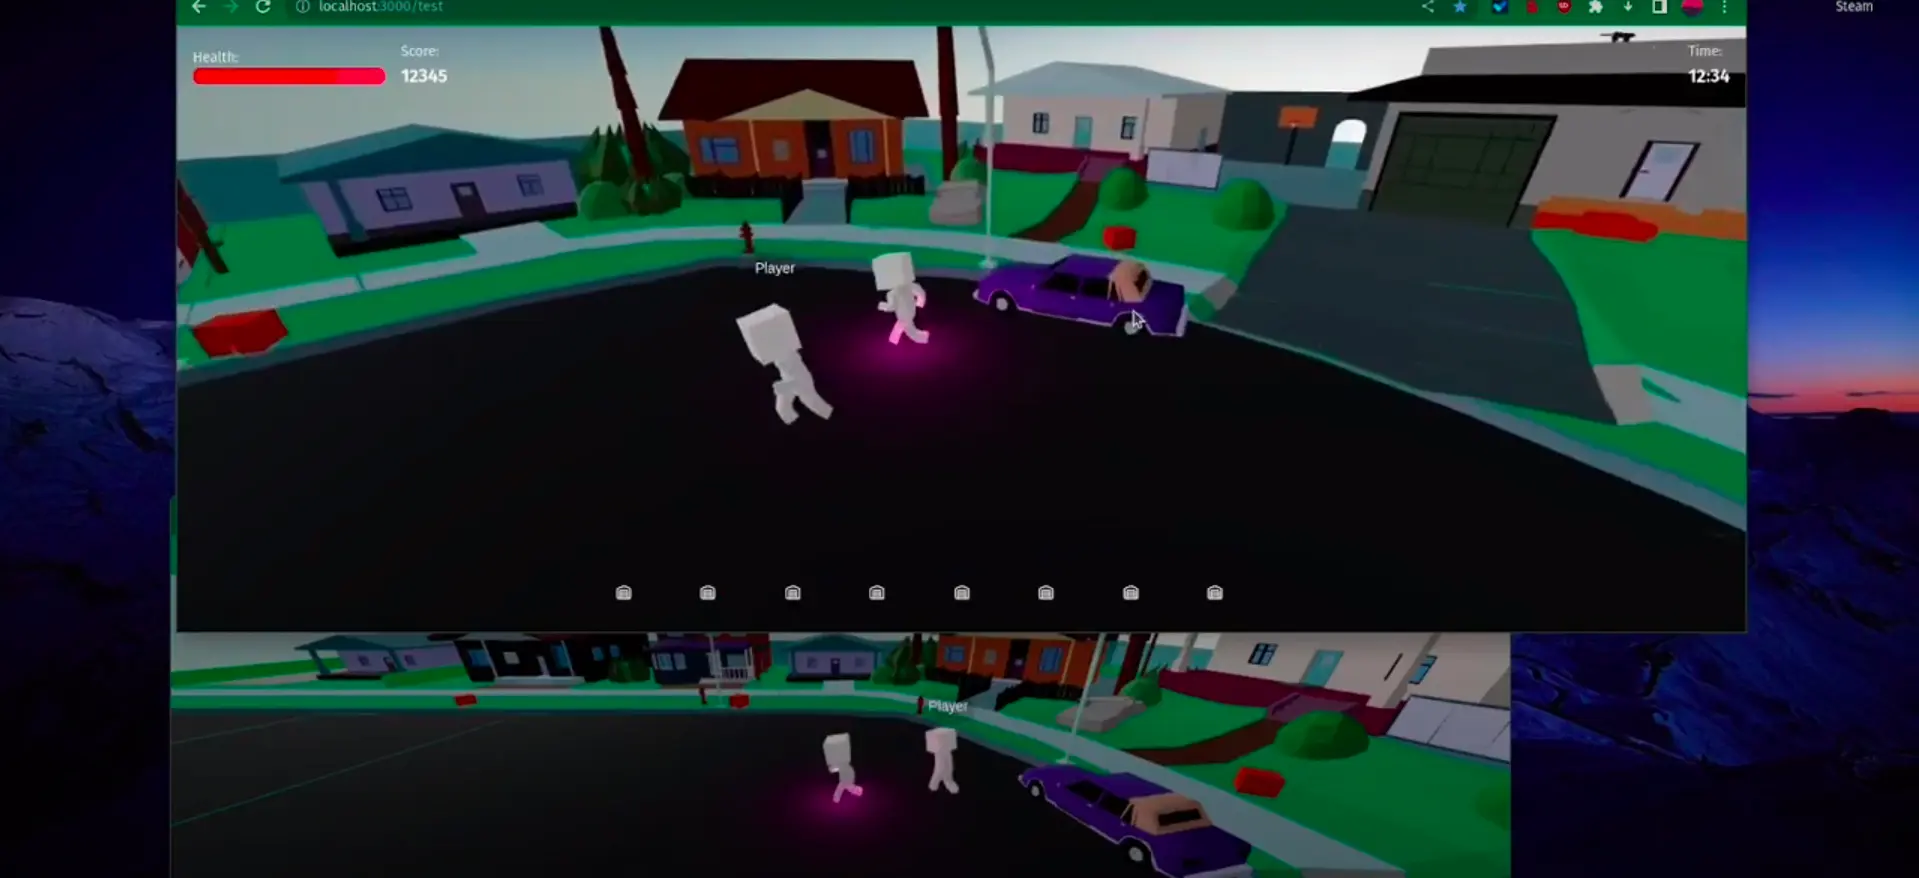
- Car https://www.youtube.com/watch?v=7eSYb6jKOV0
- Football https://www.youtube.com/watch?v=tZlNKU_buCQ
Controls
- W : Forward
- S : Backward
- A : Left
- D : Right
- Space : Jump
- Mouse Left click : Rotate screen
- E : Interact
Features
- Multiplayer
- Only TypeScript
- 3D Physics (Rapier.js)
- Vanilla Three.js
- Server Authoritative
- ECS (Entity Component System) with Network Sync (NetworkComponent)
Delta Compression(needs rework)- Interpolation
- Fast to load (small assets)
- Run on low end devices : My Three.JS Performance Guide
- Shared code between server and client (useful for component replication)
- Trimesh Collider
- Cars
Why ?
Browser games are fun, but most of them are Unity WebGL exports that take a long time to load. I wanted to create a simple multiplayer game engine using Three.js and my own ECS. This project has in mind to be a simple and fast game engine that can be used to create simple multiplayer games with the modularity of ECS.
Multiplayer GTA-like ?
I'm thinking about creating a GTA-like game with this engine. It would be a simple game with a city, cars, and players. The game would be server-authoritative, and the server would be able to spawn cars, NPCs, and other entities. The game would be a simple sandbox game where players can interact with each other and the environment. Inspiration : https://github.com/swift502/Sketchbook
Demo (Click on the images to see the video)
How to run locally
Prerequisites:
- Node.js v24+ — required by
uWebSockets.js. Usenvmto manage versions. - pnpm — this is a monorepo. Install it with
npm i -g pnpmif you don't have it.
Clone the repo
git clone https://github.com/iErcann/Notblox.git
cd Notblox
Install all packages
pnpm install
Run everything (back + front + shared watch)
pnpm run dev
Or run individually
pnpm run dev:back    # game server on ws://localhost:8001
pnpm run dev:front   # Next.js on http://localhost:4000
Go on your browser to http://localhost:4000/play/test
Backend Configuration (Game Server)
The backend can be configured through environment variables in ./back/.env:
Local dev mode
NODE_ENV=development
GAME_TICKRATE=20 # Game tickrate in Hz (20Hz = 50ms)
GAME_SCRIPT=defaultScript.ts # Script source file in back/src/scripts/

# Commented in dev mode :
# FRONTEND_URL=https://www.notblox.online # Only accept connections from this URL
In production
NODE_ENV=production
GAME_TICKRATE=20 # Game tickrate in Hz (20Hz = 50ms)
GAME_SCRIPT=defaultScript.ts # Script source file in back/src/scripts/

# To prevent hijacking. The WS upgrade handler rejects any Origin that
# doesn't match this value when NODE_ENV=production
FRONTEND_URL=https://www.notblox.online
No TLS here. The server always listens on plain
ws://(port 8001). Caddy terminates HTTPS in production. See Production deployment.
Game Scripts
The GAME_SCRIPT system allows for modular gameplay modes similar to Garry's Mod's LUA scripts.
Scripts live in back/src/scripts/ and are plain TypeScript source files loaded at runtime by tsx — no compilation step needed. The Docker image is built once; scripts can be swapped via a volume mount without ever rebuilding.
| Script | Description |
|---|---|
defaultScript.ts |
Sandbox world: cars, physics cubes, a trampoline, a football |
footballScript.ts |
2-team football match with score, goals, and a kick mechanic |
parkourScript.ts |
Obby-style obstacle course with checkpoints |
petSimulatorScript.ts |
Pet simulator: hatch eggs, collect pets, leaderboard, coin triggers |
How it works:
GAME_SCRIPTin.envpoints to the source filename (e.g.defaultScript.ts)- At startup,
sandbox.tsdynamically imports the script viatsx— TypeScript is stripped/transformed on the fly by Node's tsx loader
Swapping scripts without rebuilding:
# Mount a local scripts folder over the one baked into the image
docker run \
  -v ./my-scripts:/app/back/src/scripts \
  -e GAME_SCRIPT=myGame.ts \
  ghcr.io/iercann/notblox-game-server:latest
Adding a new game mode:
- Create
back/src/scripts/myGame.ts— import ECS entities/components as needed - Set
GAME_SCRIPT=myGame.tsin.env - Run
pnpm run dev:back
Tickrate Configuration
The GAME_TICKRATE setting controls how frequently the server updates game state:
| Tickrate | Use Case | Description | Server CPU Usage |
|---|---|---|---|
| 60 ticks/s | Vehicle/Physics-heavy | Smooth physics interactions, highest precision vehicle control | High |
| 40 ticks/s | Mixed Gameplay | Good physics interactions, balanced vehicle control | Medium |
| 20 ticks/s | Standard Gameplay | Good balance of responsiveness and performance | Low |
Performance Considerations:
- Higher tickrates = smoother gameplay but increased:
- Server CPU usage
- Network bandwidth
- Client-server messages
- Choose based on your game's requirements and server capacity
- View Stress Test (20 ticks/s)
Front end Configuration
To configure the front end, set the NEXT_PUBLIC_SERVER_URL environment variable in your .env.local file:
# Development: points at a single local game server on port 8001
NEXT_PUBLIC_SERVER_URL=ws://localhost:8001

# Production: Caddy terminates TLS at the edge (no port)
# NEXT_PUBLIC_SERVER_URL=wss://back.notblox.online
The client appends the game's slug as a URL path (e.g. /test, /obby,
/football, /pet-simulator), so the test server connection becomes
ws://localhost:8001/test in dev and wss://back.notblox.online/test in
production. Slugs are defined in front/public/gameData.json and must match the
route names in the Caddyfile.
Production deployment
Production runs entirely through docker-compose.yml. A
single Caddy container is the only thing exposed to
the internet (ports 80/443); it terminates TLS and reverse-proxies each game
to its container over the internal Docker network.
                          ┌──────────────────────── Docker network ────────────────────────┐
  browser  ──wss://───►   │   Caddy (:80/:443)                                              │
  wss://back.notblox      │     /test          ──►  game_test_server:8001  (ws, plain)      │
       .online/<slug>     │     /obby          ──►  game_obby_parkour:8001                  │
                          │     /football      ──►  game_football:8001                      │
                          │     /pet-simulator ──►  game_pet_simulator:8001                 │
                          │   monitor-logs  ──►  http://game_*:8001/health (Discord alerts) │
                          └─────────────────────────────────────────────────────────────────┘
Caddy obtains and renews Let's Encrypt certificates on its own and stores them in
the caddy_data named volume, so the game servers never touch a certificate and
speak plain ws:// on 8001. Games are selected by URL path; adding one means
adding a service plus one @matcher/handle block in the Caddyfile.
DNS: point an A record for back.notblox.online at the server. If you use
Cloudflare, keep that record DNS-only (grey cloud) so Caddy can complete the
HTTP-01 challenge; the orange-cloud proxy would intercept it.
How to change the map
Maps are GLB/GLTF files. The back-end approximates a Trimesh Collider based on the map, which is rendered on the client.
To change the map, update the URL in back/src/scripts/defaultScript.ts:
new MapWorld('https://notbloxo.fra1.cdn.digitaloceanspaces.com/Notblox-Assets/world/TestWorld.glb') // Change this URL to your map
How to Host Your Assets for Free Without a S3 Bucket
You can host your assets for free using GitHub and Githack. Here's how:
- Create a repository on GitHub, e.g., Notblox-Assets.
- Use Githack to serve your assets via CDN: Setup Githack.
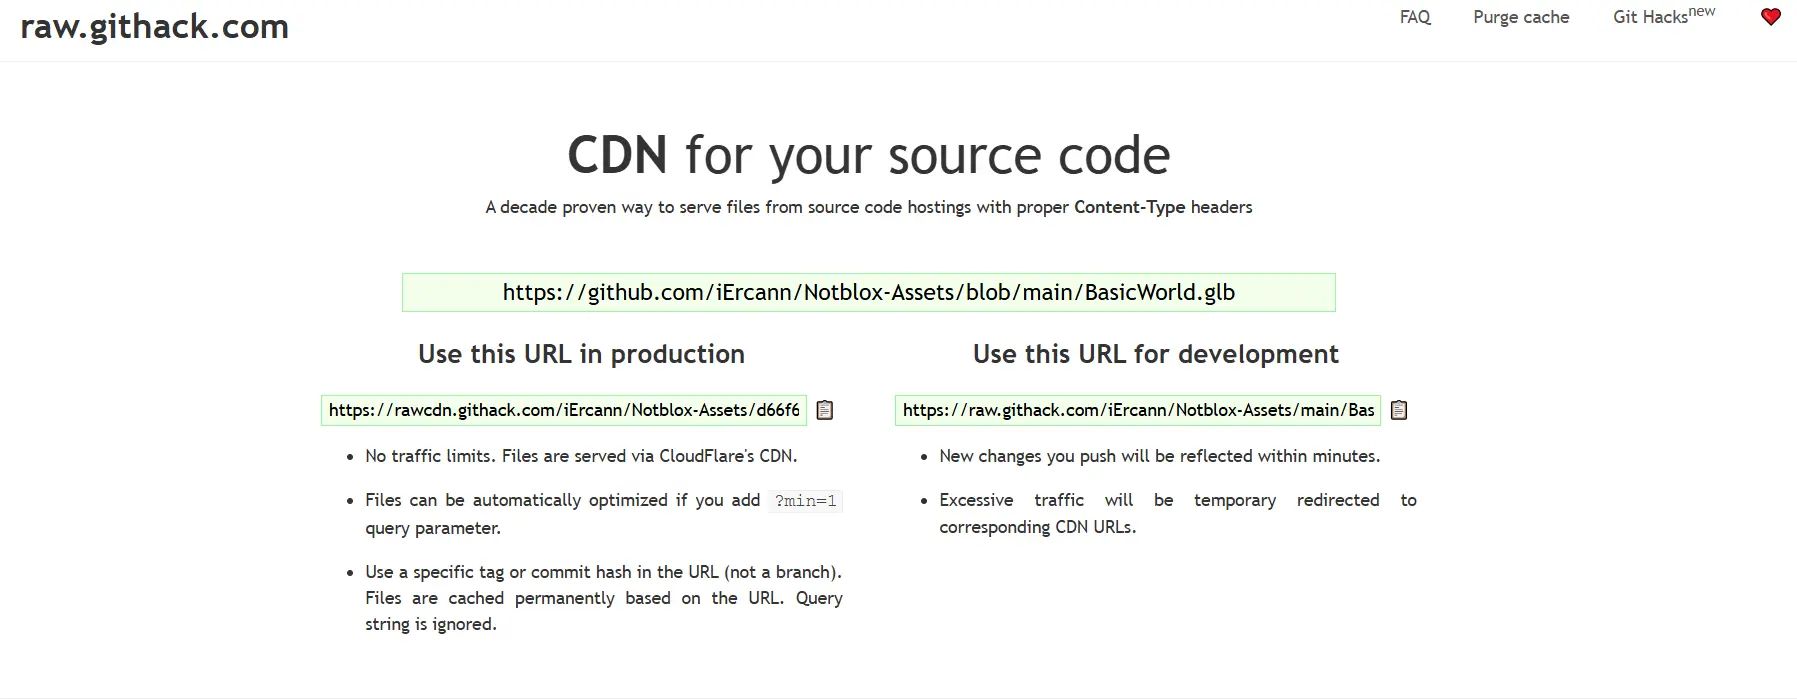
Then, update the URL in defaultScript.ts:
new MapWorld(
  'https://rawcdn.githack.com/iErcann/Notblox-Assets/d66f6da91bb7f025c90aa9f6eb24b99e997efa38/BasicWorld.glb'
) // Change this URL to your map
How to Point the Map to a Local File (For Testing)
For local testing, place the map .glb under the front/public/assets folder and use:
new MapWorld('http://localhost:4001/BasicWorld.glb')
Make sure to run the front-end with npm run dev to serve the local file.
Blender: How to Export a Map Correctly
Export with Compression
Choose GLB/GLTF export.
- Activate compression.
Current Event system (might change!)
Is it better design to store event effects within an Entity itself, or within a system?
If you are using event queues anyway, you can also do them properly. With one global EventManager system which receives all events. Systems can subscribe to events they are interested in and then the EventManager will put those events into their event queues.
Componentcan also be aNetworkComponent. This means it can be sent over the network to be replicated by the clients.
Shared
// Shared component between client & back
export class ColorComponent extends NetworkComponent {
  constructor(entityId: number, public color: string);
  deserialize(data: SerializedColorComponent);
  serialize(): SerializedColorComponent;
}
Back
The back-end need to pass some events; This is achieved with the event components (example: EventColorComponent) that are only used once per ECS loop and then removed from the EventQueue entity.
// Creating a color change event on the back
EventSystem.addEvent(new ColorEvent(yourEntity.id, '#FFFFFF'))
It can be received by any system, here ColorEventSystem :
The ColorComponent is updated:
export class ColorEventSystem {
  update(entities: Entity[]) {
    const eventColors = EventSystem.getEvents(ColorEvent)

    for (const eventColor of eventColors) {
      const entity = EntityManager.getEntityById(entities, eventColor.entityId)
      if (!entity) return

      const colorComponent = entity.getComponent(ColorComponent)
      if (!colorComponent) return

      if (colorComponent && eventColor) {
        colorComponent.color = eventColor.color
        colorComponent.updated = true
      }
    }
  }
}
Client (front-end)
The component is replicated by the client with the SyncComponentsSystem.ts, then it uses the front-end version of SyncColorSystem to actually change the color of the mesh, you could incorporate more checks here depending on other components
export class SyncColorSystem {
  update(entities: Entity[]) {
    for (const entity of entities) {
      const colorComponent = entity.getComponent(ColorComponent)
      const meshComponent = entity.getComponent(MeshComponent)
      if (colorComponent && meshComponent && colorComponent.updated) {
        meshComponent.mesh.material = new THREE.MeshPhongMaterial({
          color: colorComponent.color,
        })
      }
    }
  }
}
You like this project or want to talk about Three.js games ?
Discord https://discord.gg/aEBXPtFwgU 👀
Shared file import Error .js files fix
Asset Credits
San Andreas Map : https://skfb.ly/oJSPS
Kenney Assets https://www.kenney.nl/
⚠️ This project is not related to any crypto project
There have been some modifications of Notblox running online to promote cryptocurrencies, it is not made by me
The point of notblox was to show a demo of a multiplayer 3d game with three.js, fully open-source
The only version I run is notblox.online, all the other modifications are made by third-parties
more like this