xylocopa
A to-do list that runs your Claude Code agents — capture anywhere, dispatch in parallel, review from your phone.
Python★ 51
Esphome touch screen setup
 jtenniswood
git clone https://github.com/jtenniswood/esphome-lvgl.gitjtenniswood/esphome-lvglWelcome to my ESPHome LVGL configuration repository! This project provides a modular setup for ESP32 touch LCD devices using the LVGL graphics library, designed specifically for home automation and sensor monitoring.
7-inch touch LCD display running ESPHome with LVGL interface, showing home automation controls including temperature display, printer status, air conditioning controls, and various smart home features.
This repository contains ESPHome configurations for creating beautiful, touch-enabled displays for home automation. The setup is organized into modular components that can be mixed and matched to create custom interfaces for different rooms and use cases.
| Device | Size | Configuration |
|---|---|---|
| Waveshare ESP32-P4-WIFI6-Touch-LCD-4B | 4.0" 720x720 | esphome.yaml |
| Guition ESP32-P4 JC1060P470 | 7" | esphome.yaml |
| Guition ESP32-P4 JC8012P4A1 | 10.1" | esphome.yaml |
| Guition ESP32-P4 JC4880P443 | 4.3" | esphome.yaml |
| Guition ESP32-S3 4848S040 | 4.0" | esphome.yaml |
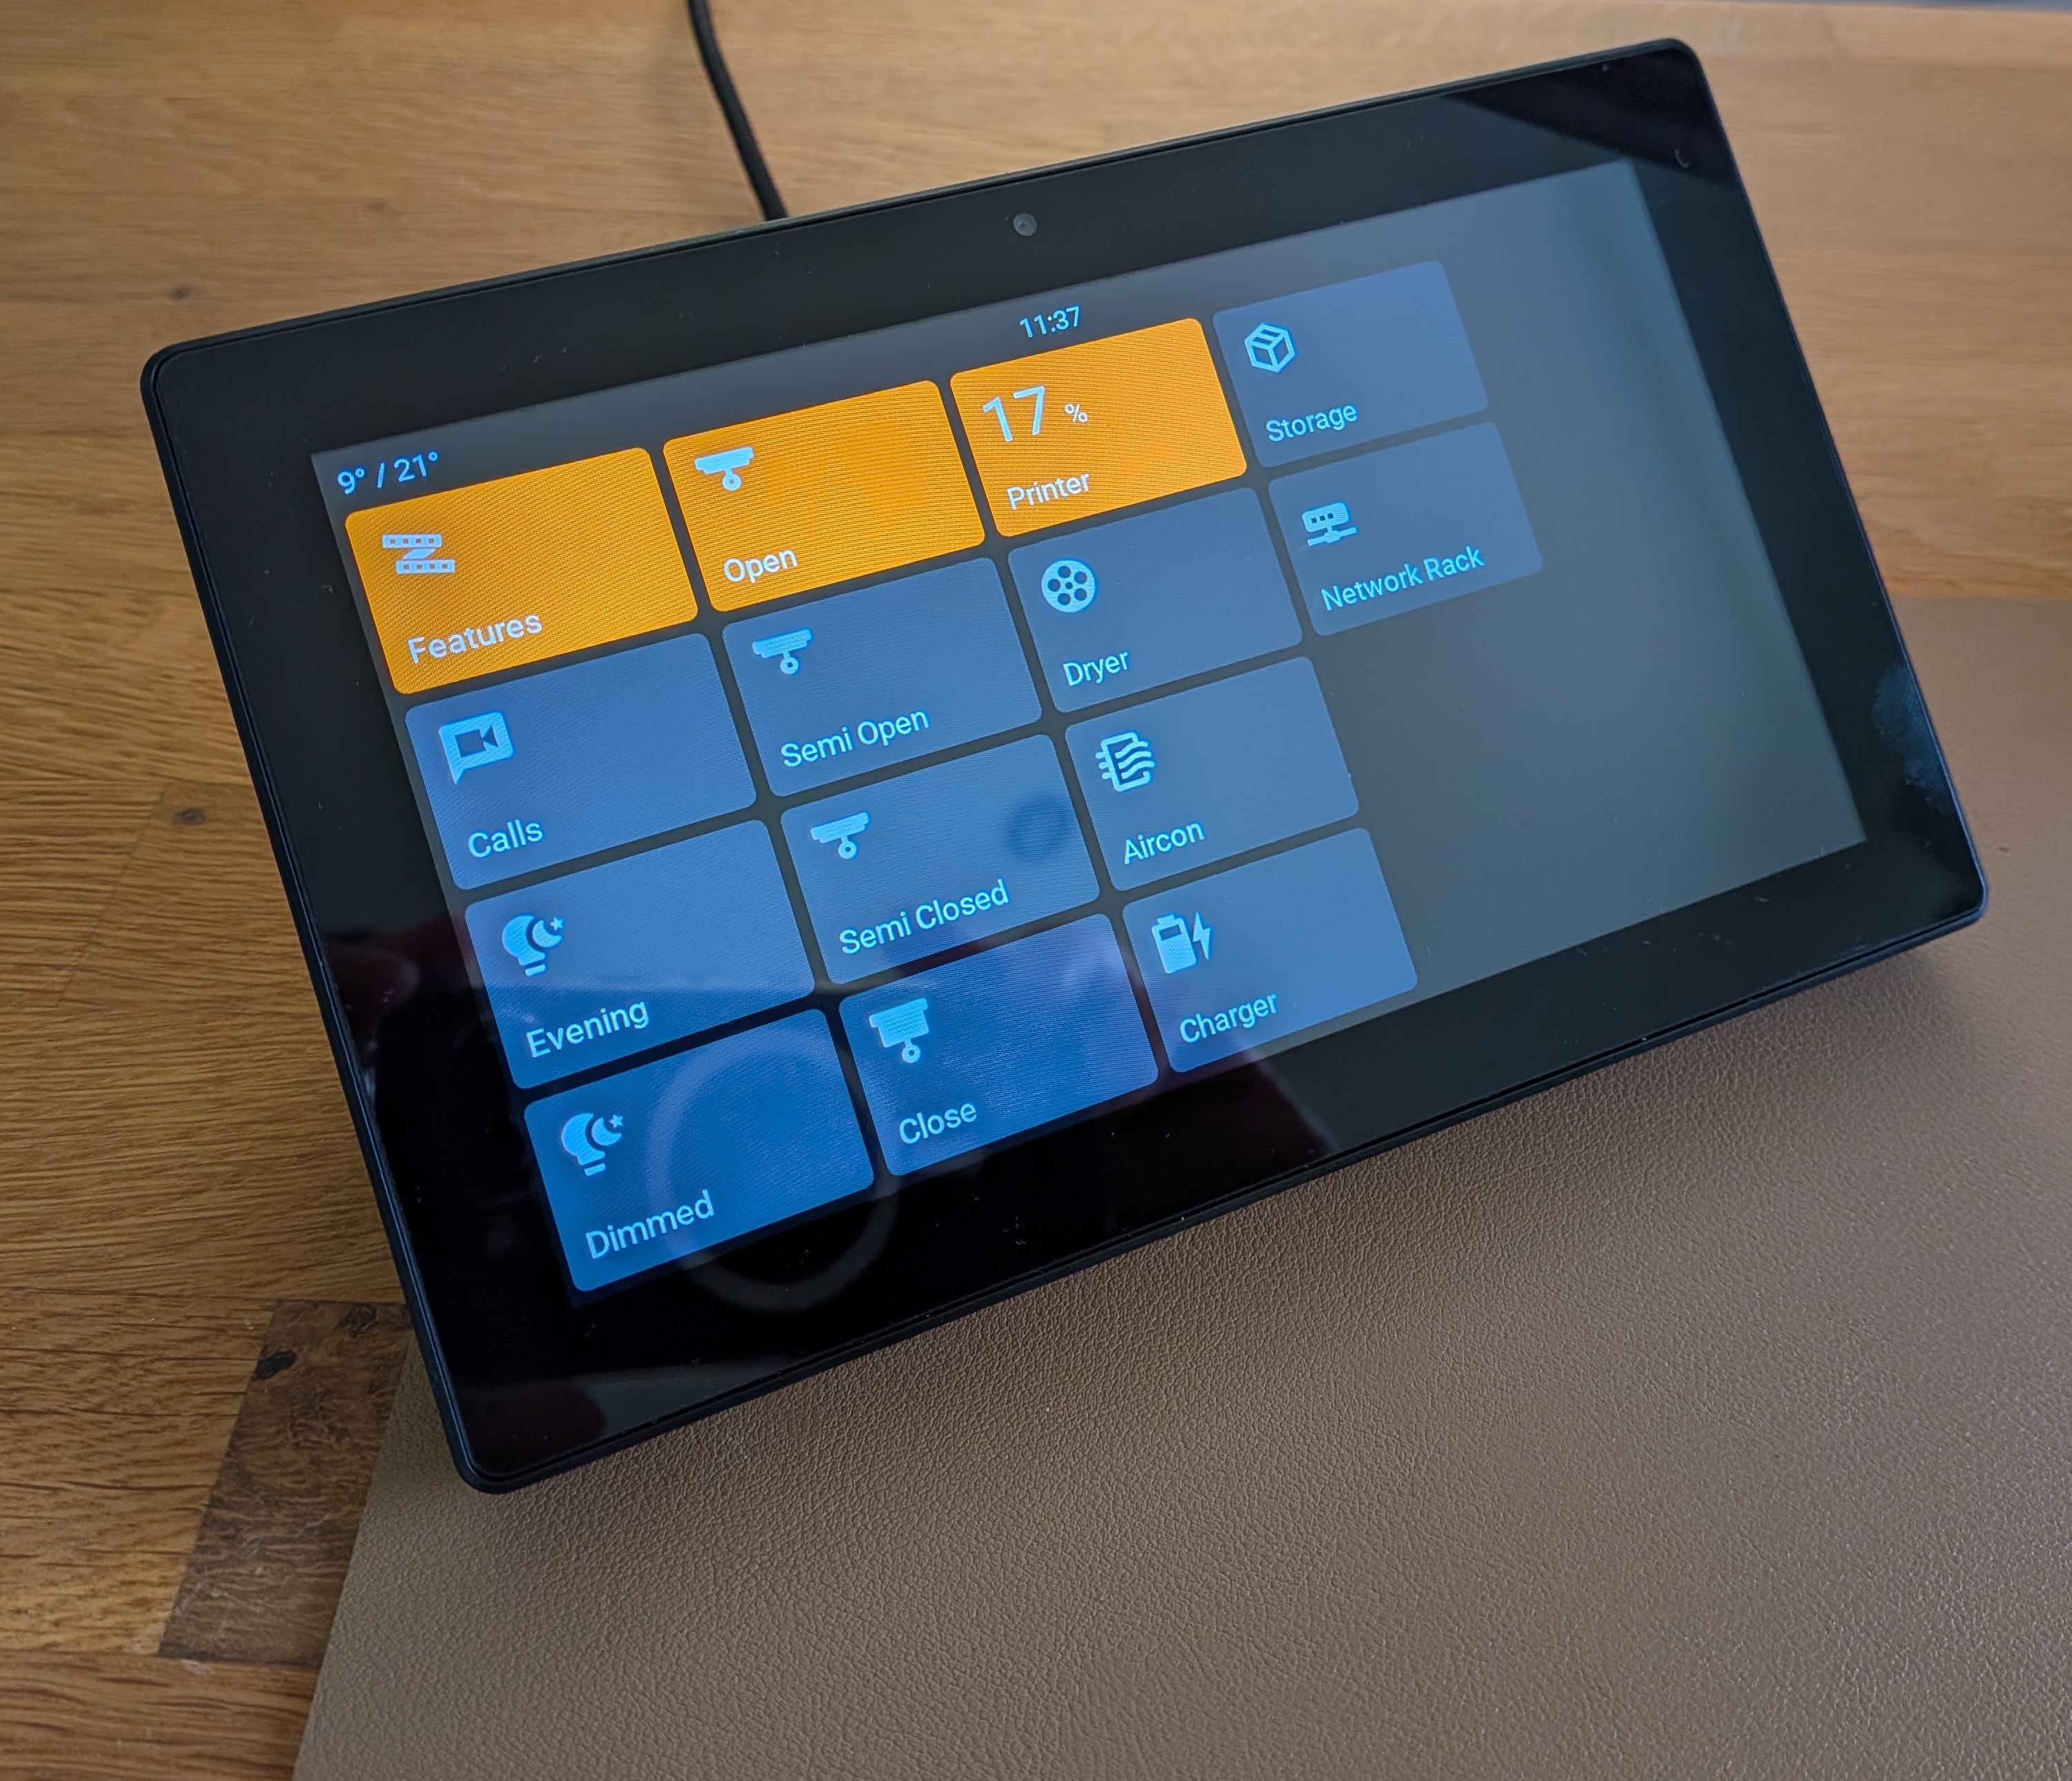
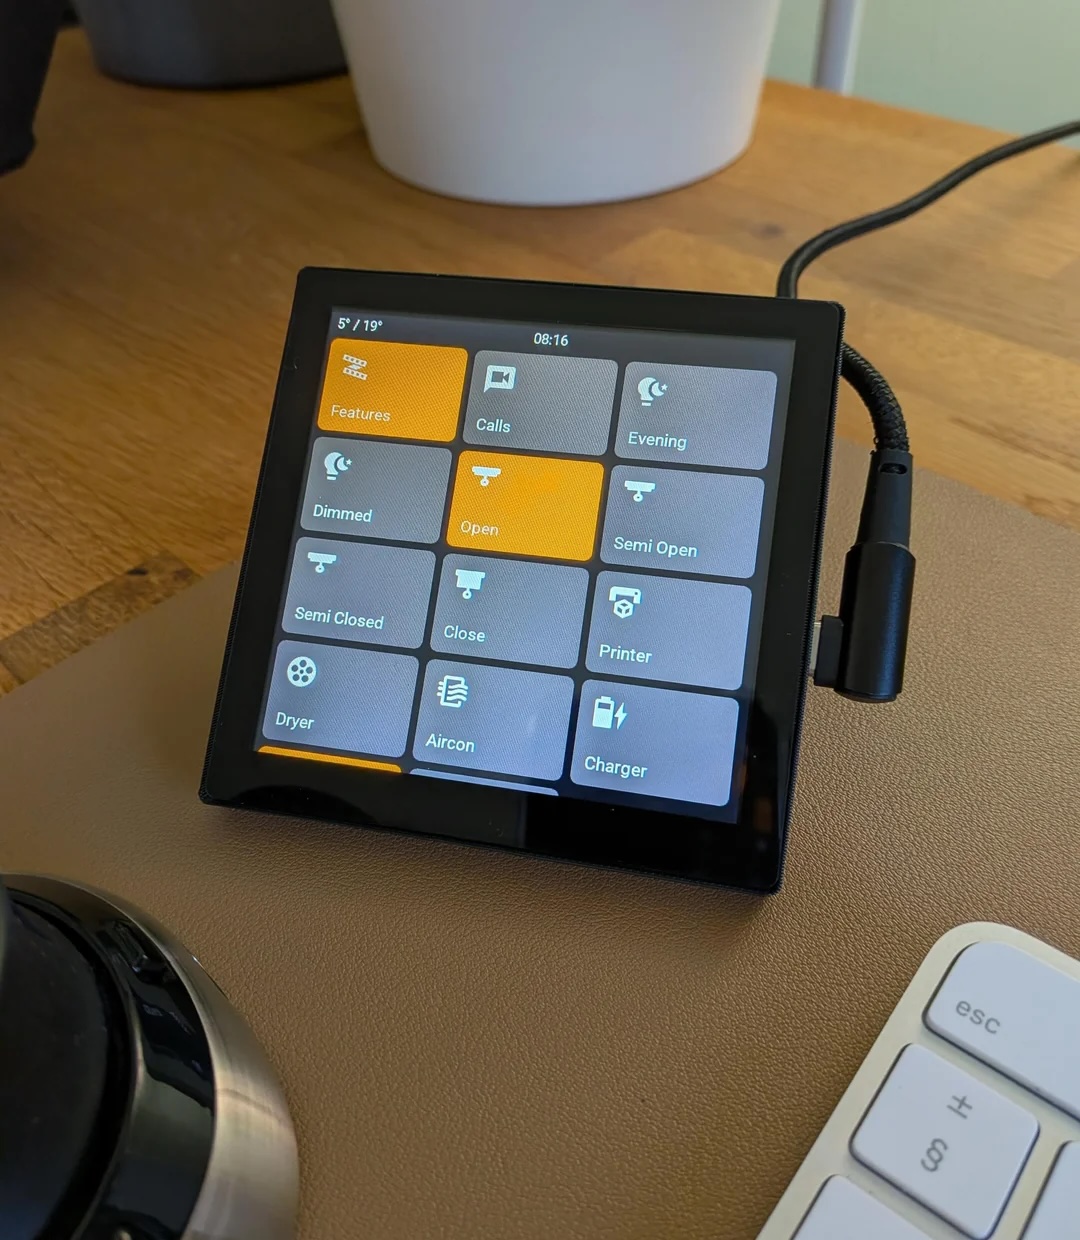
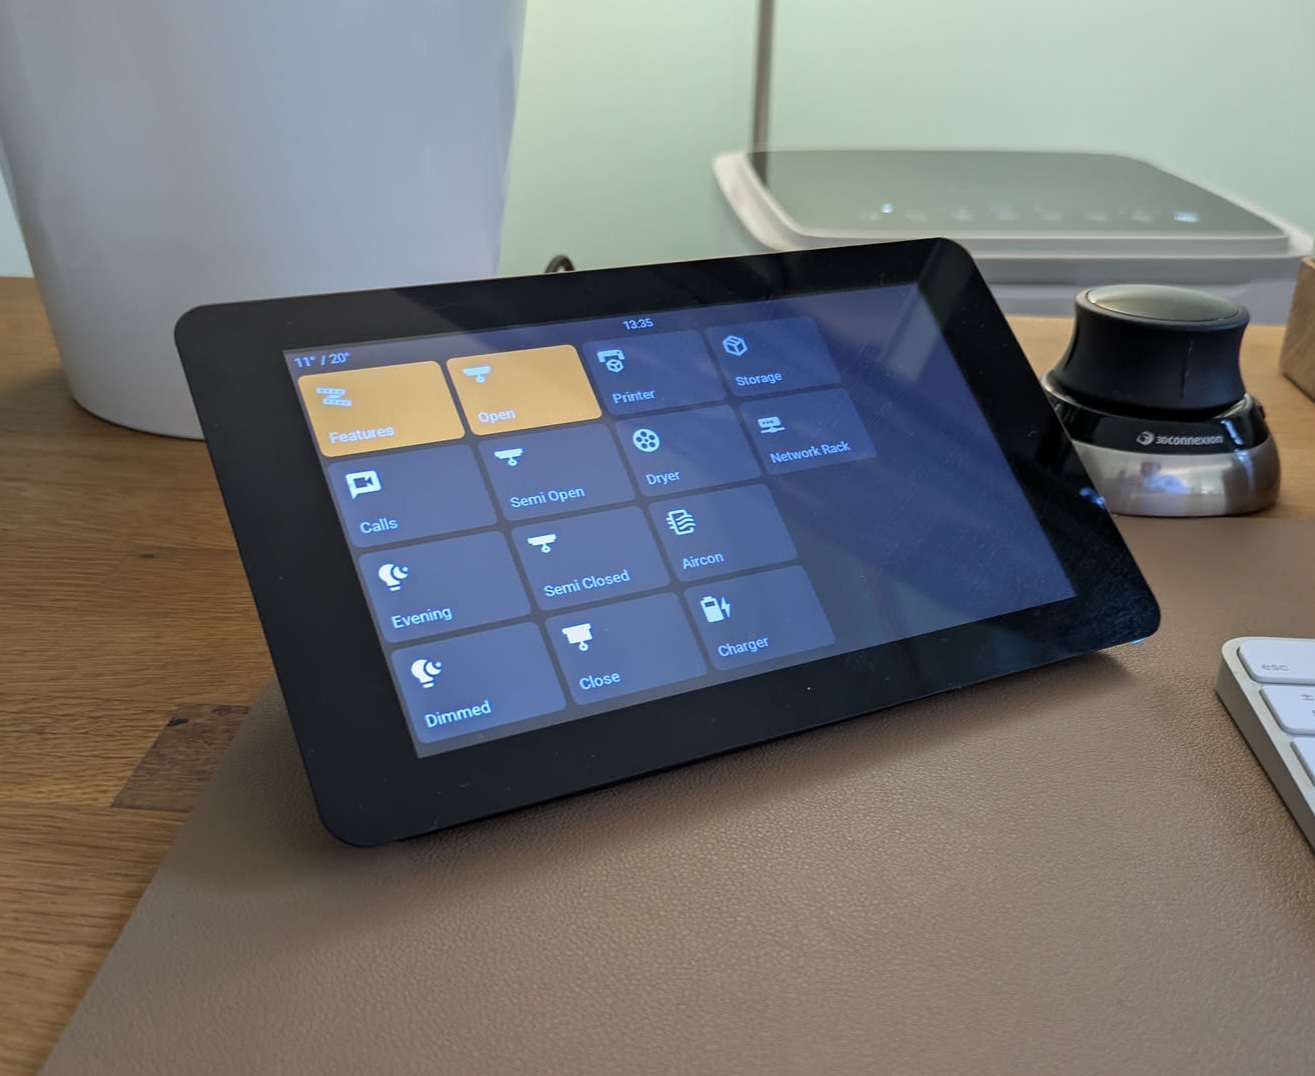
These configs are kept for reference but are no longer listed as current supported devices.
| Device | Configuration |
|---|---|
| Waveshare ESP32-S3 Touch LCD 7" | esphome.yaml |
| Device | Configuration | Where to Buy |
|---|---|---|
| Waveshare ESP32-P4-WIFI6-Touch-LCD-4B (4.0", 720x720) | esphome.yaml | Waveshare |
| Guition ESP32-P4 JC1060P470 (7") | esphome.yaml | AliExpress |
| Guition ESP32-P4 JC8012P4A1 (10.1") | esphome.yaml | Search by model name |
| Guition ESP32-P4 JC4880P443 (4.3") | esphome.yaml | Search by model name |
| Guition ESP32-S3 4848S040 (4.0") | esphome.yaml | AliExpress |
| Waveshare ESP32-S3 Touch LCD 7" (archived) | esphome.yaml | AliExpress |
Desk/desktop stands (3D printable models on MakerWorld):
| Device | Stand |
|---|---|
| Guition ESP32-P4 JC1060P470 (7") | Link |
| Guition ESP32-S3 4848S040 (4.0") | Link |
| Waveshare ESP32-S3 Touch LCD 7" (archived) | Link |
Follow these steps in order. The first flash is the only fiddly part; after that you can usually update over WiFi (OTA).
Fork this repo (recommended) and clone it. The configs are meant to be customized for your own setup rather than used as-is.
Install ESPHome
Use the ESPHome installation guide. Run the ESPHome dashboard (e.g. esphome dashboard or your usual method) and open it in Chrome — you’ll need Chrome for USB flashing later.
Add your device config
For your panel, open the esphome.yaml in that device's folder (see the table above). Use the full contents of that file as your ESPHome config: in the dashboard, create a new device (or edit an existing one) and paste in the template contents.
Set WiFi and secrets
In the ESPHome dashboard, open Secrets (top right) and add at least:
wifi_ssid: "Your_WiFi_SSID"
wifi_password: "Your_WiFi_Password"
First flash over USB
Connect the board with a USB cable. In the dashboard, compile and choose Install (flash). Pick the serial port when asked.
Done
After a successful flash, the device should appear in the ESPHome dashboard and in Home Assistant as a discovered device. Later you can update it over WiFi (OTA) from the dashboard.
Allow Home Assistant actions
For the screen to be able to control things in Home Assistant (e.g. toggle lights, activate scenes), you need to enable this per-device. In Home Assistant go to Settings → Devices & Services → ESPHome, click Configure on your device, and turn on "Allow the device to perform Home Assistant actions". Without this, any homeassistant.action calls from the display will be silently ignored.
Optional: To change what’s on the display, edit the YAML in the device folder: device/device.yaml, device/sensors.yaml, device/lvgl.yaml, plus addon/, assets/, and theme/ as needed.
The lighting scene examples in this project assume you are using the Stateful Scenes integration for Home Assistant so scene state can be inferred reliably (for example, keeping a scene switch "on" when all scene entities match). Install and configure the add-on here: https://github.com/hugobloem/stateful_scenes.
Remember: This repository contains my personal home automation setup. Please fork and customize it for your own environment.
more like this
A to-do list that runs your Claude Code agents — capture anywhere, dispatch in parallel, review from your phone.
Arduino library and MATLAB/Simulink API for the AutomationShield Arduino expansion boards for control engineering educa…
search projects, people, and tags