rpi-nas
🌐👨💻💻 Setup your own NAS on a Raspberry Pi
 timoknapp
git clone https://github.com/timoknapp/rpi-nas.gittimoknapp/rpi-nasRaspberry PI NAS
Setup your own NAS on a Raspberry Pi.
Preview
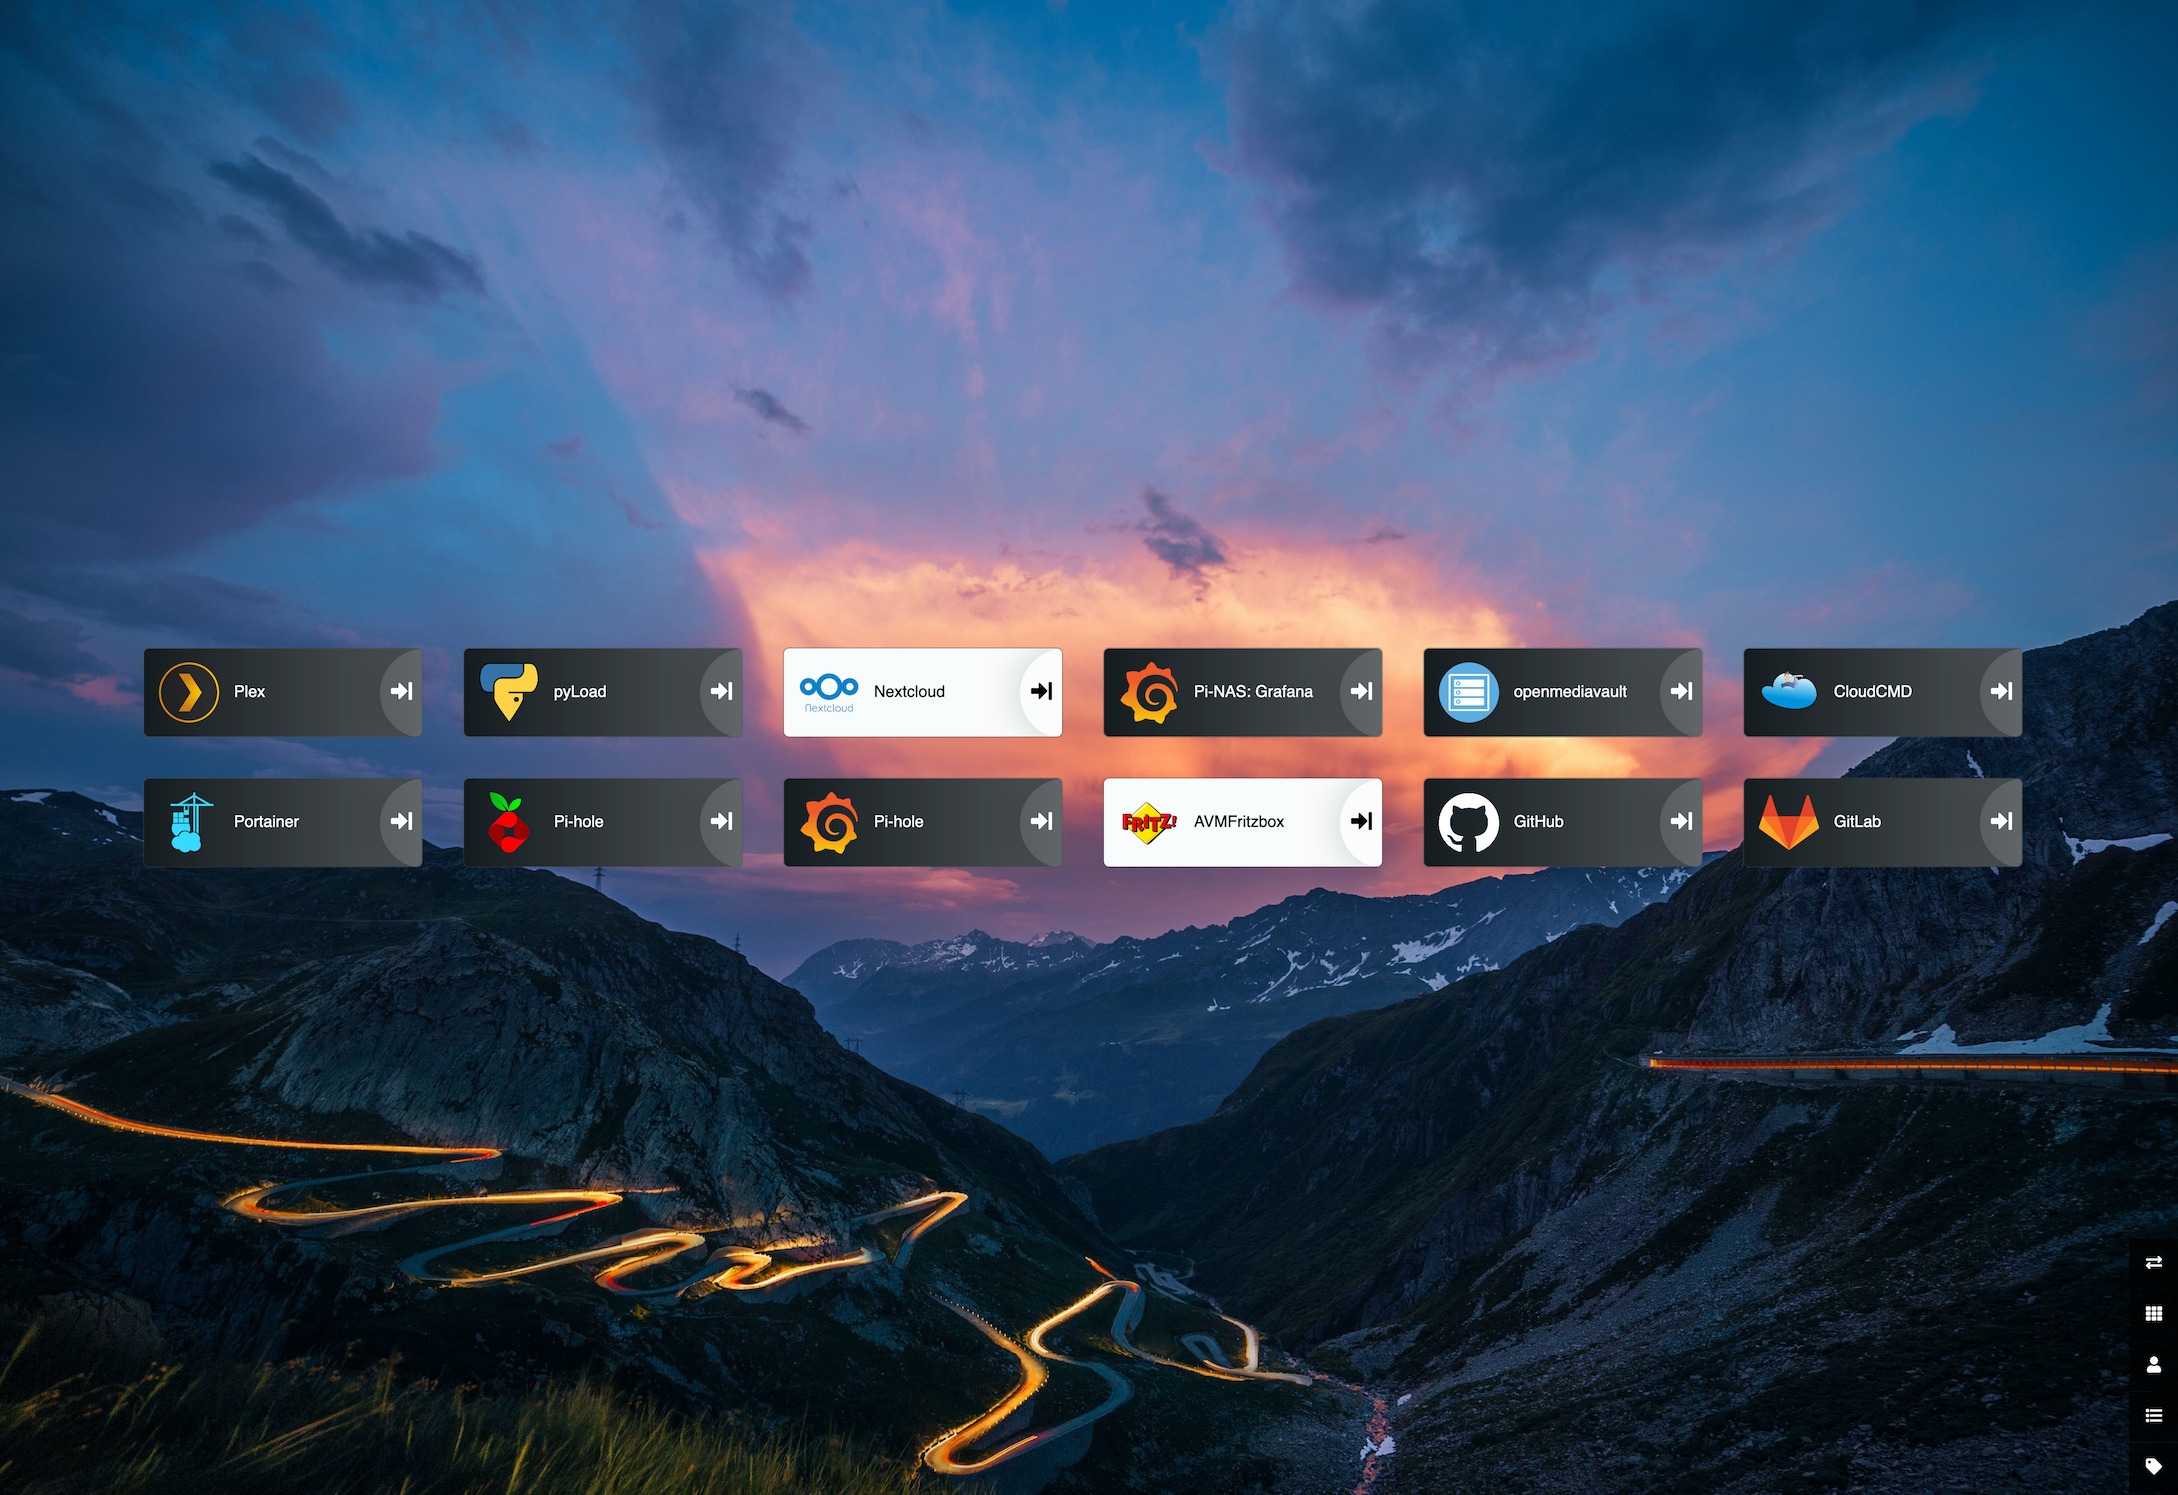
Dashboard
Monitoring
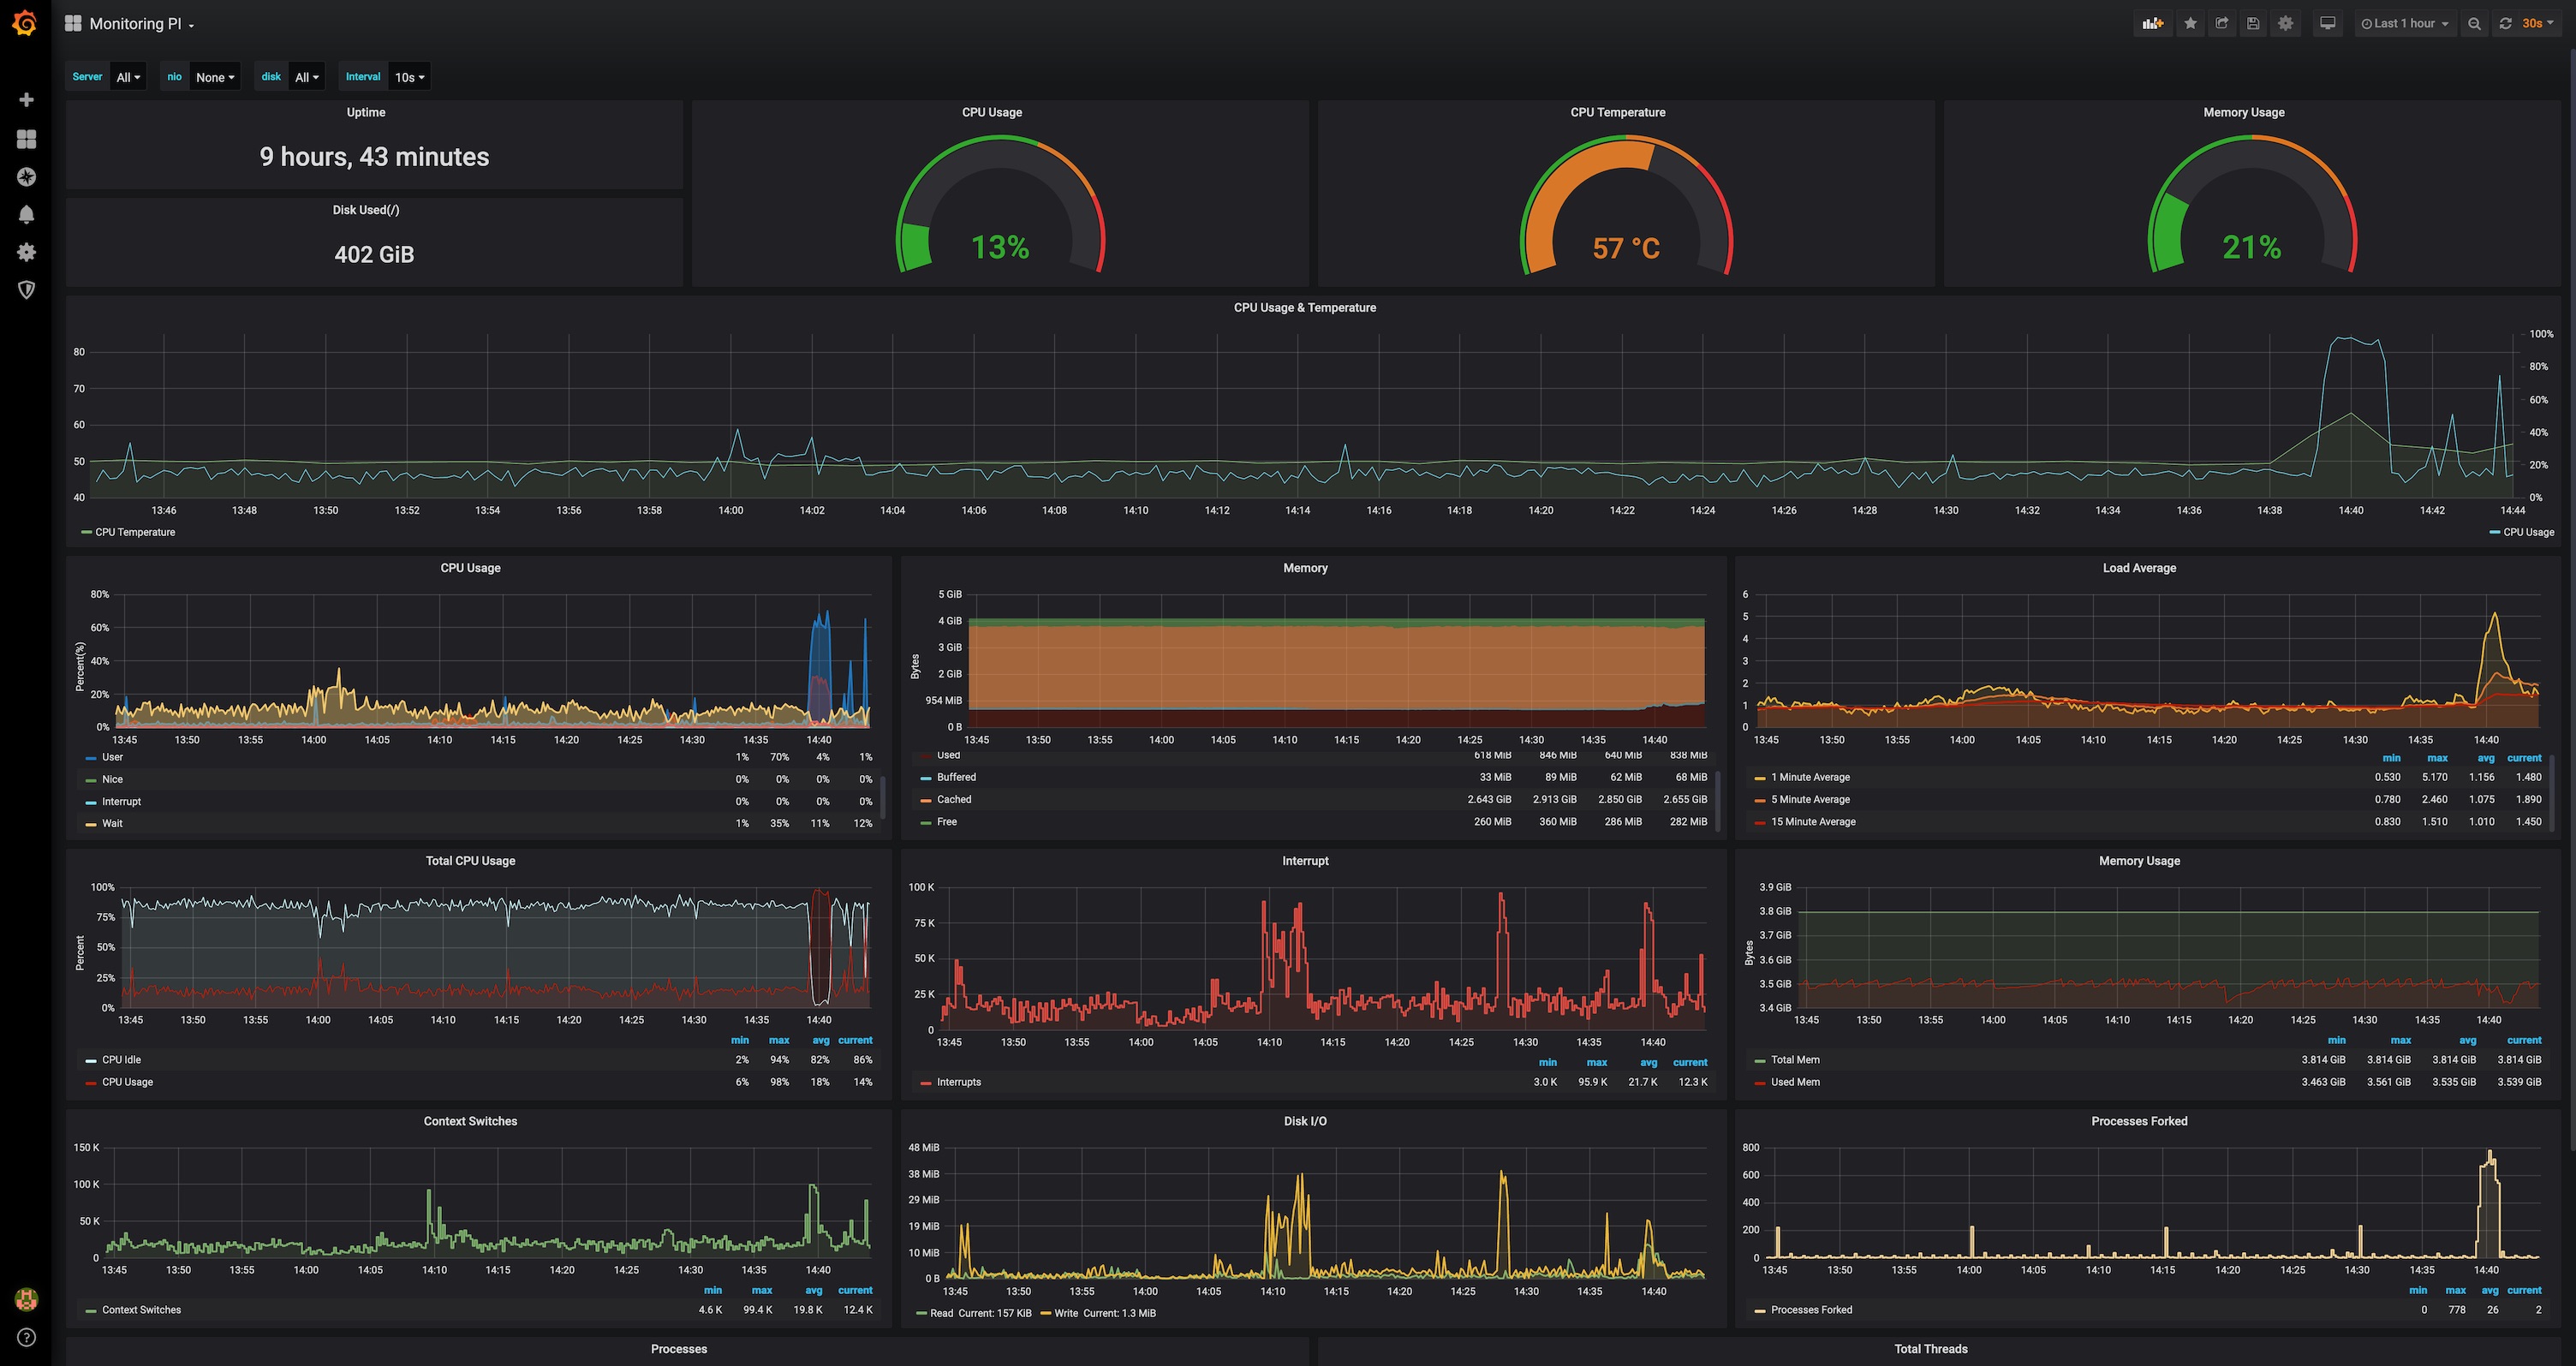
Table of Contents
Hardware
- Raspberry Pi 4 4GB
- SD Card 32GB (Silicon Power)
- QNAP TR-004 RAID Storage (RAID 5)
- SEAGATE IronWolf 4TB (ST4000VN006)
If you want to use a software based RAID setup instead, you need to format your drives first. You can use the following guides to setup a RAID 5 with Btfs:
OS
- 64 bit Raspbian
- Vanilla Rasbperry Pi OS Bullseye (e.g. Raspberry Pi OS LITE 64 bit) Installation guide
SSH
More documentation to enable SSH or generate Keys.
# Enable SSH
sudo systemctl enable ssh
sudo systemctl start ssh

# SSH Keys
ssh-keygen -t rsa -b 4096 -C
SMB Shares
Format Drives
# List Disks
sudo fdisk -l

# Open Disk (replace X with the disk letter)
sudo fdisk /dev/sdX

# Create Partititon
n
default
default
default
w

# Check Table
sudo fdisk -l

# Format the partition (replace X with the disk letter)
sudo mkfs -t ext4 /dev/sdX1
More documentation can be found here.
Mount Drives
Prepare Disks
In order to identify the disks with a descriptive name, we need to add a label to the disks. This can be done with the following commands.
# List Disks
sudo fdisk -l

# Goal state
# /dev/disk/by-label/qnap (8TB)        | LABEL="qnap"

# Add Label to Disks: (replace X with the disk letter)
sudo e2label /dev/sdX1 qnap
Mount Disks manually
# Change Owner of /mnt directory (Otherwise SMB Shares cannot be mounted)
sudo chown root:users /mnt

# Create Mount Points
sudo mkdir /mnt/qnap

# Check Permissions
stat /mnt/qnap

# Change Owner (replace $USER with your username)
sudo chown -R $USER:users /mnt/qnap/*

# Change Permissions
chmod -R 775 /mnt/qnap/*

# Mount Disks
mount /dev/disk/by-label/qnap /mnt/qnap/

# (Optional) Mount Disks with User Permissions
mount -o user=$USER /dev/disk/by-label/qnap /mnt/qnap/
More documentation can be found here.
Mount Disks automatically
# Identify UUIDs or Labels of the disks
sudo blkid
# Edit /etc/fstab
sudo nano /etc/fstab
# Add the following lines to /etc/fstab
#LABEL=qnap /mnt/qnap ext4 nofail,x-systemd.device-timeout=1ms 0 0
LABEL=qnap /mnt/qnap ext4 defaults 0 0
More documentation can be found here.
Setup SMB Server
sudo apt-get update
sudo apt-get upgrade

# Install Samba
sudo apt-get install samba samba-common-bin

# Setup Shares
sudo nano /etc/samba/smb.conf

# Add Configuration to smb.conf (replace $USER with your username)
Comment out all lines under "Share Definitions" and add the following lines:

[nas]
    path = /mnt/qnap/nas
    writeable = Yes

    # 1. Multi-Device Compatibility Layers
    # catia: handles illegal characters (: ? *) between Linux/Windows/Mac
    # fruit: speeds up Apple devices
    # streams_xattr: stores metadata in a way all modern OSs understand
    vfs objects = catia fruit streams_xattr

    # 2. Universal Performance Settings
    # Use 'stream' for metadata so it's compatible with iPad/Apple TV apps
    fruit:metadata = stream
    fruit:resource = file
    fruit:aapl = yes

    # 3. Prevent Hidden File Clutter
    # This prevents the creation of .DS_Store and ._ files across the network
    # which can sometimes confuse Linux-based media players (Plex/Kodi)
    fruit:veto_appledouble = yes
    veto files = /._*/.DS_Store/
    delete veto files = yes

    # 4. Critical for Apple TV / iPad Apps (Infuse, VLC)
    # These apps rely on fast directory listings to show movie posters/metadata
    readdir_attr:aapl_finder_info = yes
    readdir_attr:aapl_max_access = yes

    # 5. Your existing permission logic
    create mask = 0775
    directory mask = 0775
    public = no
    force user = $USER
    force group = $USER


[timemachine]
    path = /mnt/qnap/timemachine
    writeable = Yes
    vfs objects = catia fruit streams_xattr
    fruit:time machine = yes
    # Limit the advertised size to 1 Terabyte
    fruit:time machine max size = 1T
    fruit:aapl = yes
    fruit:model = MacPro
    public = no

# Setup SMB User (replace $USER with your username)
sudo smbpasswd -a $USER

# Restart Samba service
sudo systemctl restart smbd

# Check SMB Status including Version
sudo smbstatus
More documentation can be found here and here.
Setup TimeMachine Share
# Check if Avahi service is running
sudo systemctl status avahi-daemon

# If the `avahi-daemon` is not installed, install it with the following command:
sudo apt install avahi-daemon

sudo nano /etc/avahi/services/samba.service

# Add Configuration to samba.service
# You can choose different Icons of your Server based on this file
# /System/Library/CoreServices/CoreTypes.bundle/Contents/Info.plist
# https://simonwheatley.co.uk/2008/04/avahi-finder-icons/
<?xml version="1.0" standalone='no'?><!--*-nxml-*-->
<!DOCTYPE service-group SYSTEM "avahi-service.dtd">
<service-group>
  <name replace-wildcards="yes">%h</name>
  <service>
    <type>_smb._tcp</type>
    <port>445</port>
  </service>
  <service>
    <type>_device-info._tcp</type>
    <port>9</port>
    <txt-record>model=RackMac3,1</txt-record>
    <txt-record>model=MacPro7,1@ECOLOR=226,226,224</txt-record>
  </service>
  <service>
    <type>_adisk._tcp</type>
    <port>9</port>
    <txt-record>dk0=adVN=timemachine,adVF=0x82</txt-record>
    <txt-record>sys=adVF=0x100</txt-record>
  </service>
</service-group>

# Restart Avahi service
sudo systemctl restart avahi-daemon
More documentation can be found here. After modifying the samba.service file, the TimeMachine share should be visible in the Finder.
Other useful things
HD-Idle
Setup HDD spin down times to save energy and increase lifetime of the disks.
# Install hd-idle
sudo apt install hd-idle
# Configure hd-idle
sudo nano /etc/default/hd-idle

# Change line according to your available disks. Replace X with the disk letter.
# The following line will set the default to 0 and the custom idle time for disk sdX to 8 minutes. Save File afterwards.
HD_IDLE_OPTS="-i 0 -a sdX -i 480 -l /var/log/hd-idle.log"

# Configure hd-idle service
sudo nano /lib/systemd/system/hd-idle.service

# Add the following lines in the "[Service]" section
# This will make sure that the service will be restarted in case of errors.
[Service]
...
Restart=always
RestartSec=3

# Restart Systemd Deamon
sudo systemctl daemon-reload

# Restart hd-idle
sudo systemctl restart hd-idle

# Check if hd-idle is running
systemctl status hd-idle

# Check if disks are spinning down
cat /var/log/hd-idle.log
More documentation can be found here
Log2Ram
sudo apt update
sudo apt install log2ram

# Check if log2ram is running (after reboot!)
systemctl status log2ram
More documentation can be found here.
Check Disk Utilization
df -h
Docker Setup
Install Docker
I recommend to install it yourself following a simple guide.
Prepare Docker Environment
All following commands need to be run from your Raspberry PI. Either connect via SSH or direct access.
1. Clone Repository
git clone https://github.com/timoknapp/rpi-nas.git
cd rpi-nas
2. Configure your Setup
Replace Placeholders in docker-compose.yml file:
-
${PATH_TO_DISK} with related Path on your PI
-
Execute the following command on your PI:
id `whoami`- Replace ${USER_ID} with the integer value of
uid. - Replace ${GROUP_ID} with the integer value of
gid.
- Replace ${USER_ID} with the integer value of
-
Set password
postgresuser
3. Run Compose-Stack
docker-compose up
4. Try it out
Opening a browser with the IP of your PI should show now the Heimdall dashboard. A configured dashboard would like like one on top. (e.g. http://IP-OF-YOUR-PI)
Components
Following show all the applications of the docker-compose.yml related to their exposed ports on the host.
| Application | Port | URL | Optional |
|---|---|---|---|
| Portainer | 9000 | http://localhost:9000 | |
| Heimdall Dashboard | 80, 443 | http://localhost, https://localhost | |
| Pi-hole | 53, 8080 | http://localhost:8080 | |
| CloudflareD | - | ||
| Homebridge | 8581 | http://localhost:8581 | |
| Deconz Conbee | 8888, 8443 | http://localhost:8888, https://localhost:8443 | |
| Plex | 32400 | http://localhost:32400/web/index.html | yes |
| CloudCmd | 8008 | http://localhost:8008 | yes |
| pyLoad | 8088 | http://localhost:8088 | |
| Nextcloud | 8081 | http://localhost:8081 | yes |
| Home-Assistant(1) | 8123 | http://localhost:8123 | yes |
| Grafana | 3000 | http://localhost:3000 | |
| InfluxDB | - | ||
| Telegraf | - | ||
| Internet Speedtest | - | yes |
Optional means that the application is not necessary for the NAS to work properly. It is just a nice to have. If you want to use it, you need to uncomment the related lines in the docker-compose.yml file.
(1) In order to expose your external devices using Zigbee/Z-Wave dongles to the Home Assistant container, you can read this guide
Configure Pi-hole
-
Open
http://IP-OF-YOUR-PI:8080/adminand login with the password you set in thedocker-compose.ymlfile. -
Go to
Settings->DNS->Interface settingsand change the setting fromAllow only local requeststoPermit all origins->Save. (This could already be set by the environment variableDNSMASQ_LISTENINGin thedocker-compose.ymlfile)- This will add the following line in
/etc/dnsmasq.d/01-pihole.conf:
except-interface=nonexisting
Since the Pi-hole is running in a docker container, it is not possible to use the
Allow only local requestssetting as its only considering the local network of the container. - This will add the following line in
-
Go to
Settings->System->Disable Query Logging.Since we want to use the Pi-hole as a DNS server only, we don't need to log any queries. This will reduce the amount of writes to the disk and will allow us to run Pi-hole in anonymous mode.
-
Add the following lines to
/etc/pihole/pihole-FTL.conf:PRIVACYLEVEL=3 #; 0=show everything, 1=hide domains, 2=hide domains and clients, 3=anonymous mode #; MAXLOGAGE=24.0 #; up to how many hours of logs to show in pihole web interface MAXDBDAYS=7 #; delete entries older than 30 days. Setting this to 0 will disable the database. DBINTERVAL=60.0 #; write to the pihole-FTL.db file every 30 minutes (lets the HDD spin down) #; DBFILE=/etc/pihole/pihole-FTL.db #; path to the database file. Setting this to DBFILE= disables the database altogether
-
Restart Pi-hole container!
Configure CloudflareD
Tdb.
- Add your Cloudflare API Token to the
TUNNEL_TOKENvariable in thedocker-compose.ymlfile.
more like this
Sandwich-Batch-Normalization
[WACV 2022] "Sandwich Batch Normalization: A Drop-In Replacement for Feature Distribution Heterogeneity" by Xinyu Gong,…
markItDown
📱 A React app to preview and edit Markdown✍. You can also export it as HTML.