moxon-frame-generator
simple generator for 3D-printed frames for a moxon rectangle antenna
OpenSCAD★ 50
Auxiliary Cooling Fan for the Voron V0 Printers
 JackJack3231
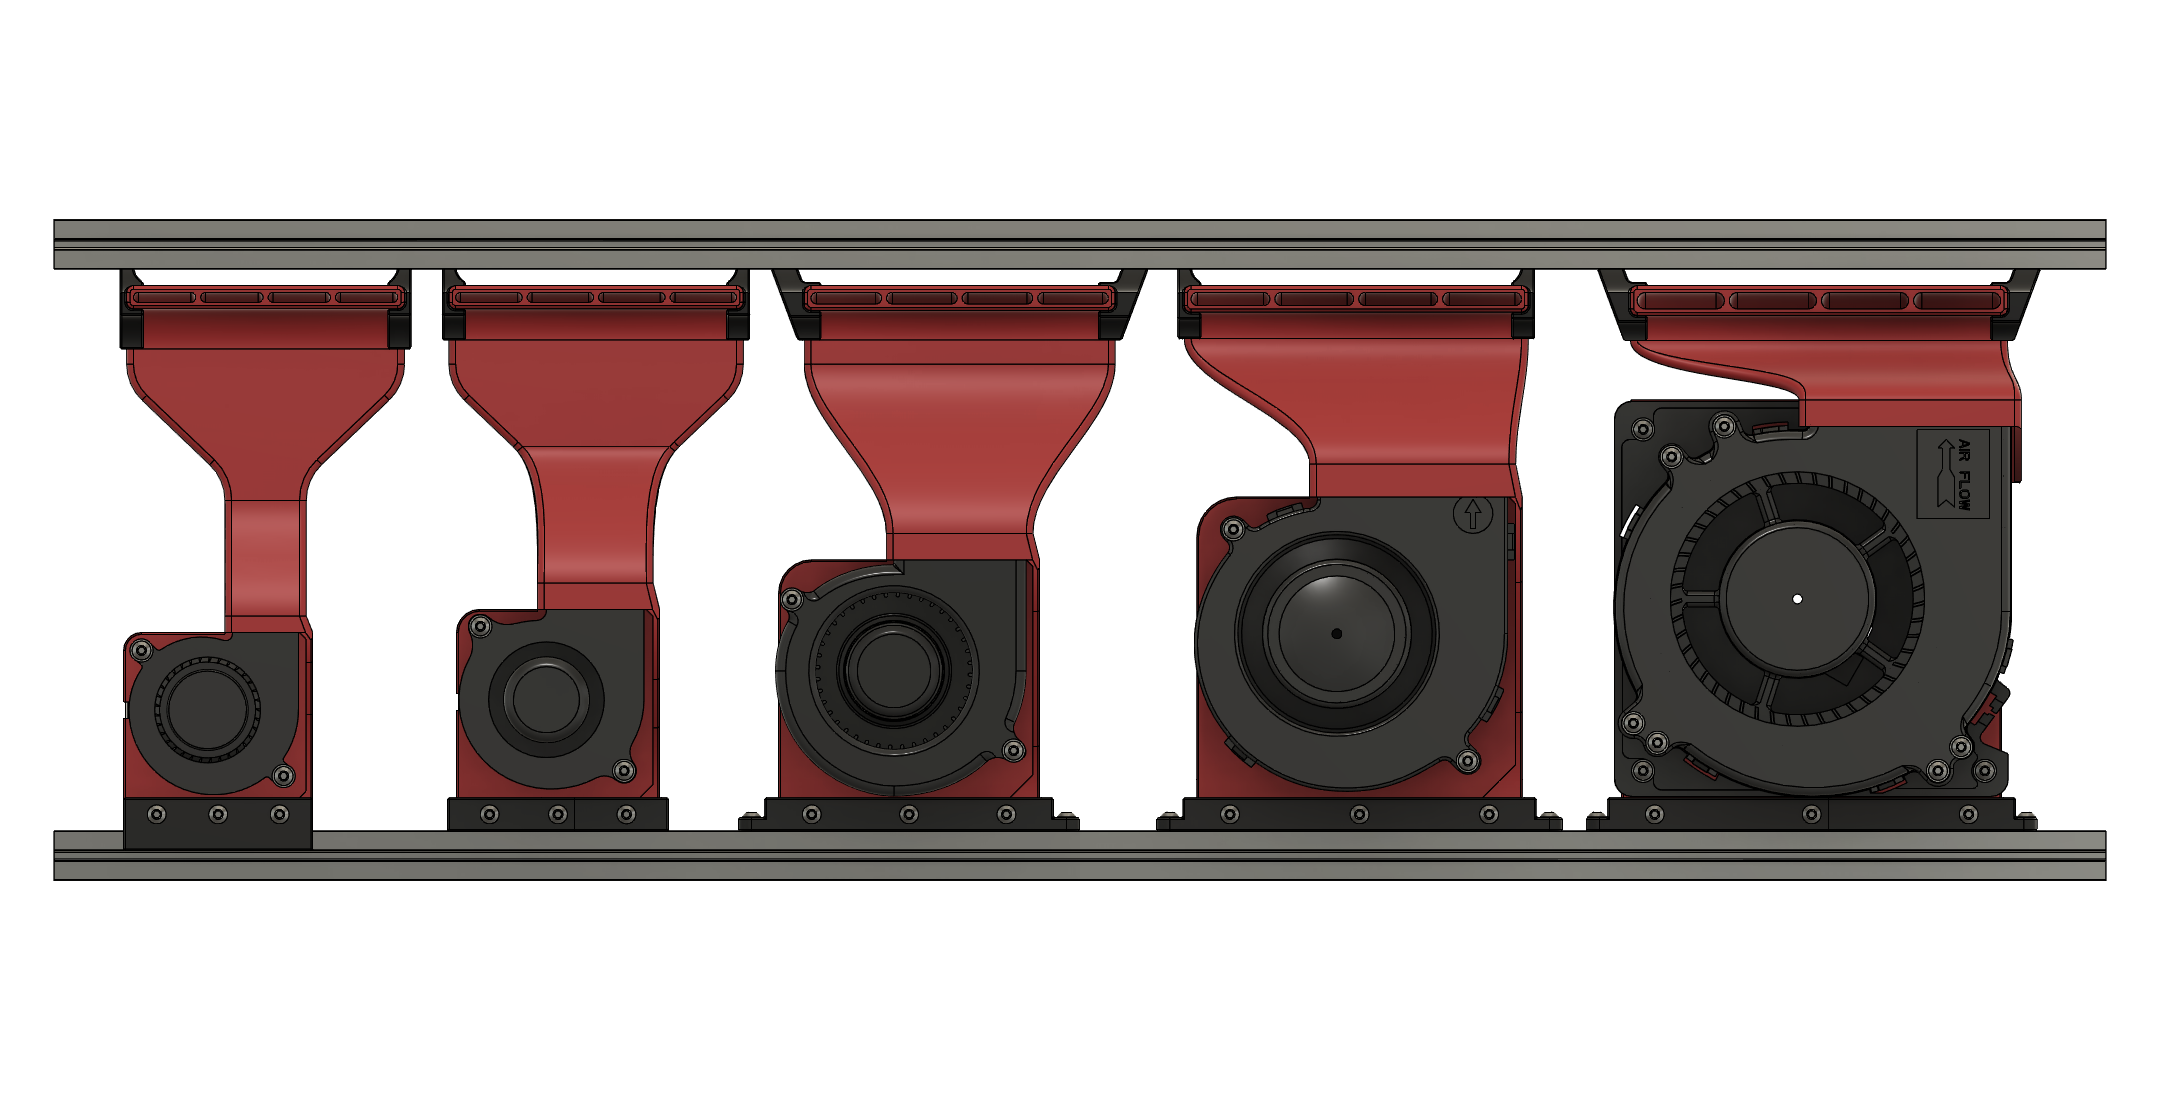
git clone https://github.com/JackJack3231/V0-Auxiliary-Fan.gitJackJack3231/V0-Auxiliary-FanAuxiliary Cooling Fan Ducts for the Voron V0 3d-Printers, using either a 5015, 6028, 7530, 9733 or 12032 Blower fans.
Below the 6028 Fan and duct installed in a v0.2 using the screw mounts.
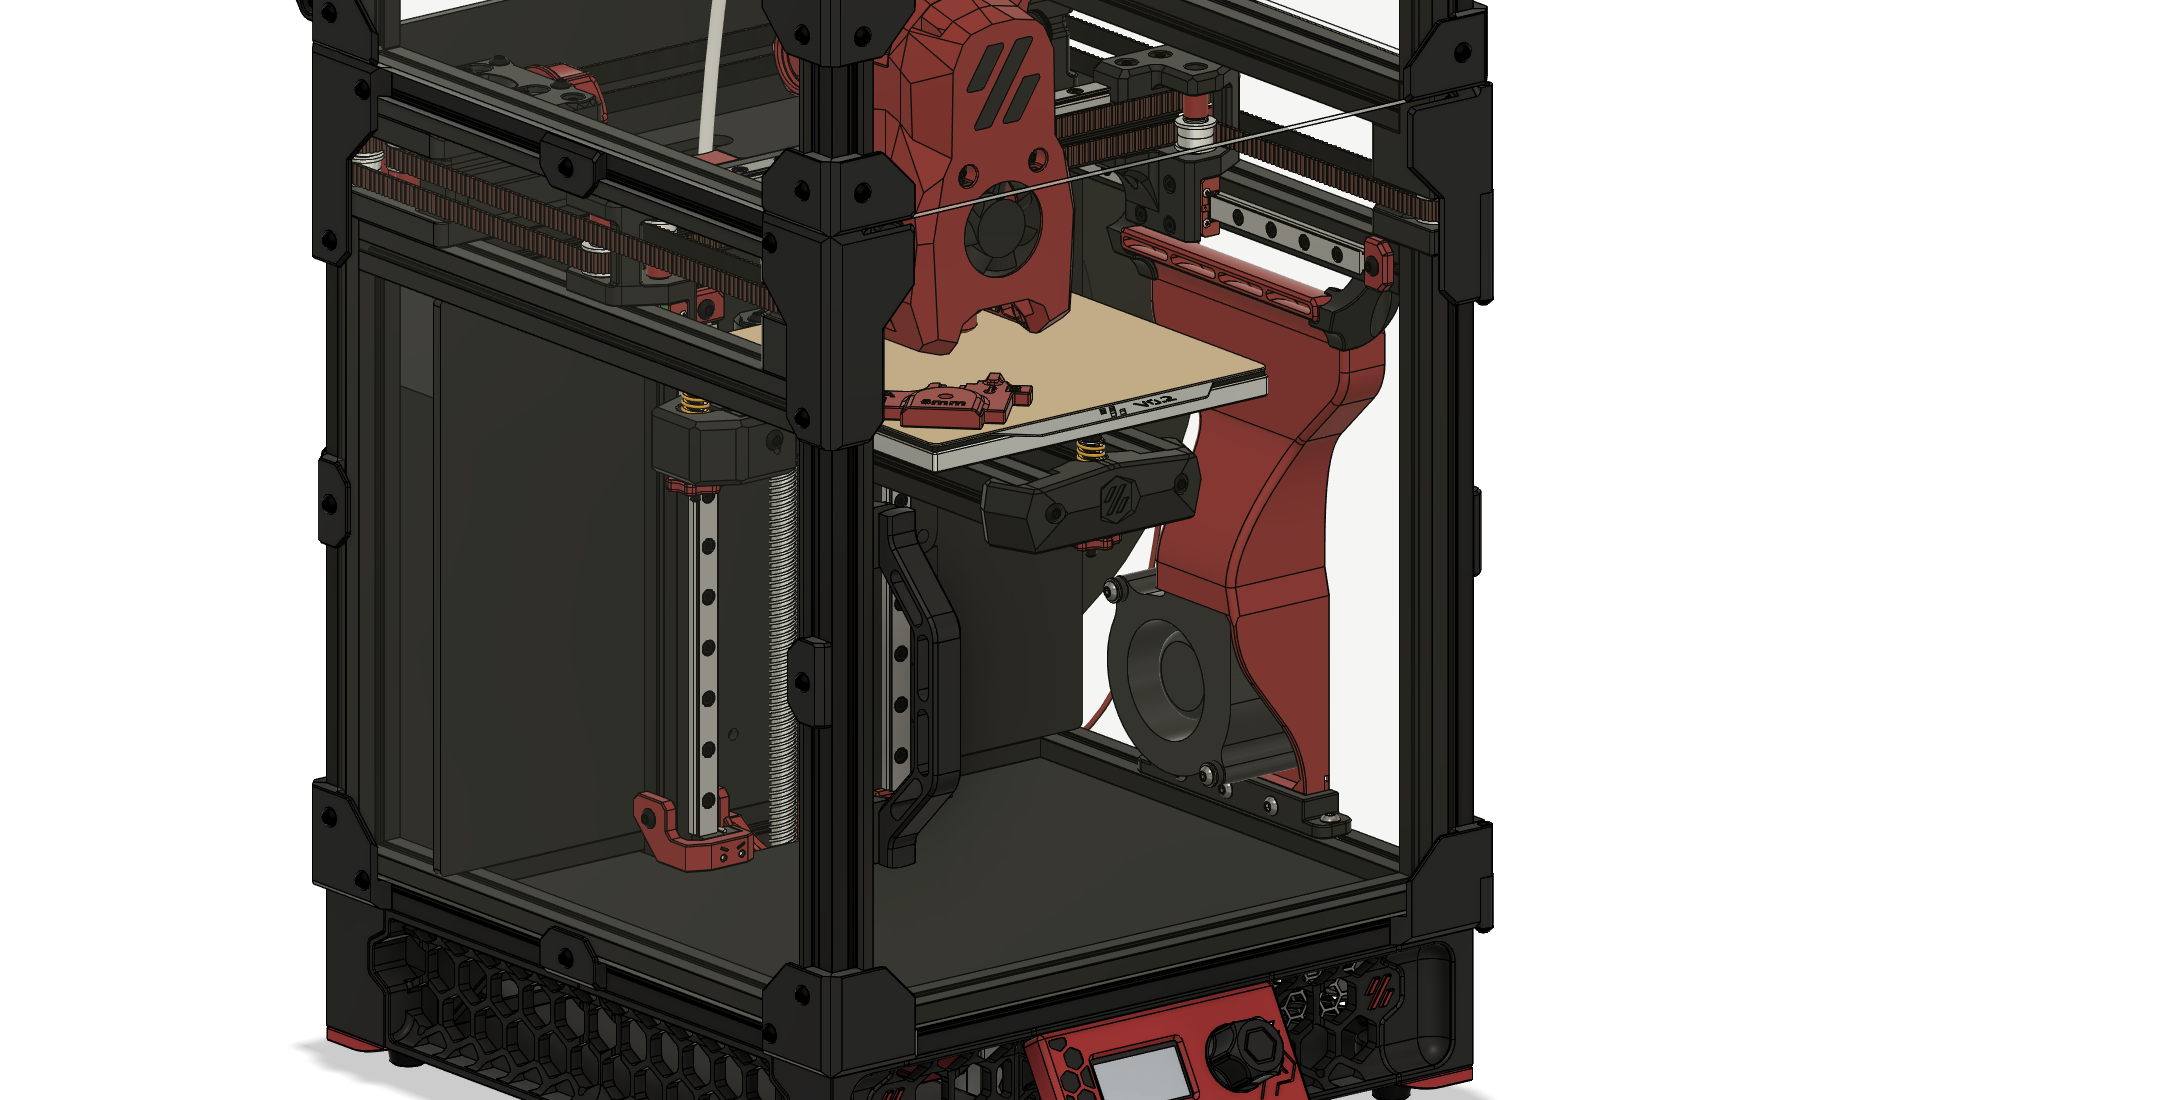
The ducts can be easily installed after the Printer has already been fully assembled, as there are mounting options that don't require preloaded nuts in the extrusion slots.
Since the R1 release there are now 3 mounting options:
All of these mounting options use the same main duct bodies, so you could also mix and match as you want. For Example if you used a Nevermore filter before you could use the 2 M3 nuts in the bottom extrusion to secure the bottom of the duct with a screw mount and the top with the twist mounts.
No matter what mount you choose it is highly recommended you use one of the top mounts to ensure proper alignment towards the print bed and avoid the duct to collide with the toolhead.
The ducts come in 2 Versions: A Unibody Version for which you'll need a larger Printer as it is 170 mm long and a 2 Piece Version which you can print on a V0 and glue together after printing.
I have not done any CFD-Simulation on these shrouds, so they definitely could be better.
Currently, there are ducts for the following Blower Fan sizes available:
There also are ducts that target their airflow 3 mm lower than the MiniSB for people using higher flow toolheads where the nozzle sits slightly lower in the UHF Folder. This is not required for High-Flow setups that don't change the nozzle height like chirpy's Rapid Burner.
I also started adding ducts, that I was requested to make for specific setups, to the repo. You will find these in the Customs Folder.
There seems to be quite a bit of variance in the exact mounting hole patterns on these blower fans, especially the larger ones. So you could run into compatibility issues and need to adjust the model in CAD. I used GDSTIME fans for all my tests, so these should work.
Additionally, the width of the slots on the MakerBeamXL or LDO Extrusions can vary a lot. These generally are specced at 3-3.2 mm wide. The ducts were designed with a 3.2 mm thick part that slots into the extrusion. This was made to ensure a snug fit, however on some frames it could be very difficult/impossible to slot in. So either you can just print it and sand down the bottom part if needed or measure your frame before printing and adjust in CAD for the measured slot thickness.
For Comparison Pictures of the cooling Performance check the Overhang Tests Document. These are currently outdated as they use the old ducts from before the R1 Release.
As these parts don't hold any high loads you don't have to print these according to the Voron Guidelines. 3 Perimeters with 25% Infill are more than enough.
You'll need a way to connect the fan, there are a few ways to do this outlined in the Connecting the fan documentation.
If you have LEDs or a Camera mounted to the underside of the Y-axis extrusions these will likely collide with the fanshroud, so you might need to move the LEDs to the top.
Depending on your choice of mount and fan the BOM changes. The parts for the mounts are the same, regardless of fan:
| Part | Quantity | Notes |
|---|---|---|
| M3x5x4 Heatset Insert | 3 | for all mounts |
| M3x16 BHCS | 3 | for clamp mount |
| M3x12 BHCS | 2 | for screw and twist mount |
| M3x8 BHCS | 2 | for bottom screw mount |
| M3x6 BHCS | 2 | for top screw mount |
| Superglue | only if using a 2 piece duct | |
| VHB-Tape | for top mounts |
For the stronger twist mounts you will need 2 more Heatsets and M3x12 screws, so 5 Heatsets and 5 M3x12 screws in total.
BHCS can be substituted for SHCS.
Additionally, you will need some Hardware to secure the fan. See the specific README of each version for a list of additionally required parts.
Refer to the General Assembly Instructions documentation and the additional information in the README of each specific duct.
There are example klipper configs with macros and display entries provided. These allow easy control of the fan and even Slicers like BambuStudio or OrcaSlicer to control the fan with G-Code.
Refer to the Firmware and Slicer Configuration documentation.
Thanks to the Voron Team for their great work on the V0 Printer: Voron Design
Following Fan Models were used in CAD:
Changes made to ducts to improve cooling performance:
All had slight changes to the internal flow guide geometry to (hopefully) improve cooling performance.
Known Issue: The 7530 duct still has higher airflow on the left side than on the right side, at least at 100% speed. Will need to rework the internal flow guides some time in the future.
more like this
simple generator for 3D-printed frames for a moxon rectangle antenna
GPX 轨迹转 3D 可打印地形模型 | Hiking trail to 3D printable terrain | Electron + Vue。 一款面向户外爱好者与 3D 打印玩家的 Web 工具。将 GPX 徒步/骑行轨迹一键转…
Install and monitor KlipperScreen on Android via DroidKlipp APK, USB ADB forwarding, and WiFi fallback
search projects, people, and tags