moxon-frame-generator
simple generator for 3D-printed frames for a moxon rectangle antenna
OpenSCAD★ 50
A 3D Printed Hexapod Robot
 rookidroid
git clone https://github.com/rookidroid/hexapod.gitrookidroid/hexapod Hexapod
A 3D Printed Hexapod Robot
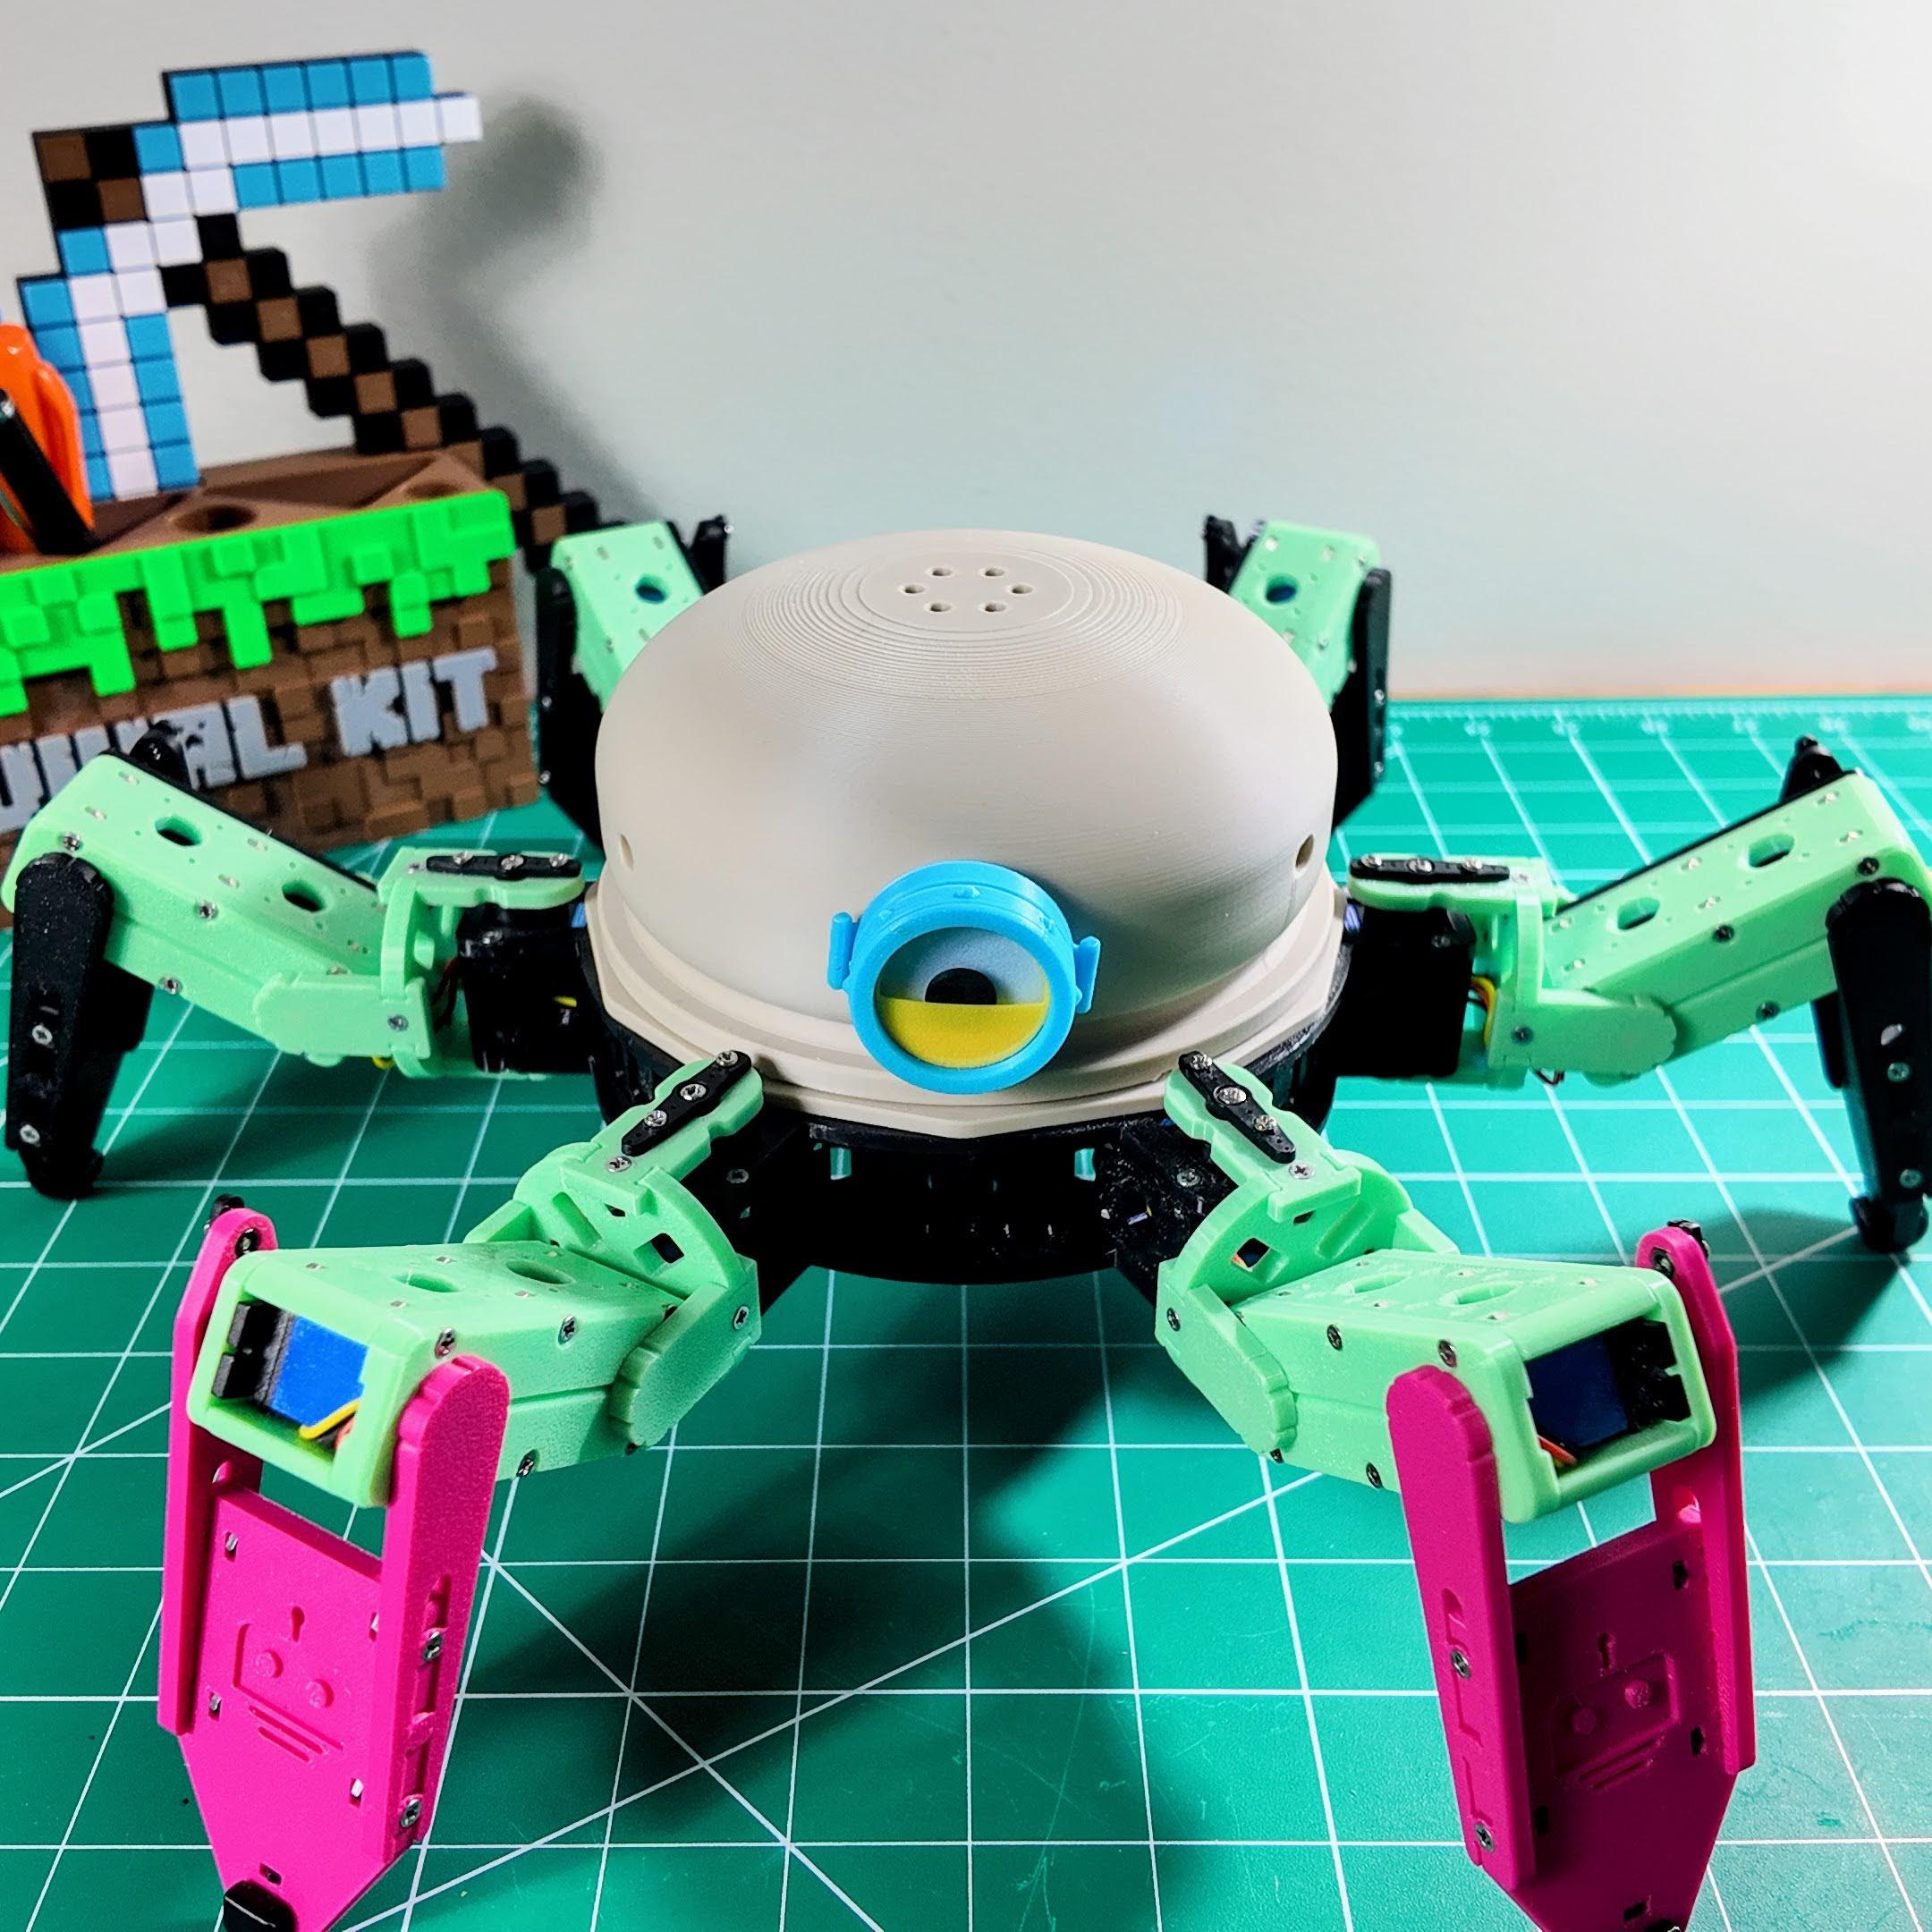
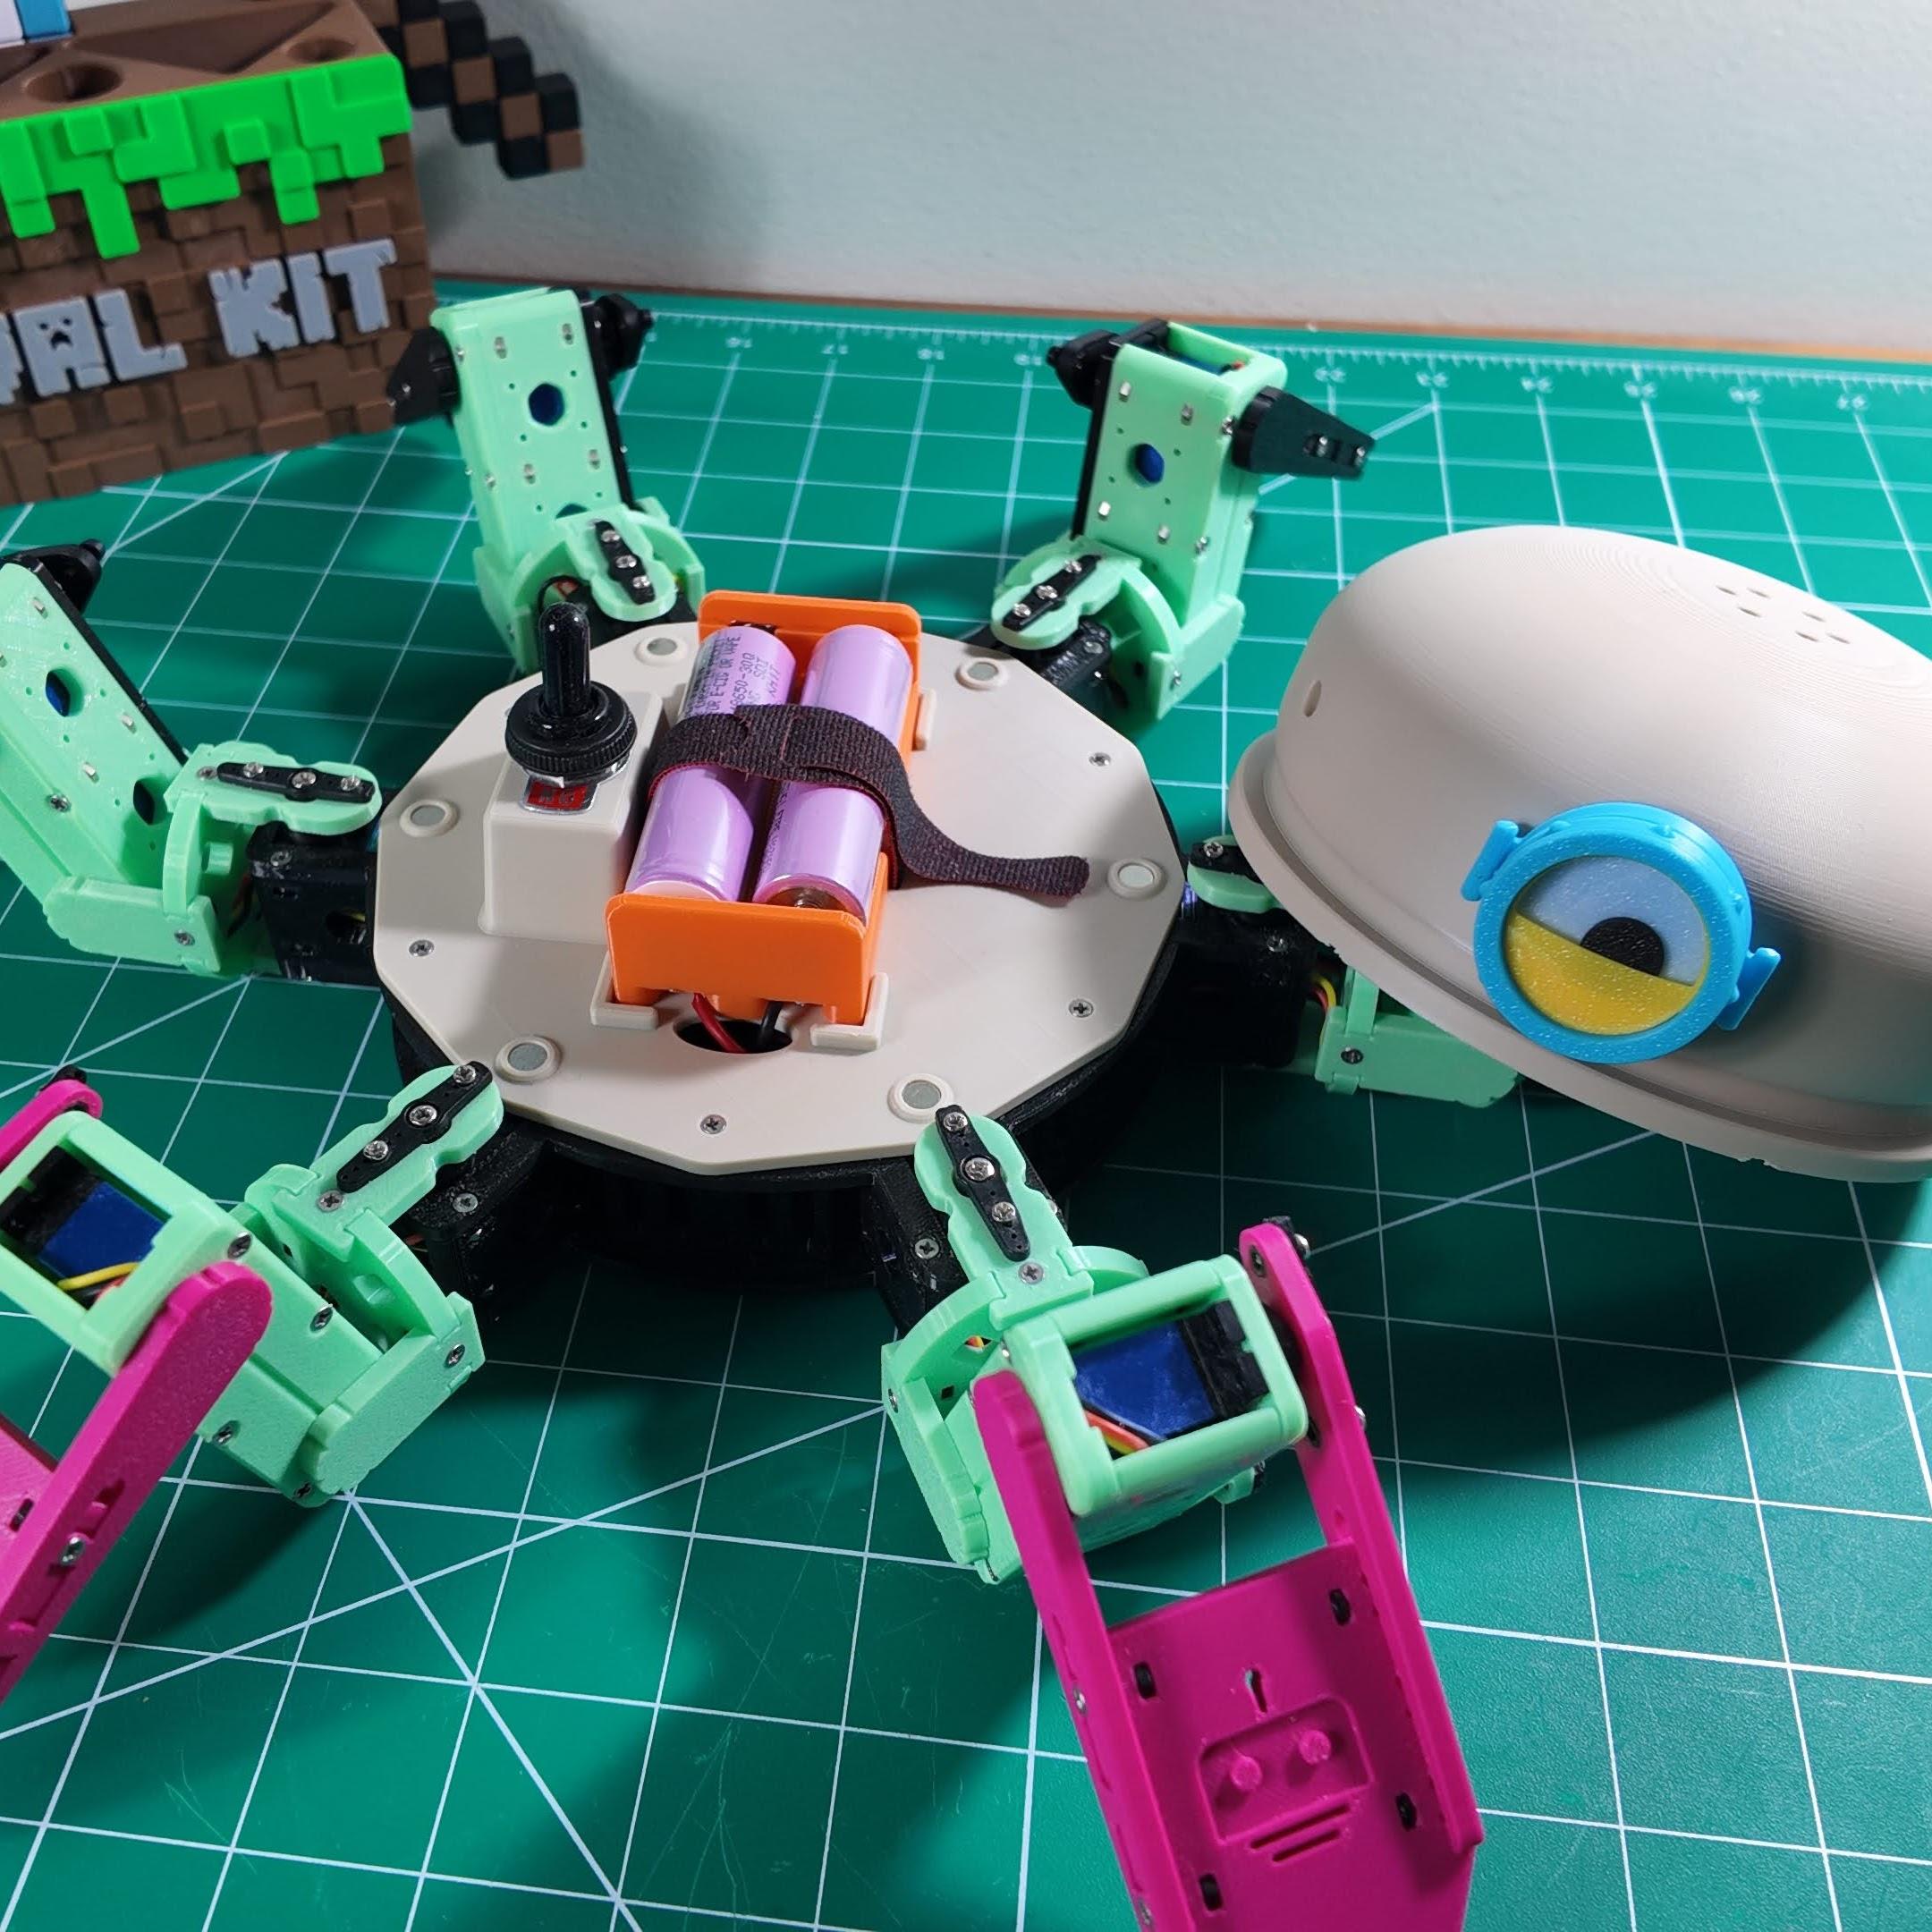
This agile, 3D-printed hexapod robot is designed to work with either a Raspberry Pi PICO or an ESP32, providing flexibility and enhanced performance. Equipped with stronger and faster 21G servos, it offers a range of advanced features, including:
This project will guide you through building a fully functional hexapod robot with 18 degrees of freedom (3 joints per leg × 6 legs). The complete build typically takes 8-12 hours, including 3D printing, assembly, and calibration.
| Name | Thumbnail | Required # | Specifications | Note |
|---|---|---|---|---|
| Controller Board | 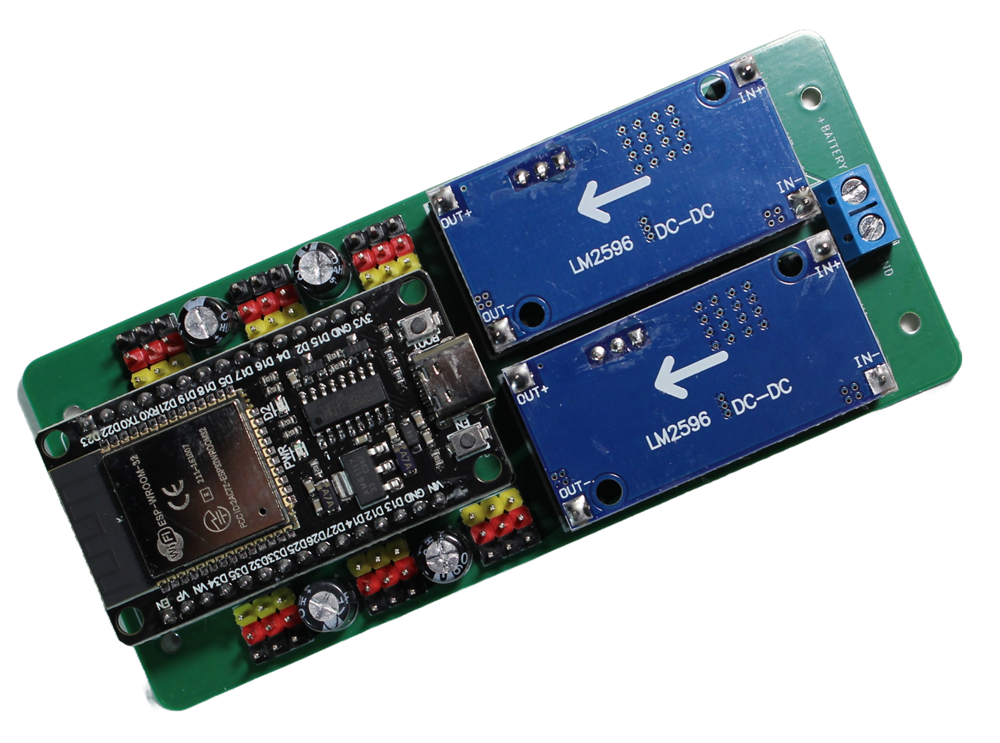 or or 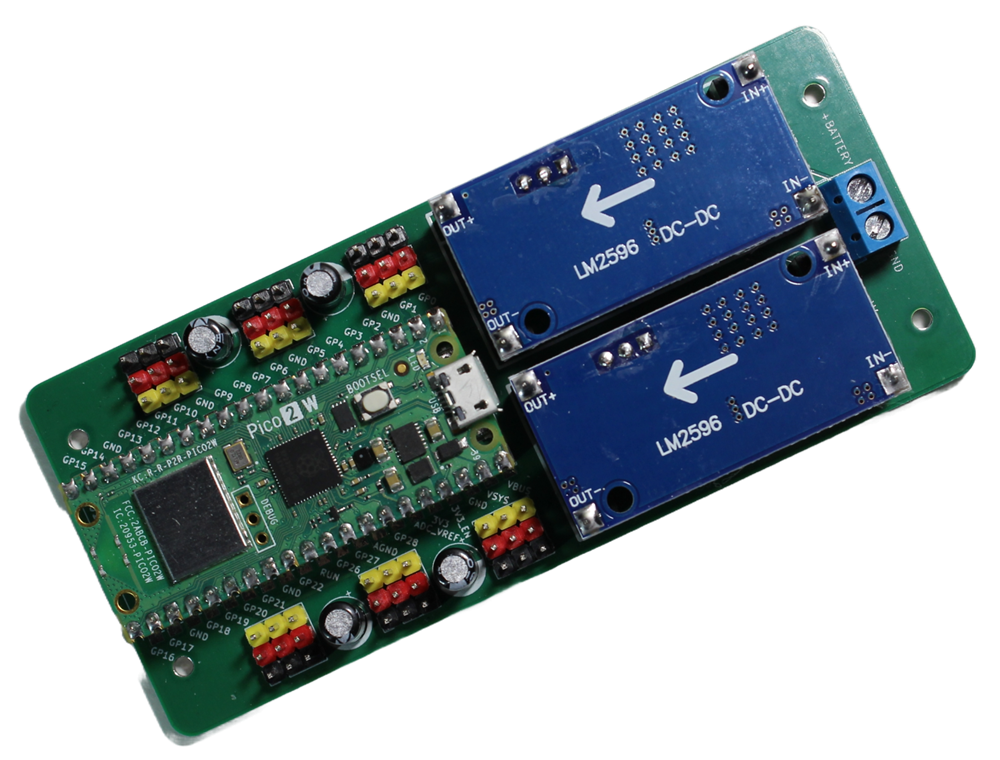 |
1 | ESP32 or Raspberry Pi Pico W/2W | Purchase ESP32 version or RPi Pico version. |
| MG92B Servo | 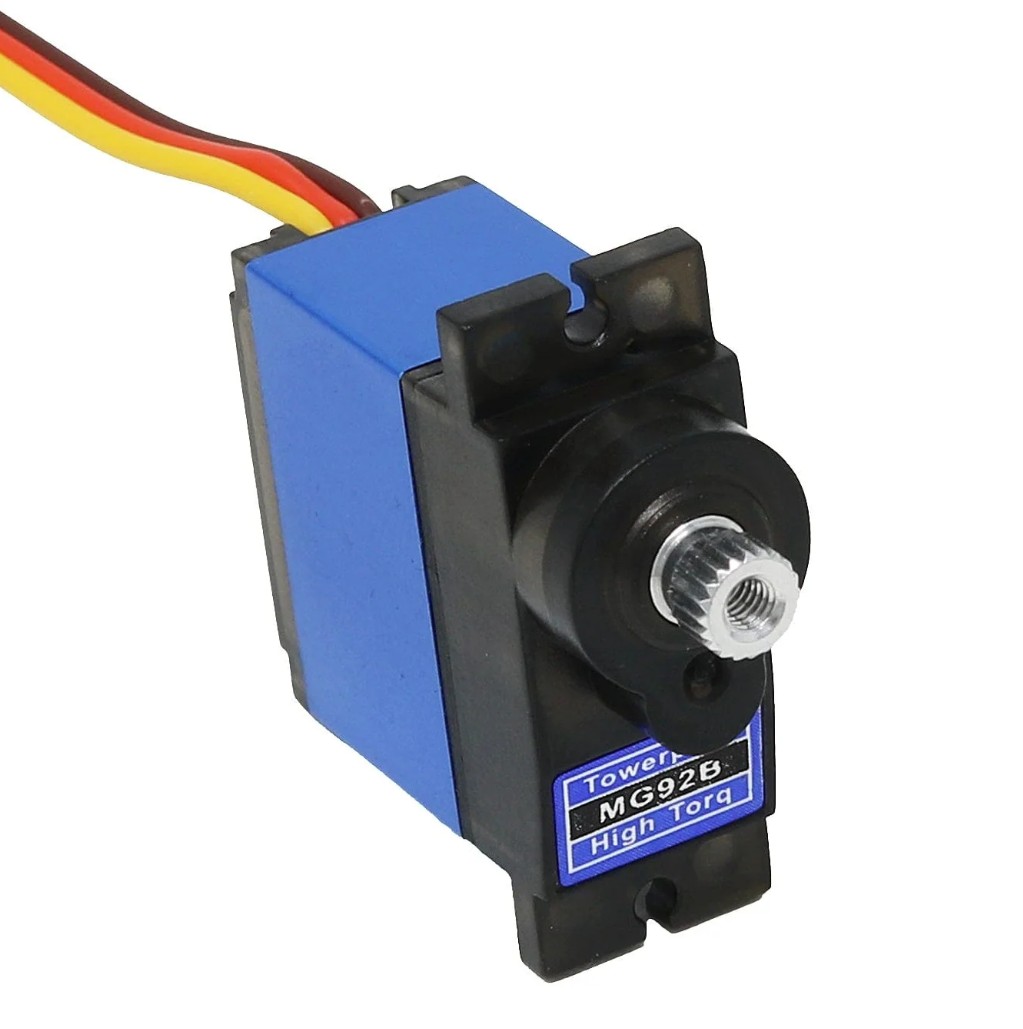 |
18 | 180° rotation | Ensure all servos are from the same batch for consistency |
| Toggle Switch | 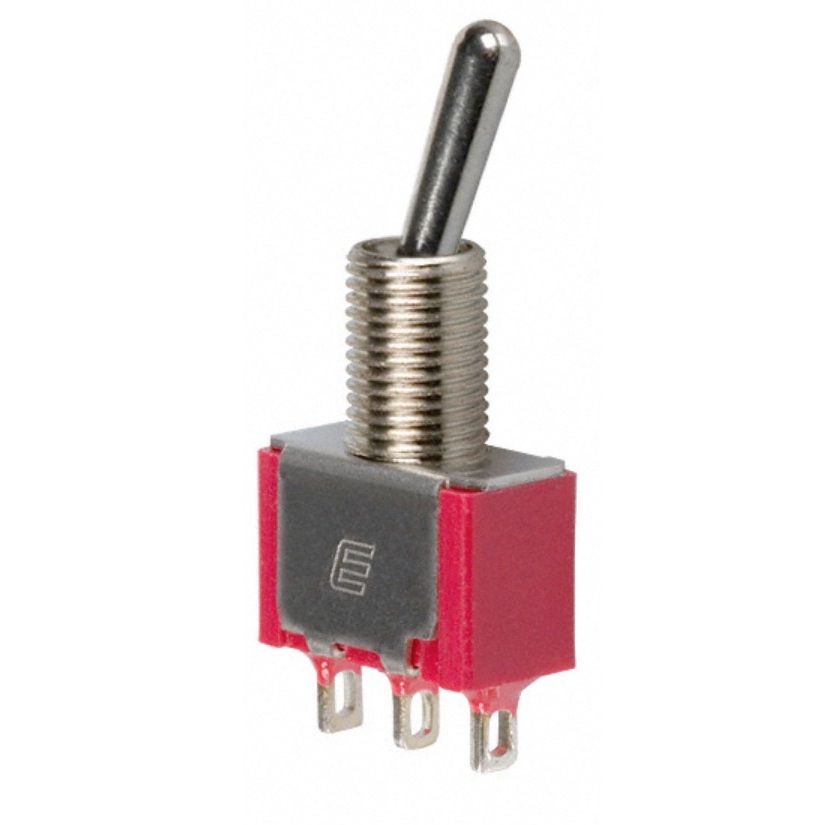 |
1 | SPST, 6mm diameter | |
| 18650 Battery |  |
2 | 3.7V Li-ion, 2000mAh+ recommended | Use protected batteries for safety |
| 18650 Battery Holder | 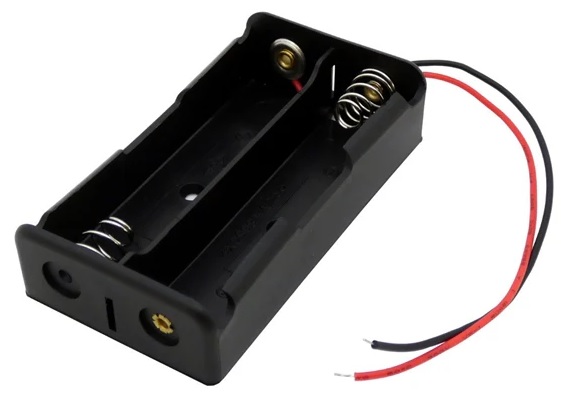 |
1 | 2-cell holder with wire leads |
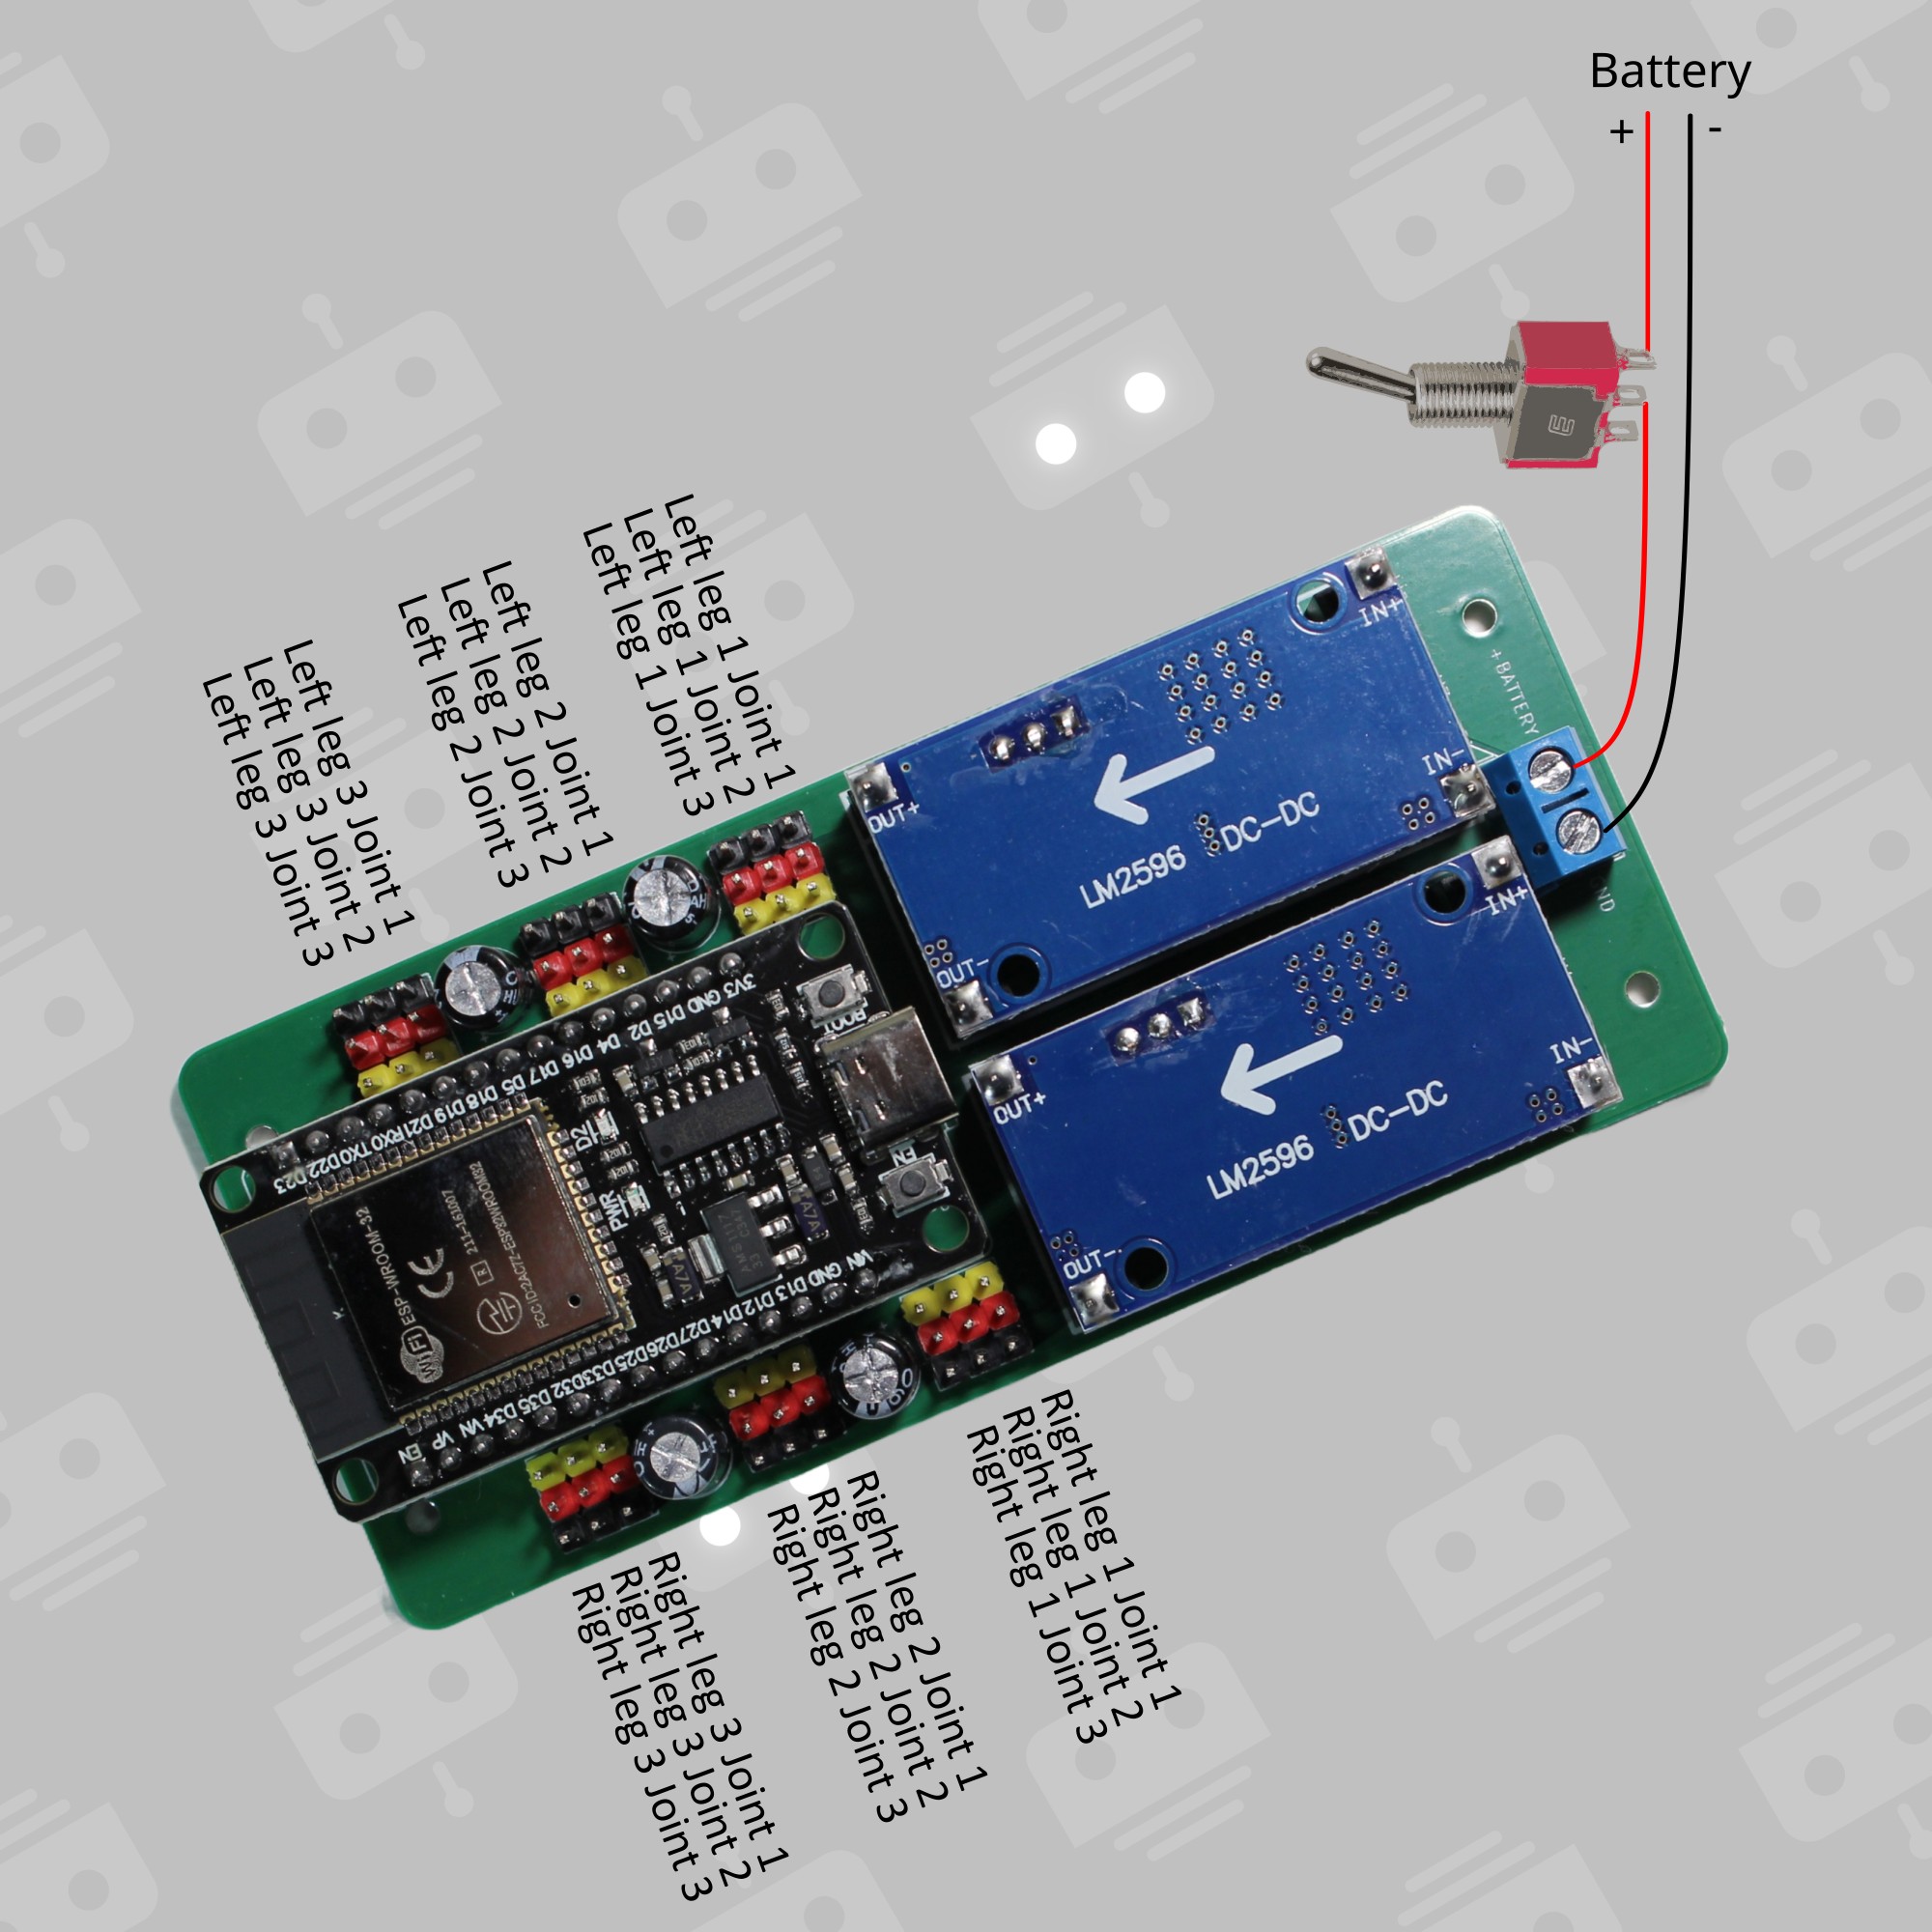
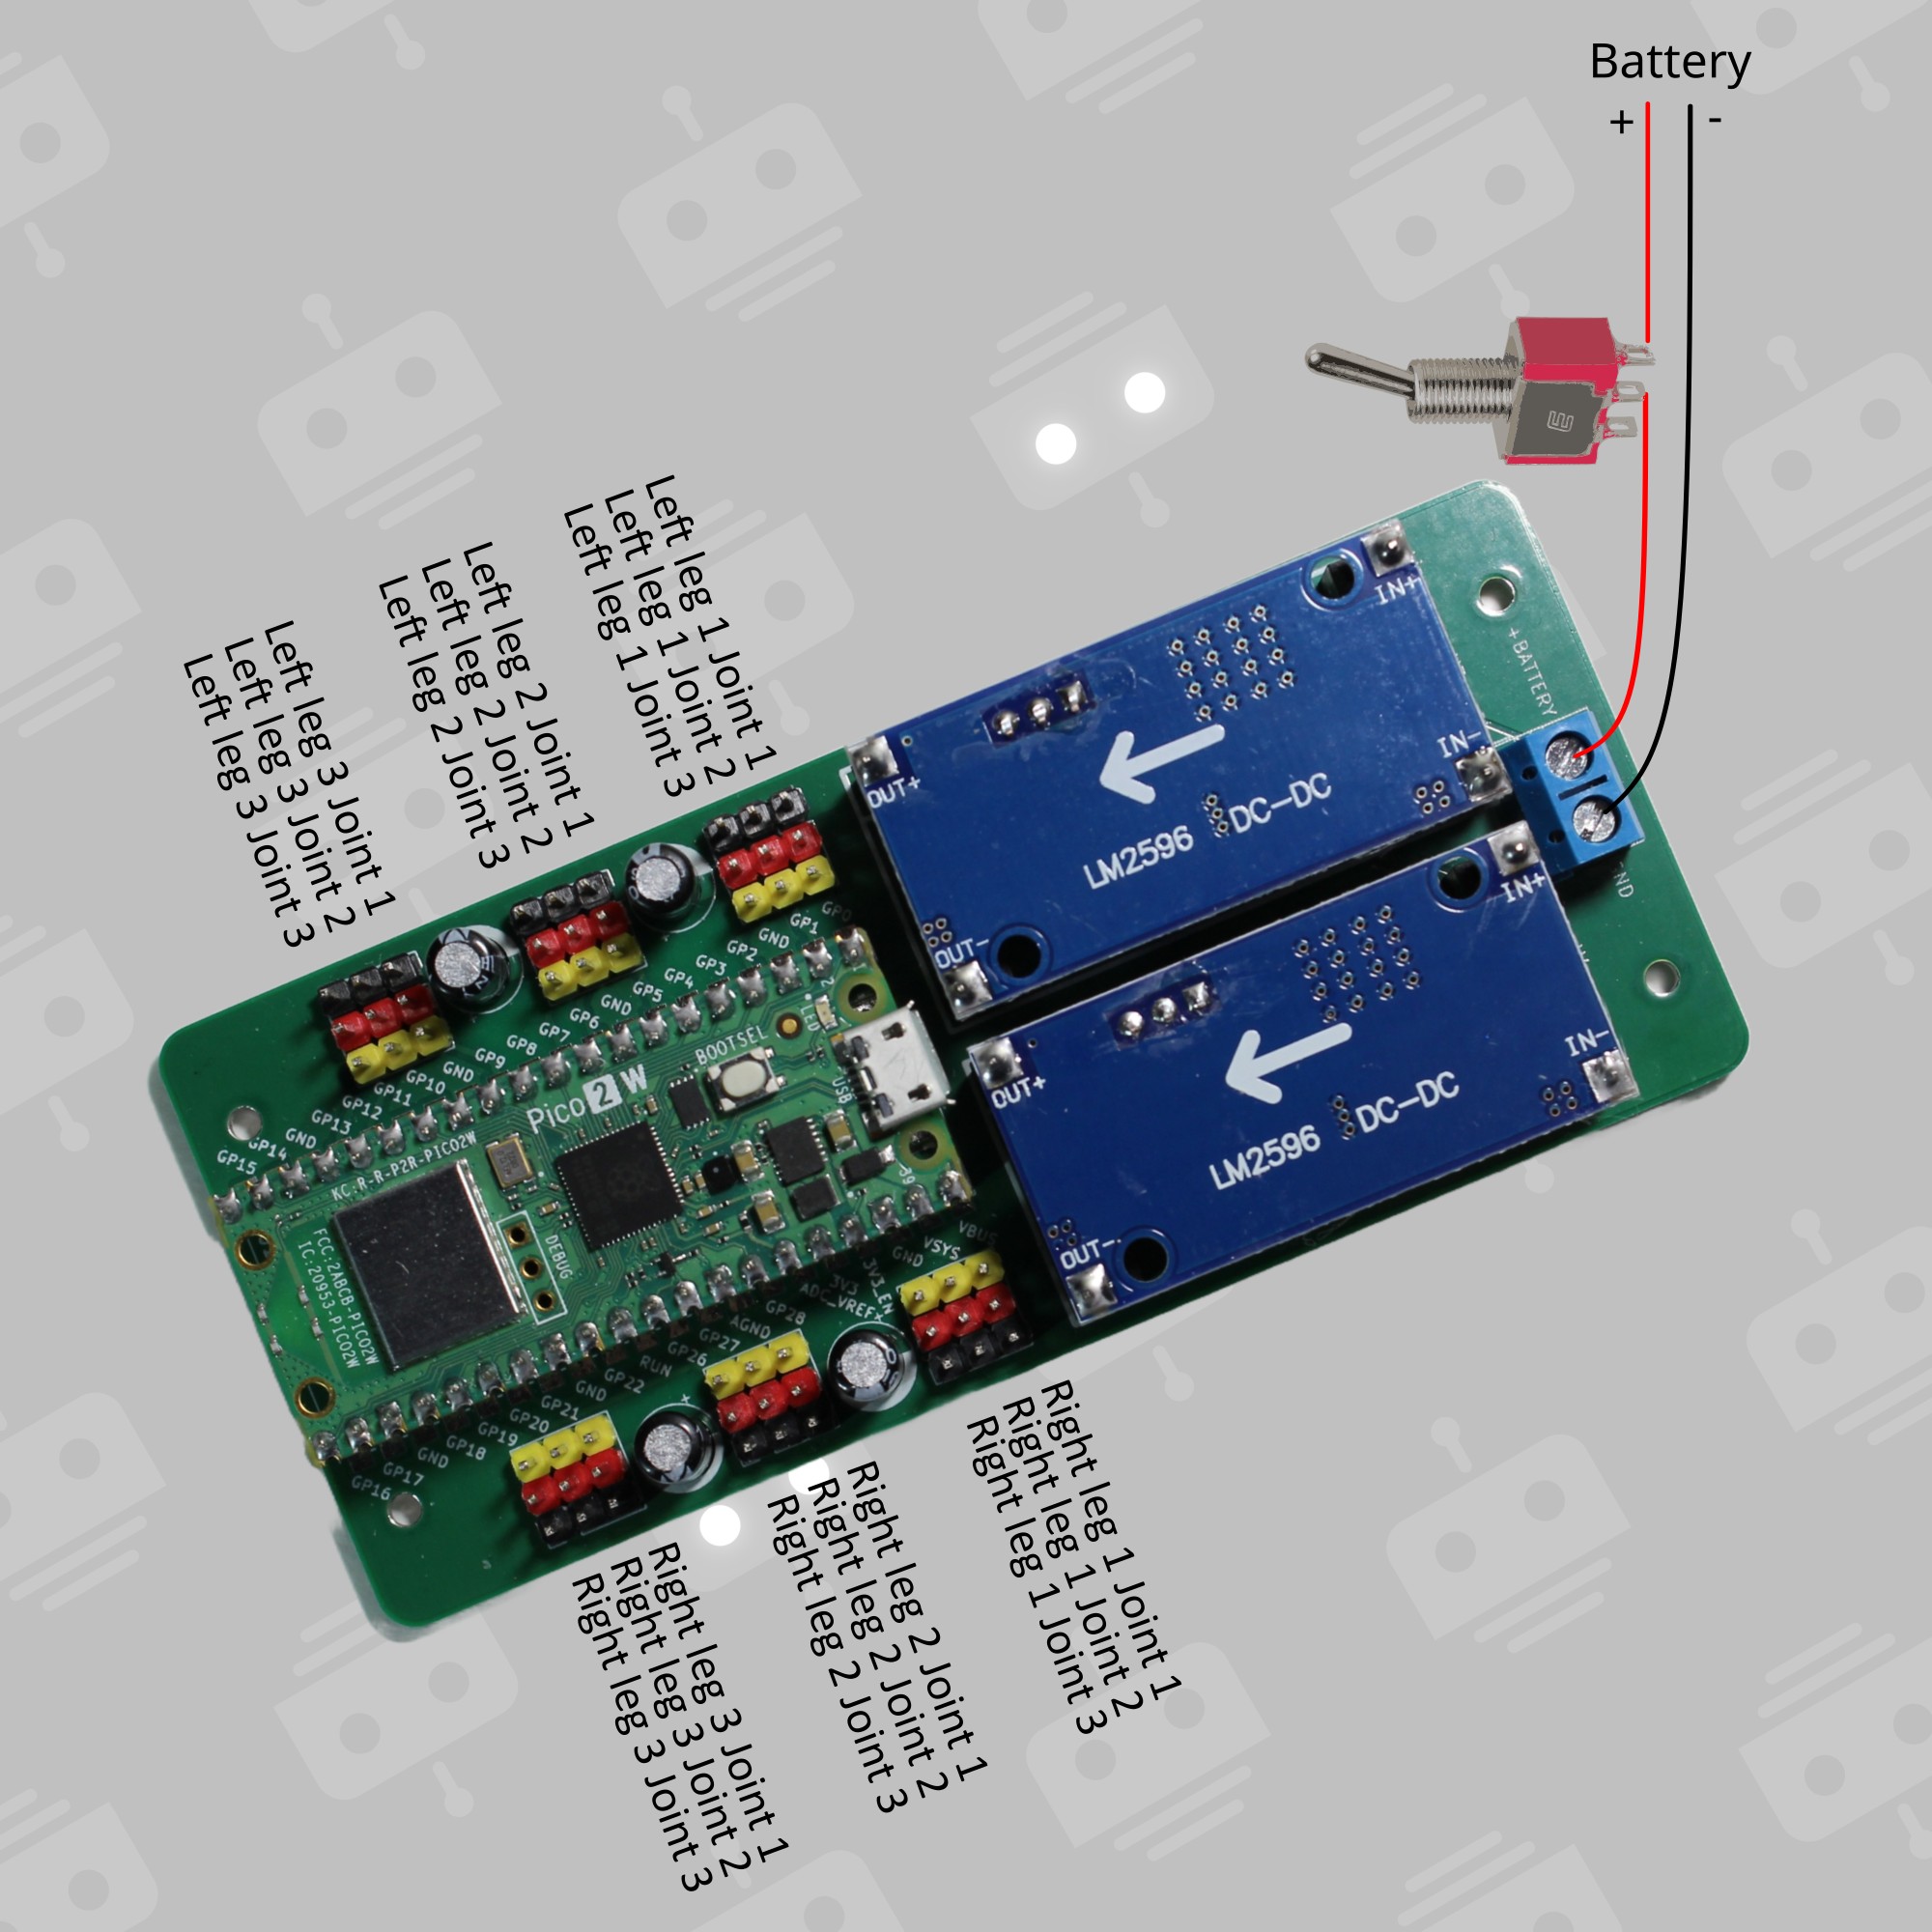
Follow these steps in order for the best results:
⚠️ Important: Do NOT tighten the servo horn screws during assembly! Leave them loose to allow for rotation. You'll tighten them properly during the calibration process after adjusting each servo to its correct neutral position.
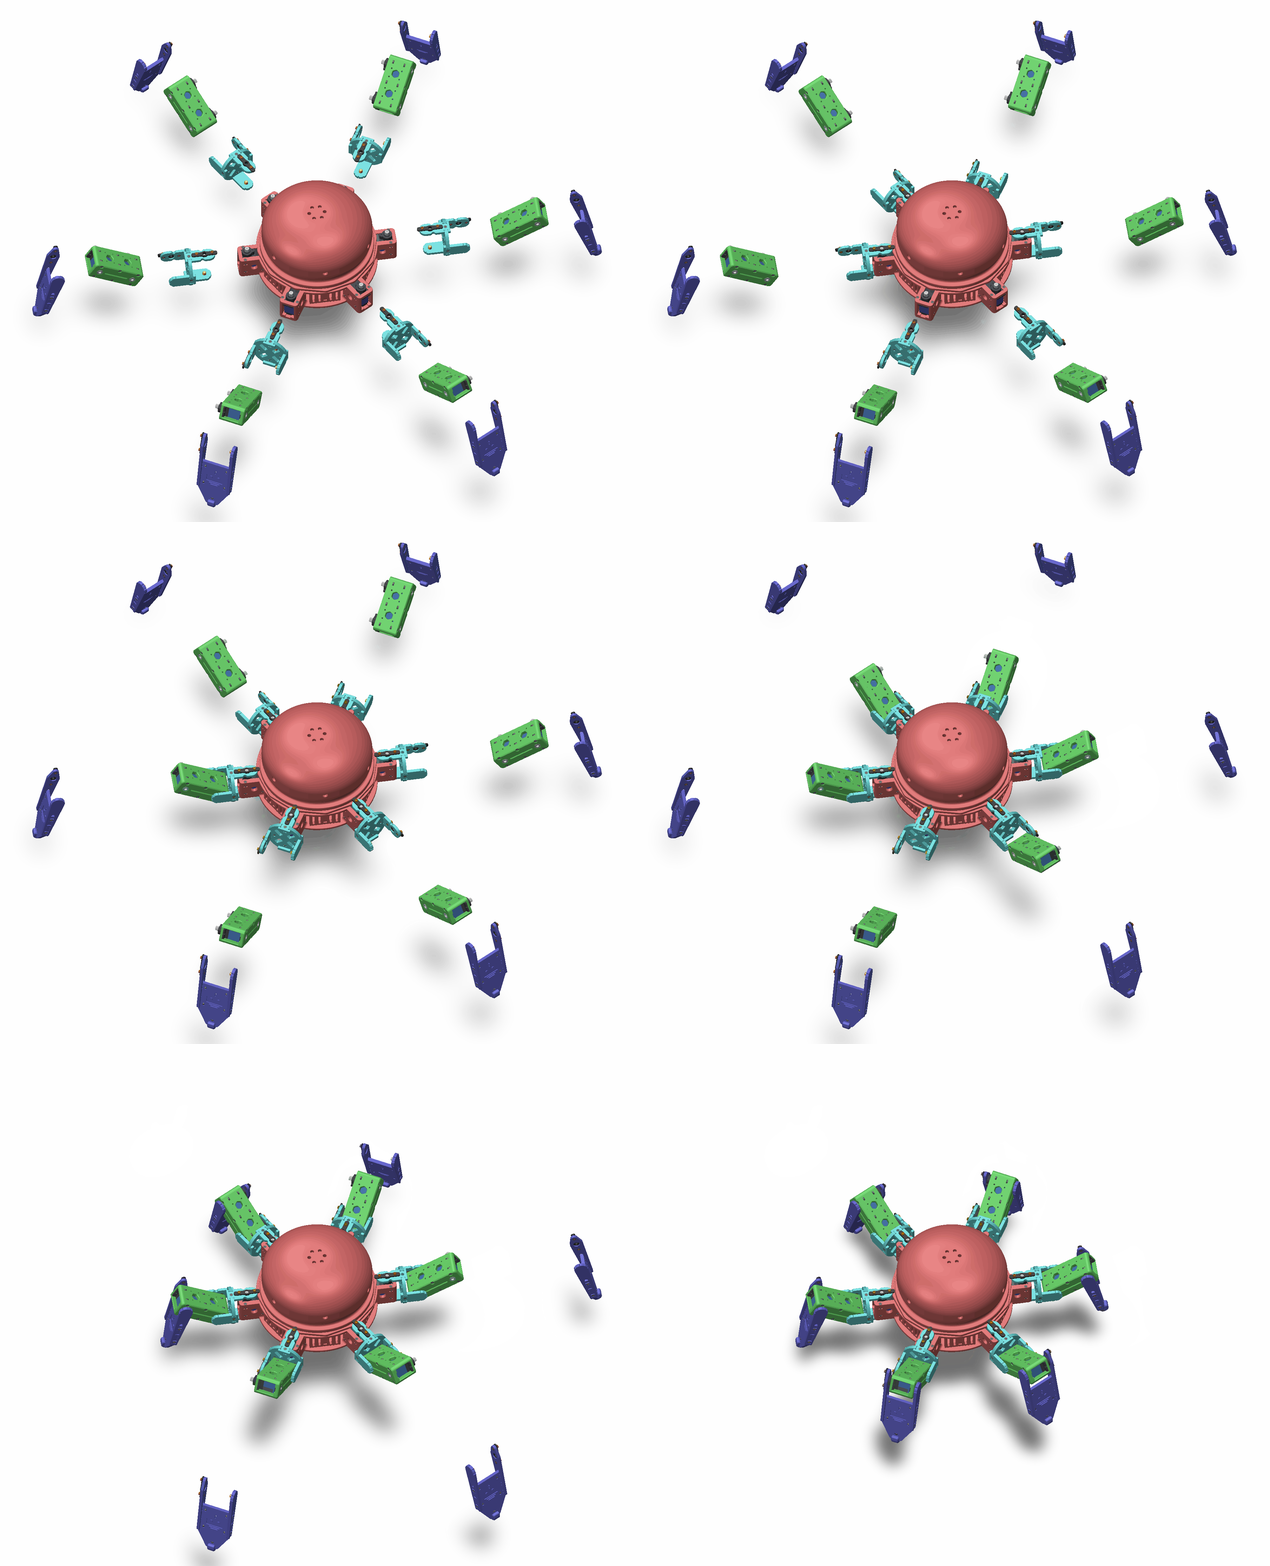
Print Settings Recommendations:
Assembly Tips:
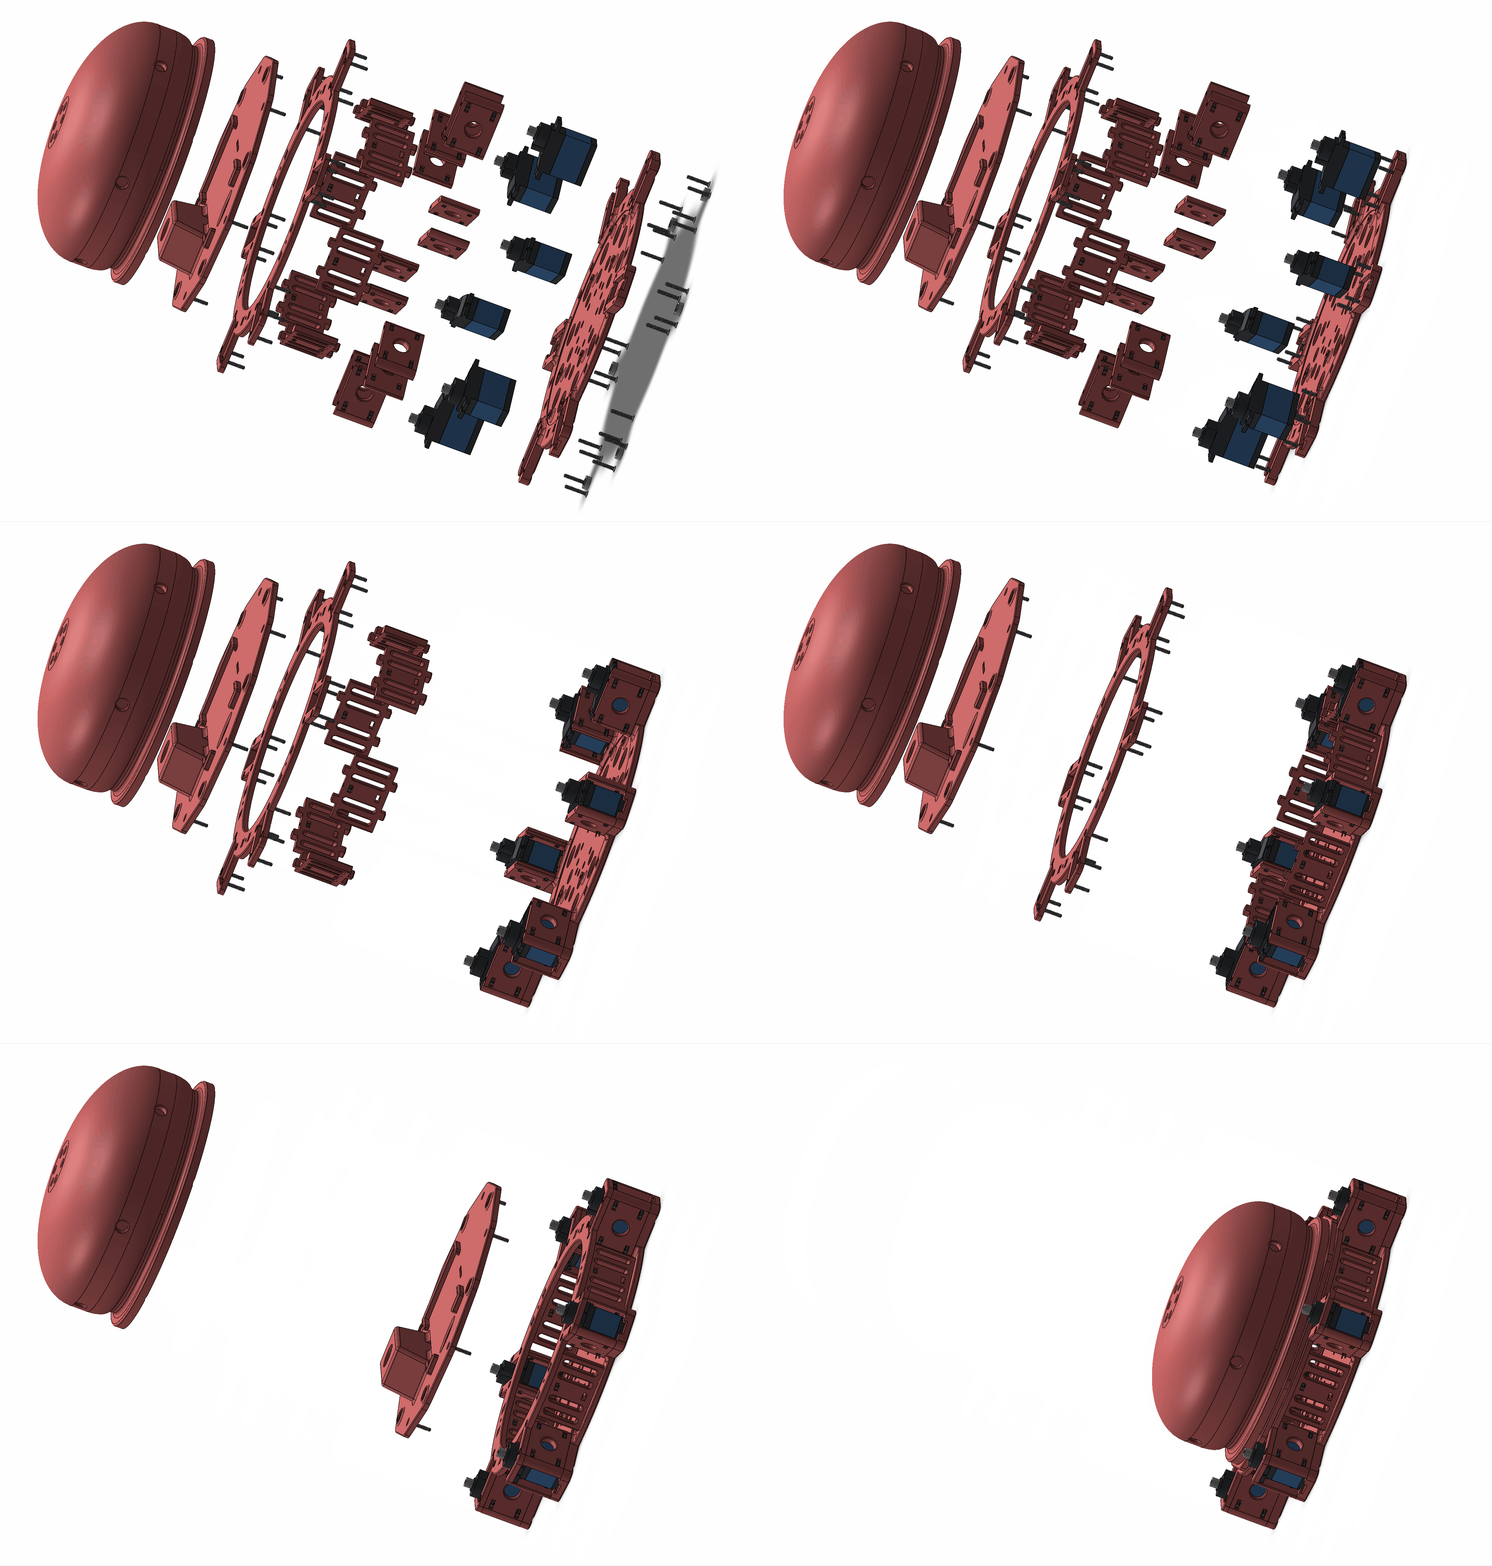
| Filename | Thumbnail | Required # |
|---|---|---|
| body_base | 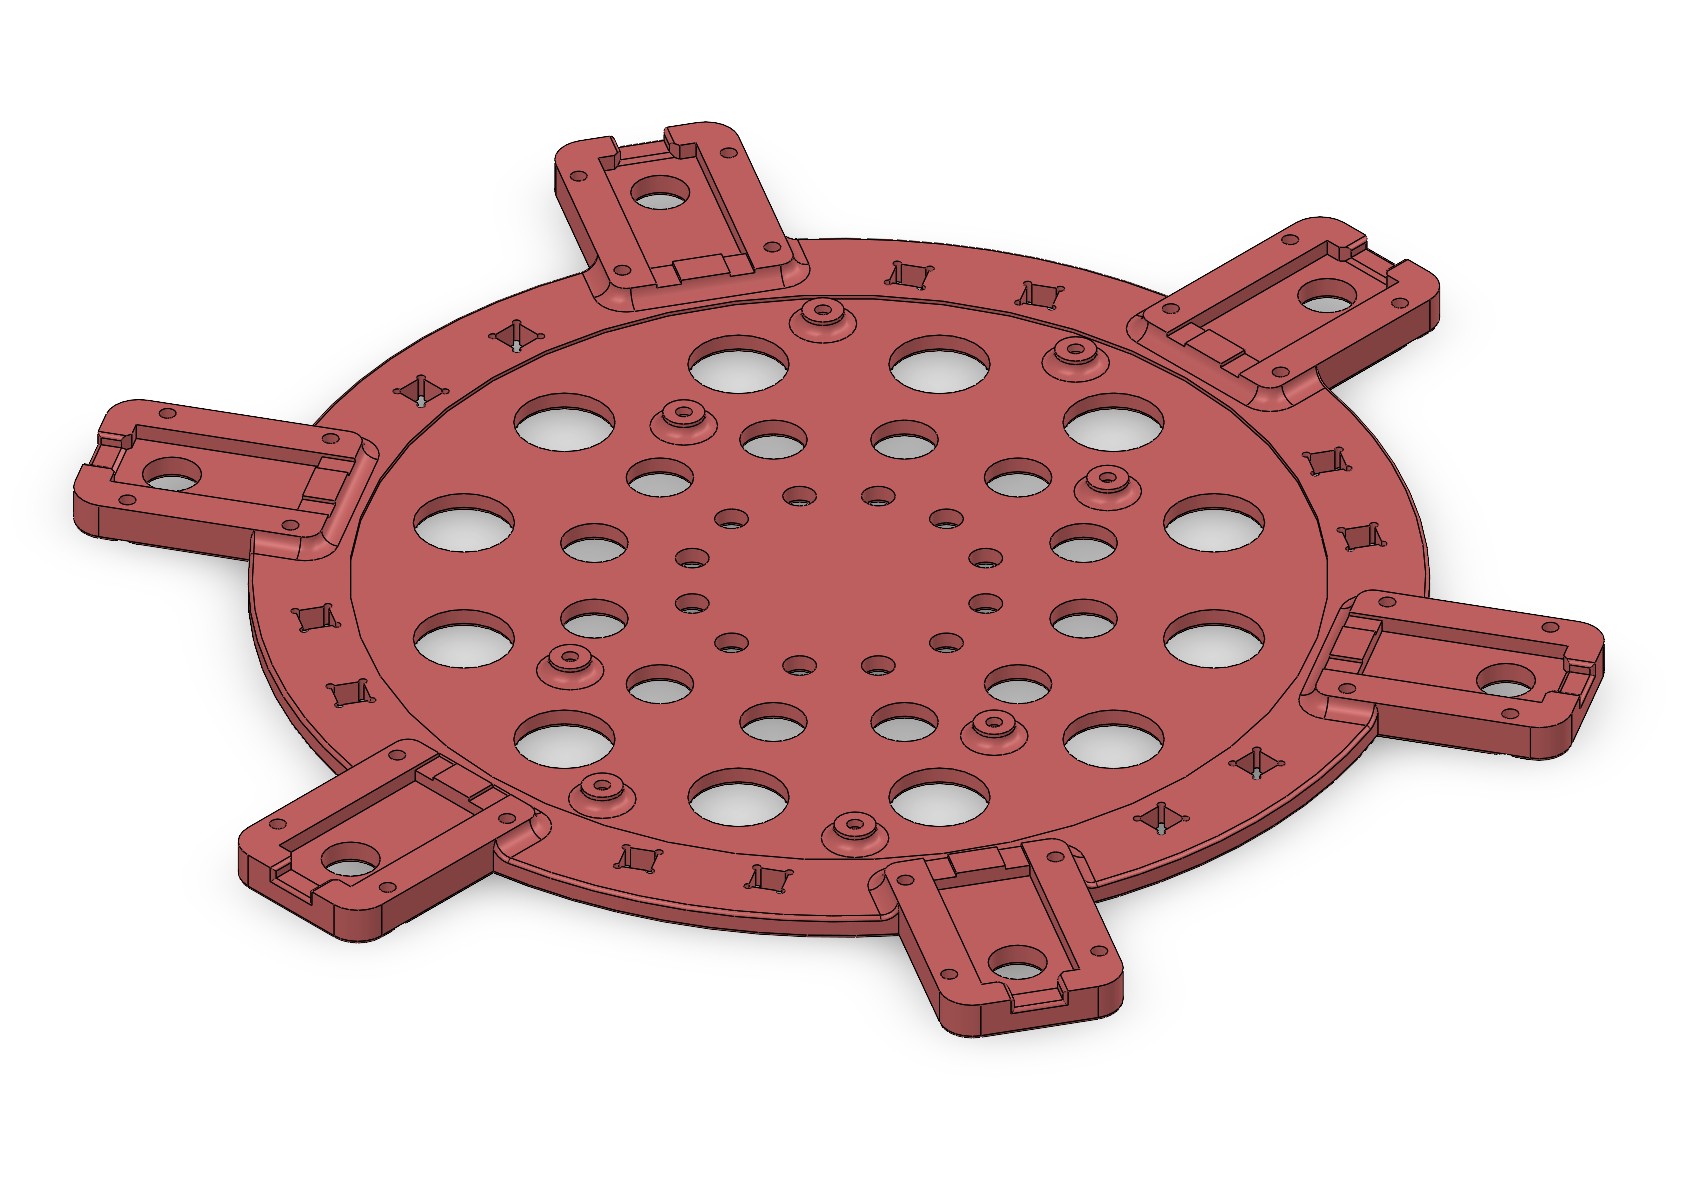 |
1 |
| body_side | 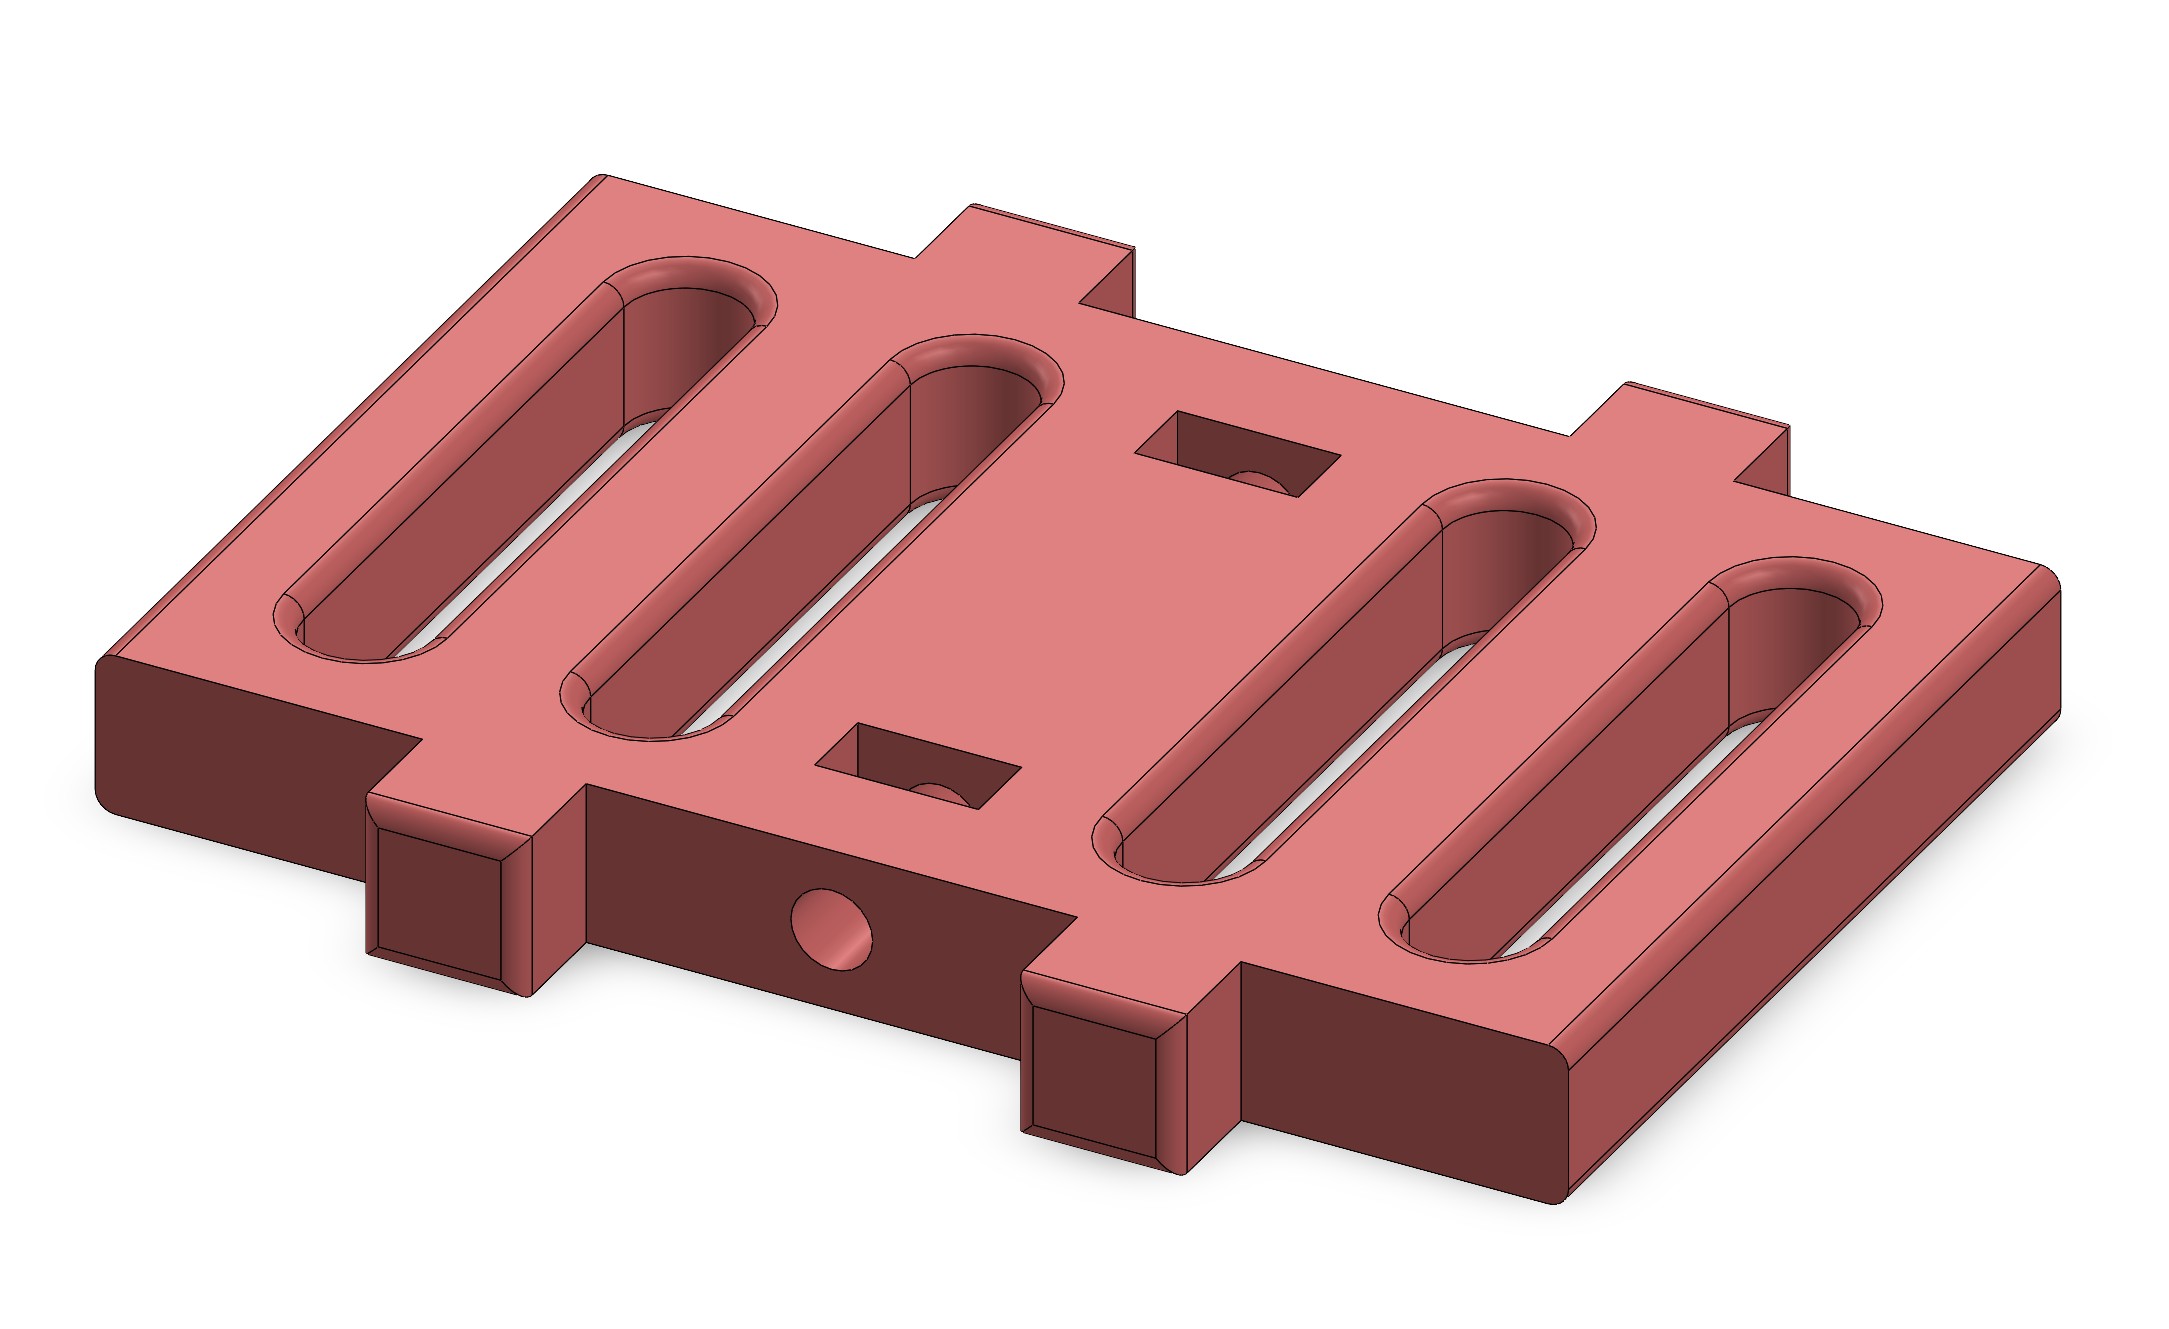 |
6 |
| body_top | 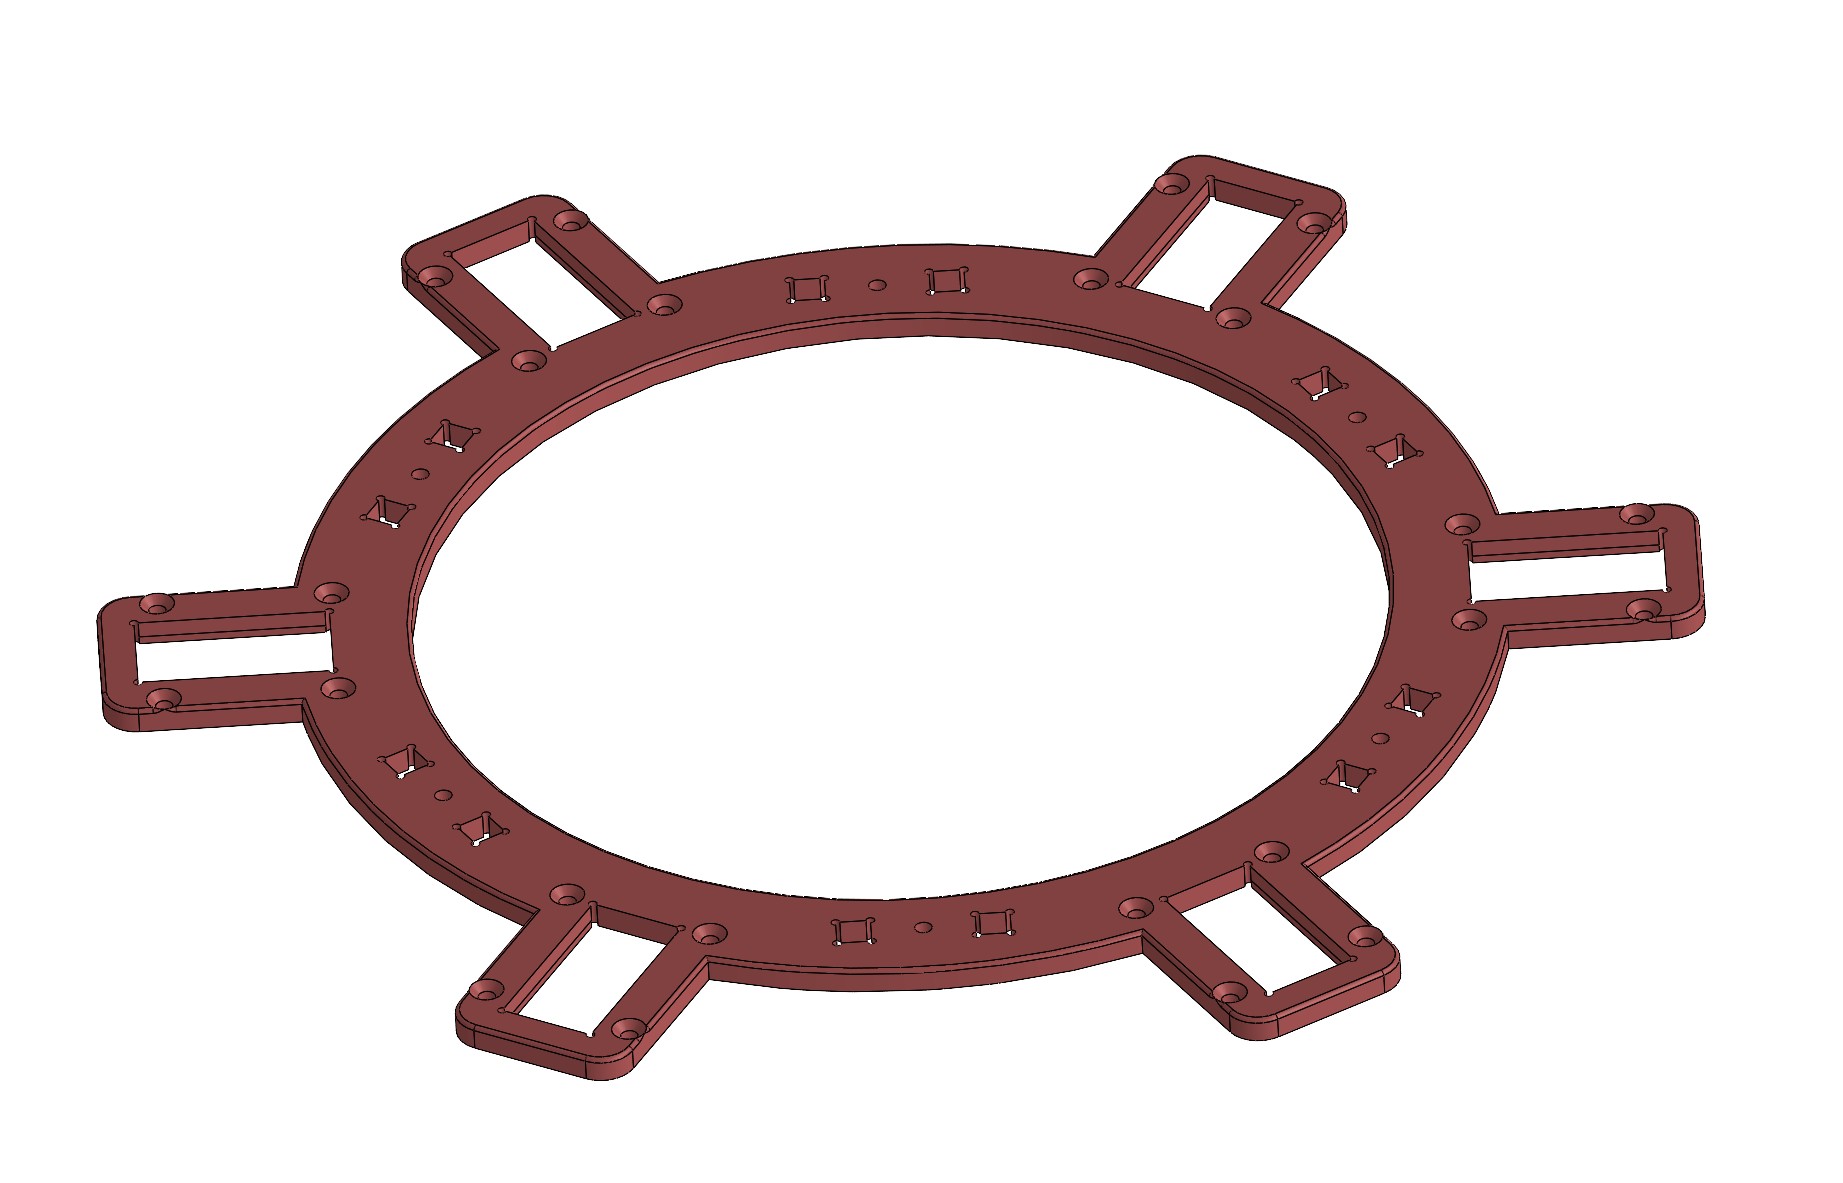 |
1 |
| body_head | 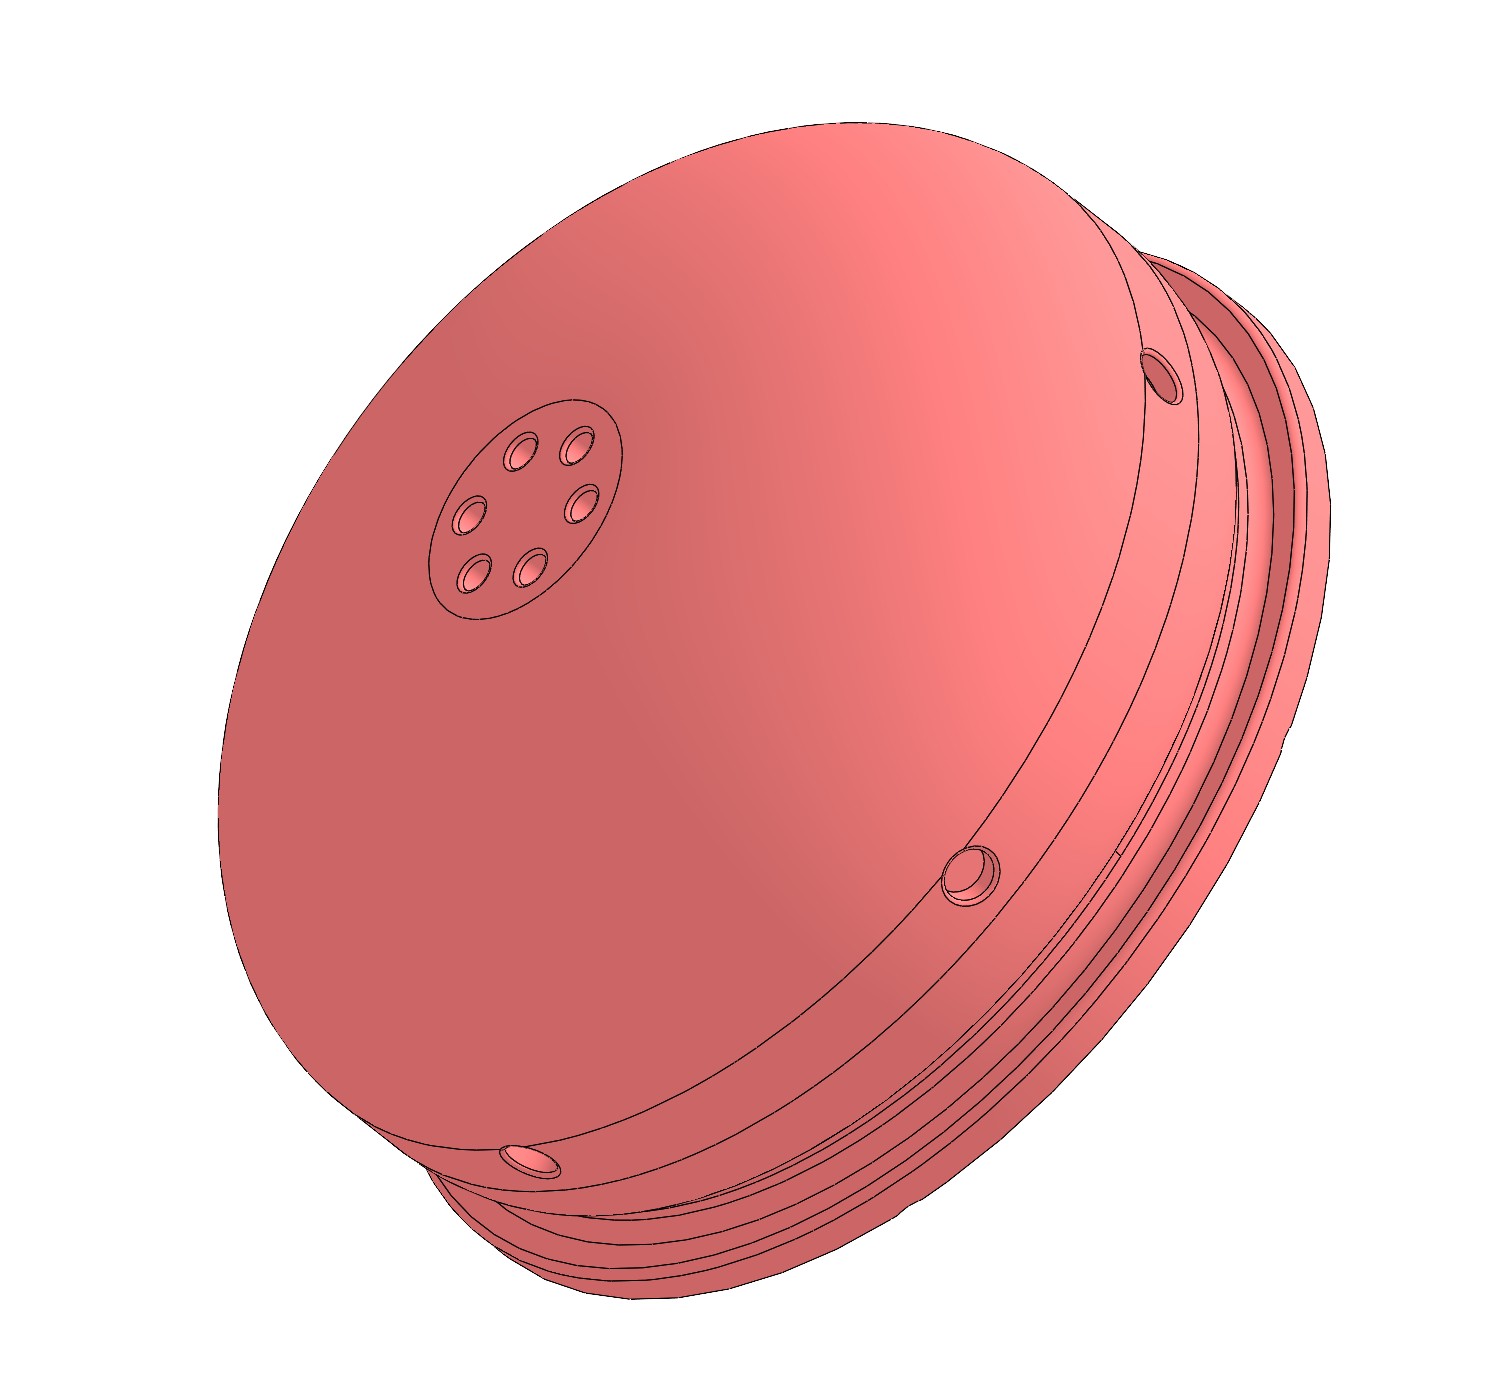 |
1 |
| body_battery_top | 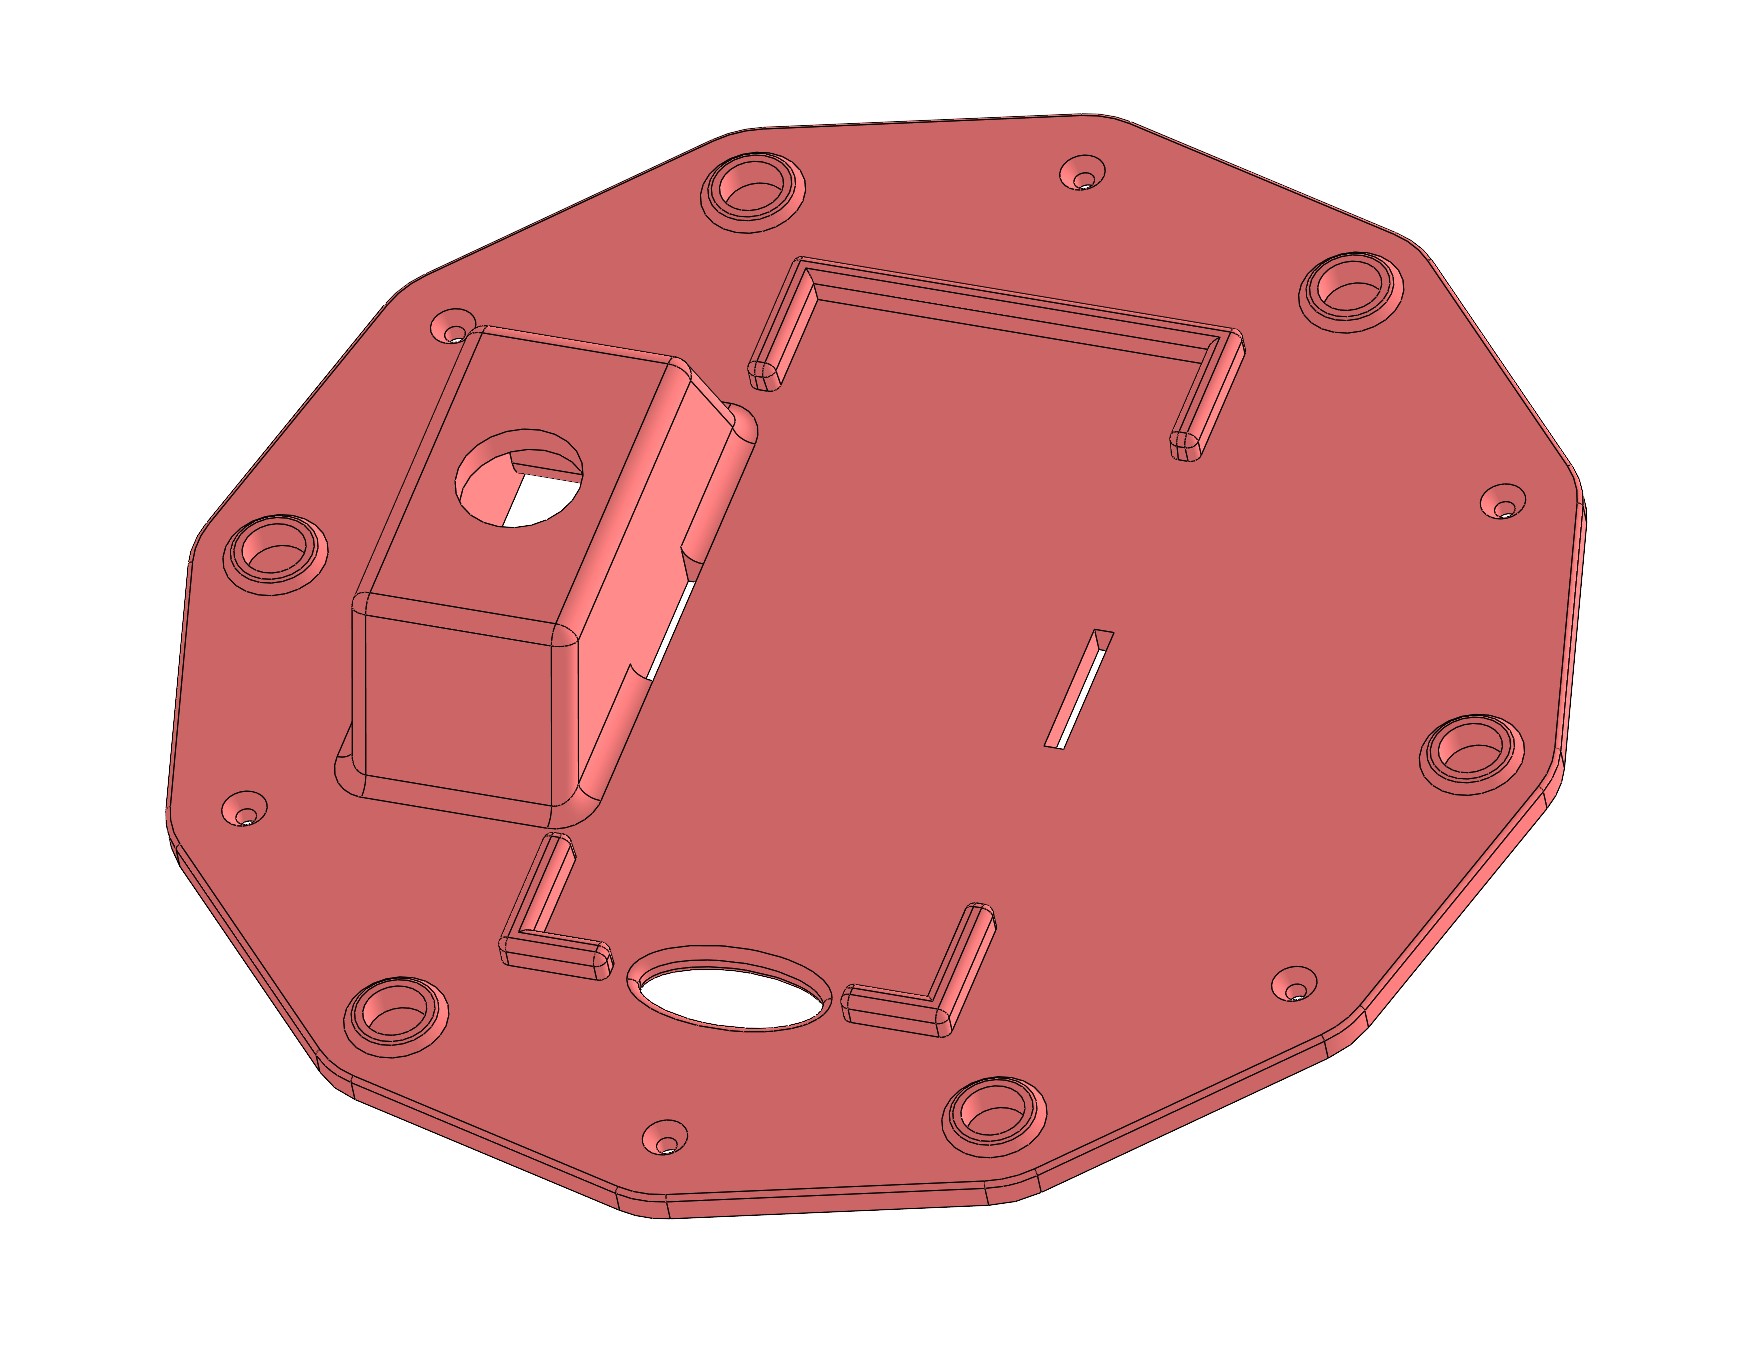 |
1 |
| body_servo_side | 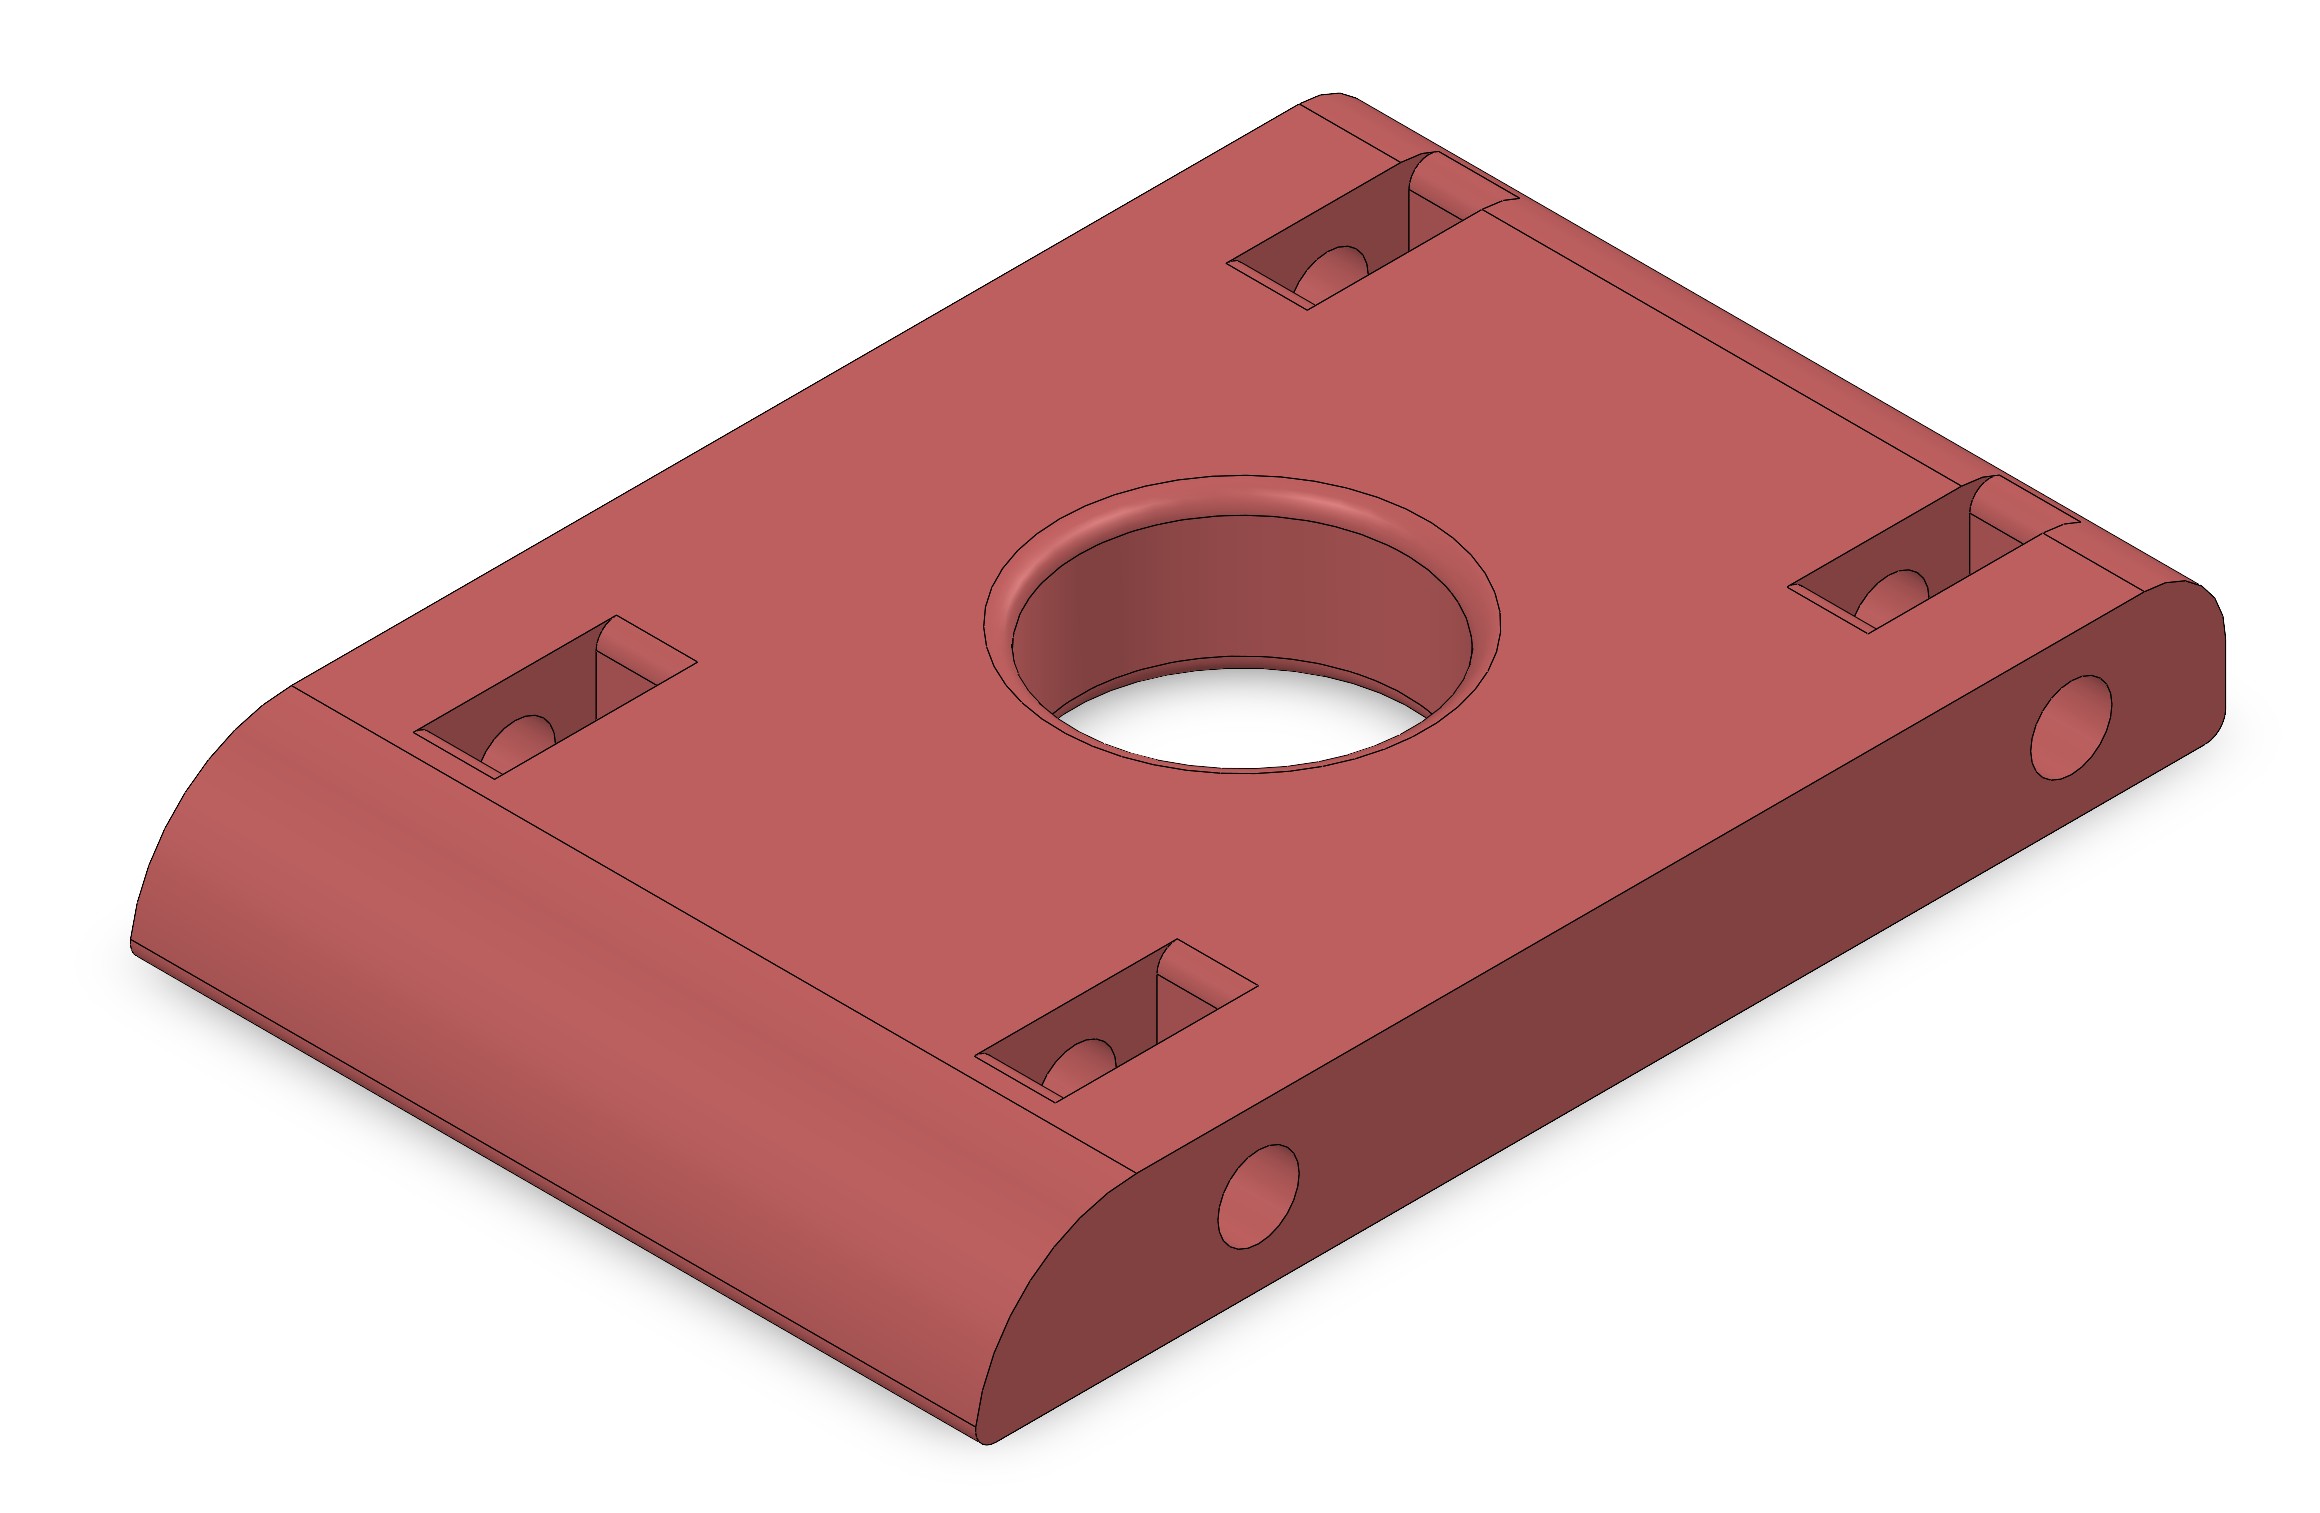 |
12 |
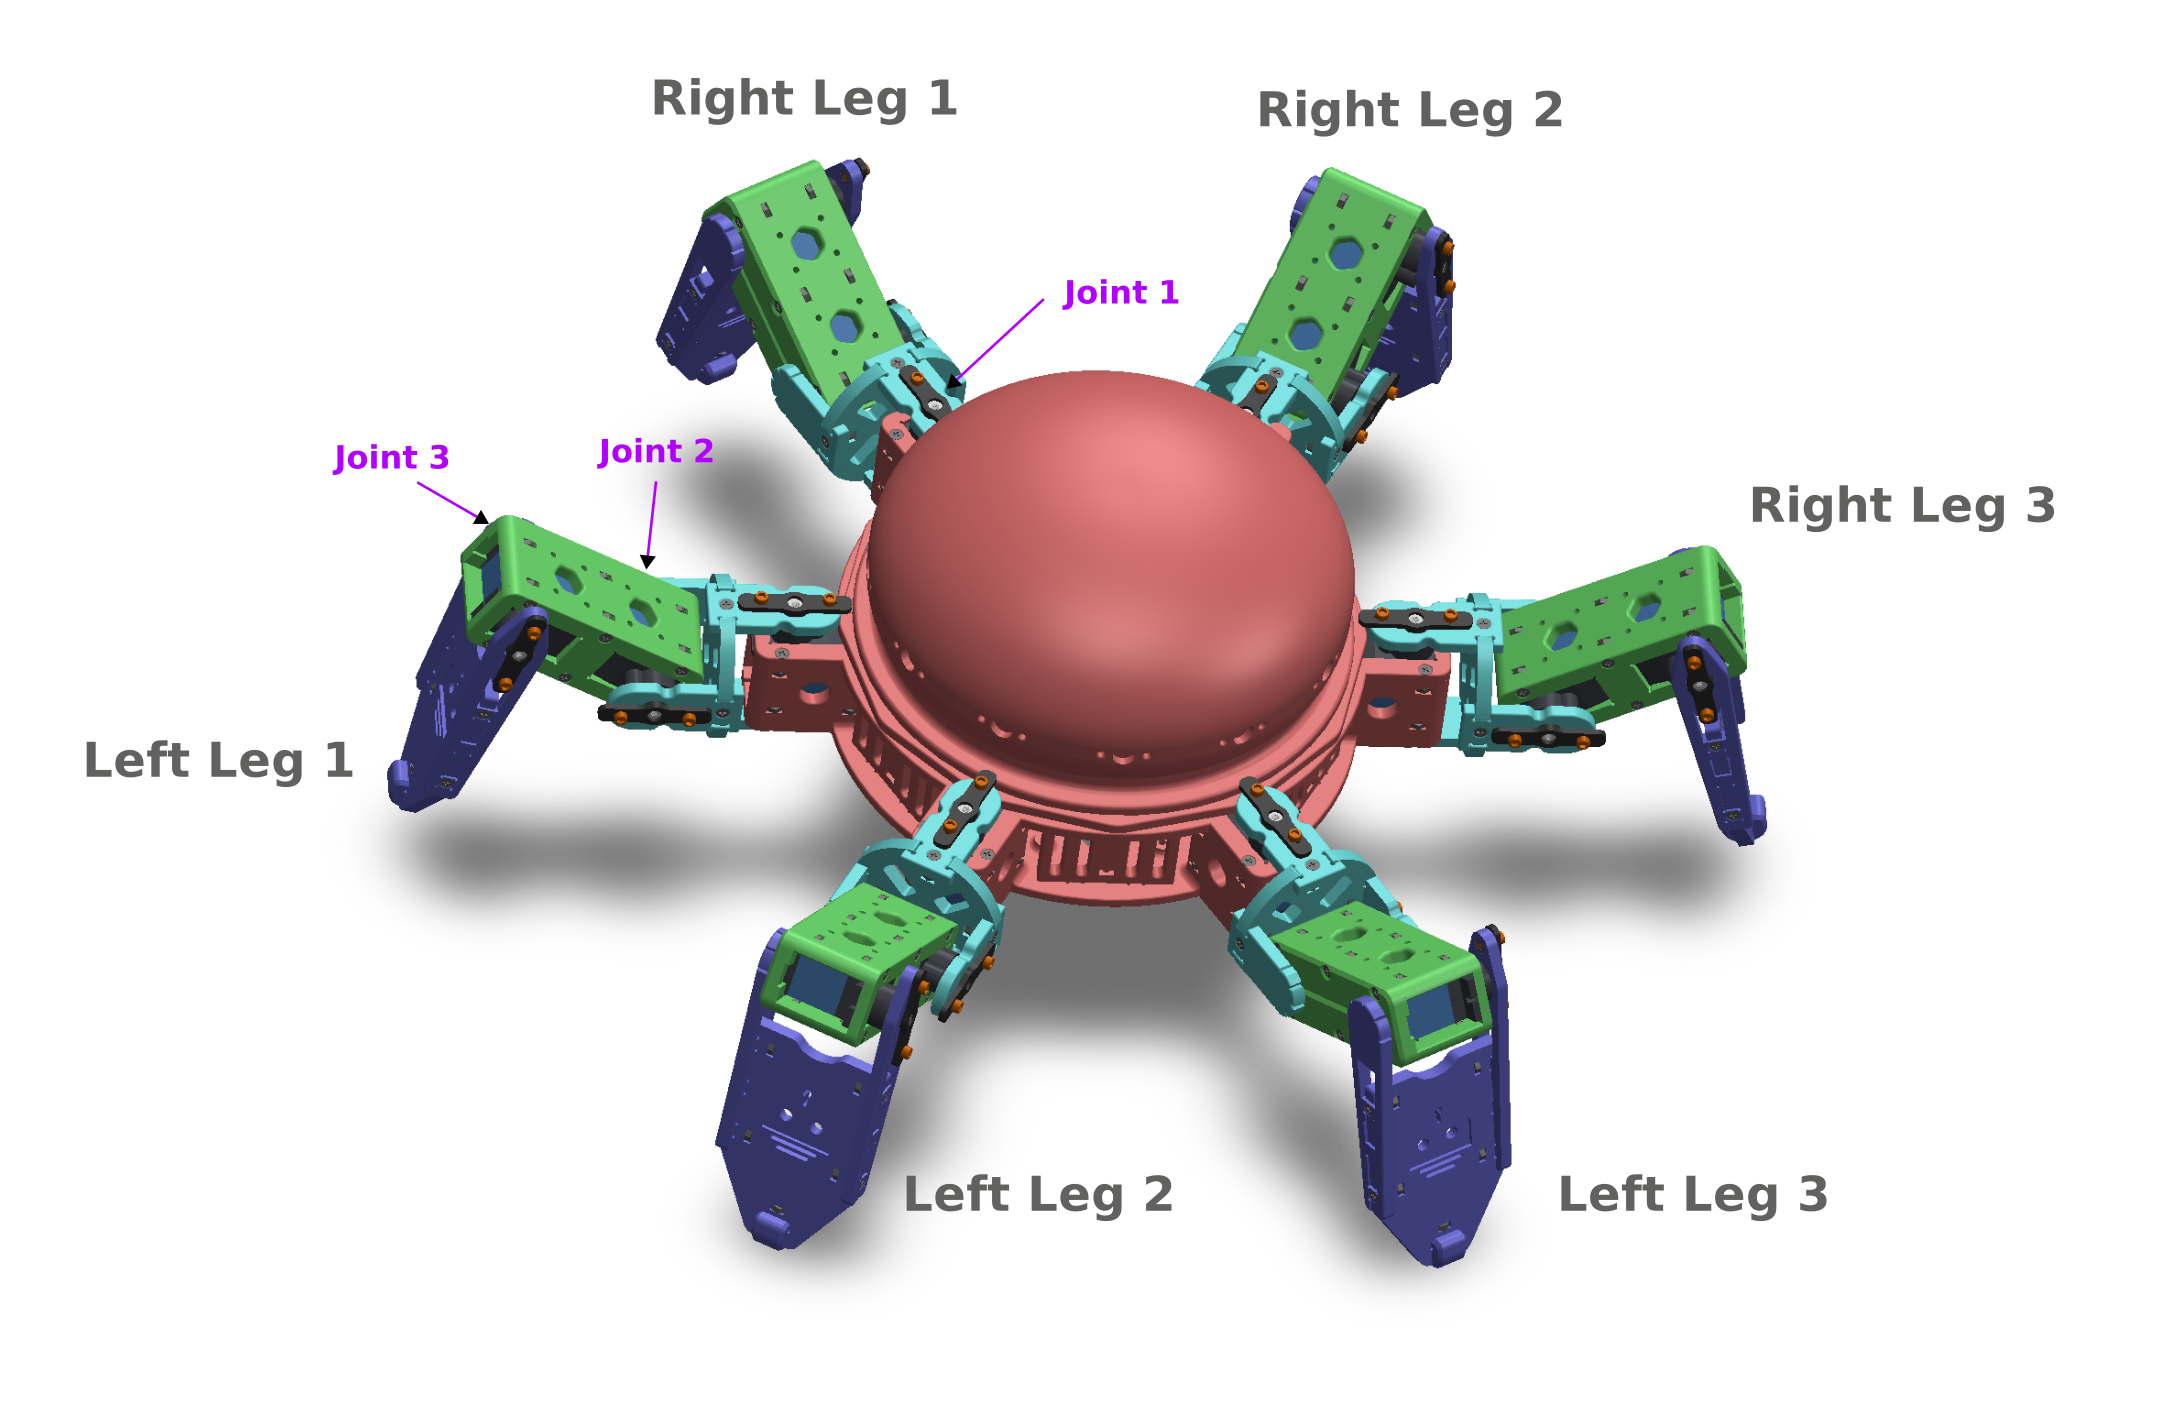
Important: Pay attention to joint orientation! Three legs use standard joints, three use mirrored joints.
Refer to the fully assembled robot images for correct joint orientations
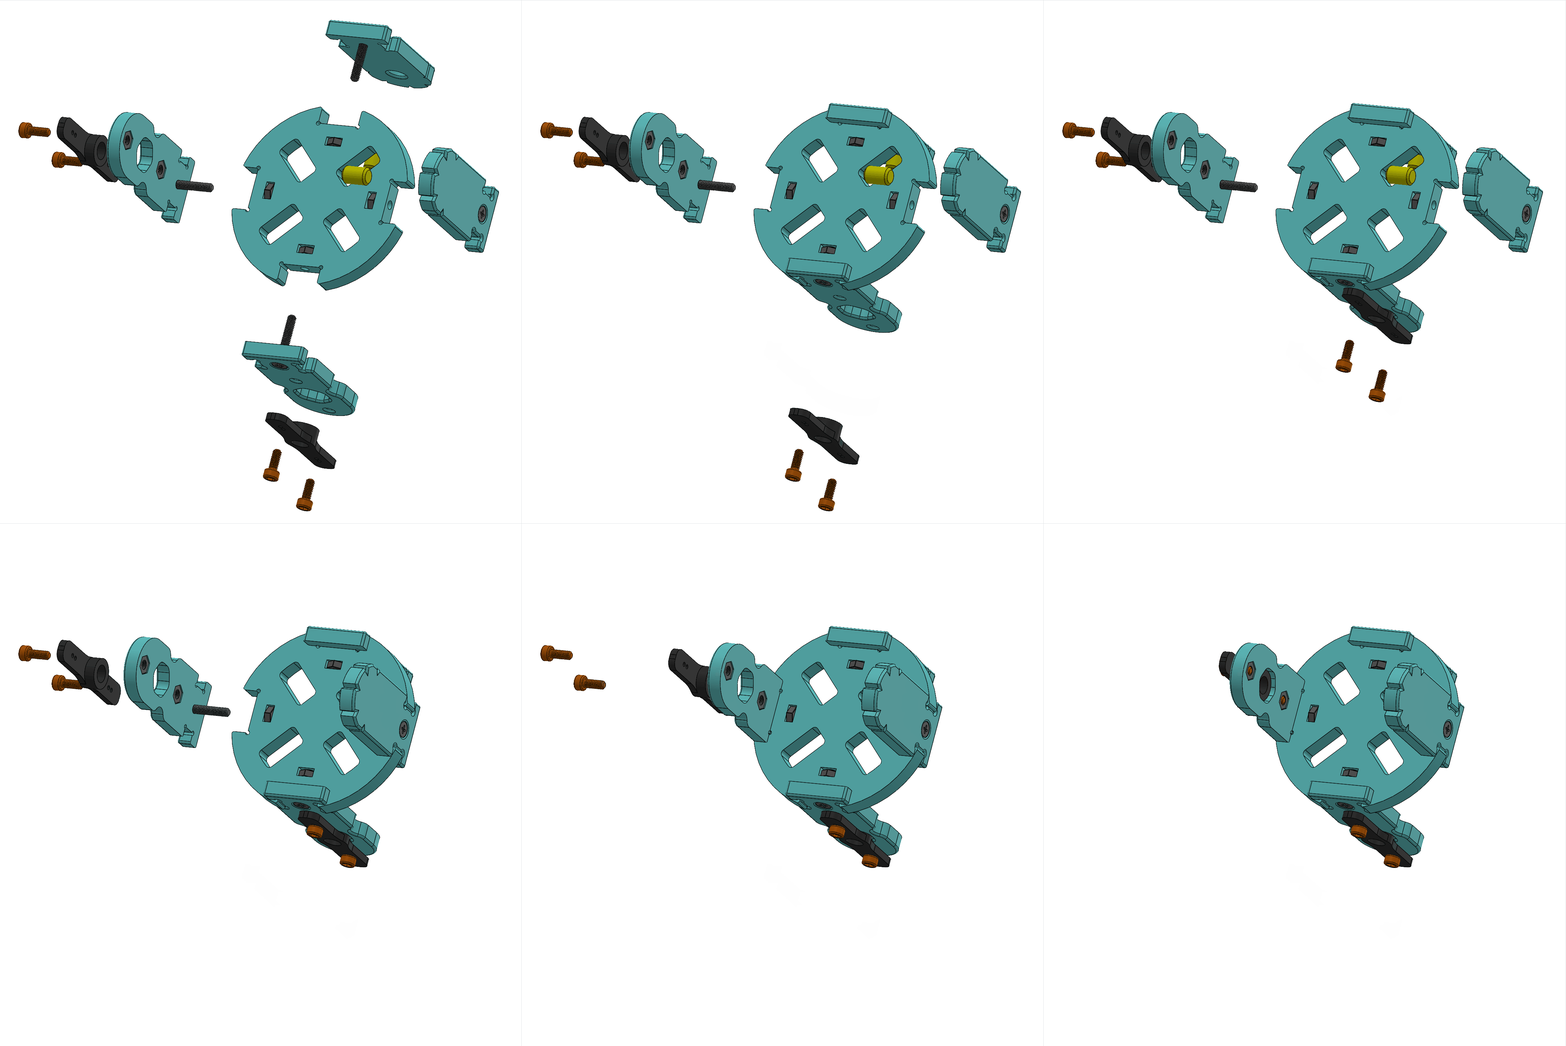
| Filename | Thumbnail | Required # |
|---|---|---|
| joint_bottom | 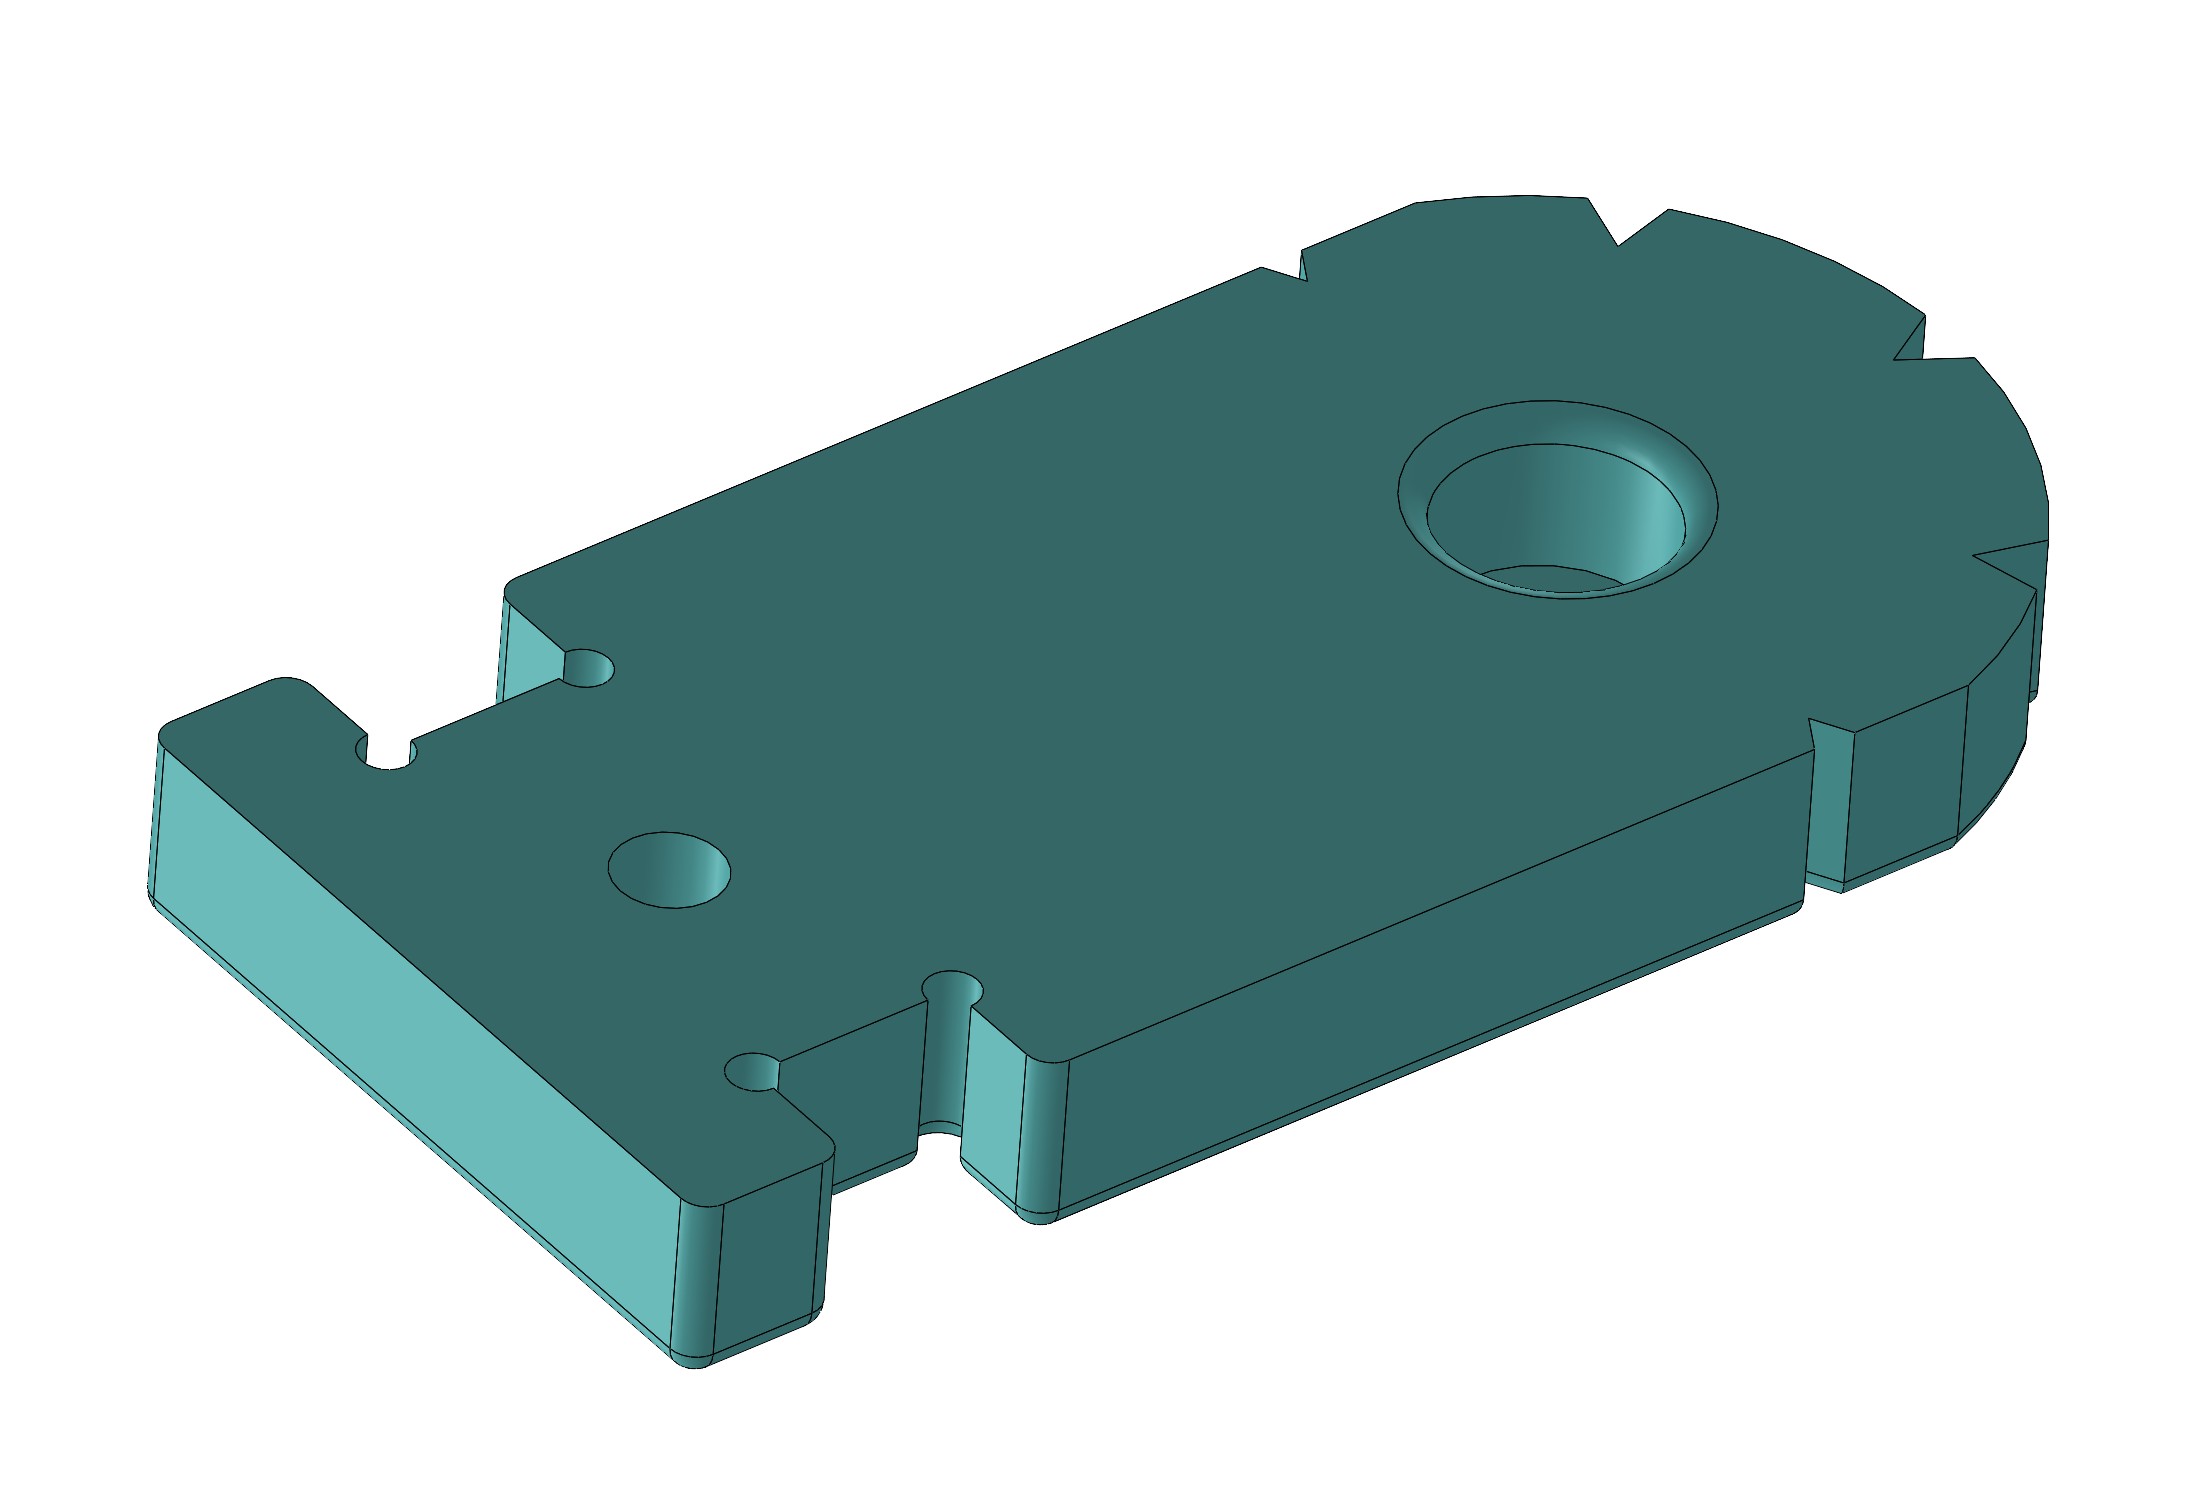 |
12 |
| joint_cross | 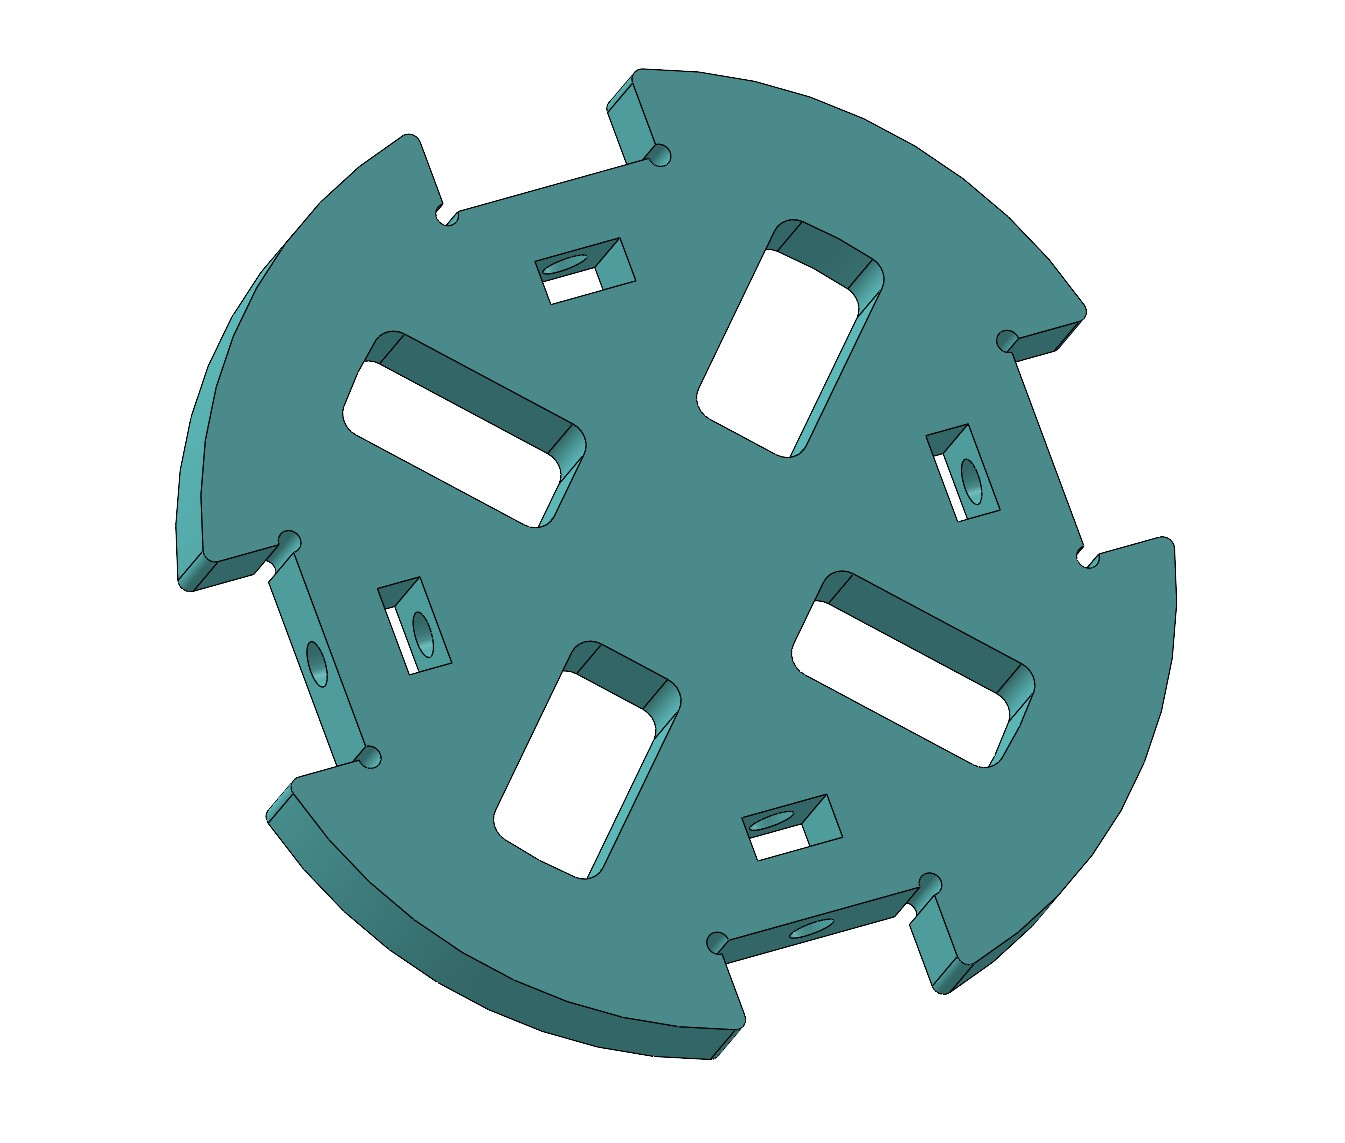 |
6 |
| joint_top | 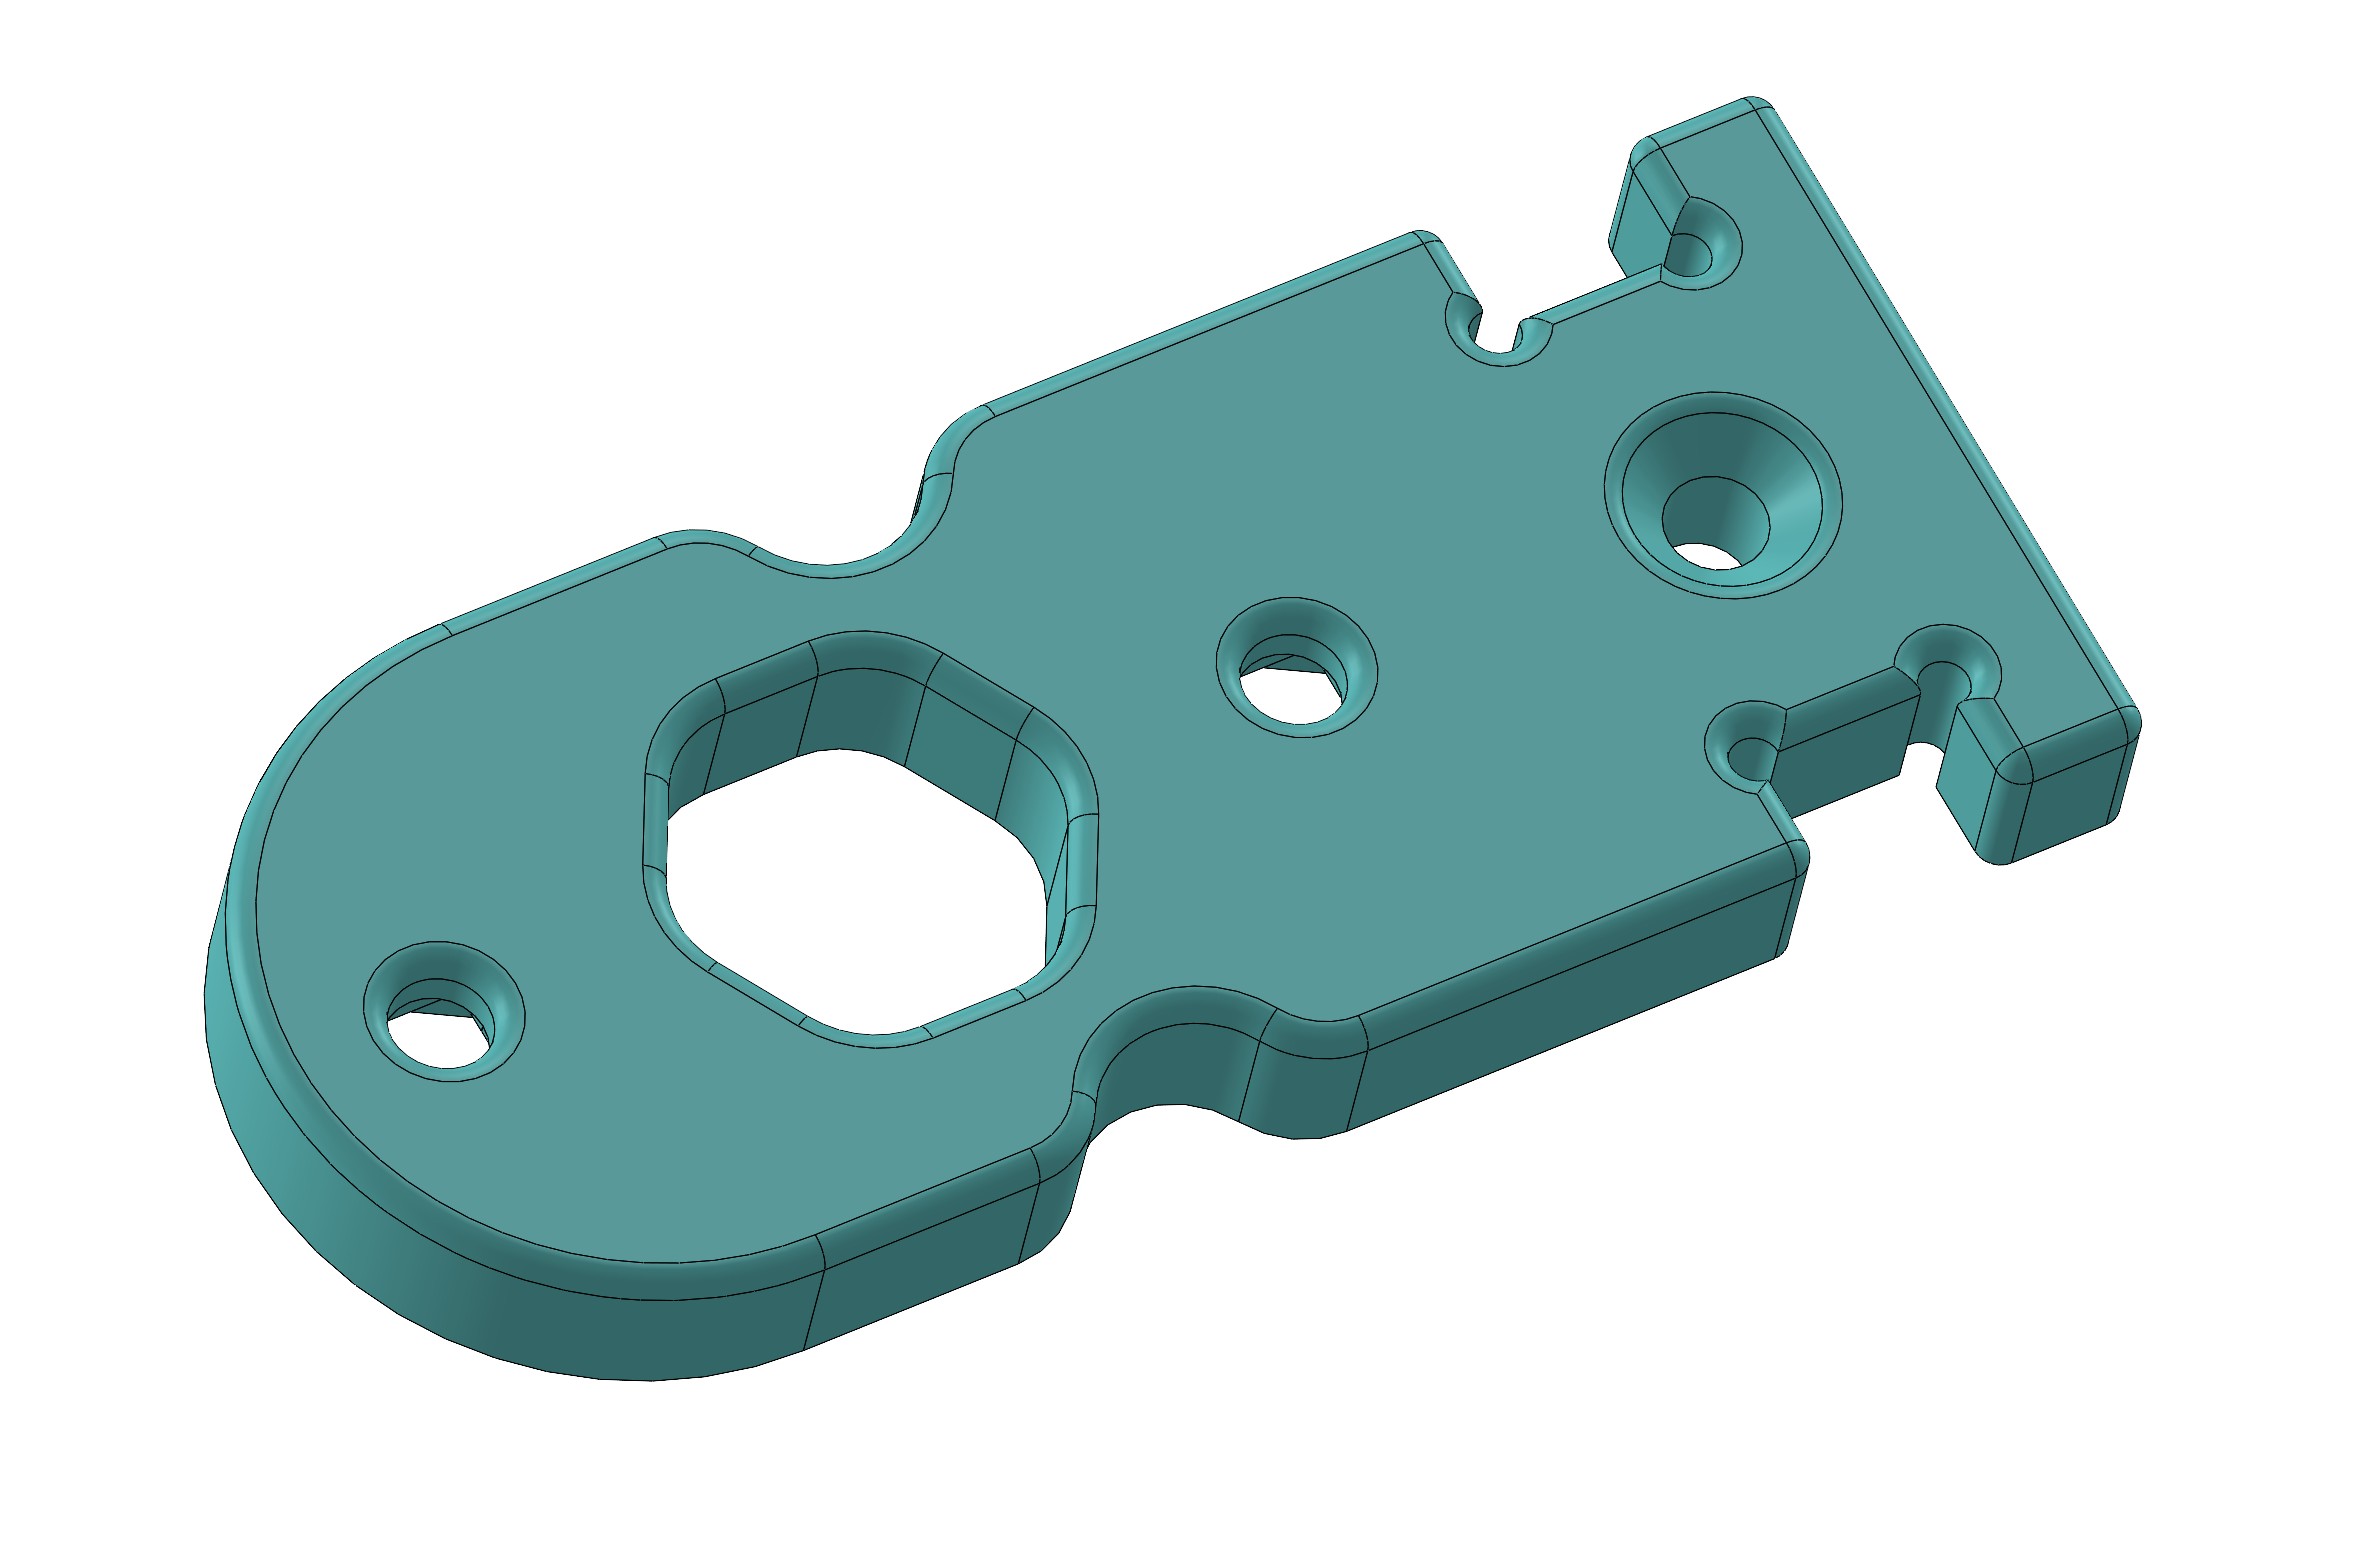 |
12 |
Assembly Notes:
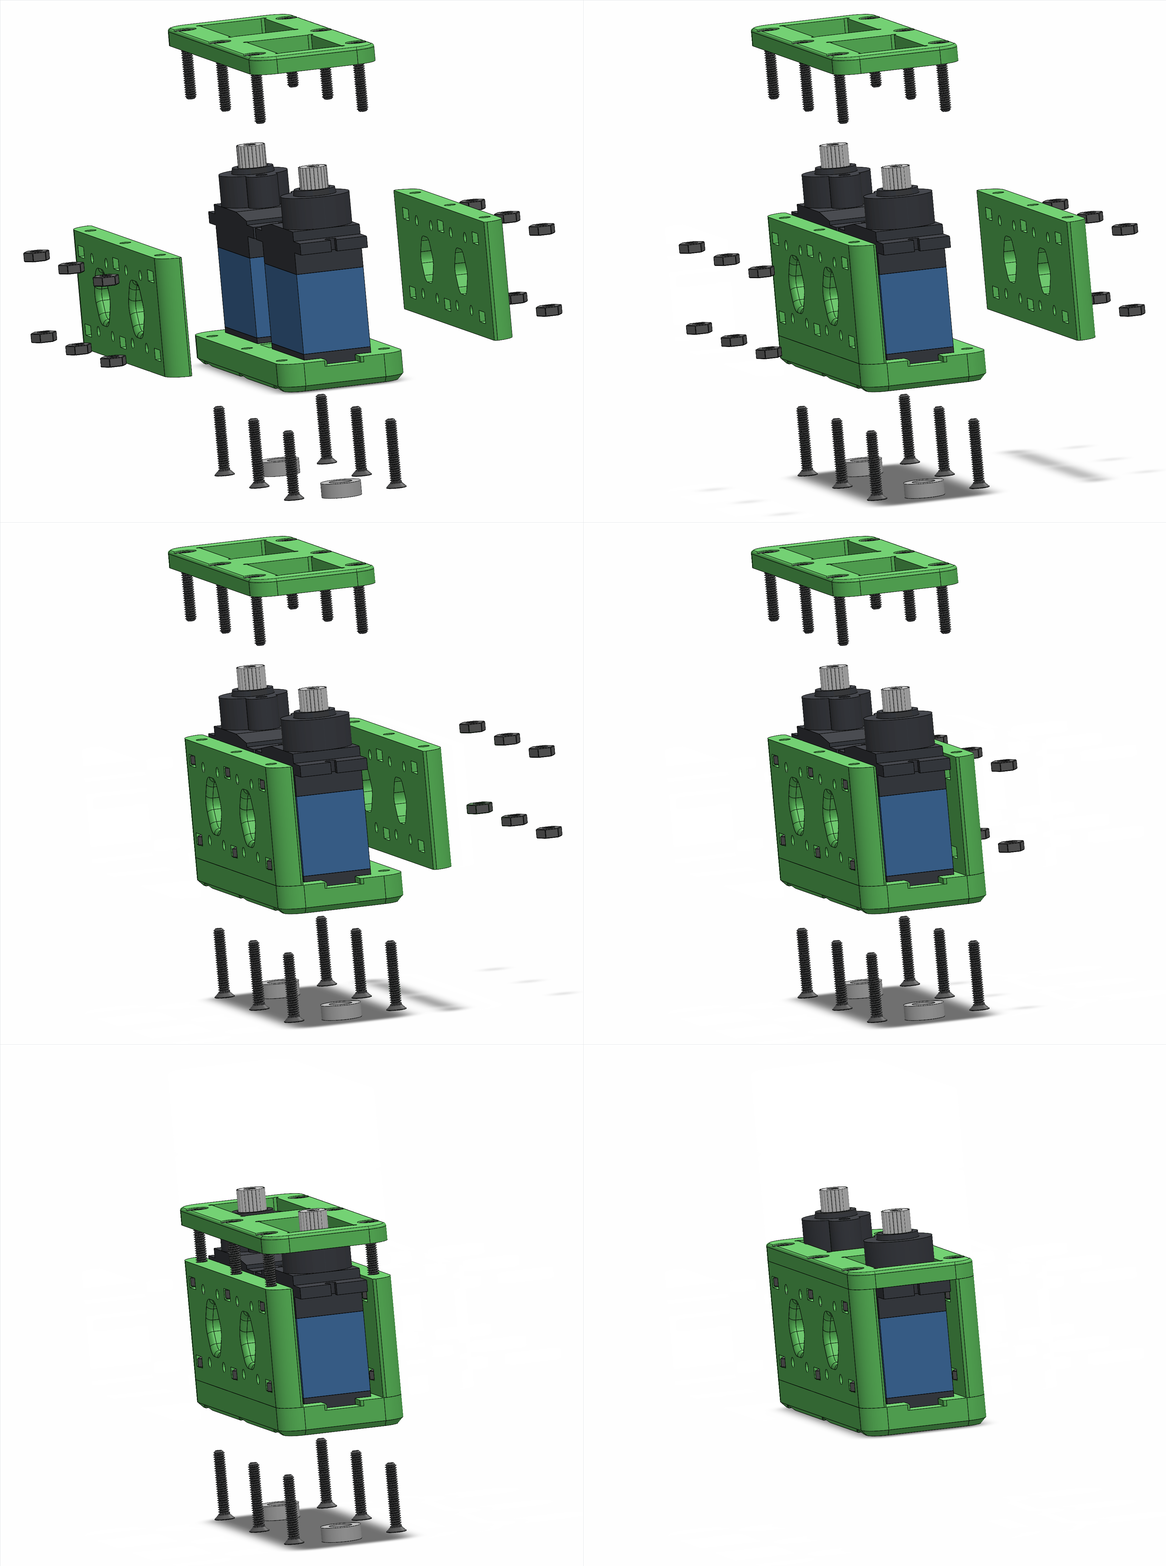
| Filename | Thumbnail | Required # |
|---|---|---|
| leg_bottom | 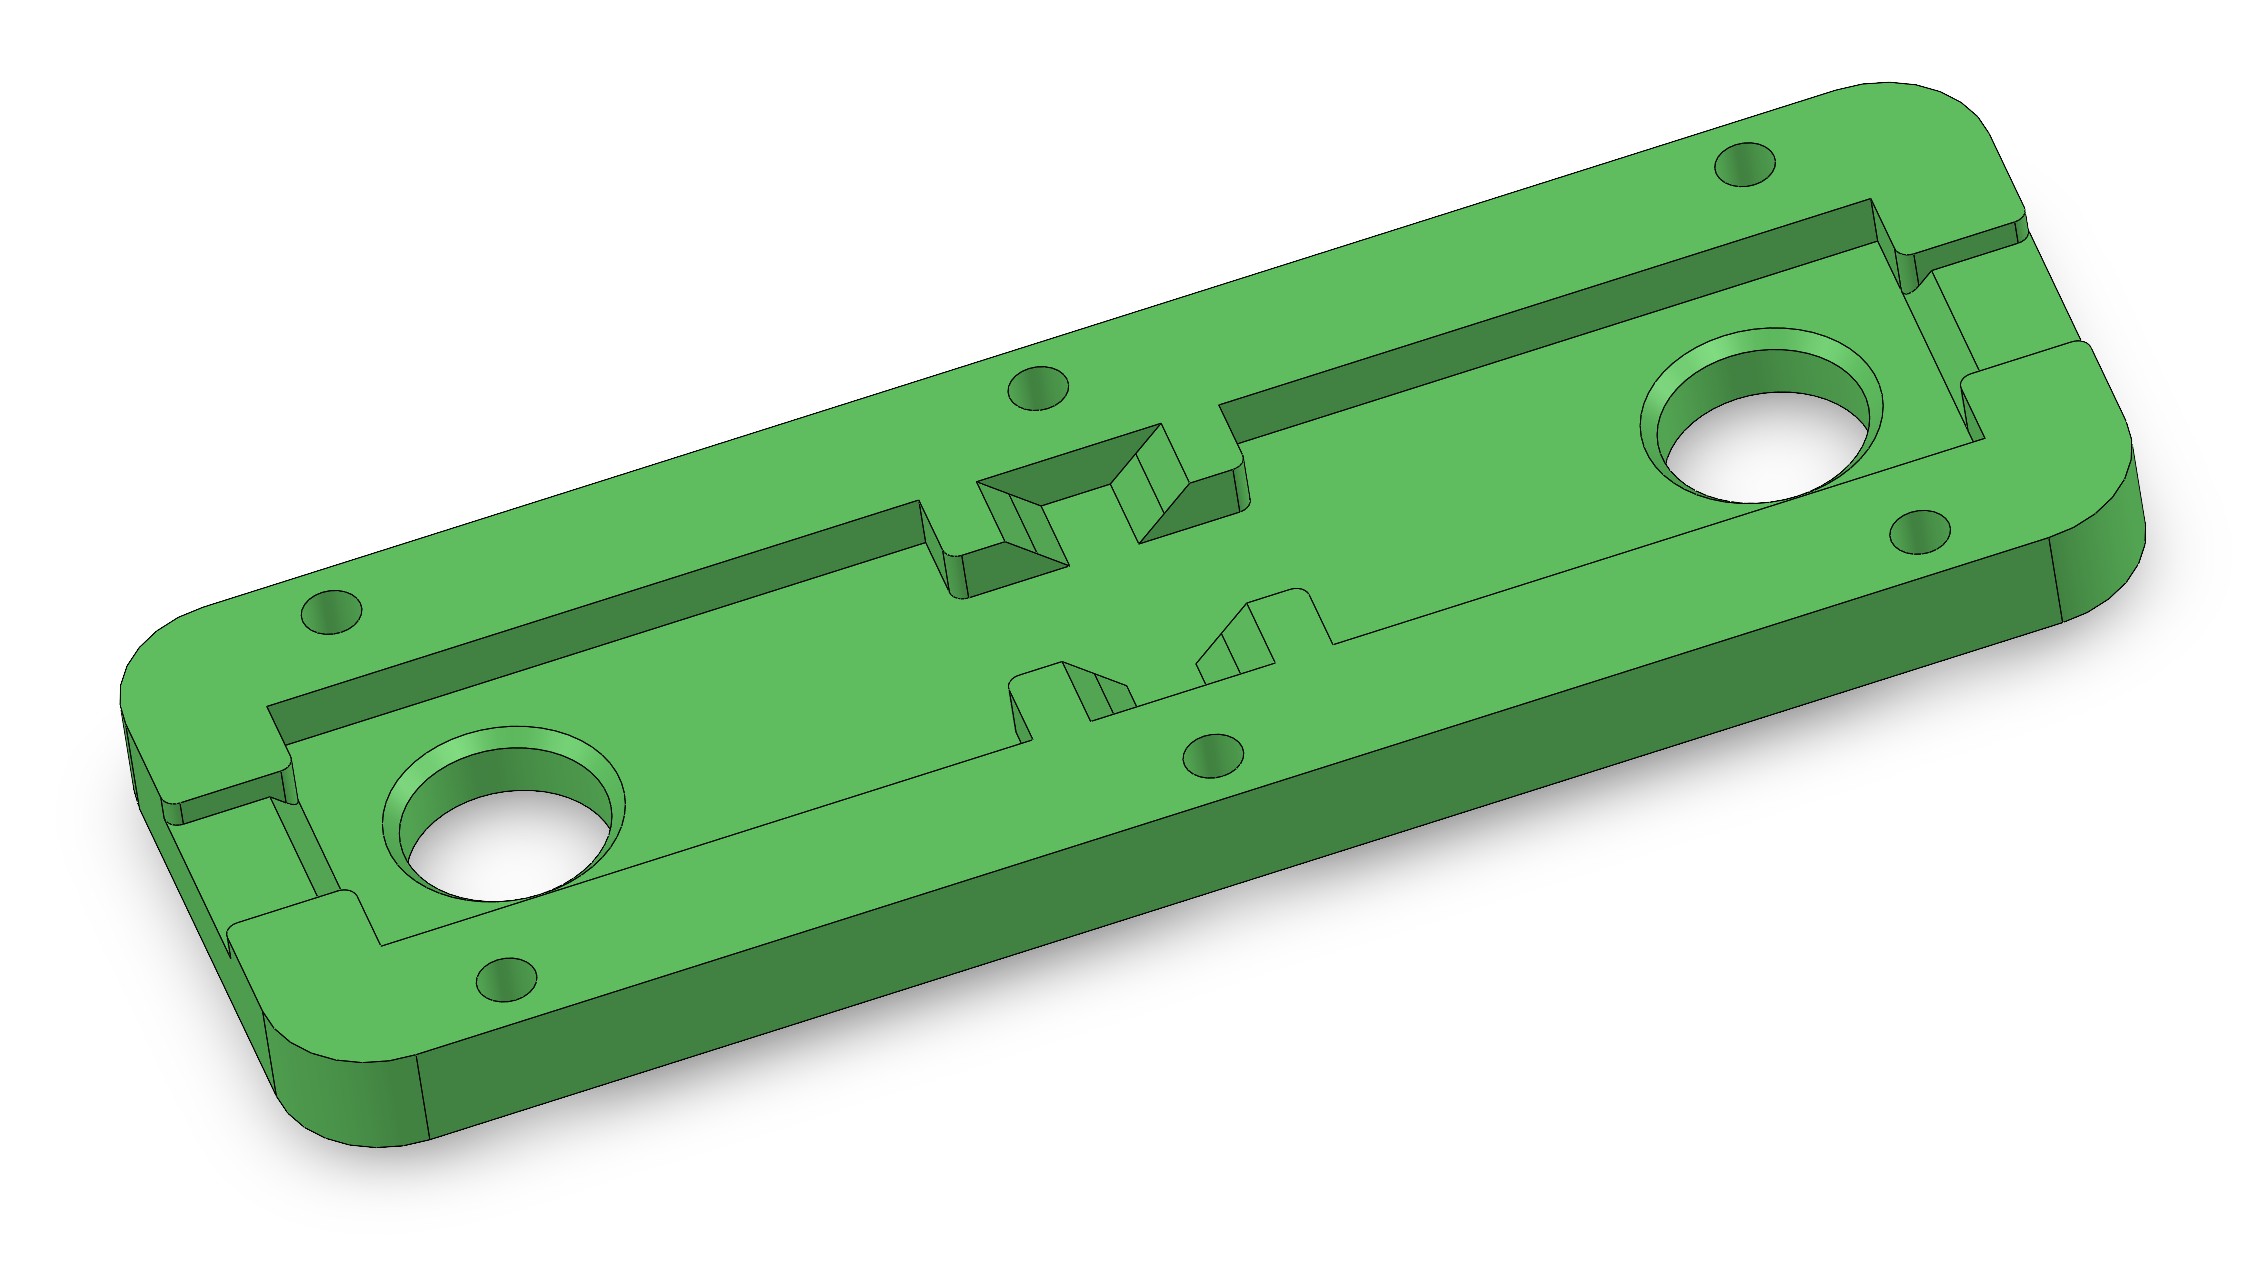 |
6 |
| leg_side | 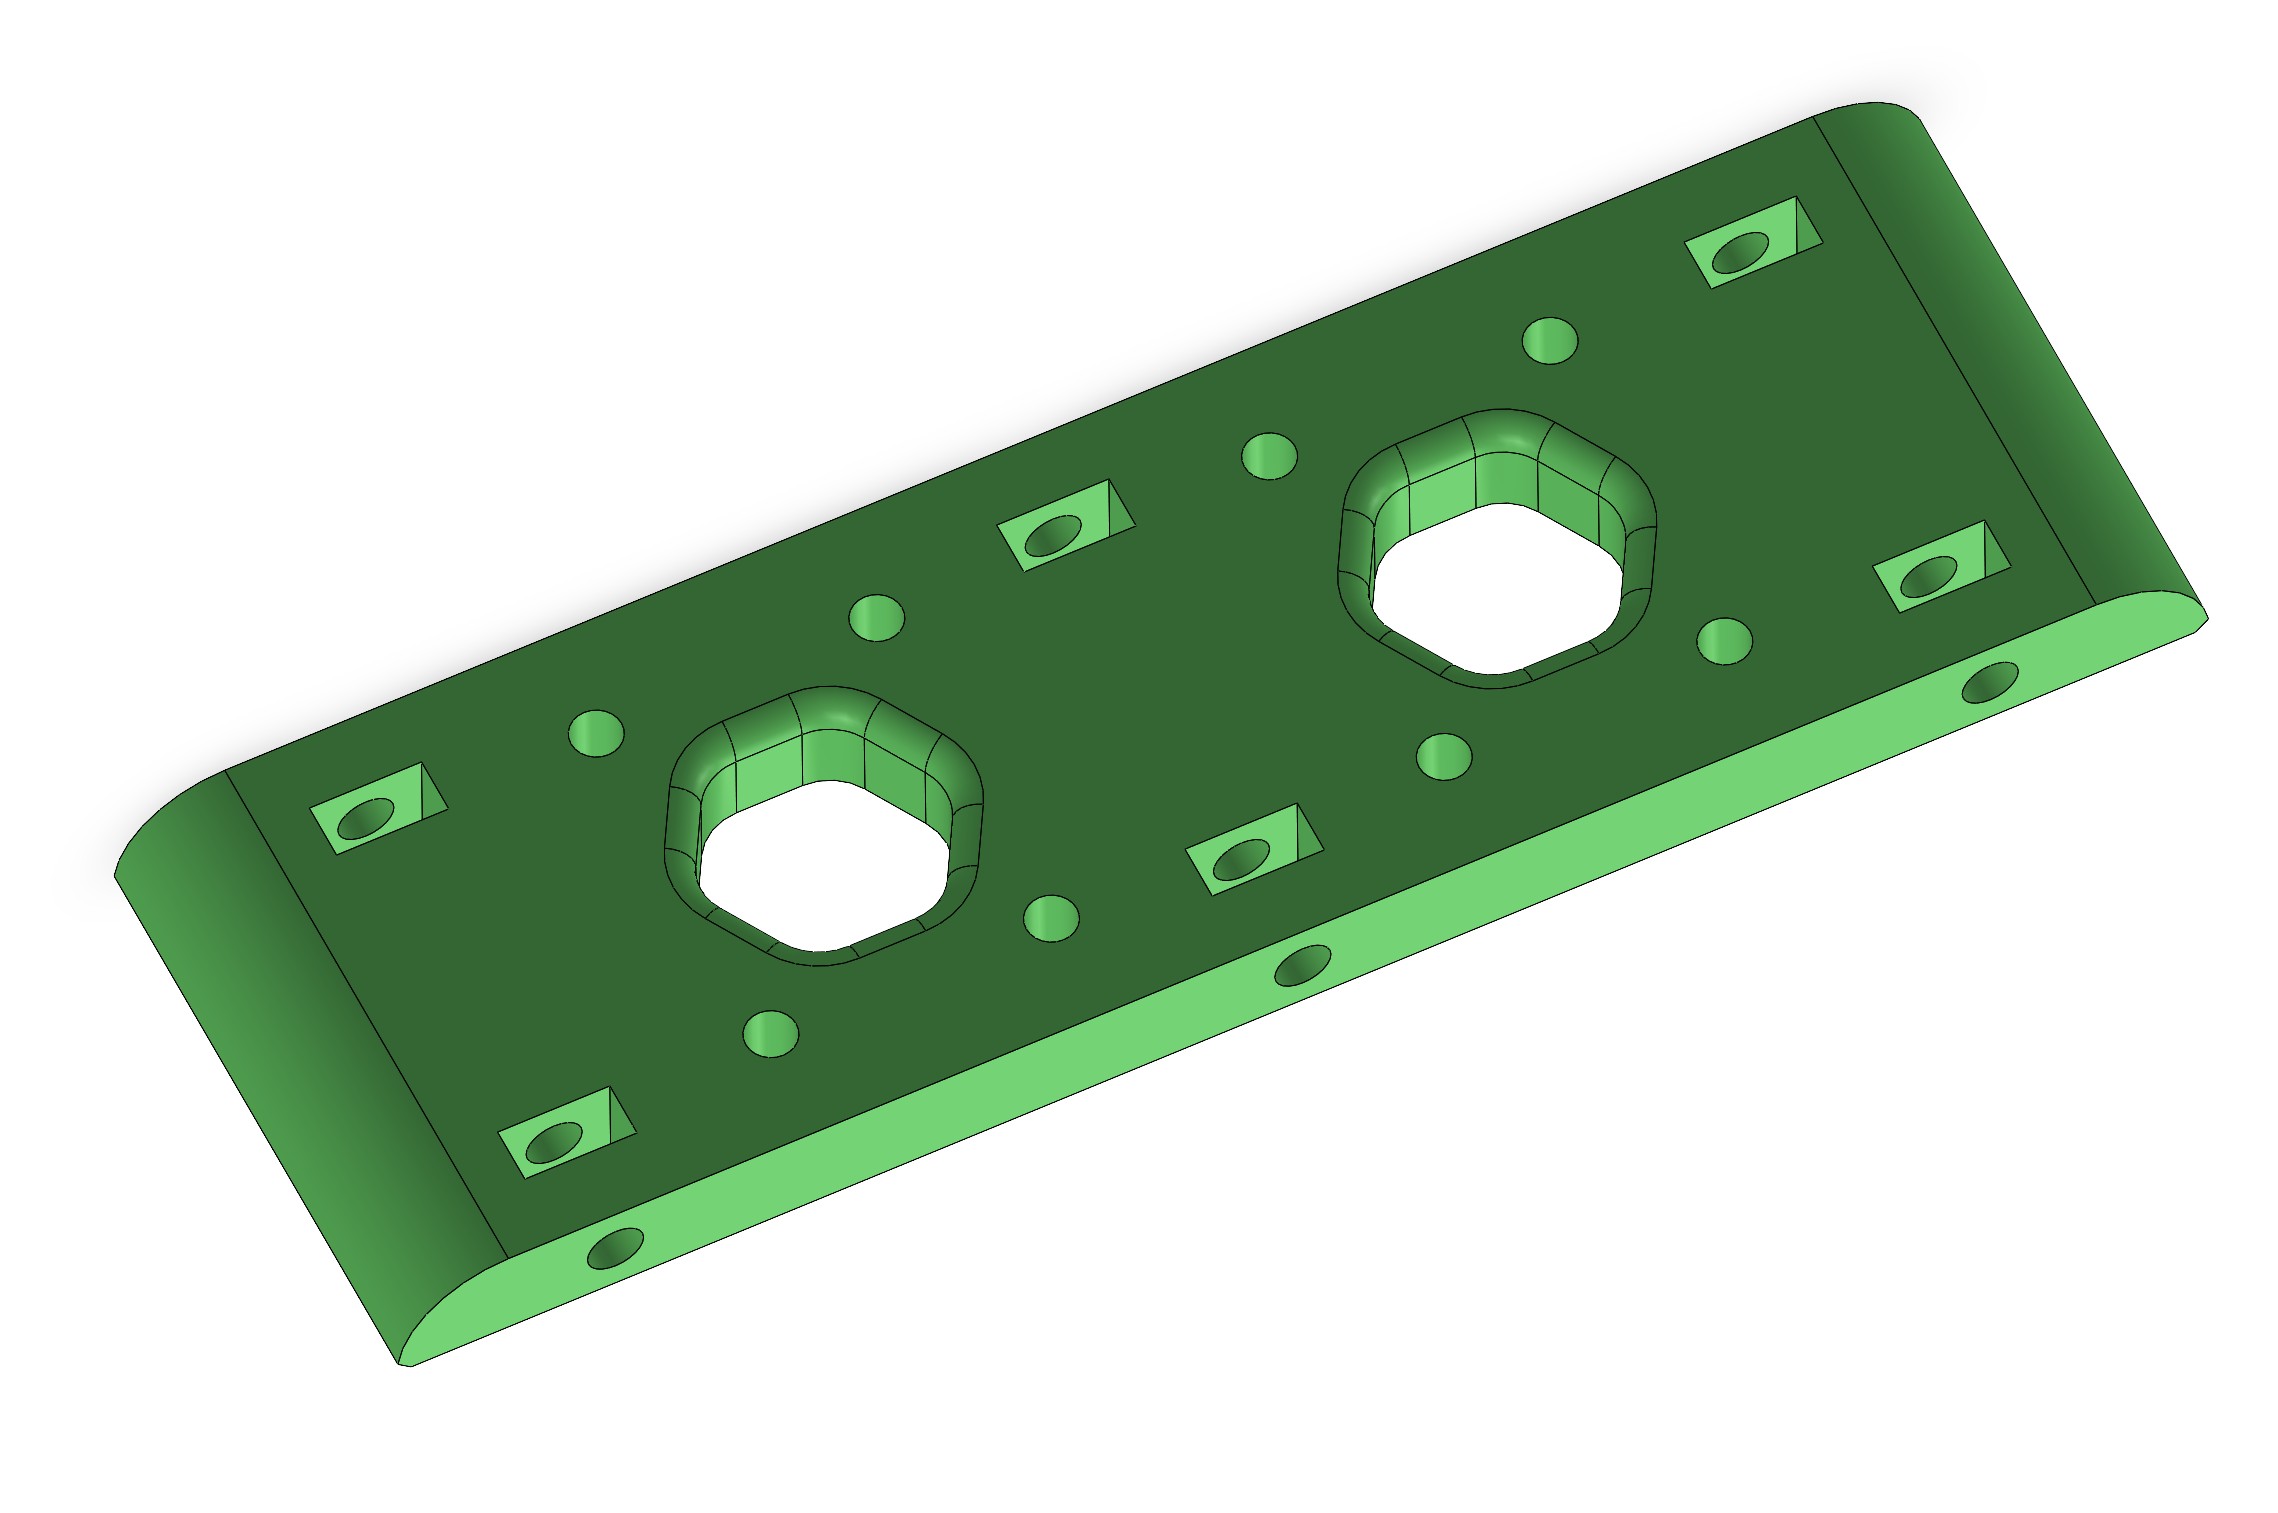 |
12 |
| leg_top | 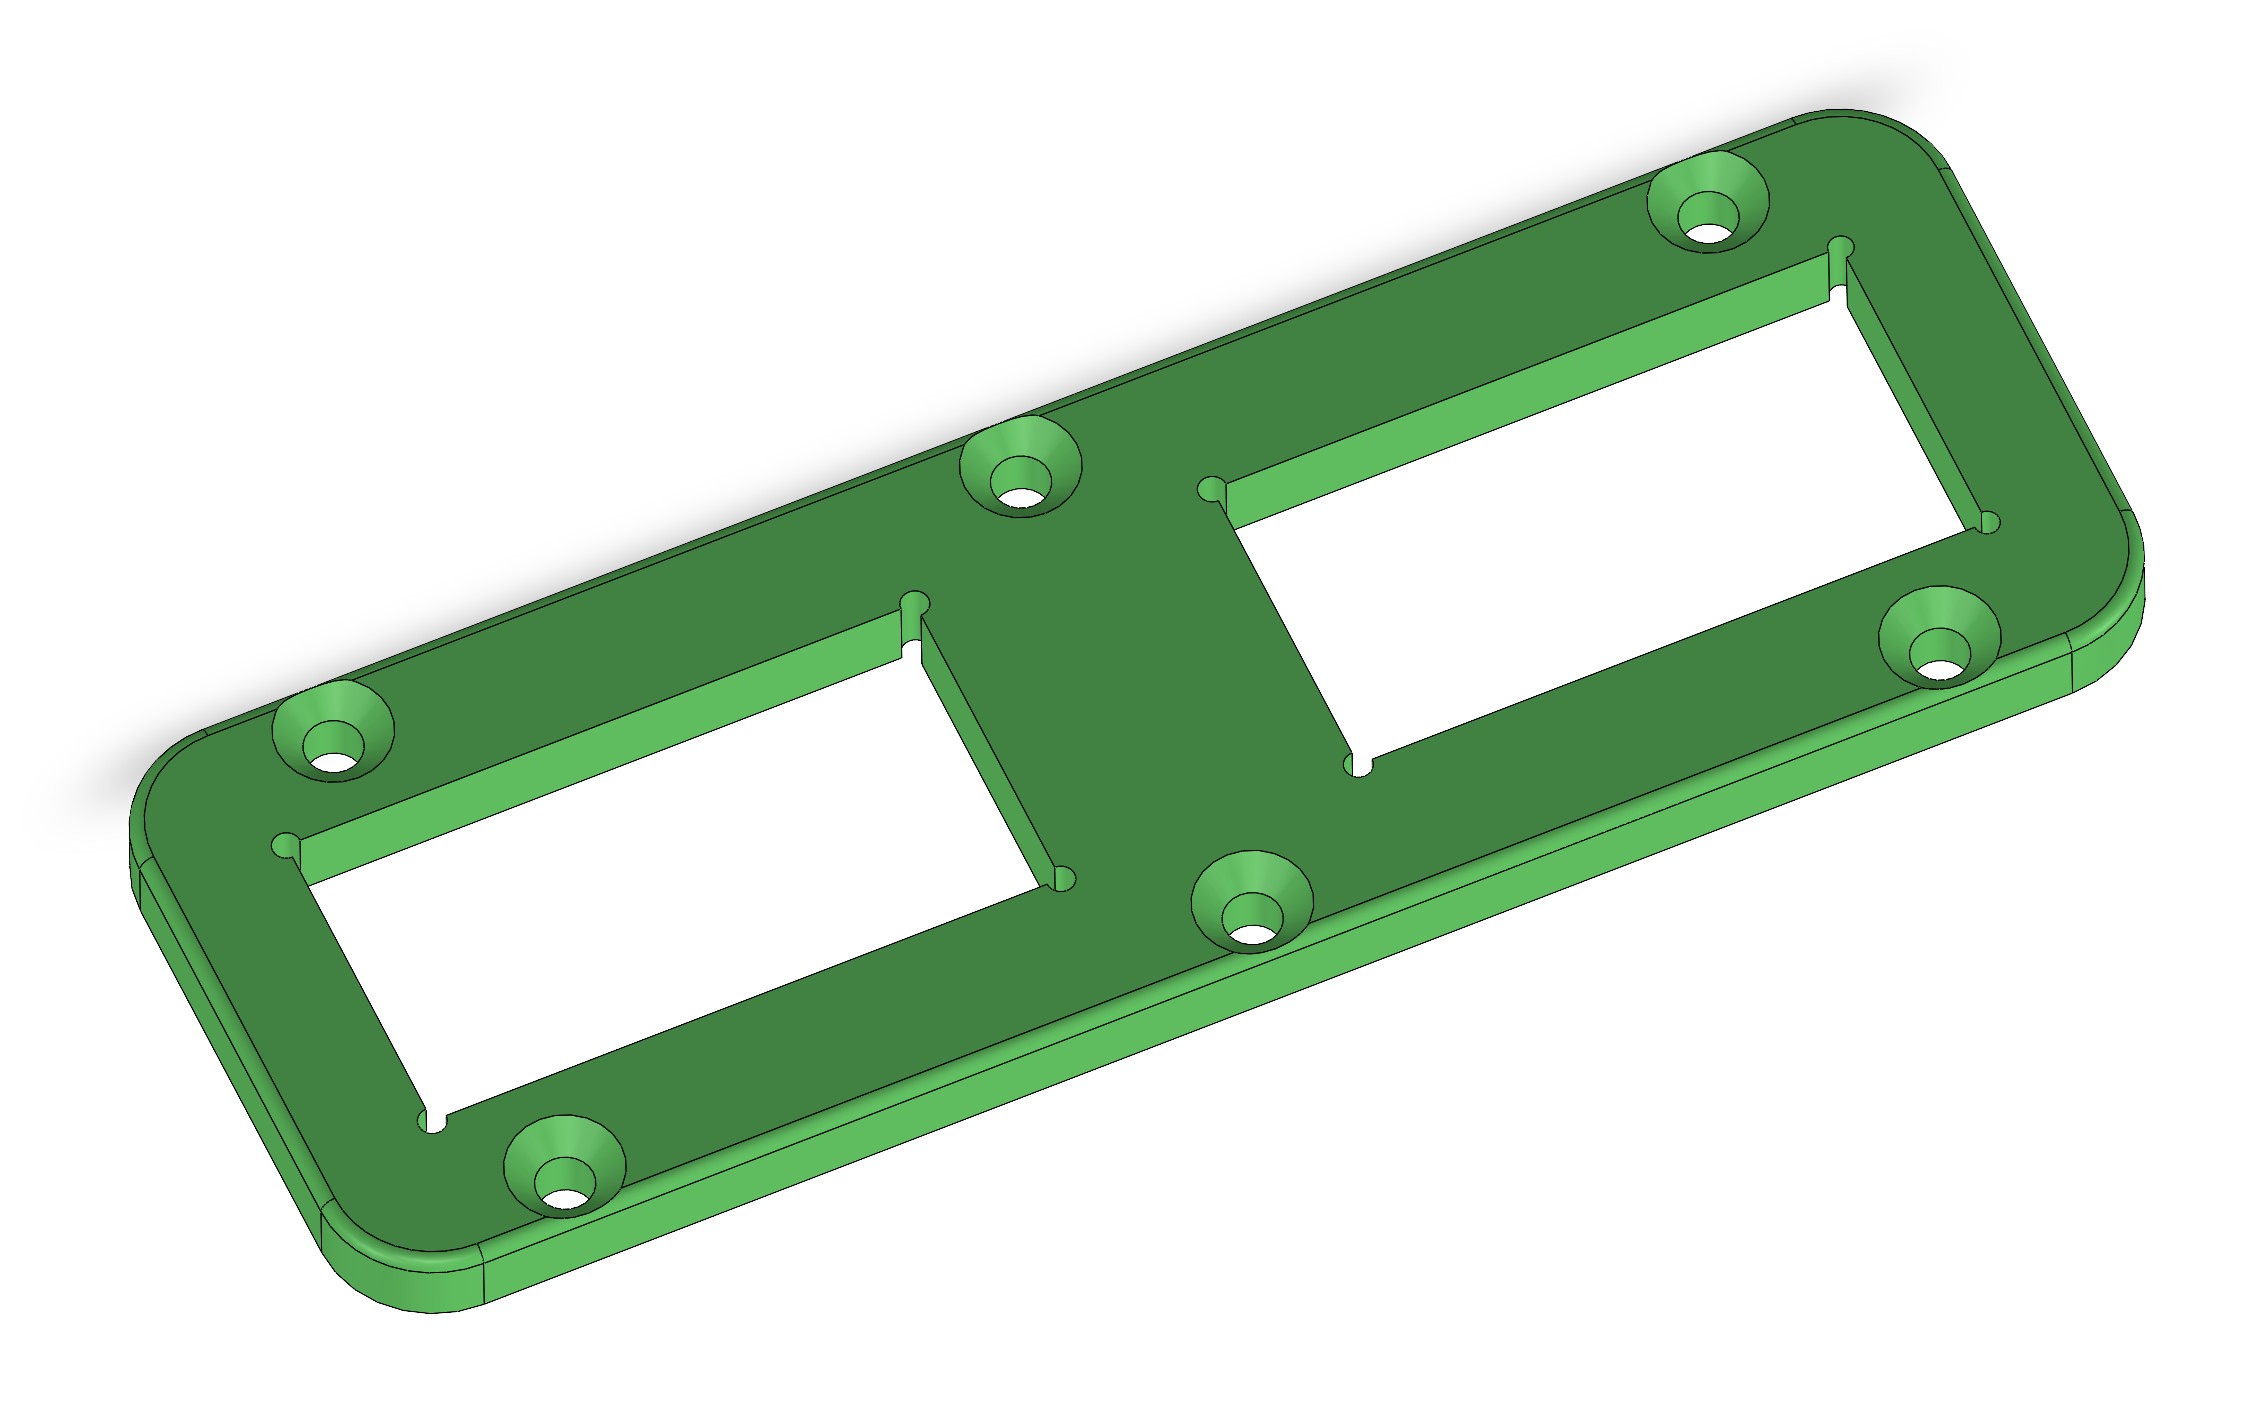 |
6 |
Important: Match foot orientation with joint orientation!
Refer to the fully assembled robot images for correct foot orientations
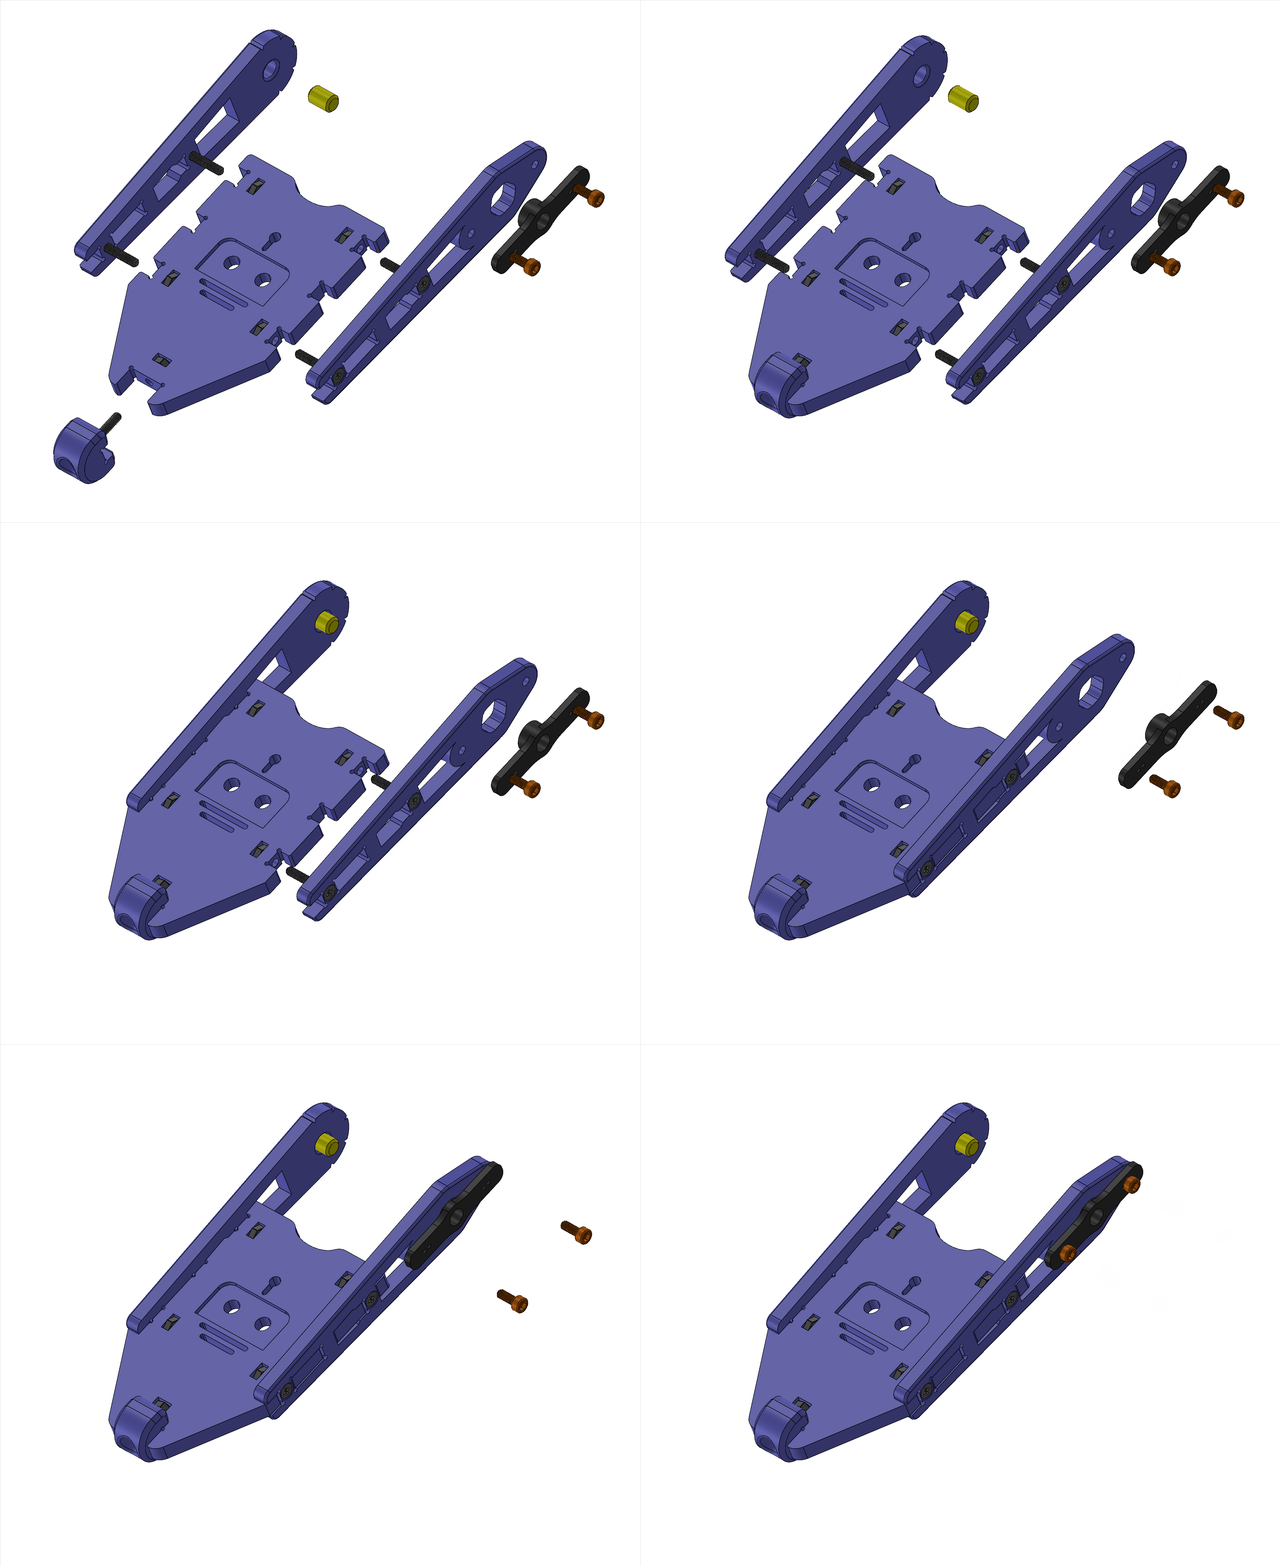
| Filename | Thumbnail | Required # | Note |
|---|---|---|---|
| foot_bottom | 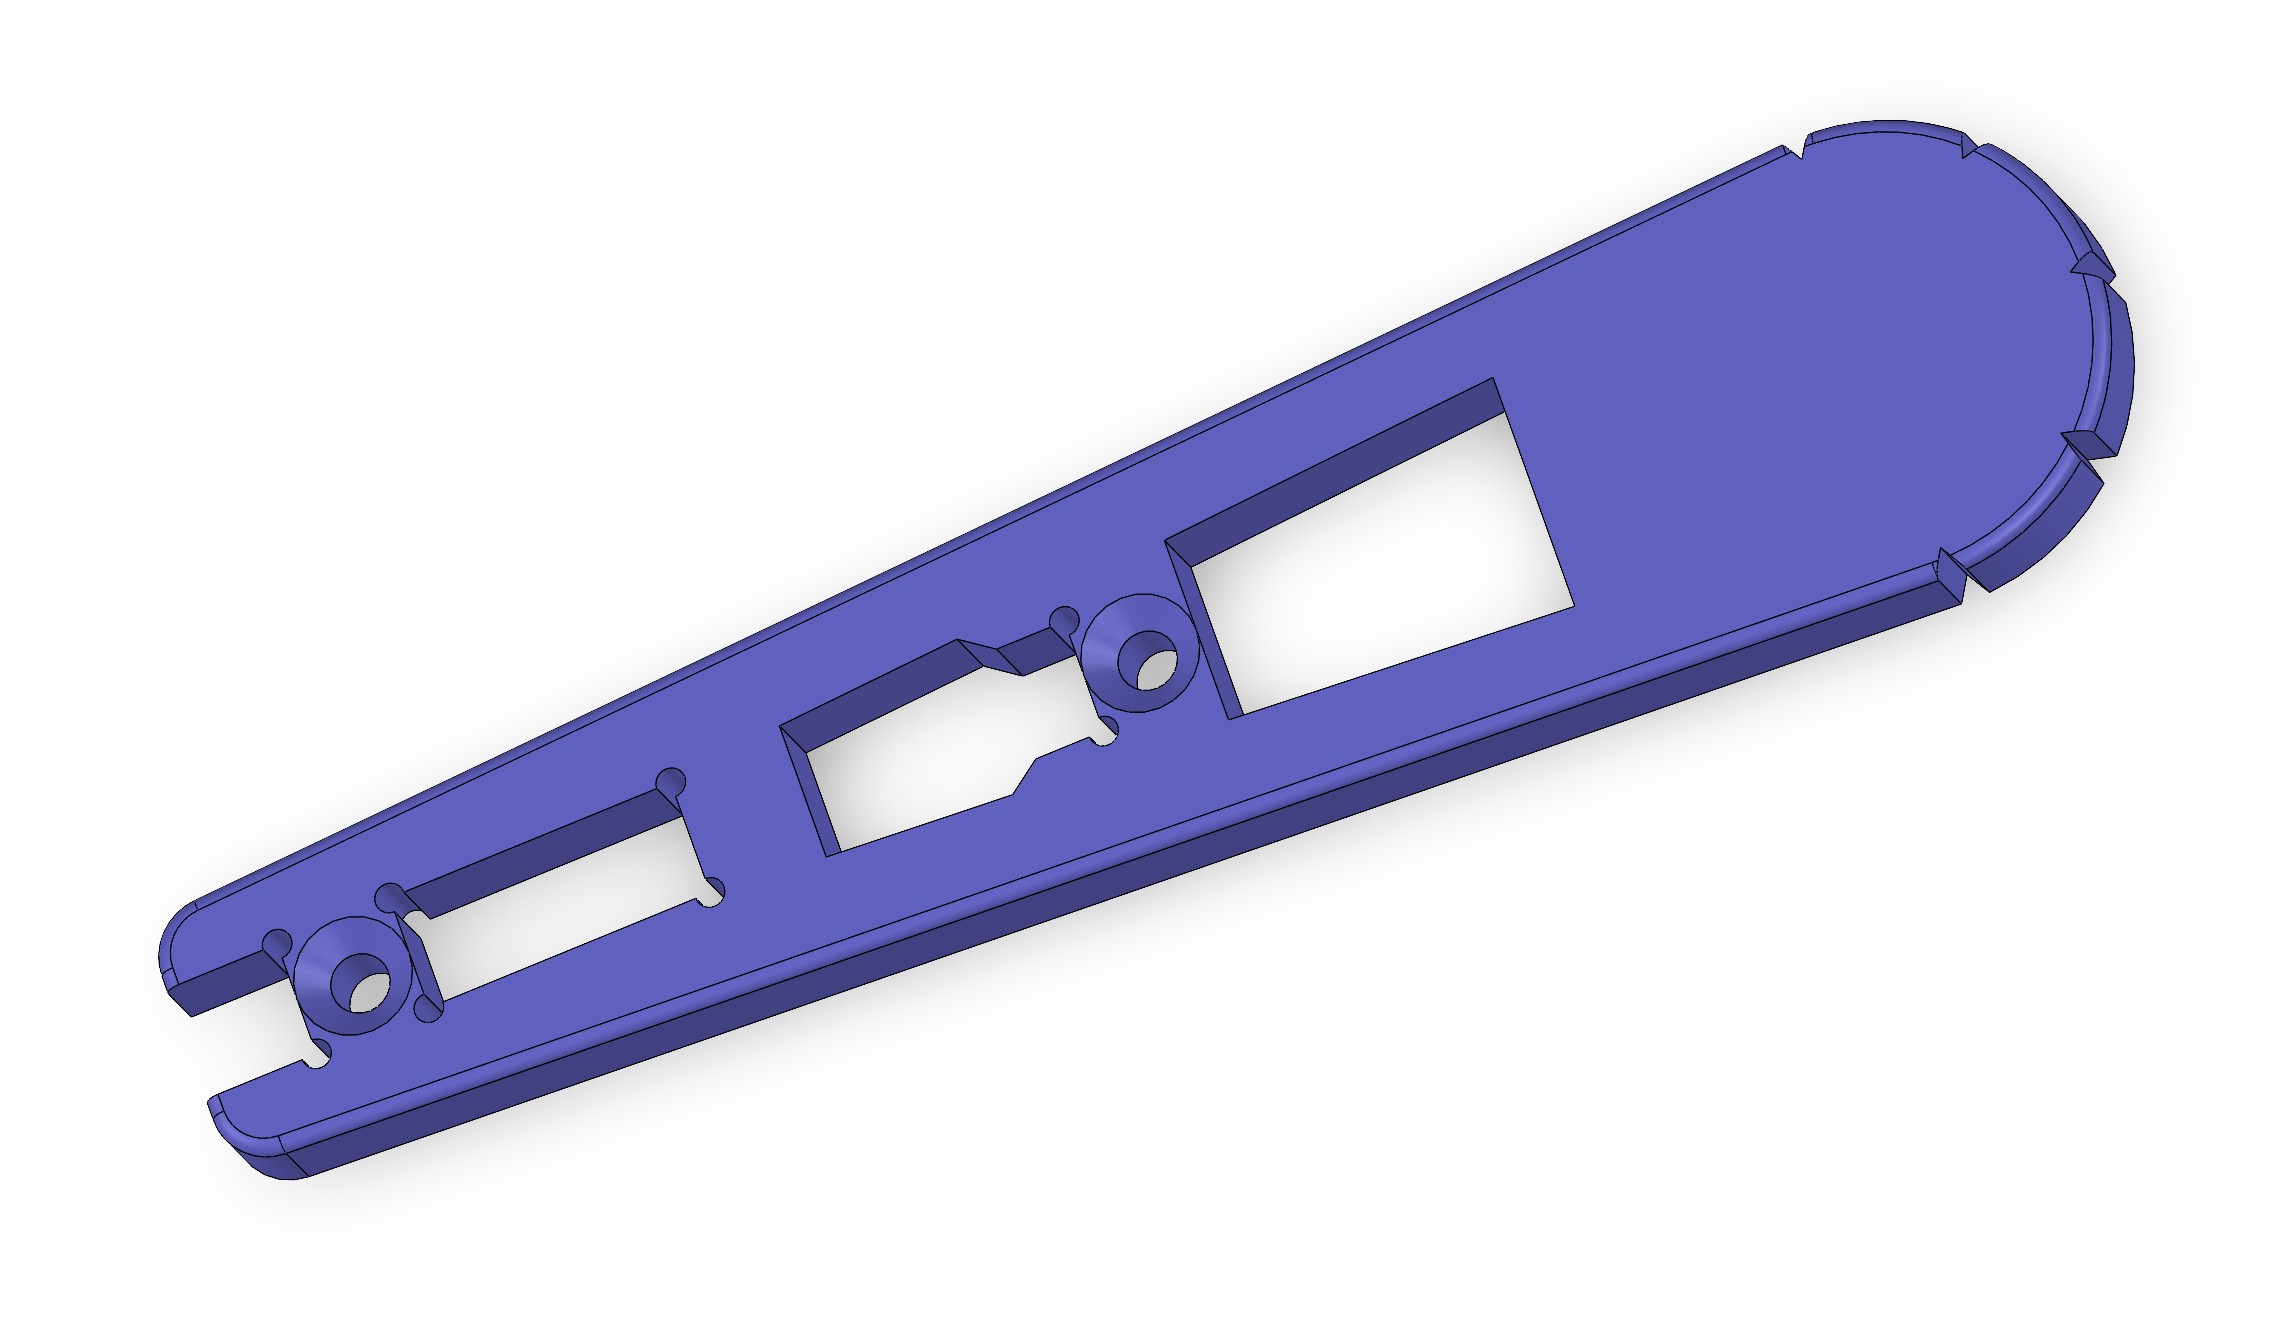 |
6 | |
| foot_top | 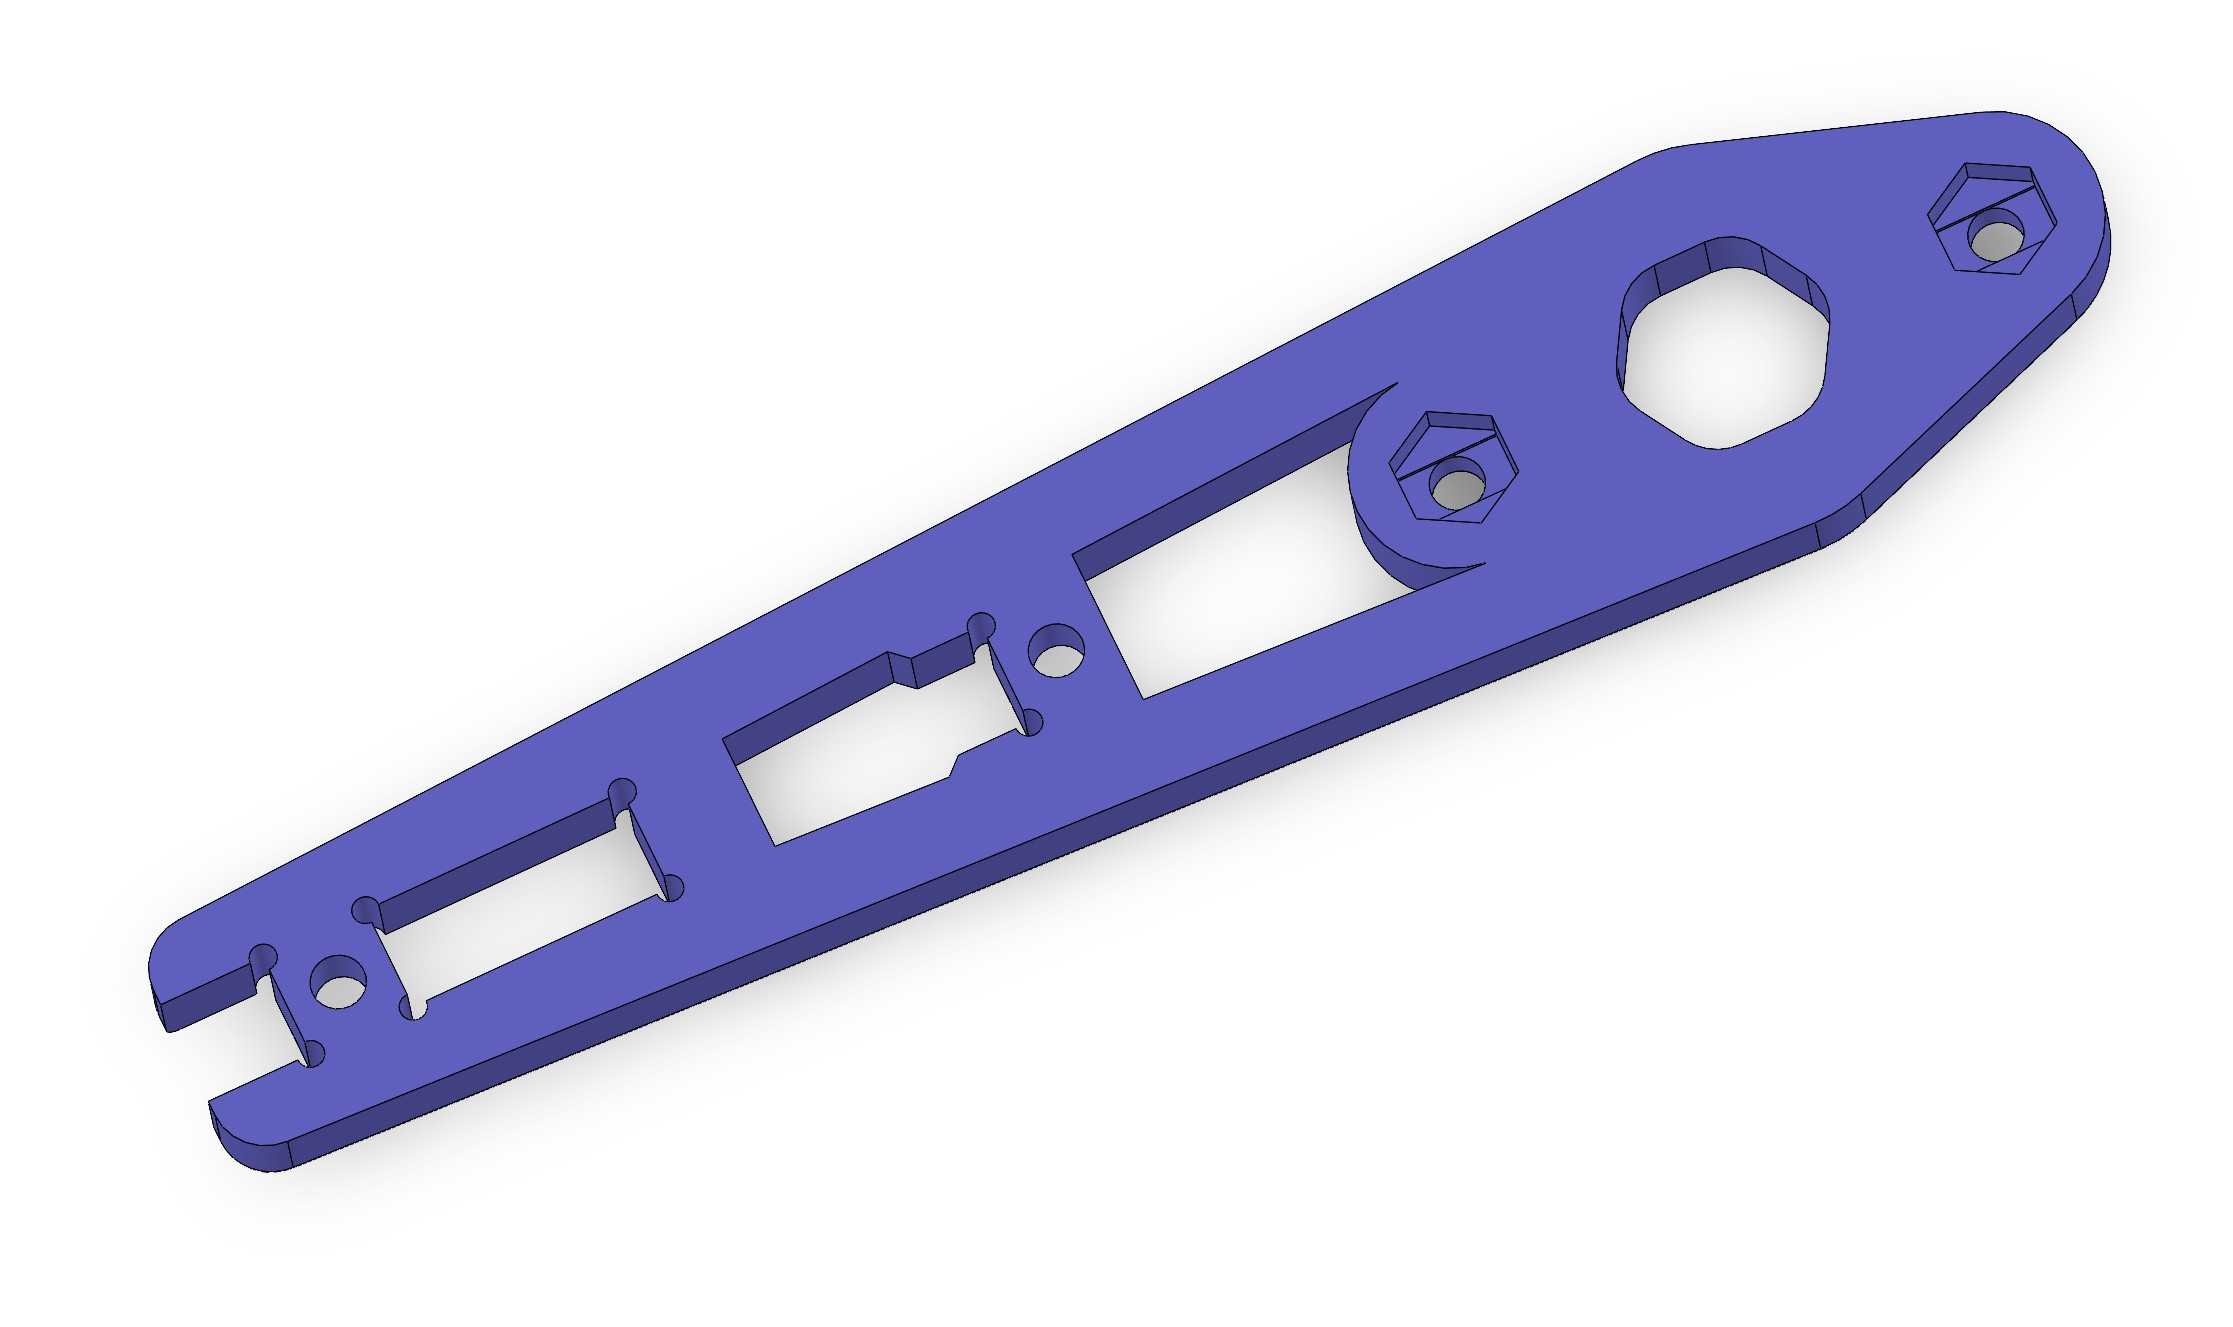 |
6 | |
| foot_ground | 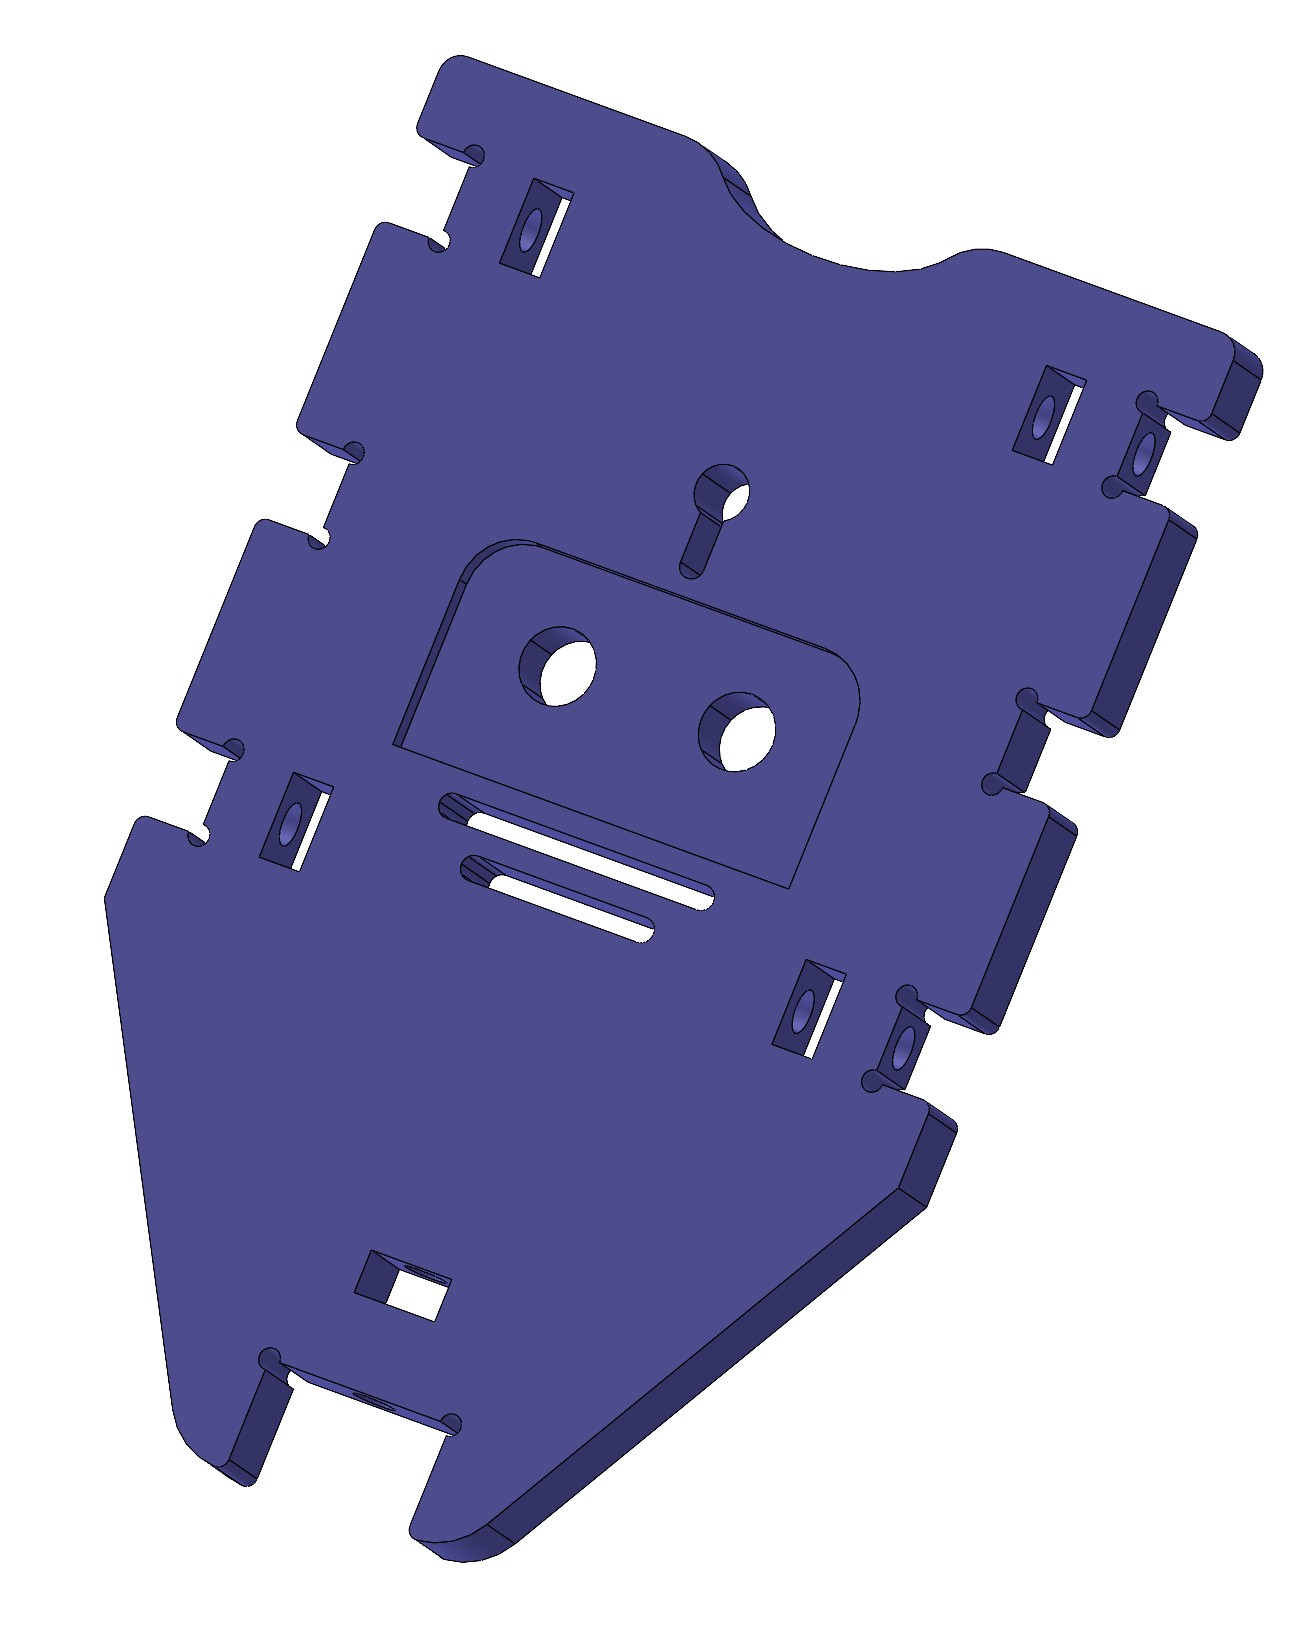 |
6 | |
| foot_tip | 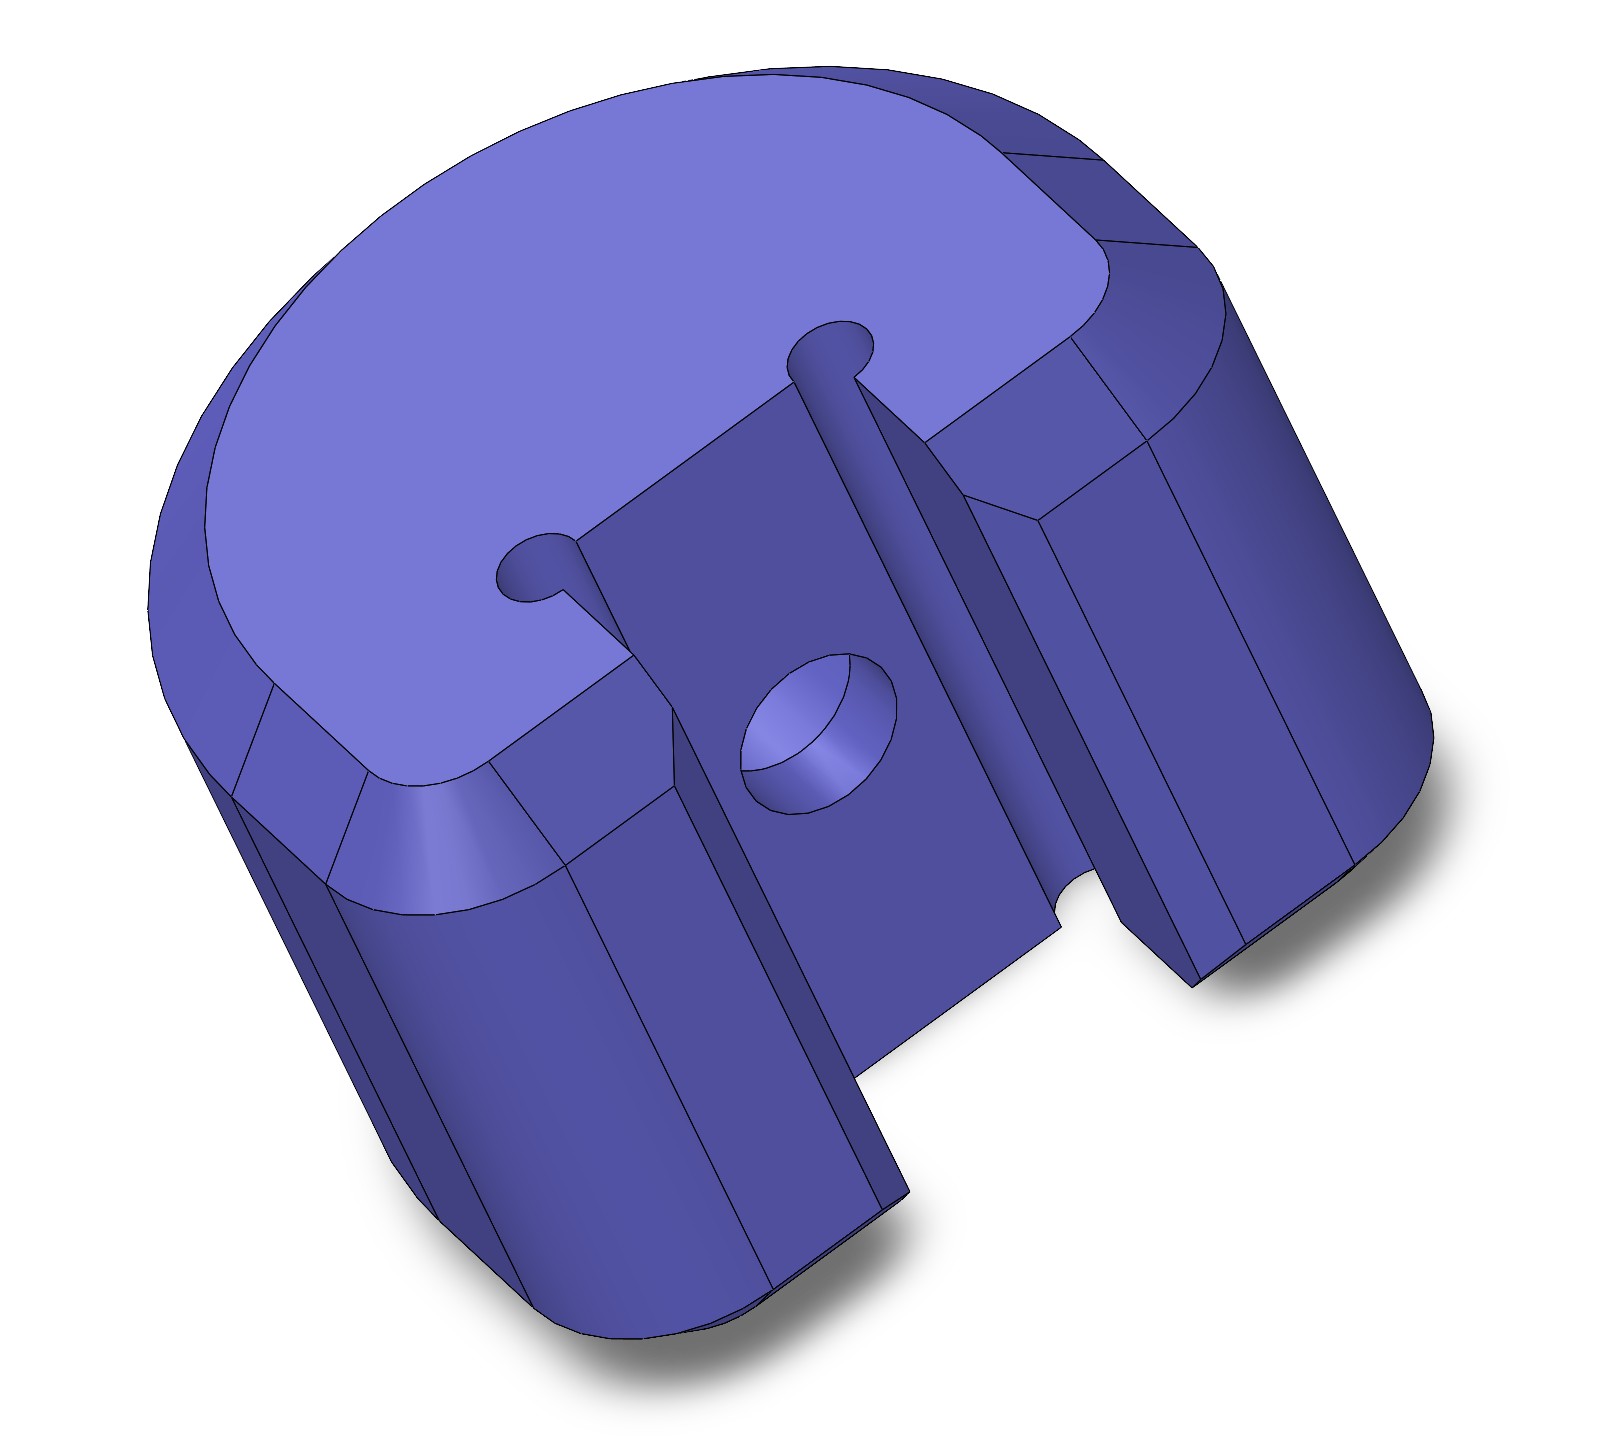 |
6 | Recommend to print with TPU |
Pro Tip: Organize all hardware into labeled containers before assembly to save time!
| Name | Spec | Required # | Usage |
|---|---|---|---|
| Screw | M2 × 6mm hex socket | 36 | Servo mounting |
| Screw | M2 × 12mm countersunk | 180 | General assembly |
| Nuts | M2 hex nut | 216 | Securing screws |
| Pin | M4 × 6mm stainless steel (304) | 18 | Joint pivots |
| Bearing | MR74-2RS (4mm ID, 7mm OD, 2.5mm Bore) | 18 | Smooth joint rotation |
Where to Buy: These are standard metric hardware available from Amazon, AliExpress, or local hardware stores.
Adafruit_PWMServoDriver (for PCA9685 control)AsyncUDP and ArduinoOTA (included with arduino-esp32)Install Arduino IDE from arduino.cc
Add ESP32 Board Support:
Follow the official ESP32 Arduino installation guide
Or add to Arduino IDE → File → Preferences → "Additional Board Manager URLs":
https://raw.githubusercontent.com/espressif/arduino-esp32/gh-pages/package_esp32_index.json
Then install via Tools → Board → Boards Manager → Search "ESP32"
Install Required Library:
Configure Board Settings:
Open and Configure Code:
Open ./software/hexapod_esp32/hexapod_esp32.ino
Edit config.h to set your WiFi credentials (default: SSID="hexapod", password="hexapod_1234"):
#define APSSID "hexapod"
#define APPSK "hexapod_1234"
Configure servo pin mappings if using custom wiring:
static int left_legs[3][3] = {{1, 2, 3}, {5, 6, 7}, {9, 8, 10}};
static int right_legs[3][3] = {{10, 9, 8}, {13, 14, 15}, {7, 6, 5}};
Adjust calibration offset values after assembly (see Calibration section)
Upload Firmware:
Install Arduino IDE and Arduino-Pico Core:
https://github.com/earlephilhower/arduino-pico/releases/download/global/package_rp2040_index.jsonConfigure Board Settings:
Open and Configure Code:
./software/hexapod_pico/hexapod_pico.inoconfig.h for WiFi credentials (default: SSID="hexapod", password="hexapod_1234")Upload Firmware:
ESP32 Version (./software/hexapod_esp32/):
hexapod_esp32.ino: Main Arduino sketch with control logicconfig.h: WiFi credentials, servo pin mappings, and calibration offsetsmotion.h: Pre-generated motion look-up tables for smooth walkingREADME.md: ESP32-specific documentationPico Version (./software/hexapod_pico/):
hexapod_pico.ino: Main sketch optimized for RP2040config.h: Configuration settingsmotion.h: Motion look-up tablesPicoPWM.cpp/h: Custom PWM library for precise servo controlREADME.md: Pico-specific documentationPath Tool (./software/path_tool/):
path_tool.py: Tool for generating custom walking patternslut_generator.ipynb: Jupyter notebook for motion path visualizationpath_lib.py: Library for inverse kinematics calculationshexapod (default)hexapod_1234 (default)192.168.4.1 (for both ESP32 and Pico)1234The hexapod accepts motion commands via UDP packets on port 1234. Commands must be wrapped with : delimiters (e.g., :walk0:).
Available Commands:
:standby: - Stop and hold position:walk0: - Walk forward:walk180: - Walk backward:walkr45: / :walkr90: / :walkr135: - Walk right at 45°/90°/135°:walkl45: / :walkl90: / :walkl135: - Walk left at 45°/90°/135°:turnleft: / :turnright: - Rotate in place:fastforward: / :fastbackward: - Fast walking:climbforward: / :climbbackward: - Climbing gait:rotatex: / :rotatey: / :rotatez: - Body rotation (pitch/roll/yaw):twist: - Body twist motionExample (Python):
import socket

sock = socket.socket(socket.AF_INET, socket.SOCK_DGRAM)
sock.sendto(b":walk0:", ("192.168.4.1", 1234))
Boot Behavior: The robot automatically performs a boot sequence (stands up) when a client connects to its WiFi network.
Both ESP32 and Pico support wireless firmware updates:
Important Notes:
Upload fails:
Servos not responding:
posture_calibration() functionconfig.h match your wiringWiFi connection issues:
config.h (default: hexapod/hexapod_1234)192.168.4.1 when connected to the hexapod's APOTA not working:
Control your hexapod directly from your Android smartphone:
The app provides an intuitive interface to:
Requirements: Android device with WiFi capability
Work in progress - Check repository for updates
Proper calibration is critical for smooth walking. Take your time with this step!
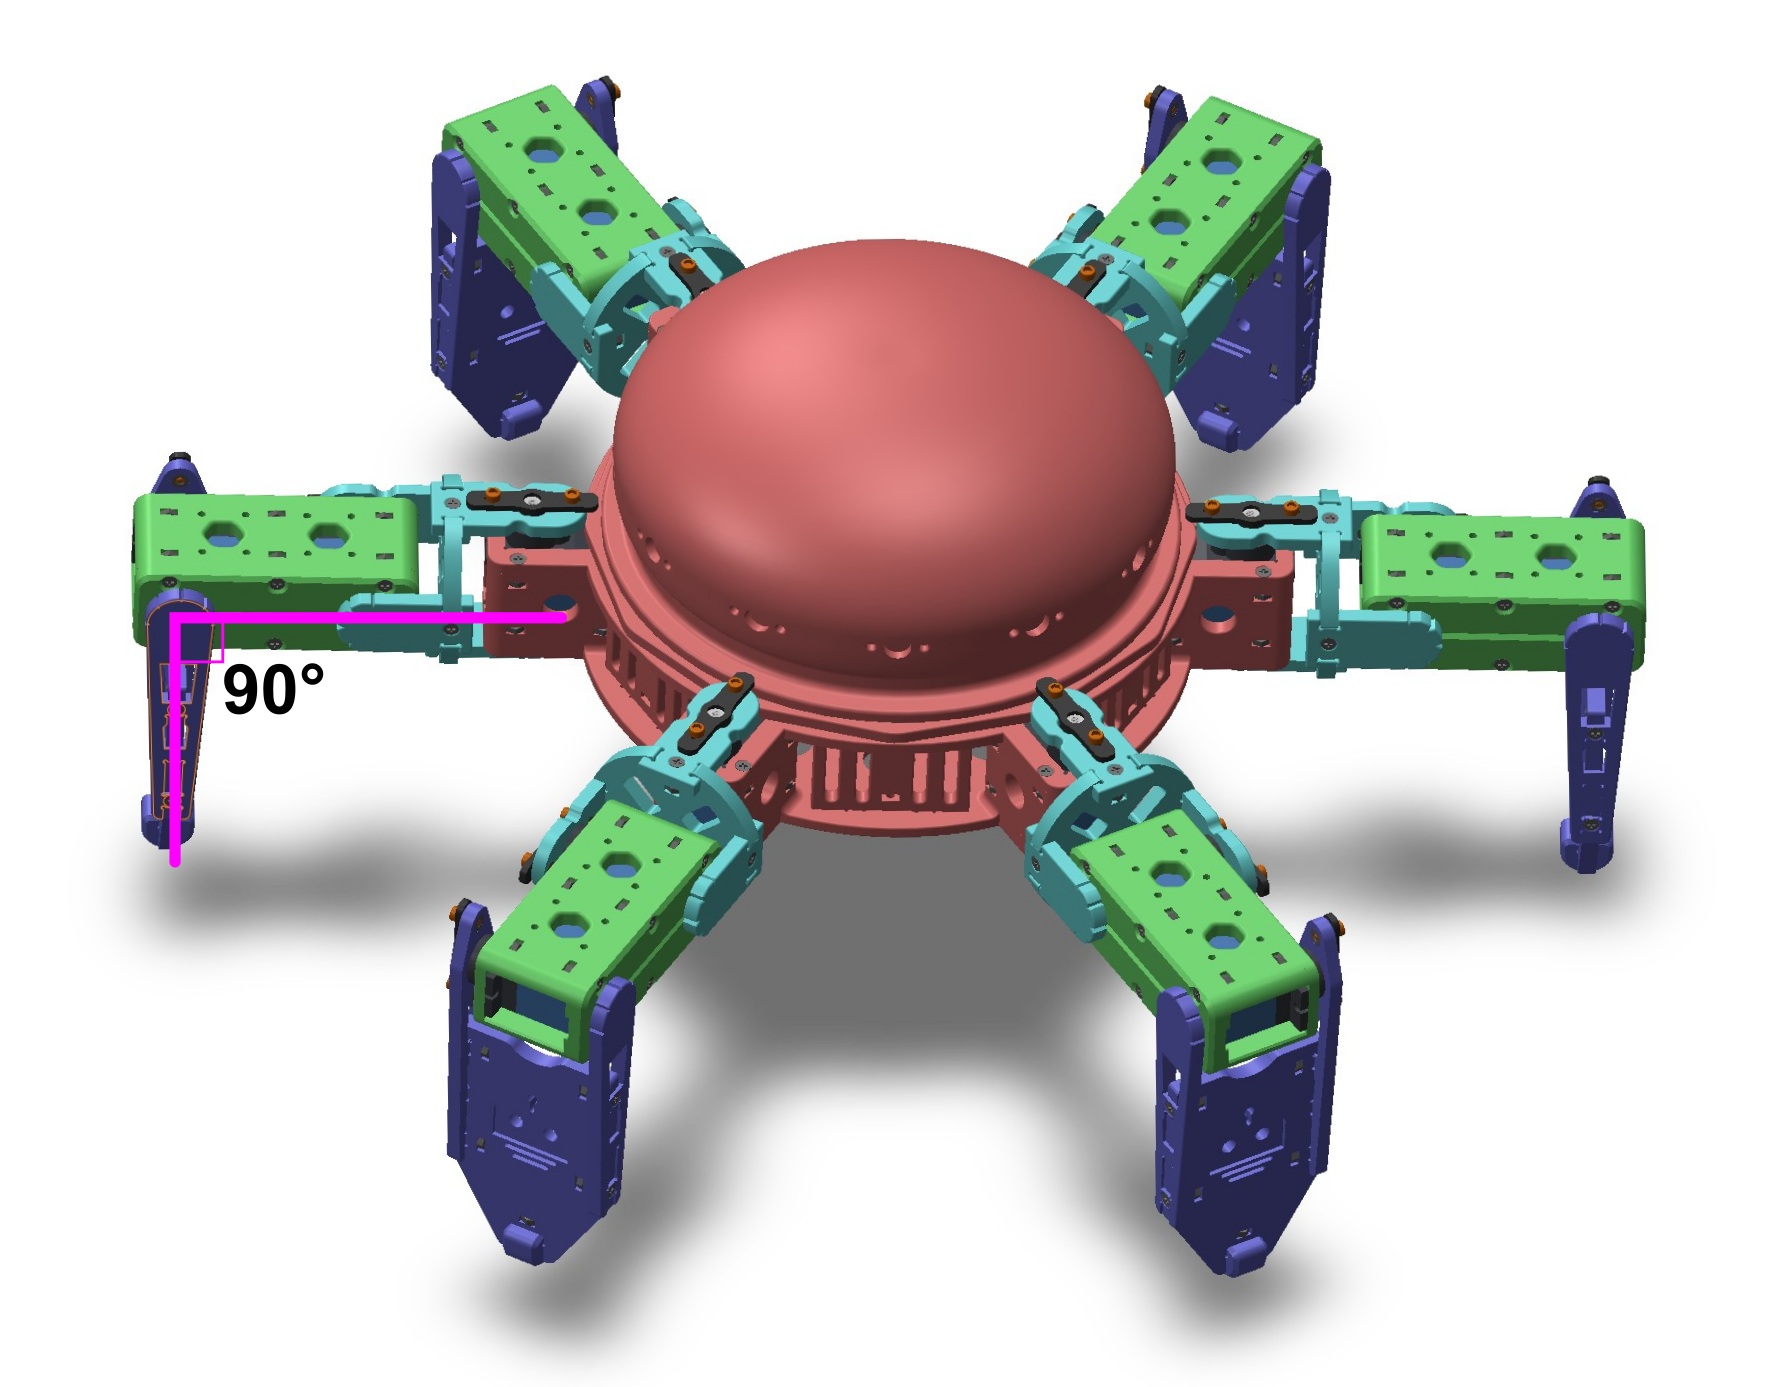
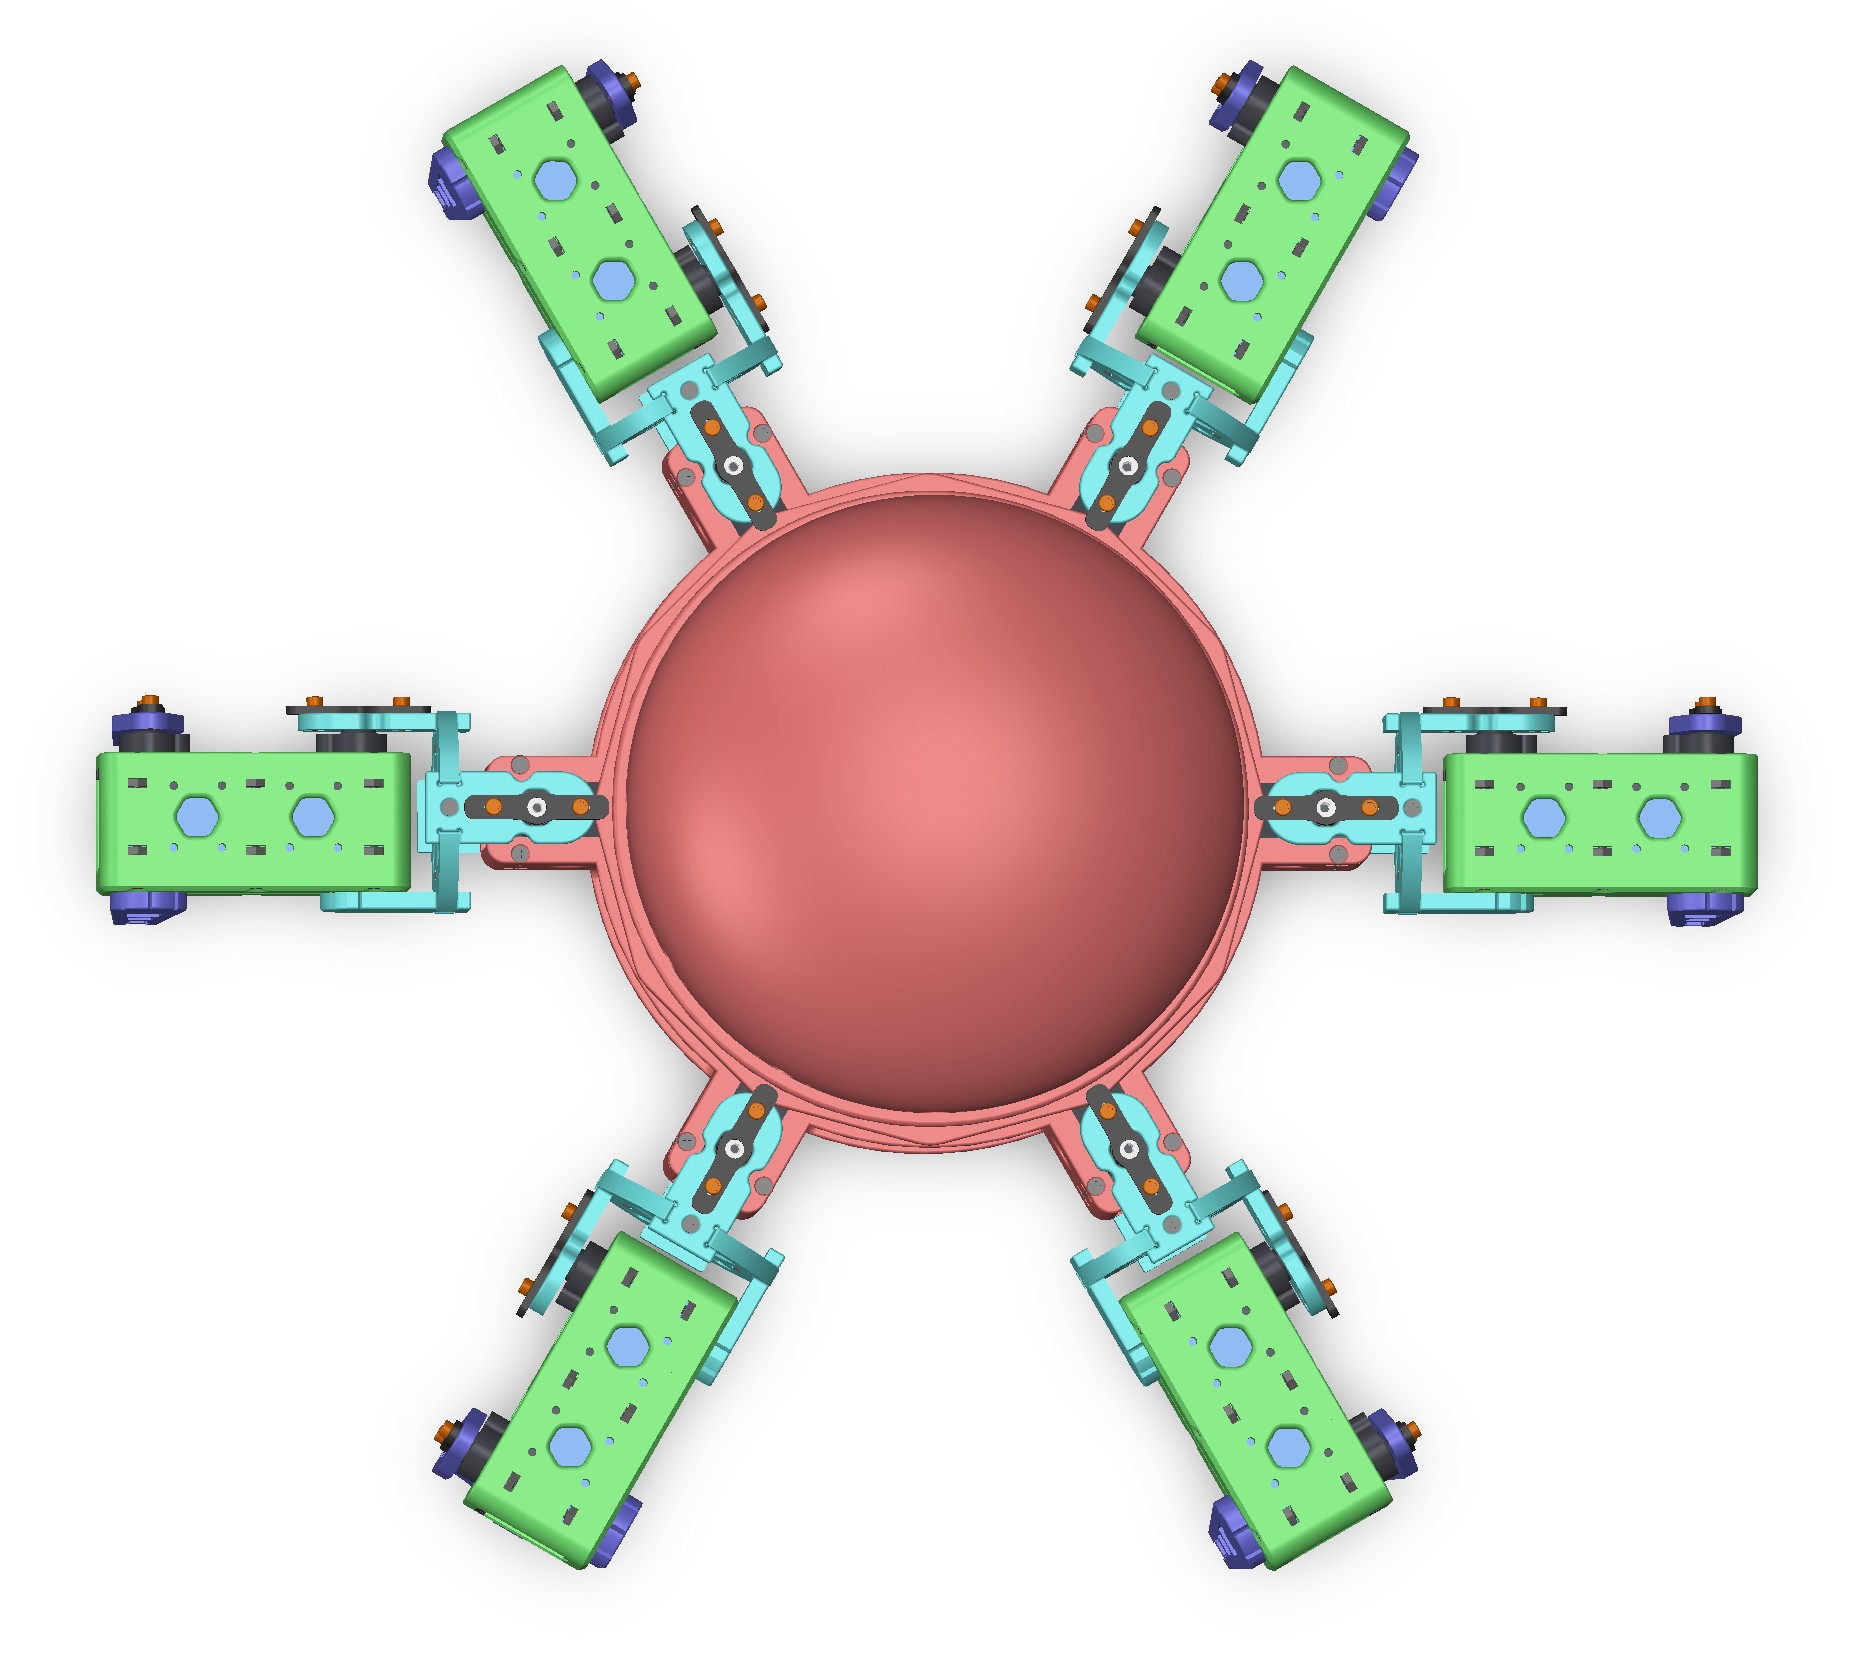
All servos should be at 90° (neutral position) when the legs are in the reference positions shown below.
The hexapod now includes a web-based calibration interface that makes the calibration process much easier - no need to repeatedly edit code and re-upload firmware!
hexapod)http://192.168.4.1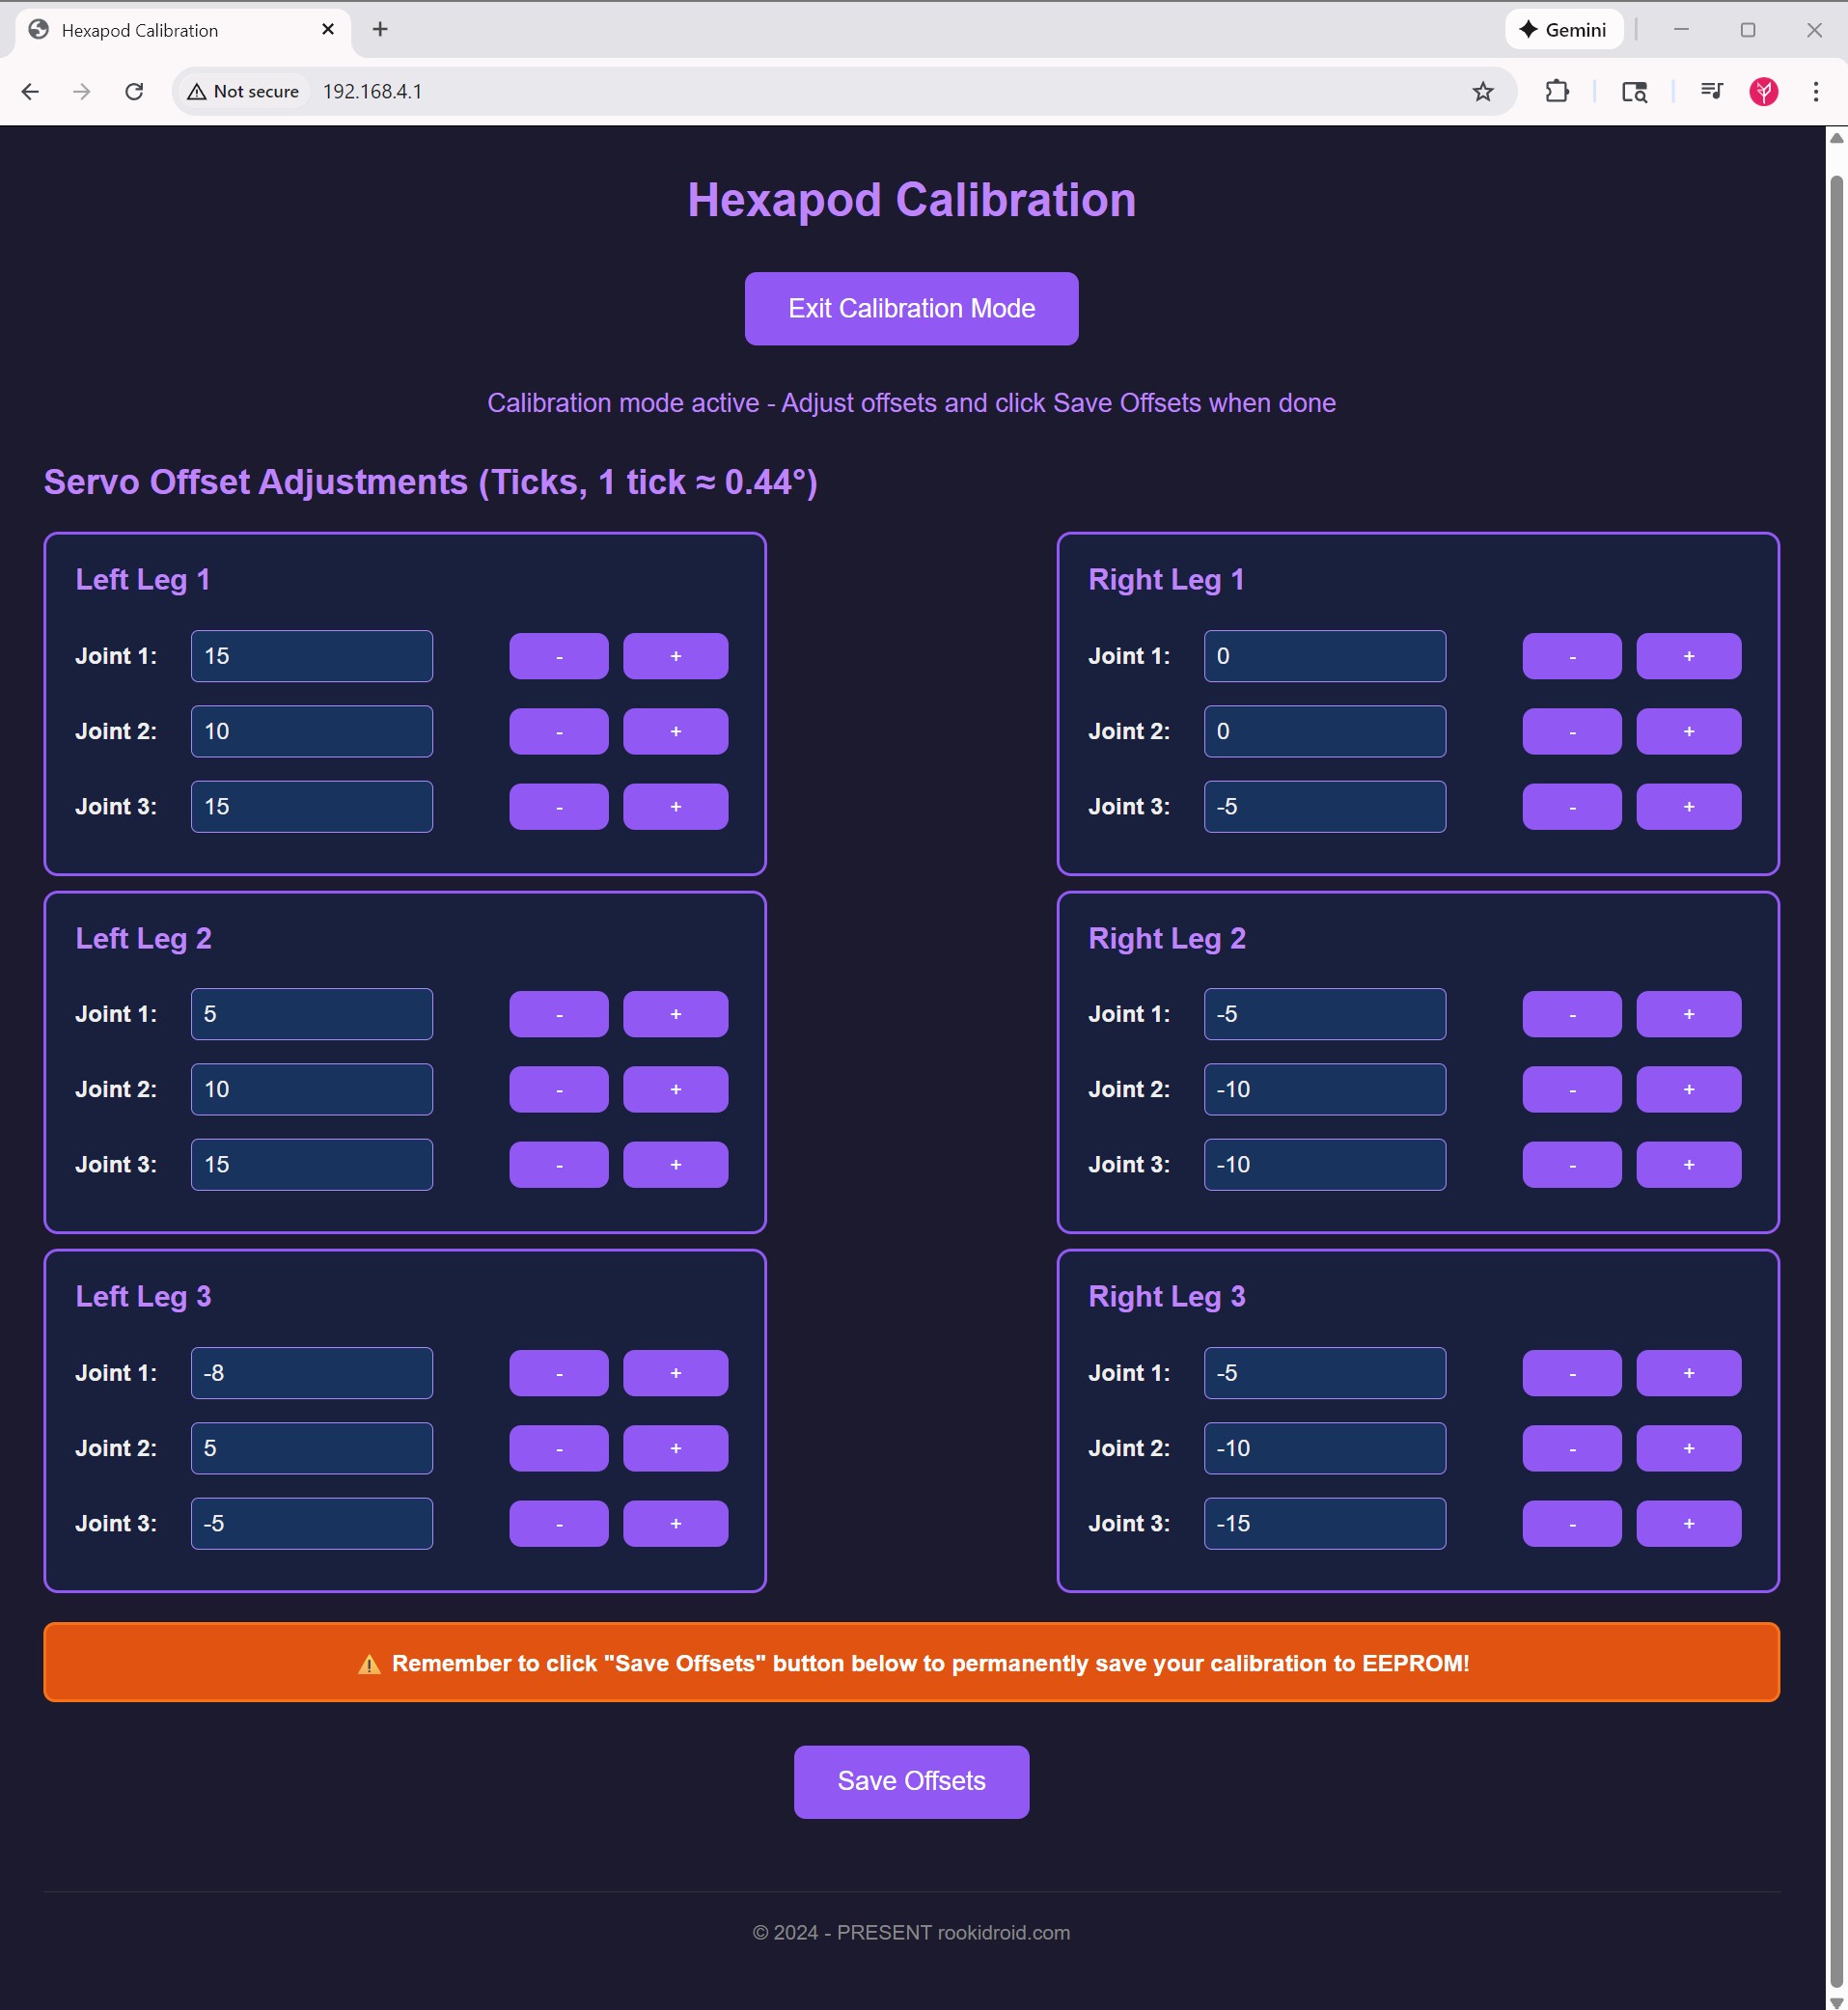
Click the "Enter Calibration Mode" button
Check Leg Positions: Compare each leg with the reference images below
For each misaligned servo:
Locate the servo in the web interface:
Adjust the offset value:
Observe the movement and continue adjusting until the servo reaches the correct position
Once all servos are properly aligned, click "Save Offsets"
Now tighten the servo horn screws - With each servo in its correct neutral position, firmly tighten the small screws on each servo horn to secure them in place
Click "Exit Calibration Mode" to resume normal operation
Send a walking command to verify smooth motion. If adjustments are needed, simply re-enter calibration mode and fine-tune.
Front View
Top View
more like this
simple generator for 3D-printed frames for a moxon rectangle antenna
GPX 轨迹转 3D 可打印地形模型 | Hiking trail to 3D printable terrain | Electron + Vue。 一款面向户外爱好者与 3D 打印玩家的 Web 工具。将 GPX 徒步/骑行轨迹一键转…
Install and monitor KlipperScreen on Android via DroidKlipp APK, USB ADB forwarding, and WiFi fallback
search projects, people, and tags