moxon-frame-generator
simple generator for 3D-printed frames for a moxon rectangle antenna
OpenSCAD★ 50
Simplify, strengthen, and seal your V0/T0/ X0 by ditching the tophat and moving to a full-box frame.
 zruncho3d
git clone https://github.com/zruncho3d/BoxZero.gitzruncho3d/BoxZeroSimplify, strengthen, and seal your Voron Zero or V0-derived printer (Tri-Zero, Double Dragon) by ditching the tophat and moving to a full-box frame.
Mod an existing printer for ~$60 or build a BoxZero from scratch, keeping the 200mm extrusions of a stock V0 frame kit, at about the same cost.
Retains the same footprint as a stock V0, but comes in a bit taller, with more space for the umbilical.
Pairs exquisitely with Tri-Zero (a triple-belted Z mod) and ZeroPanels (clip-in, clip-out enclosure panels), both shown in the render and pics below, as well as Double Dragon (the V0 IDEX mod).
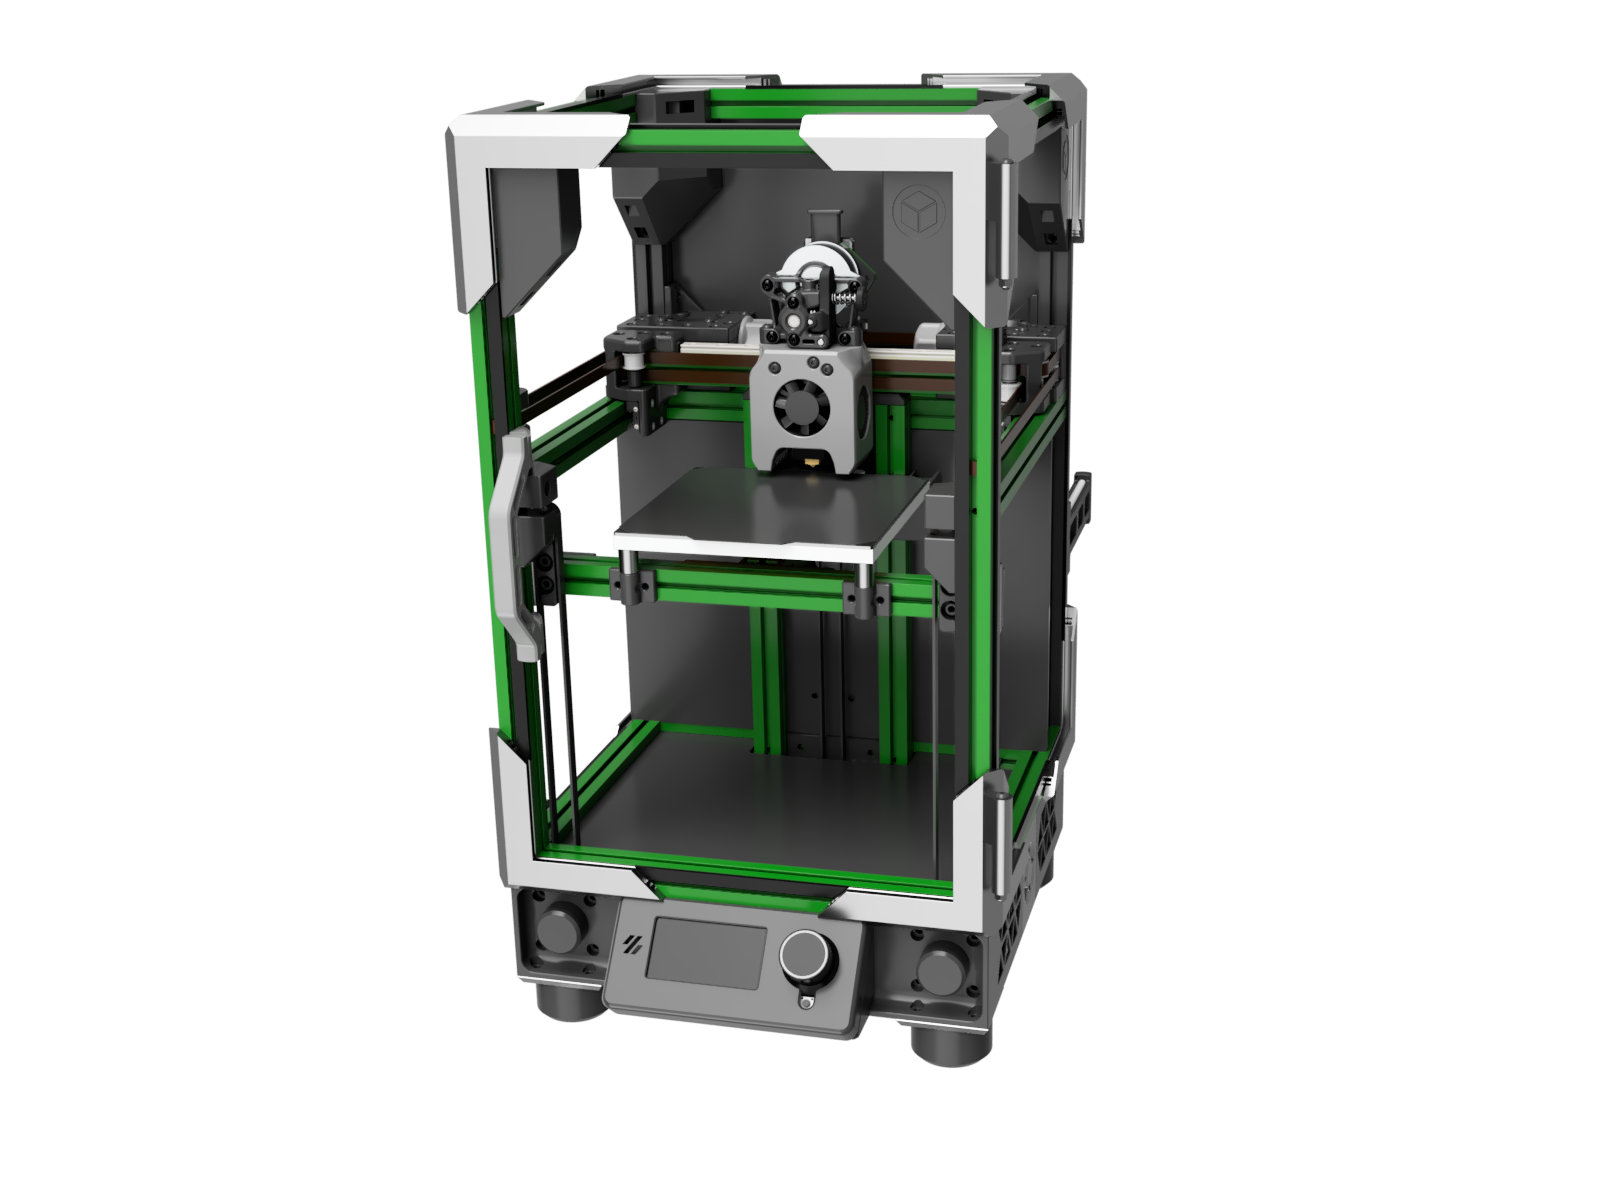
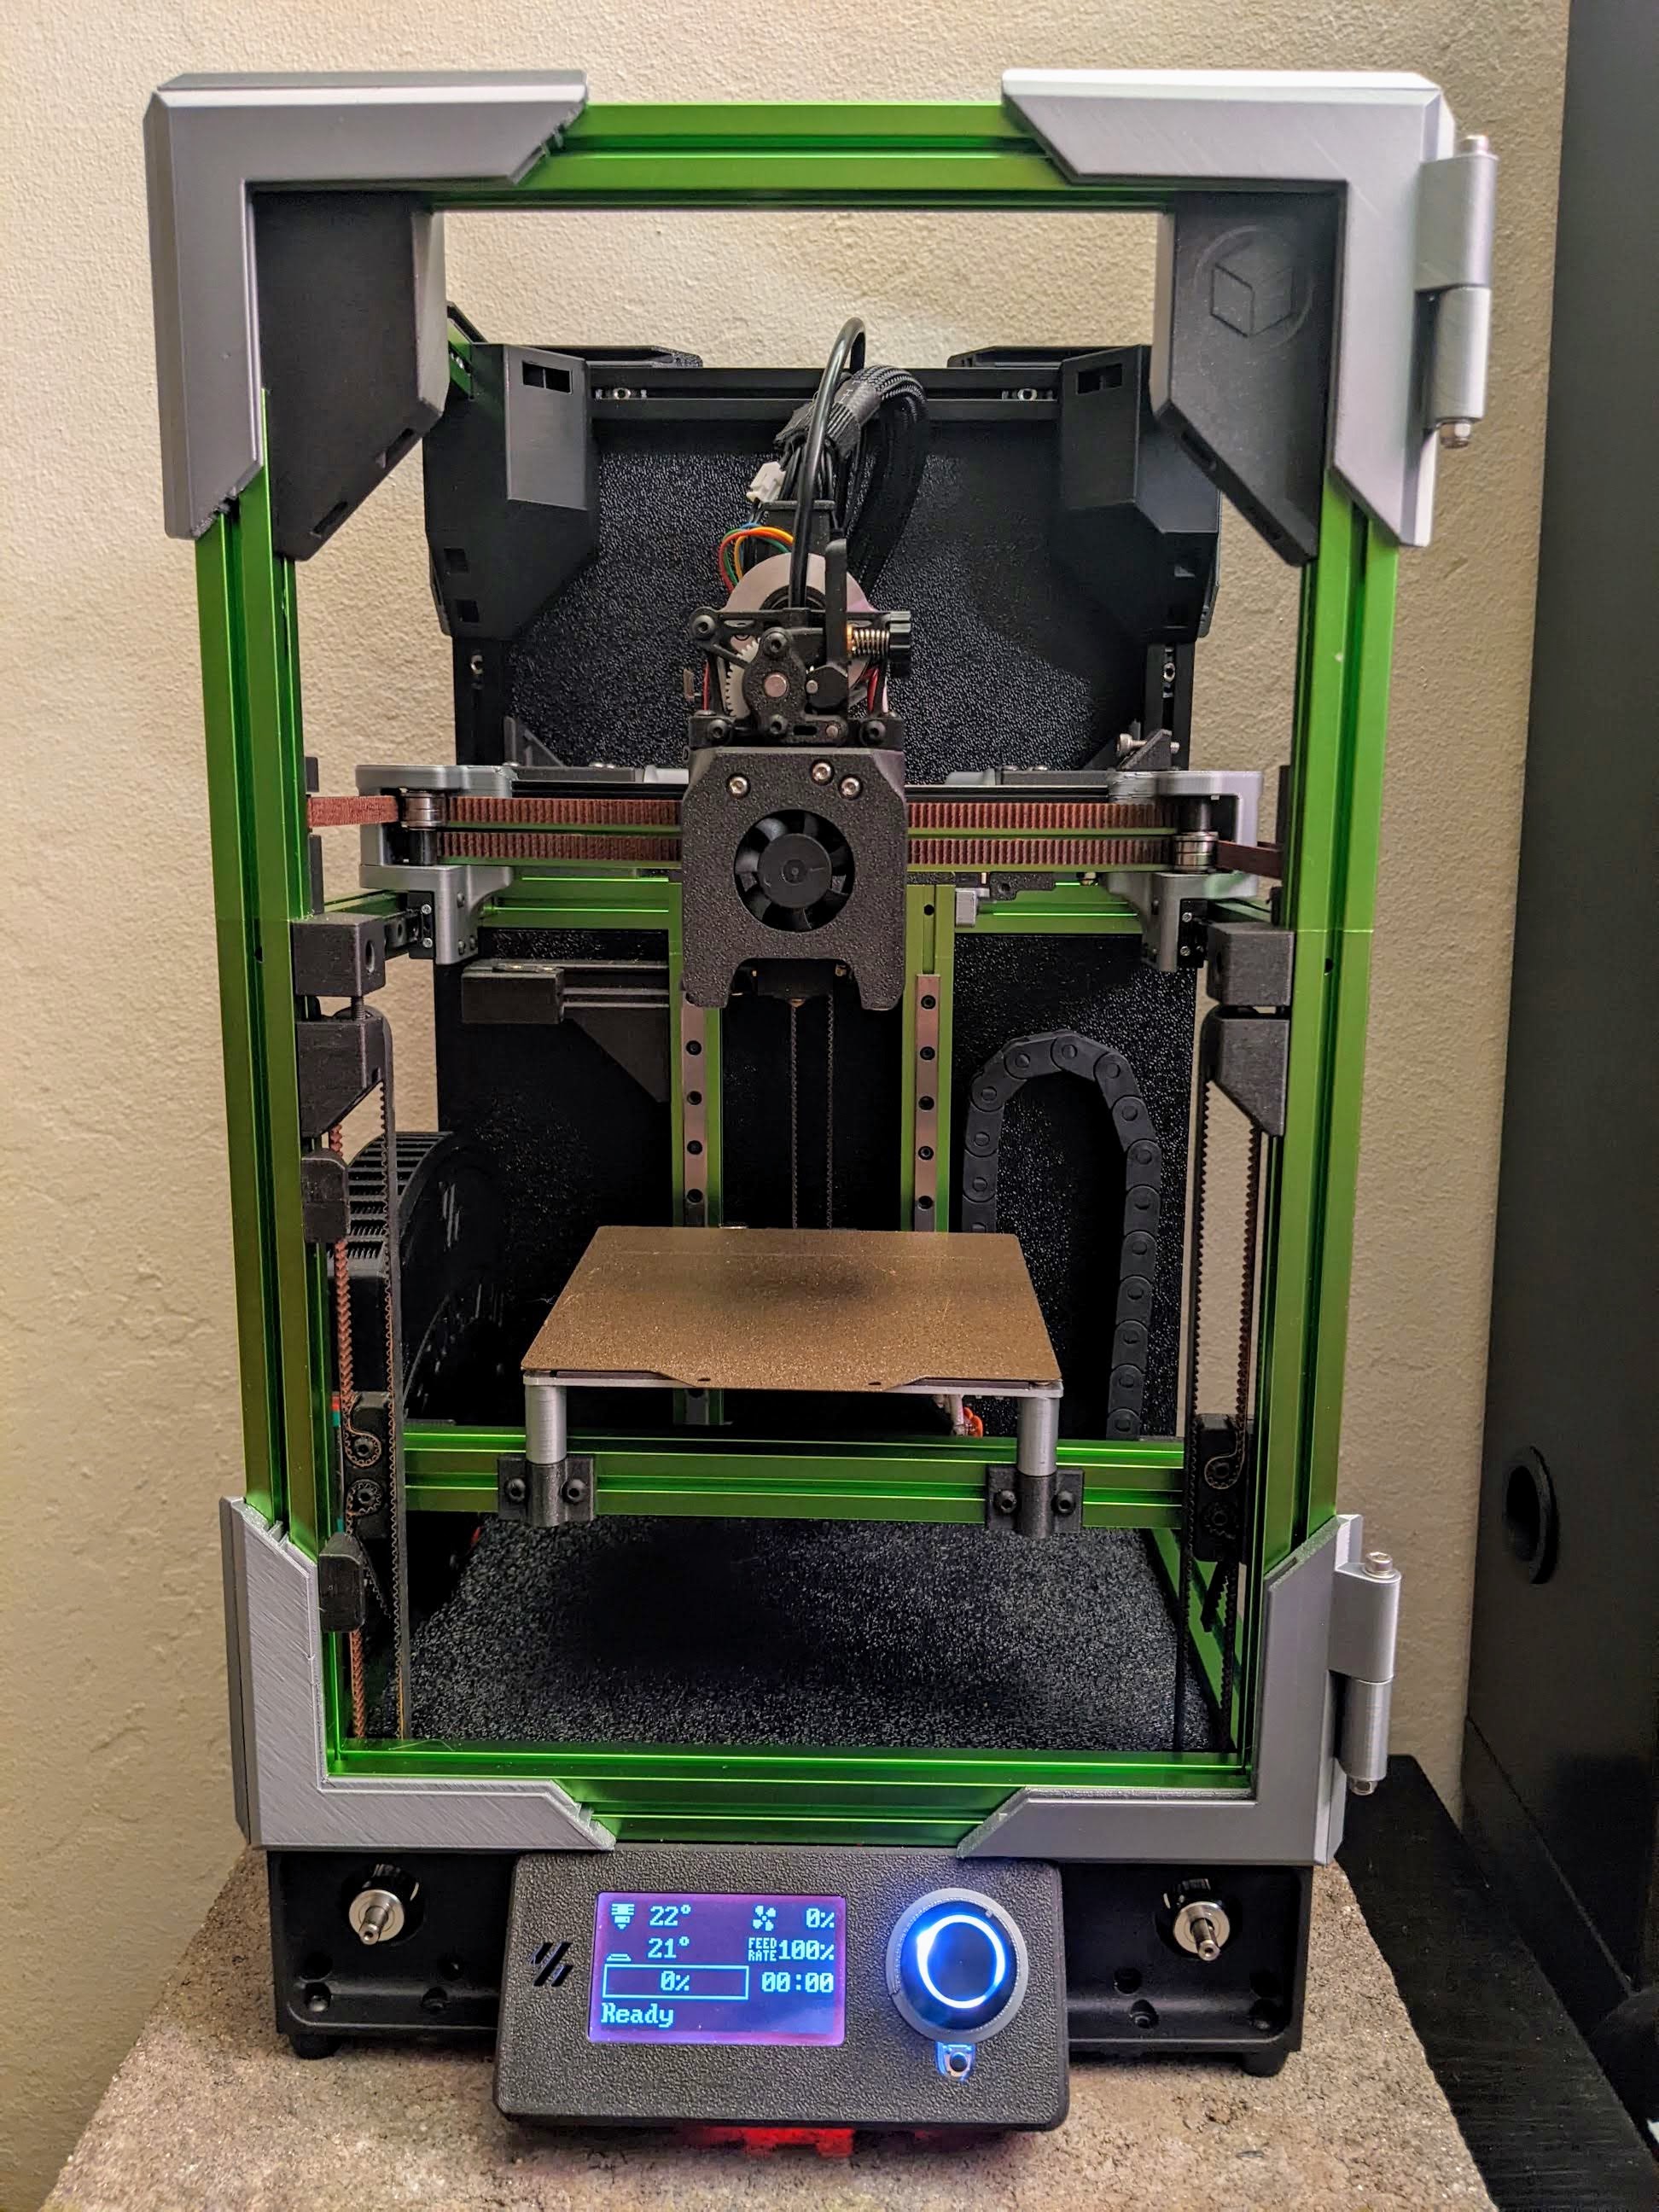
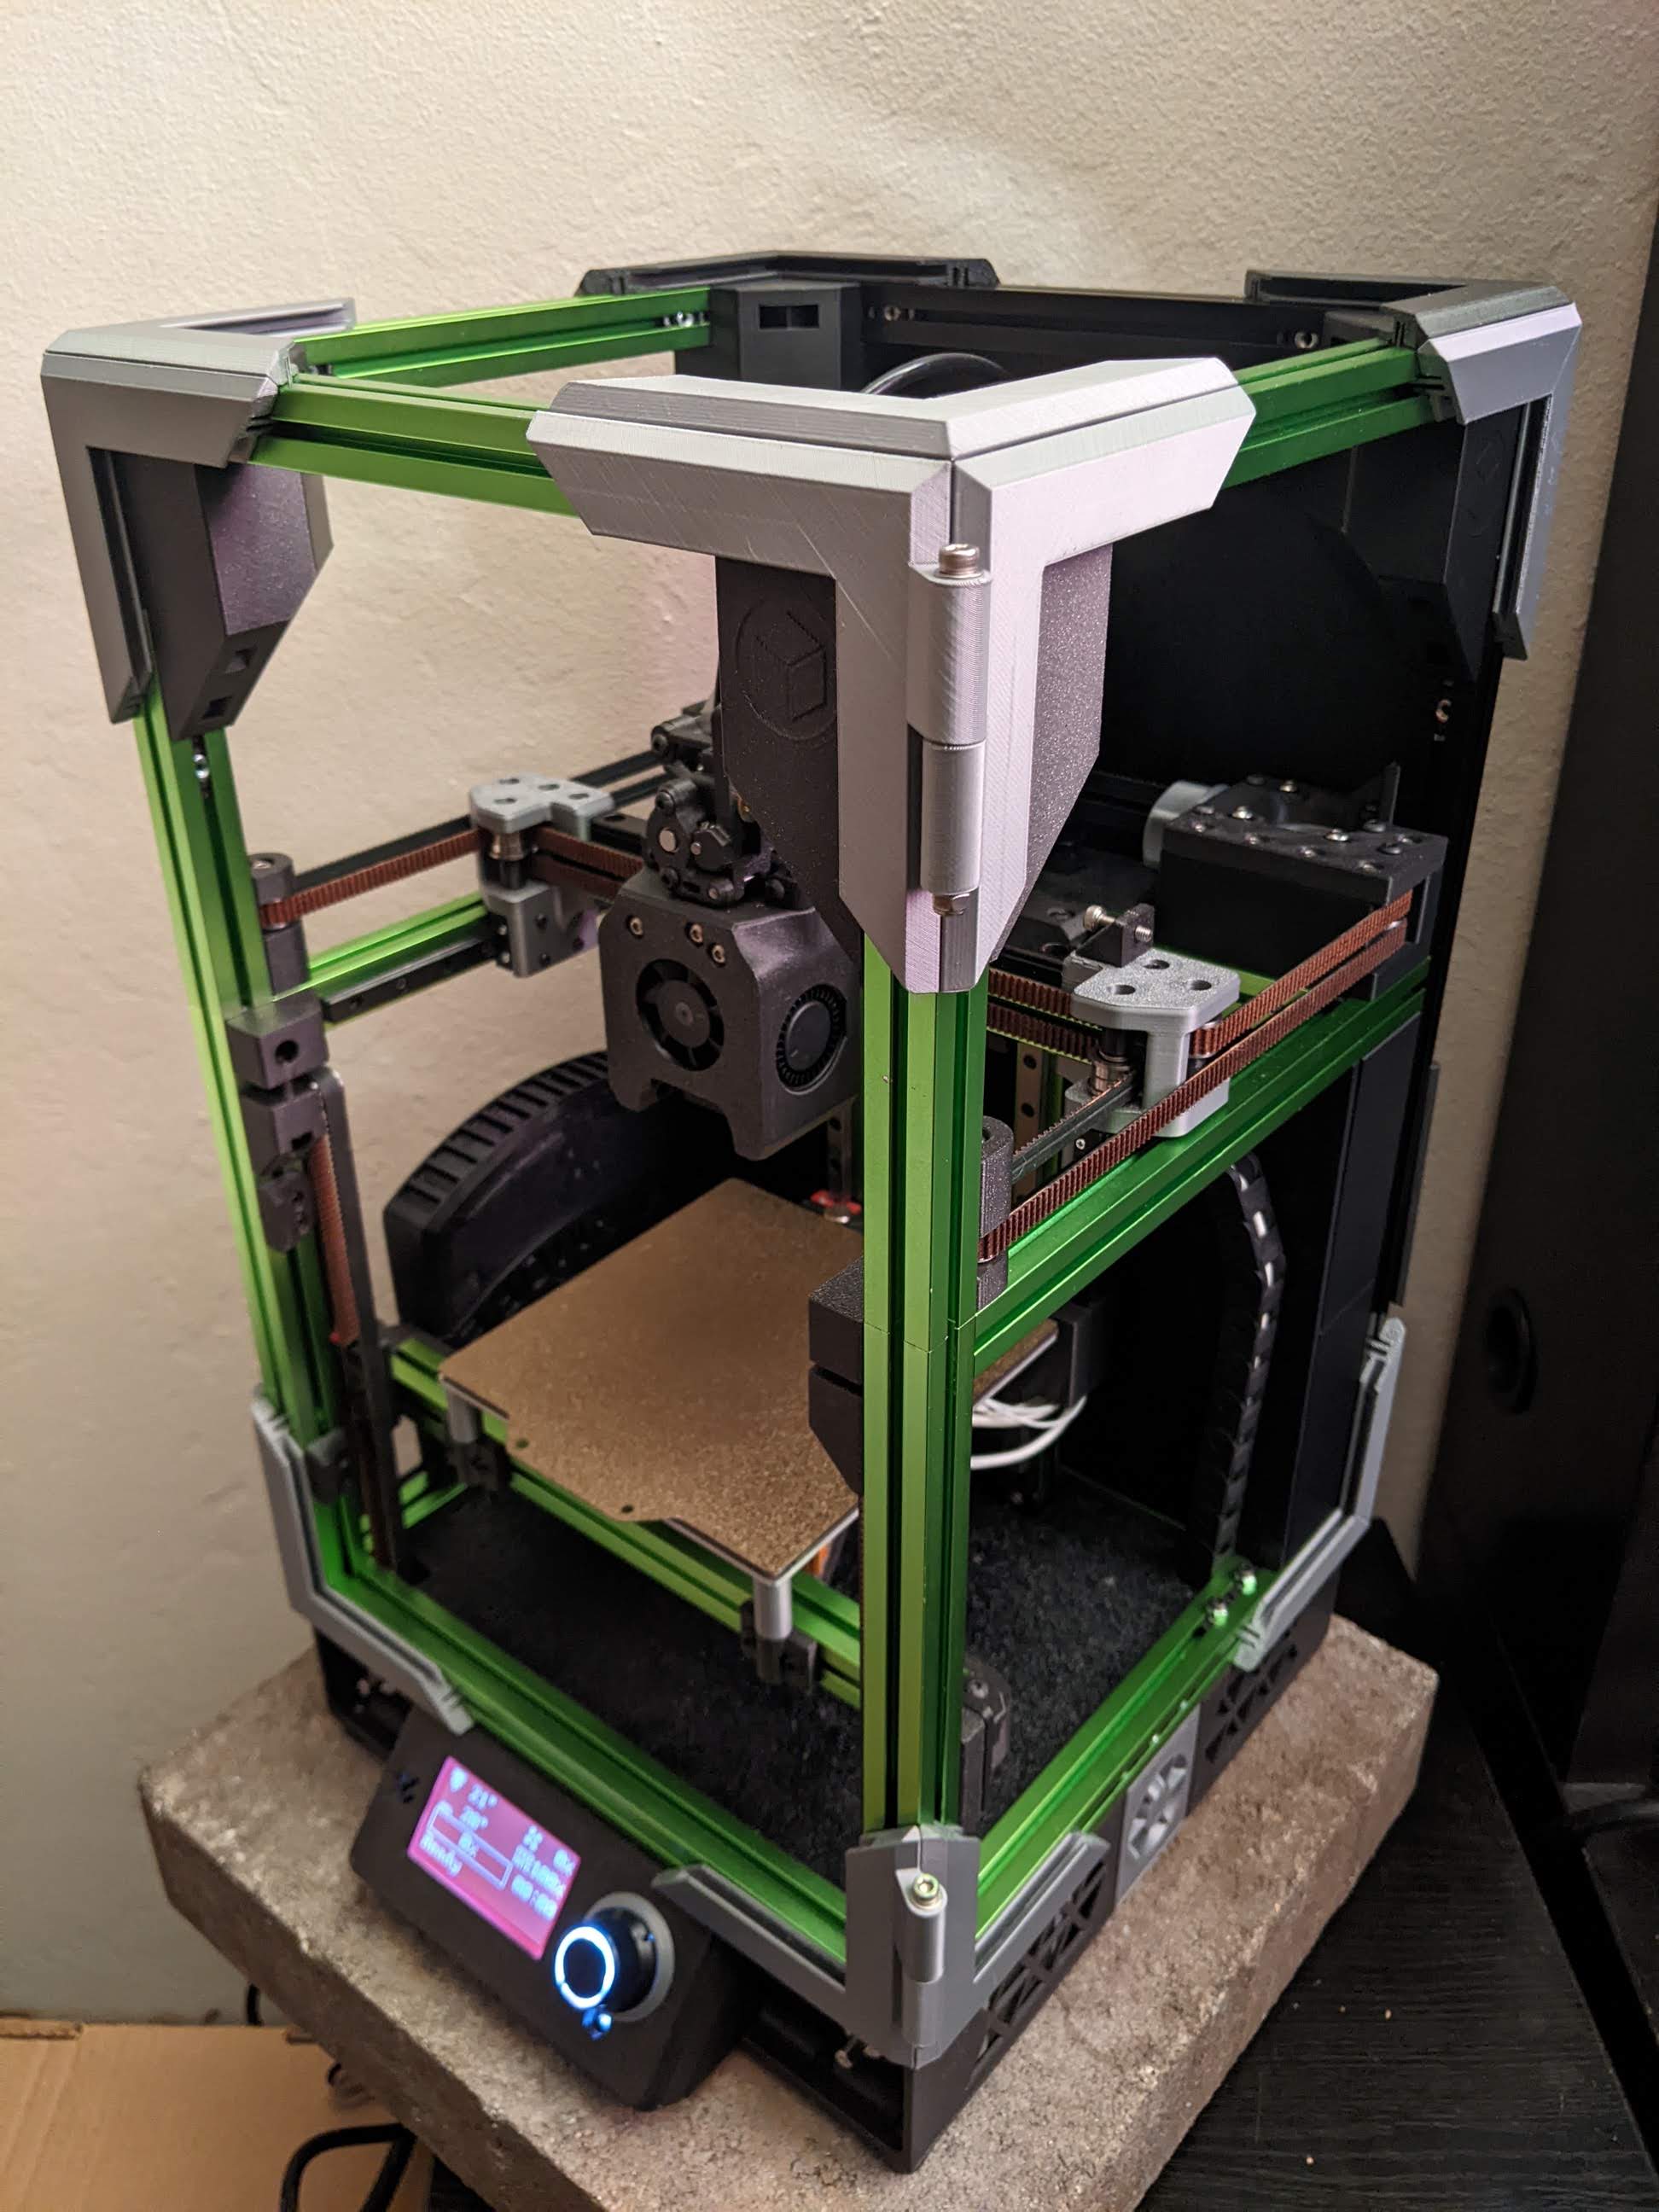
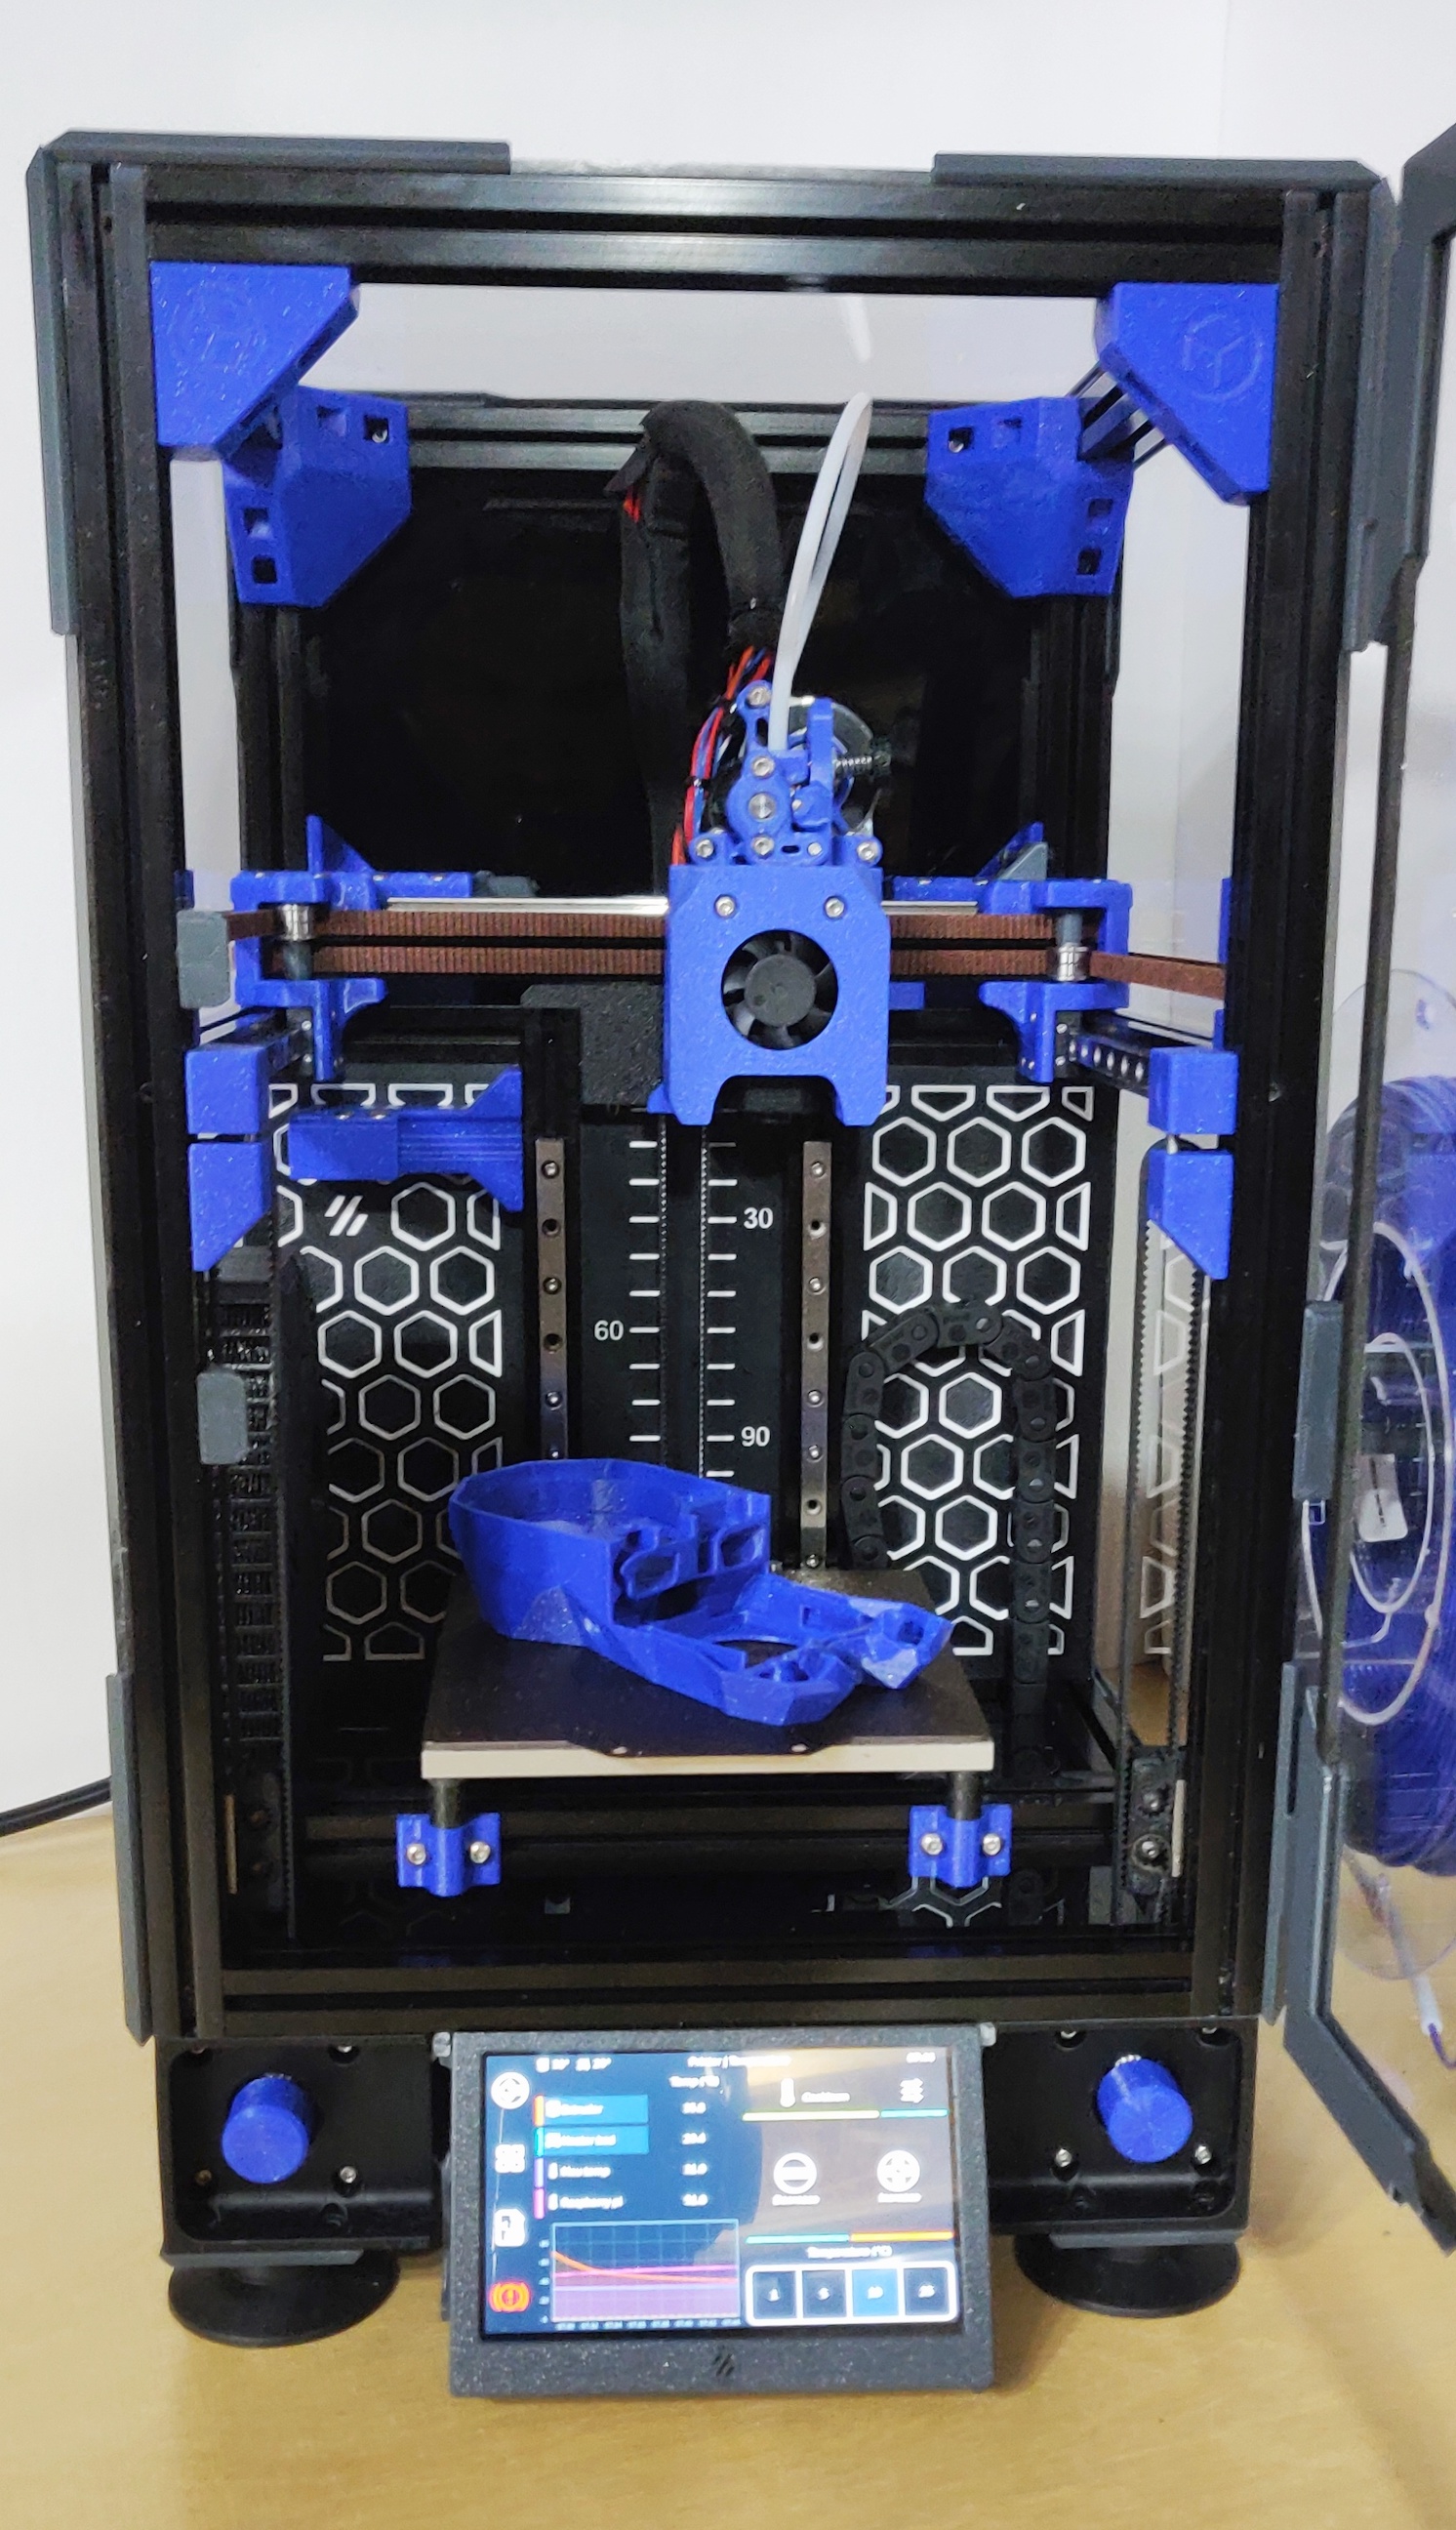
It's real, tested, and reproduced independently the instructions in this repo. Gallery:
| Zruncho's Green T0 Conversion | Iso View | Red5's Blue T0 Conversion | Iso View |
|---|---|---|---|
 |
 |
 |
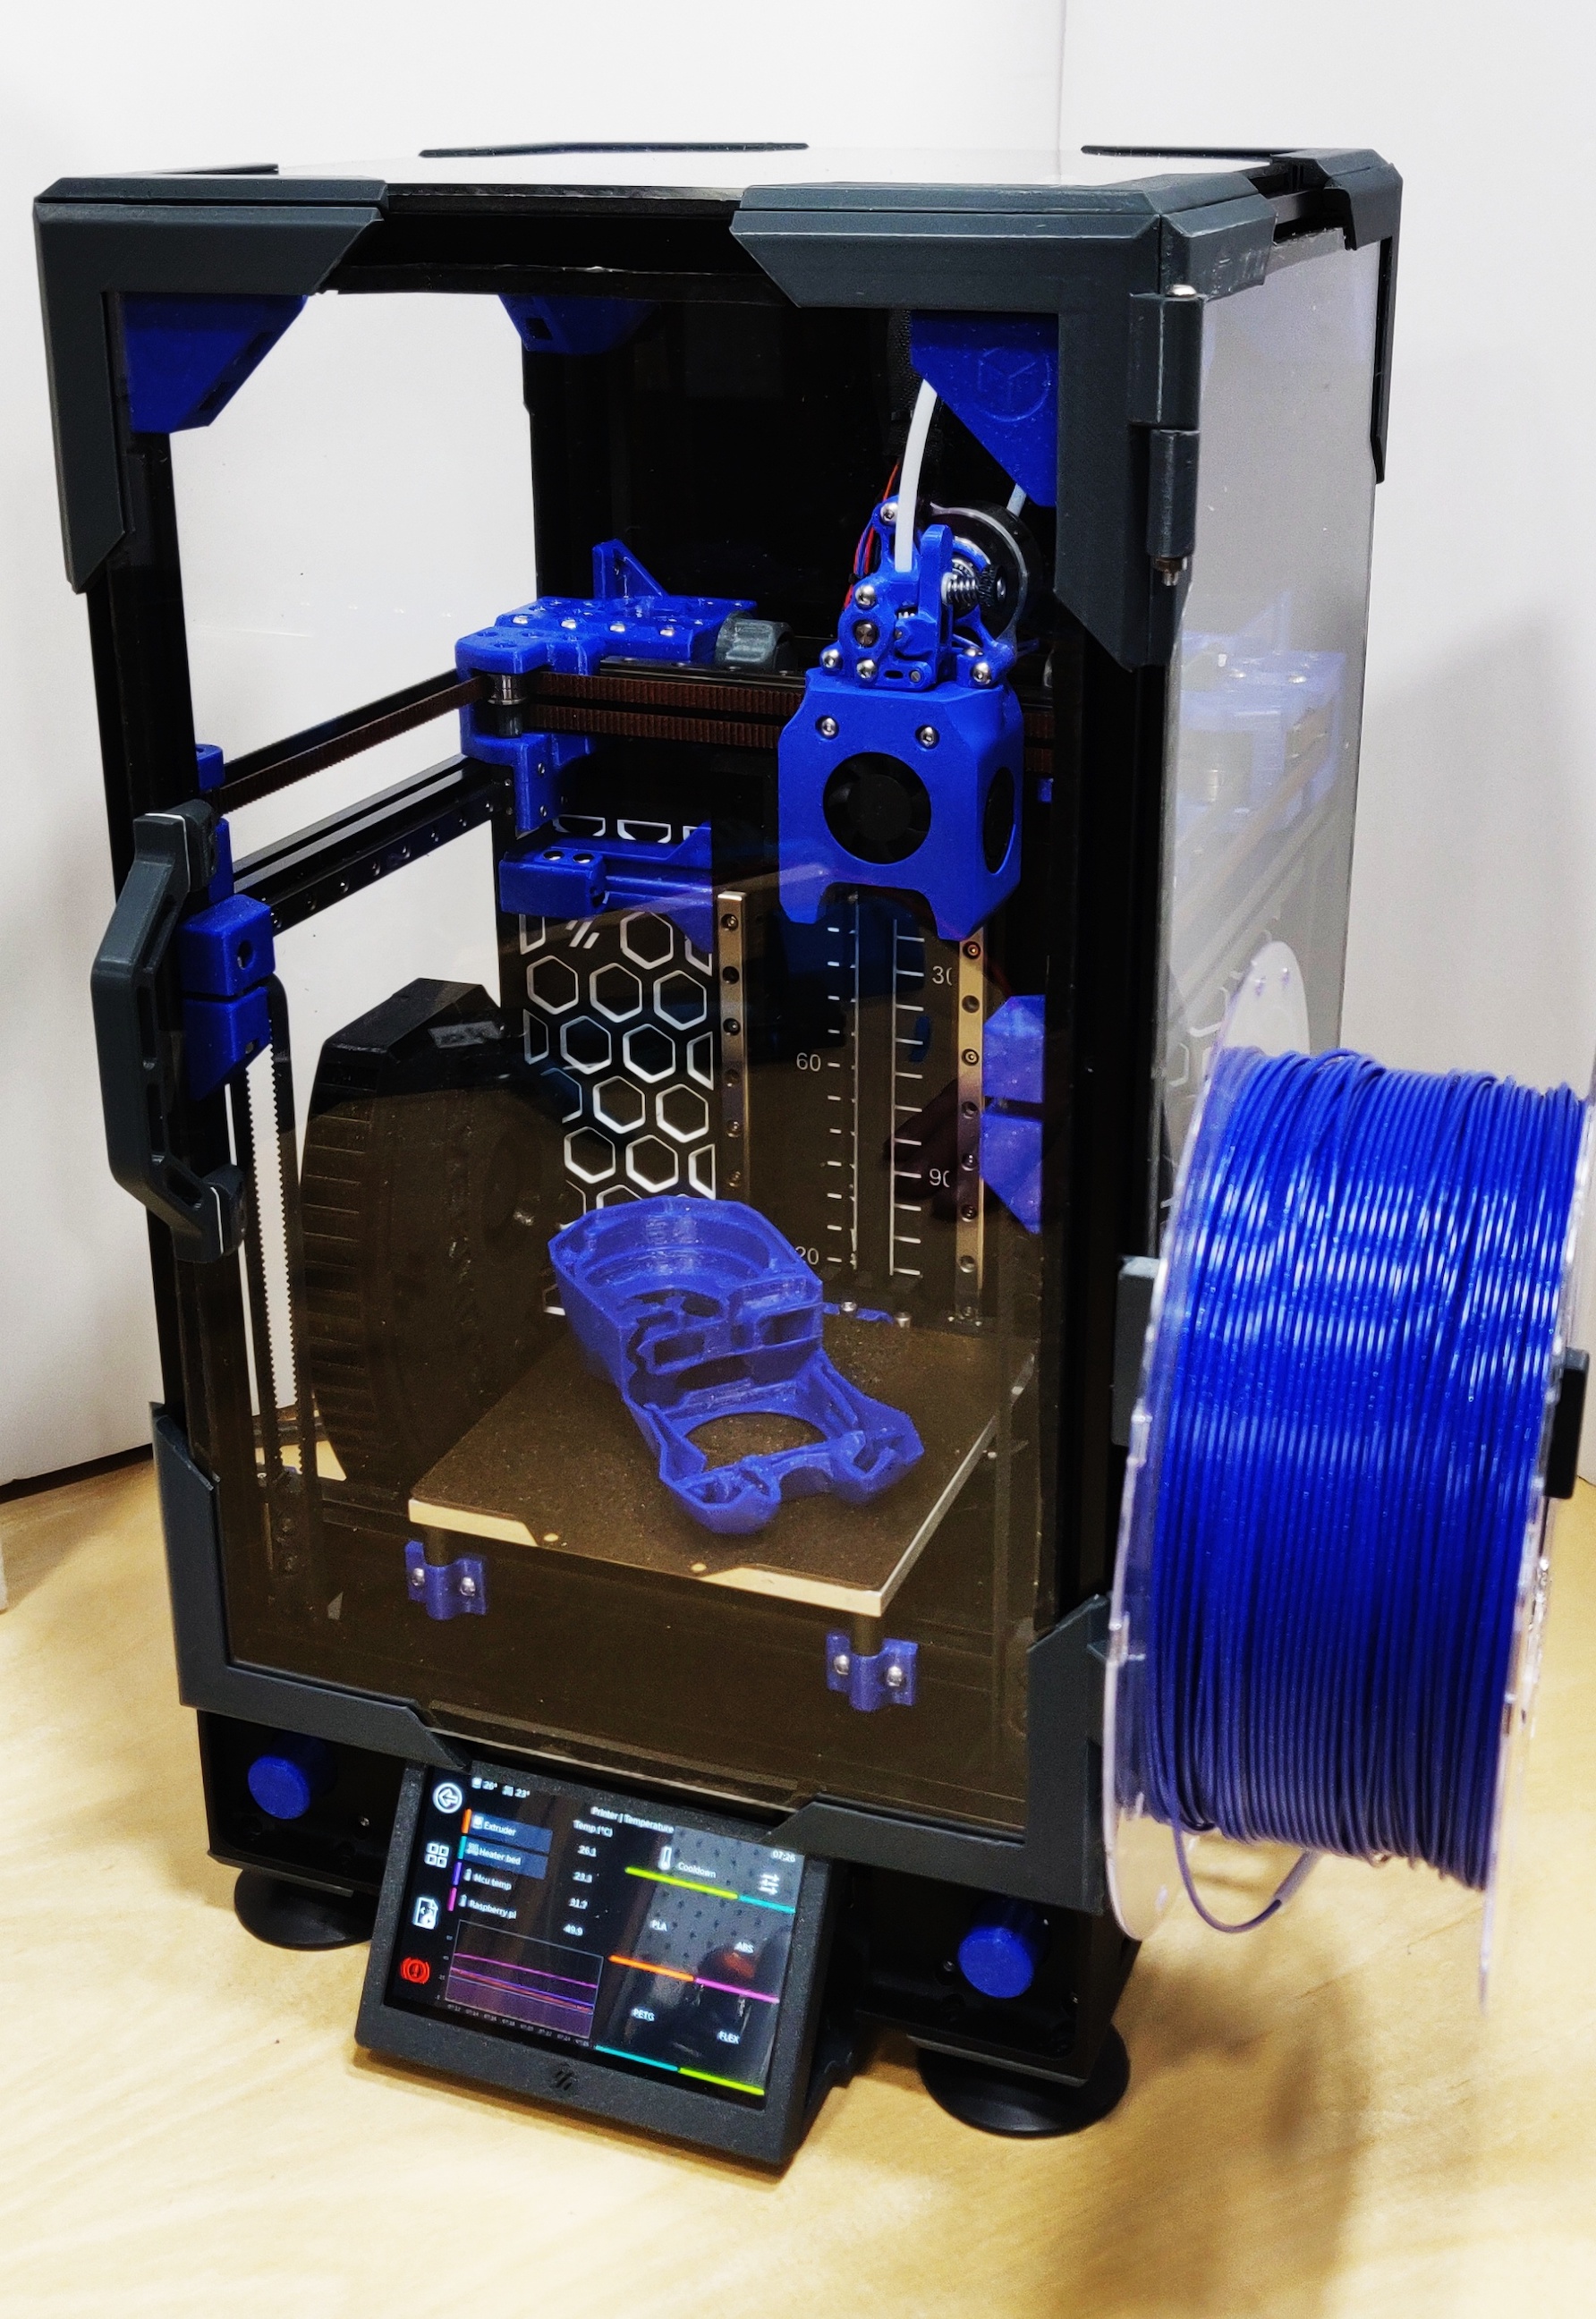 |
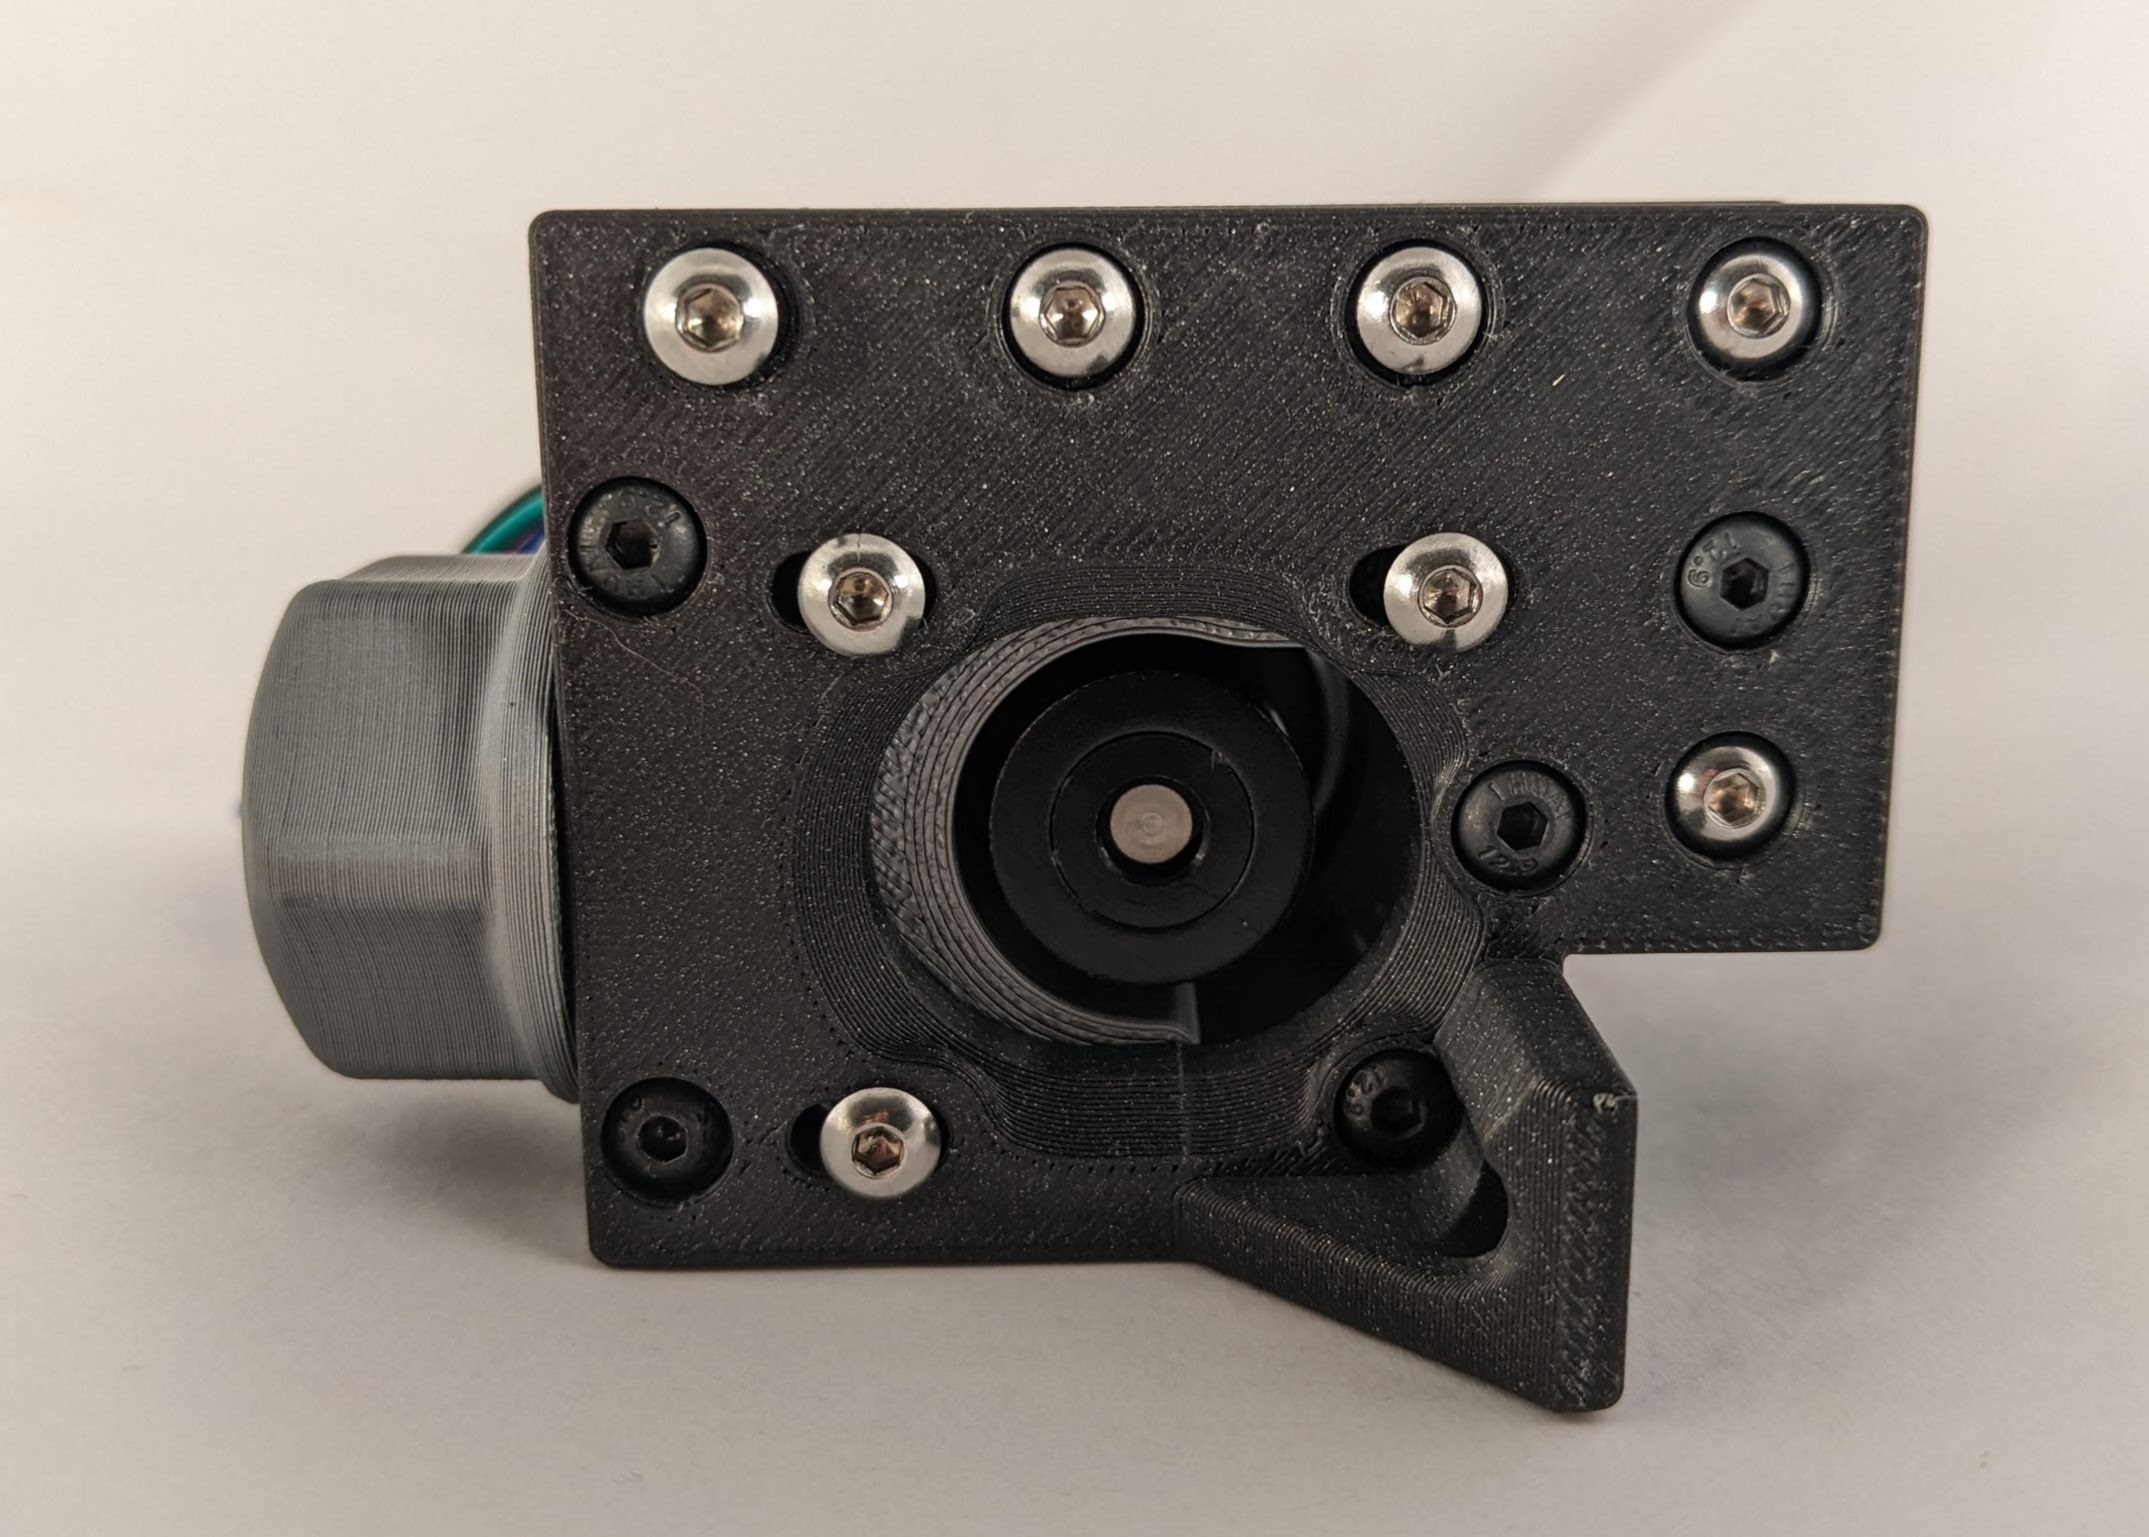
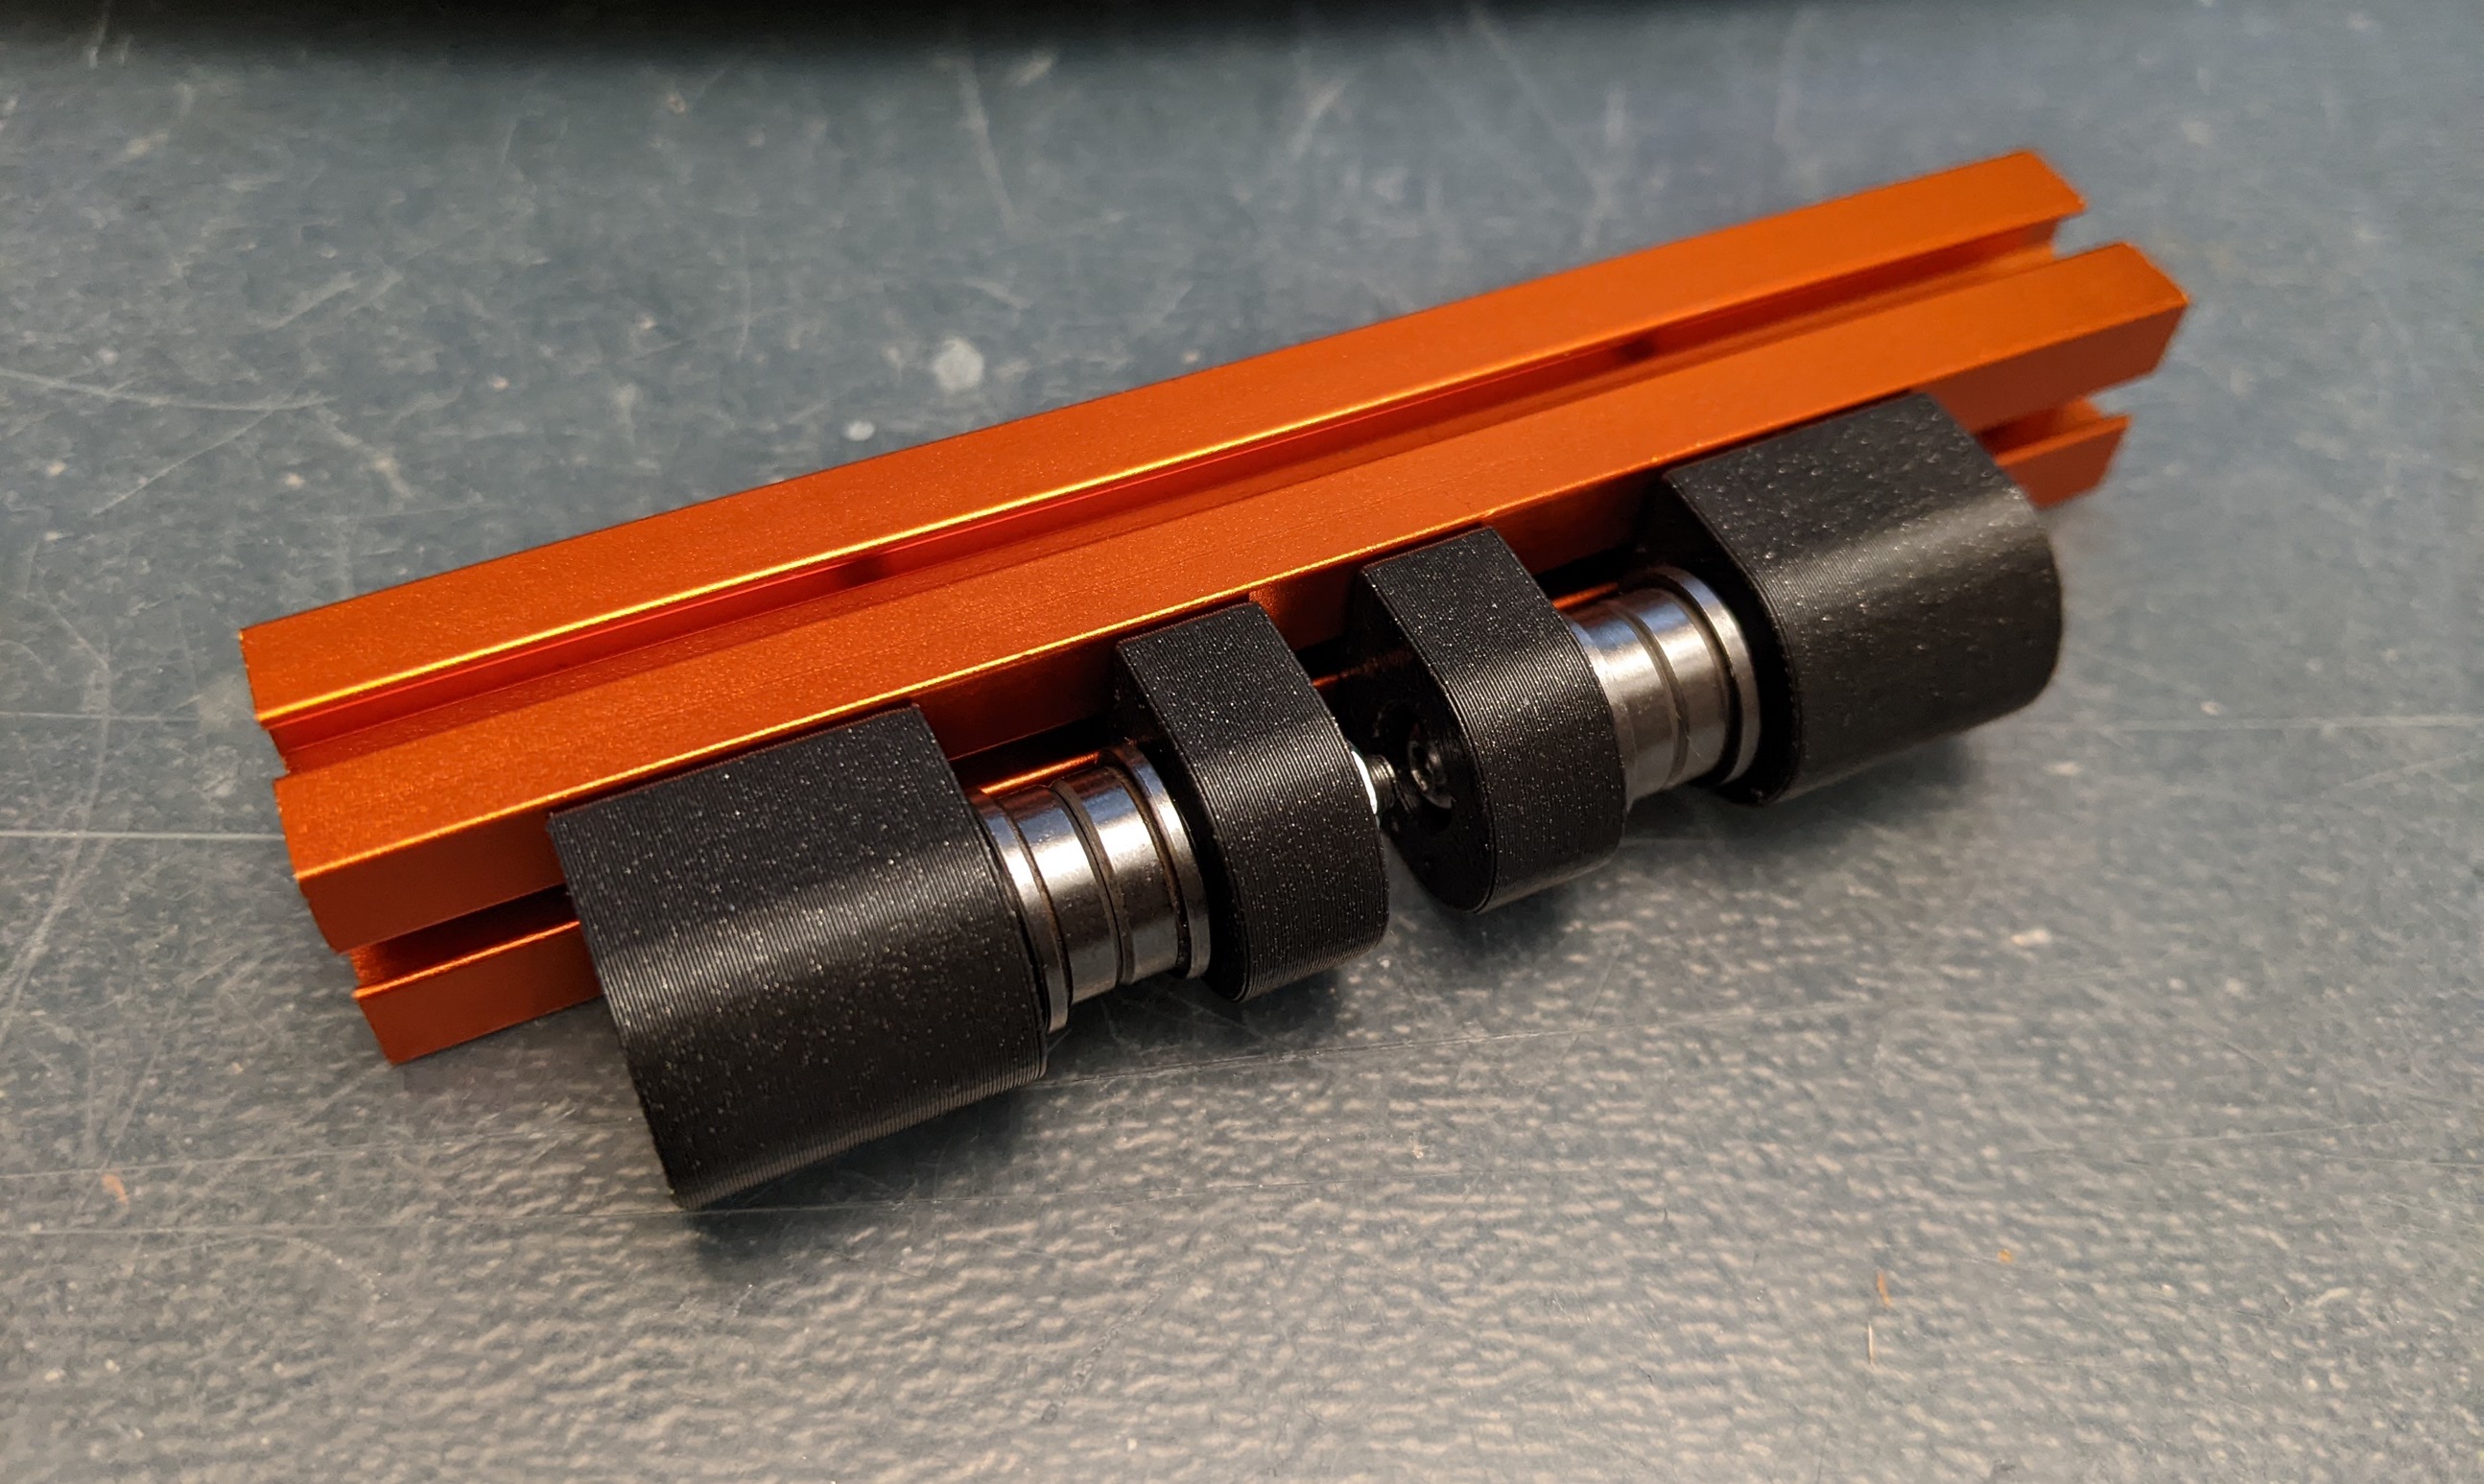
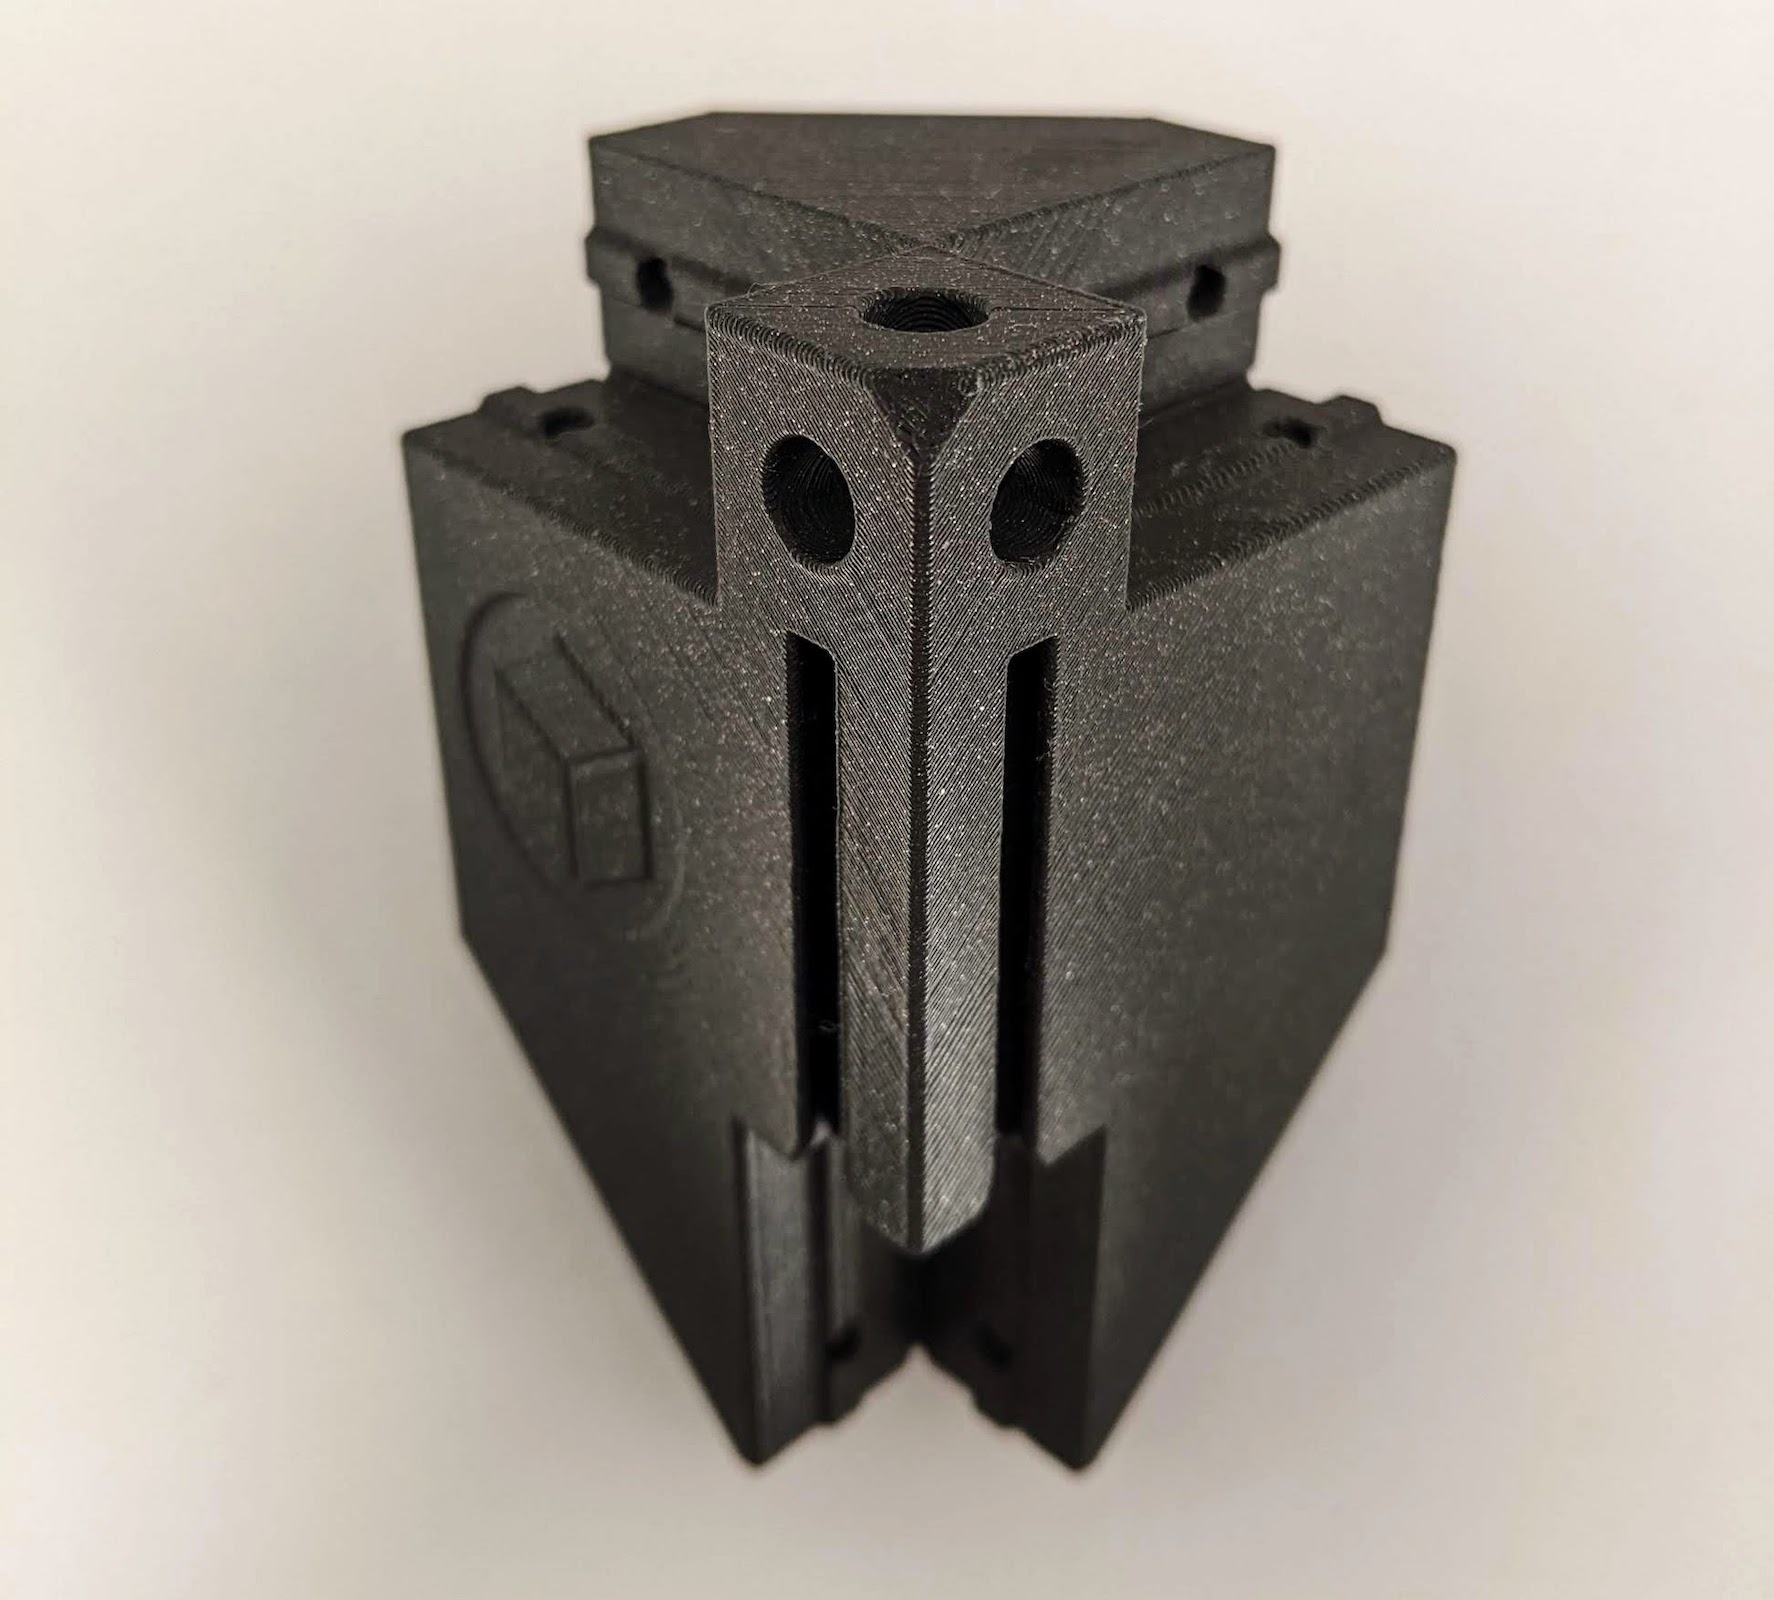
Three key parts make this mod possible:
| AB Blocks (V0-derived) | Front Idlers (Double Dragon-derived) | Top Corners (new, optional) |
|---|---|---|
 |
 |
 |
Questions?
Join us on the #tri-zero channel on the DoomCube Discord - to ask questions, or share your experiences with this mod!
Hello World, BoxZero.
See how it compares, visually:
| BoxZero +TriZero +ZeroPanels +MiniAS +12864 | BoxZero +ZeroPanels | Voron Zero with Tophat (stock V0.1) |
|---|---|---|
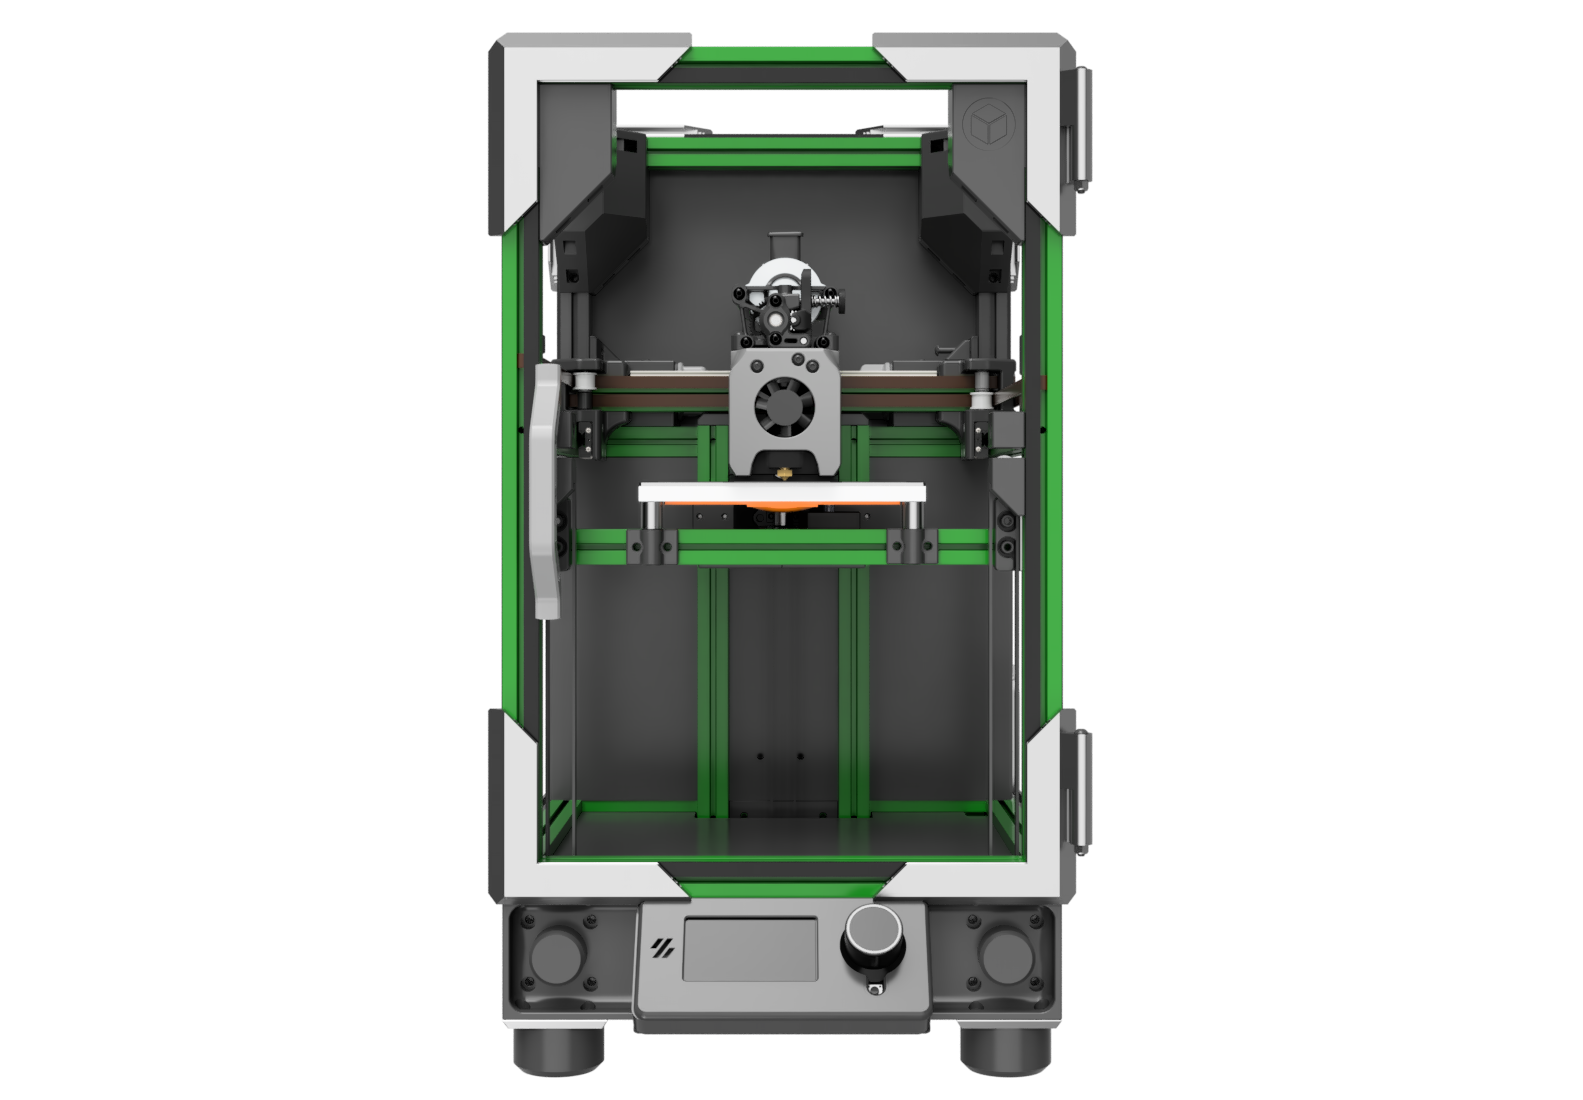 |
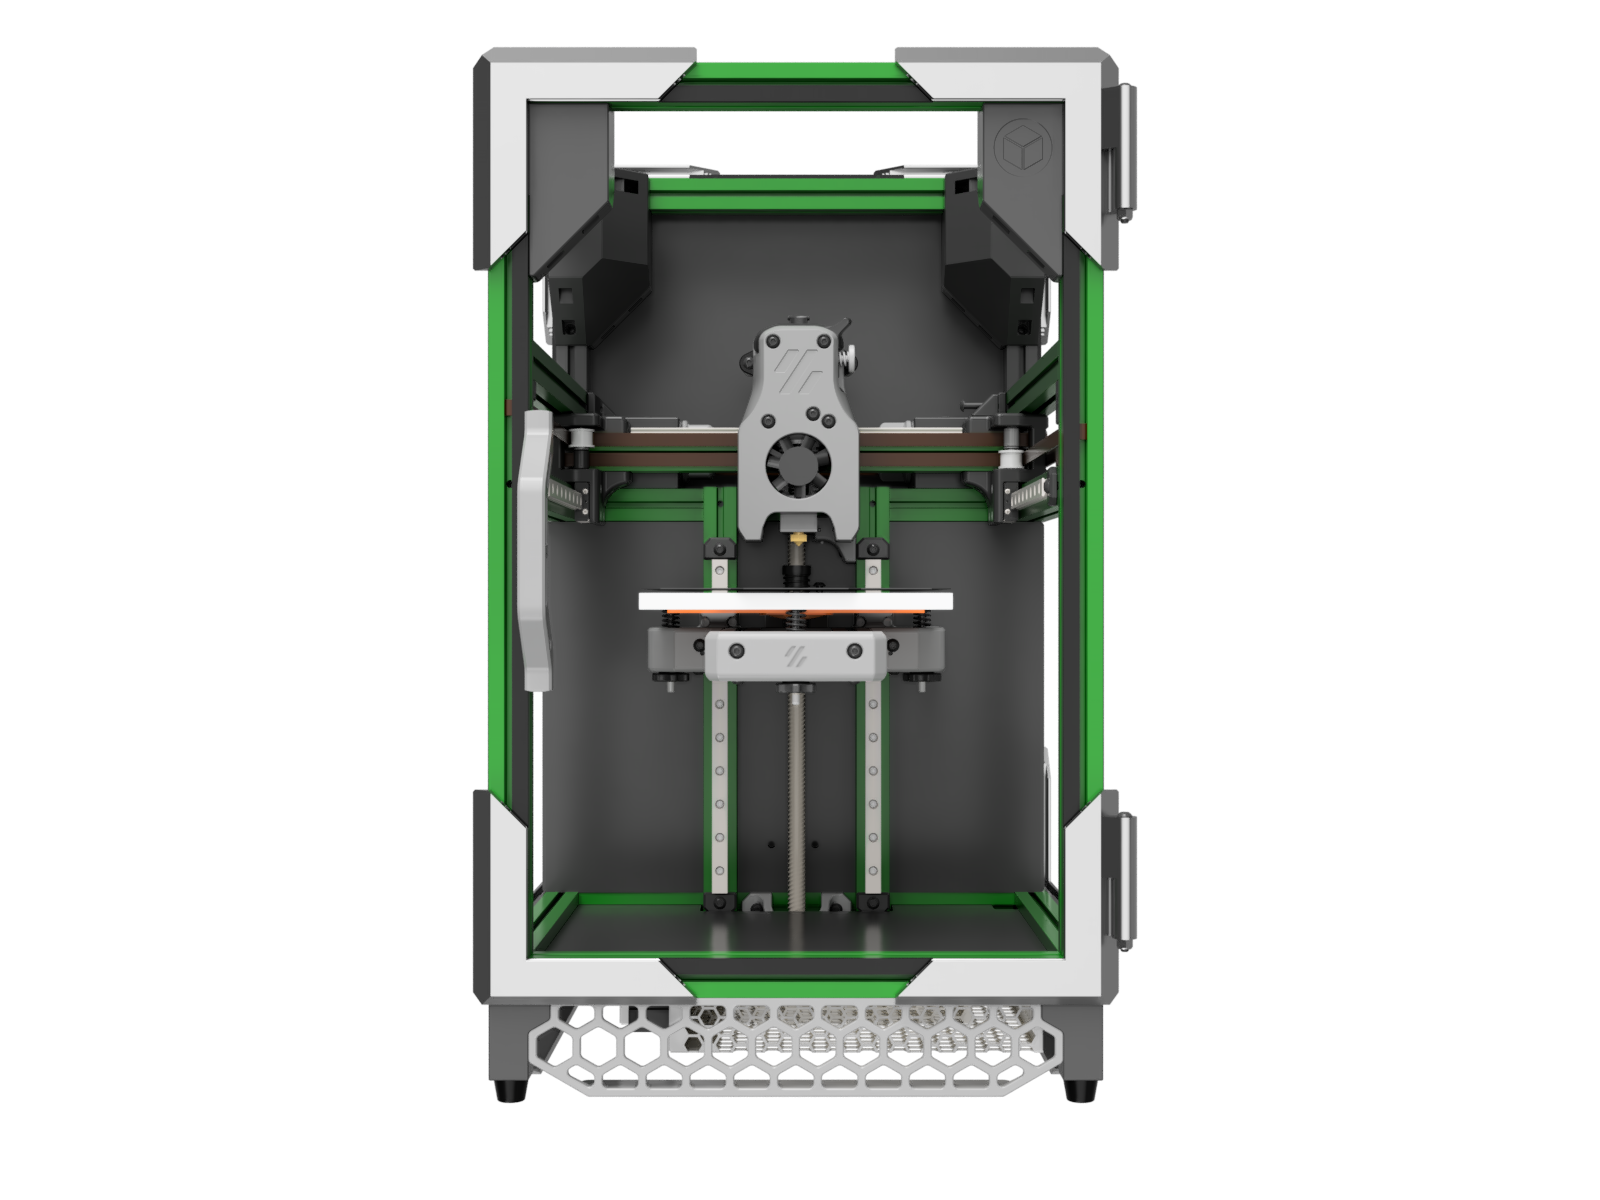 |
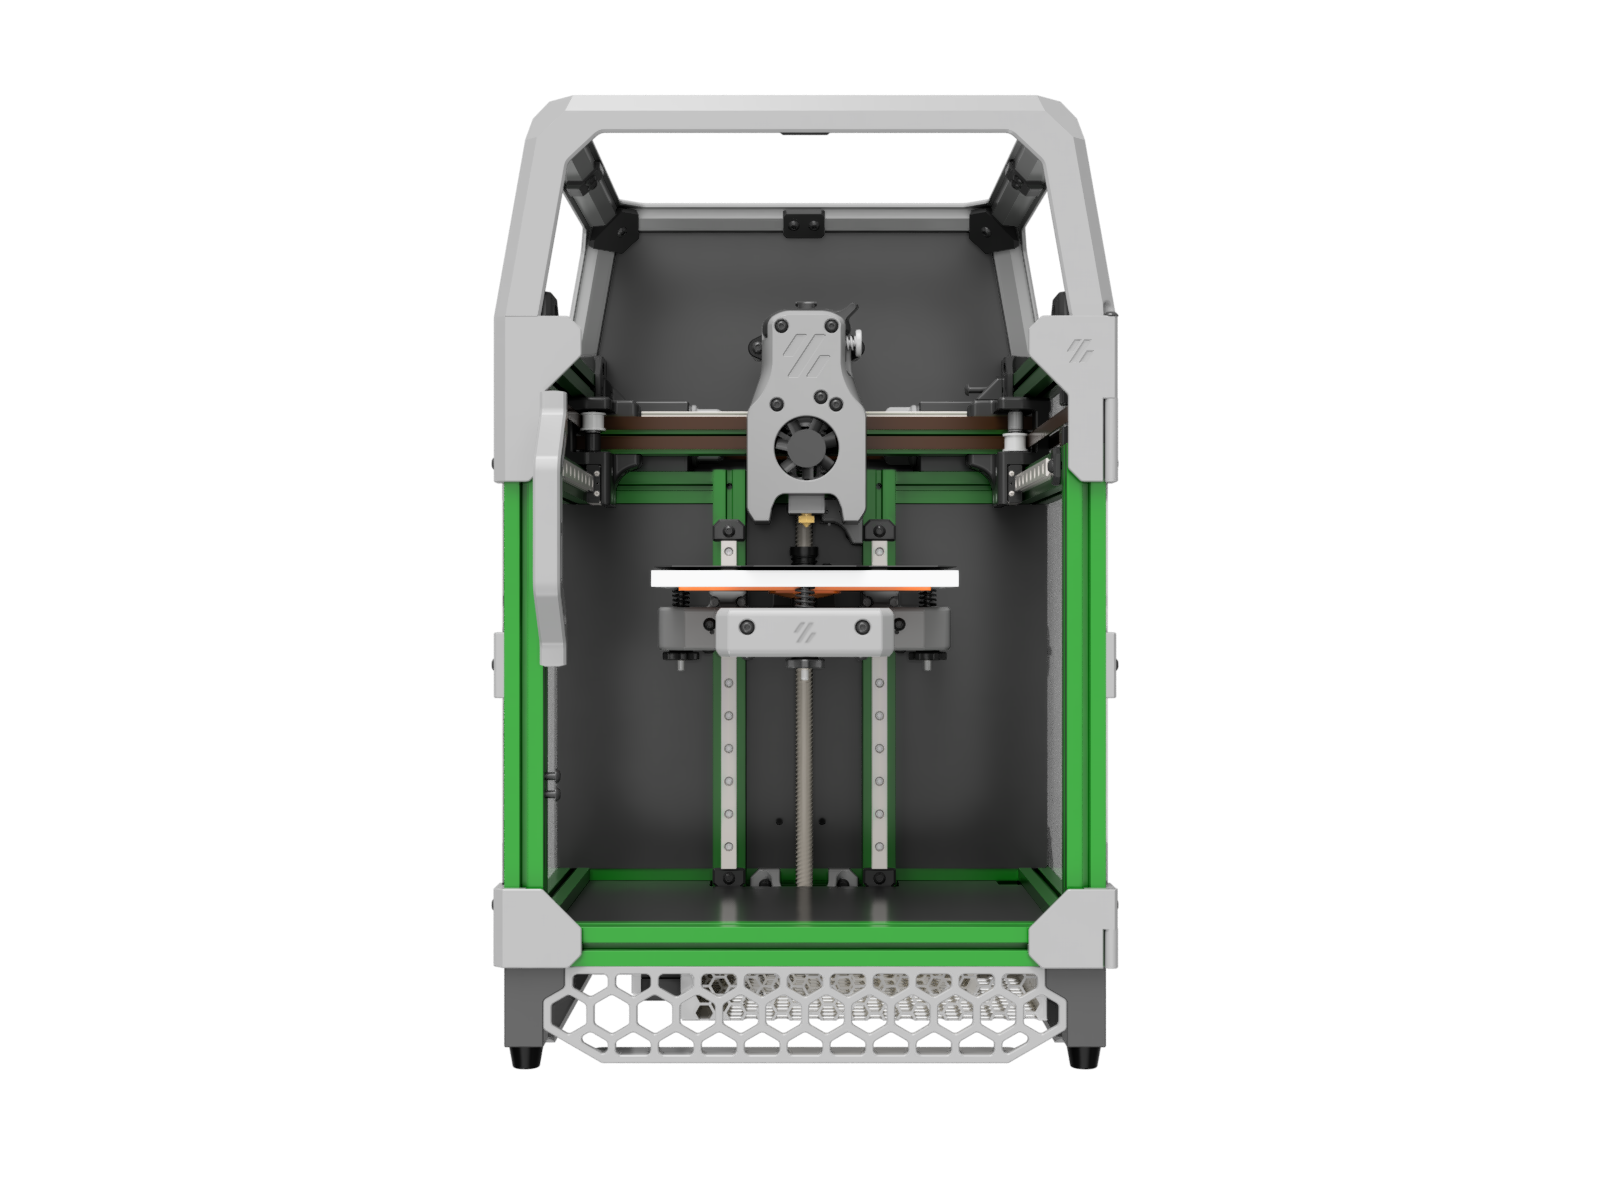 |
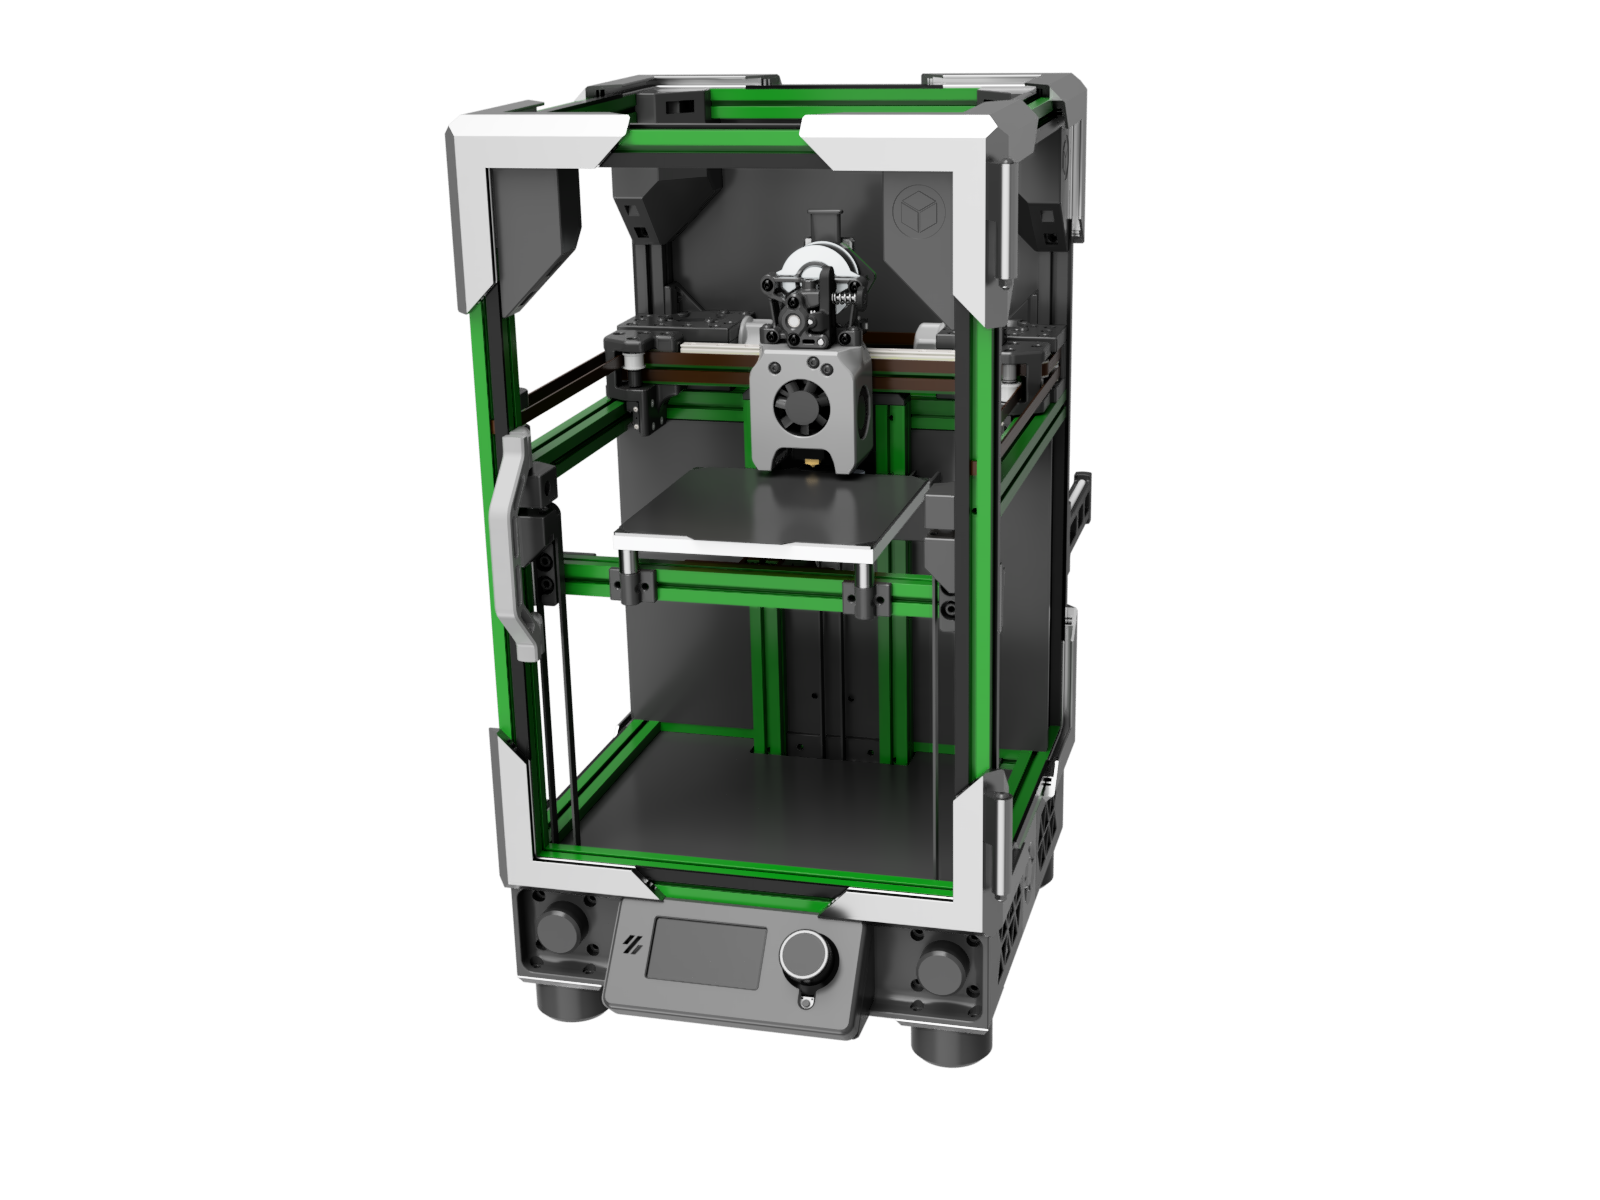 |
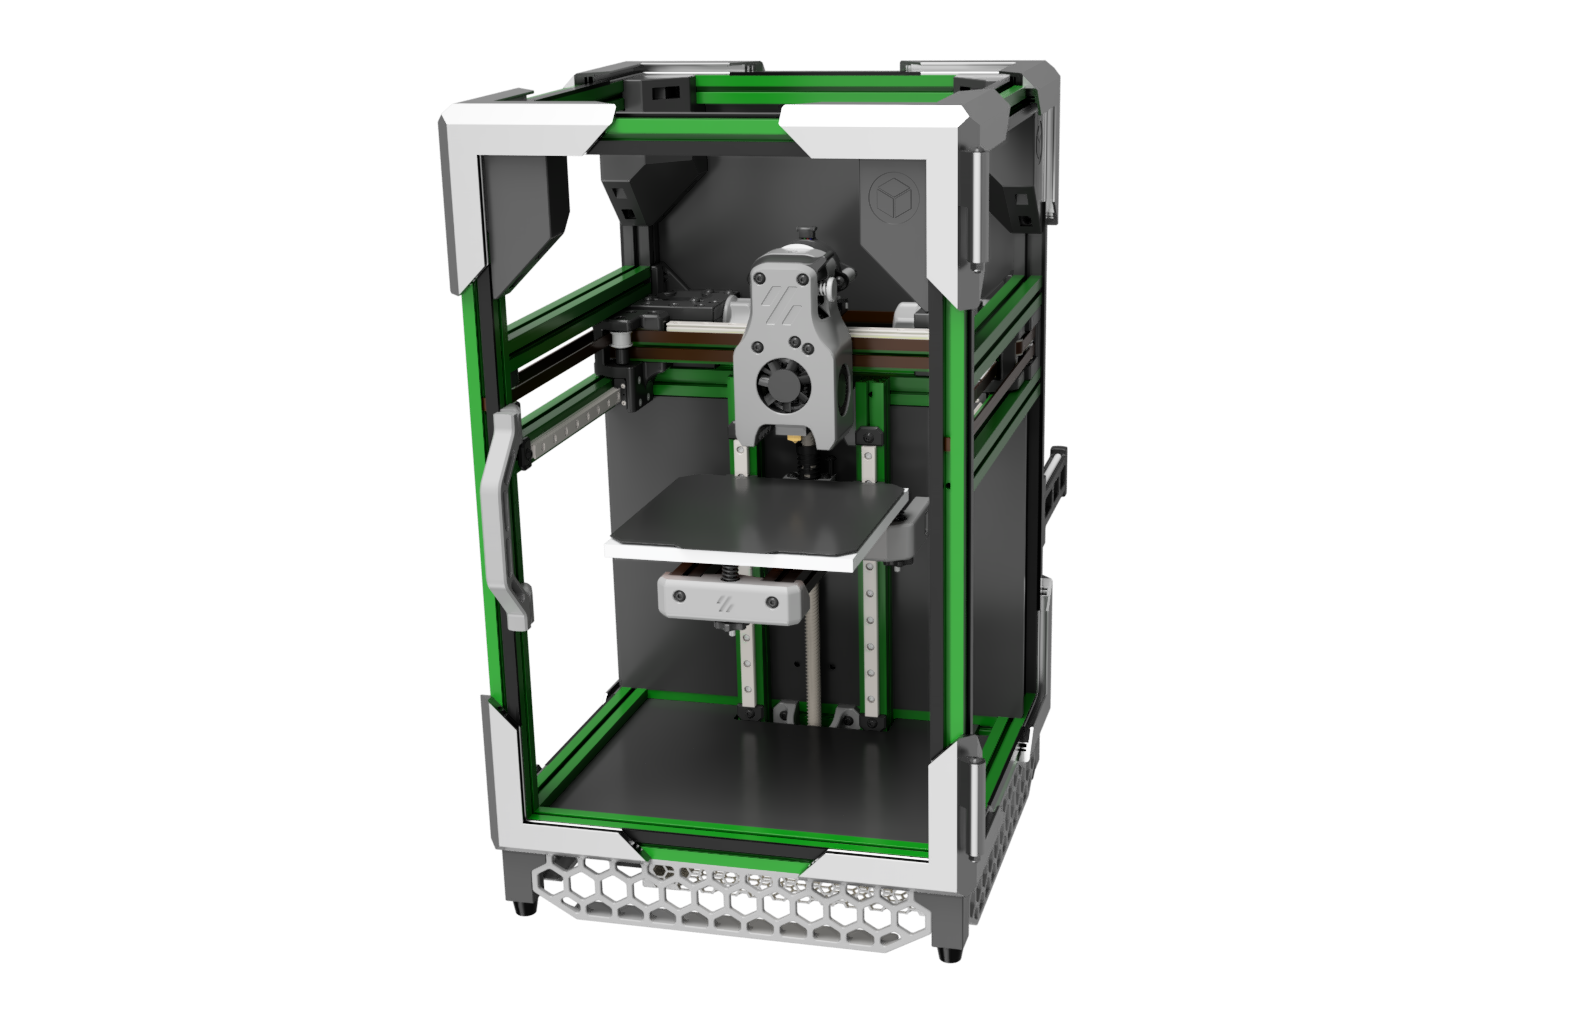 |
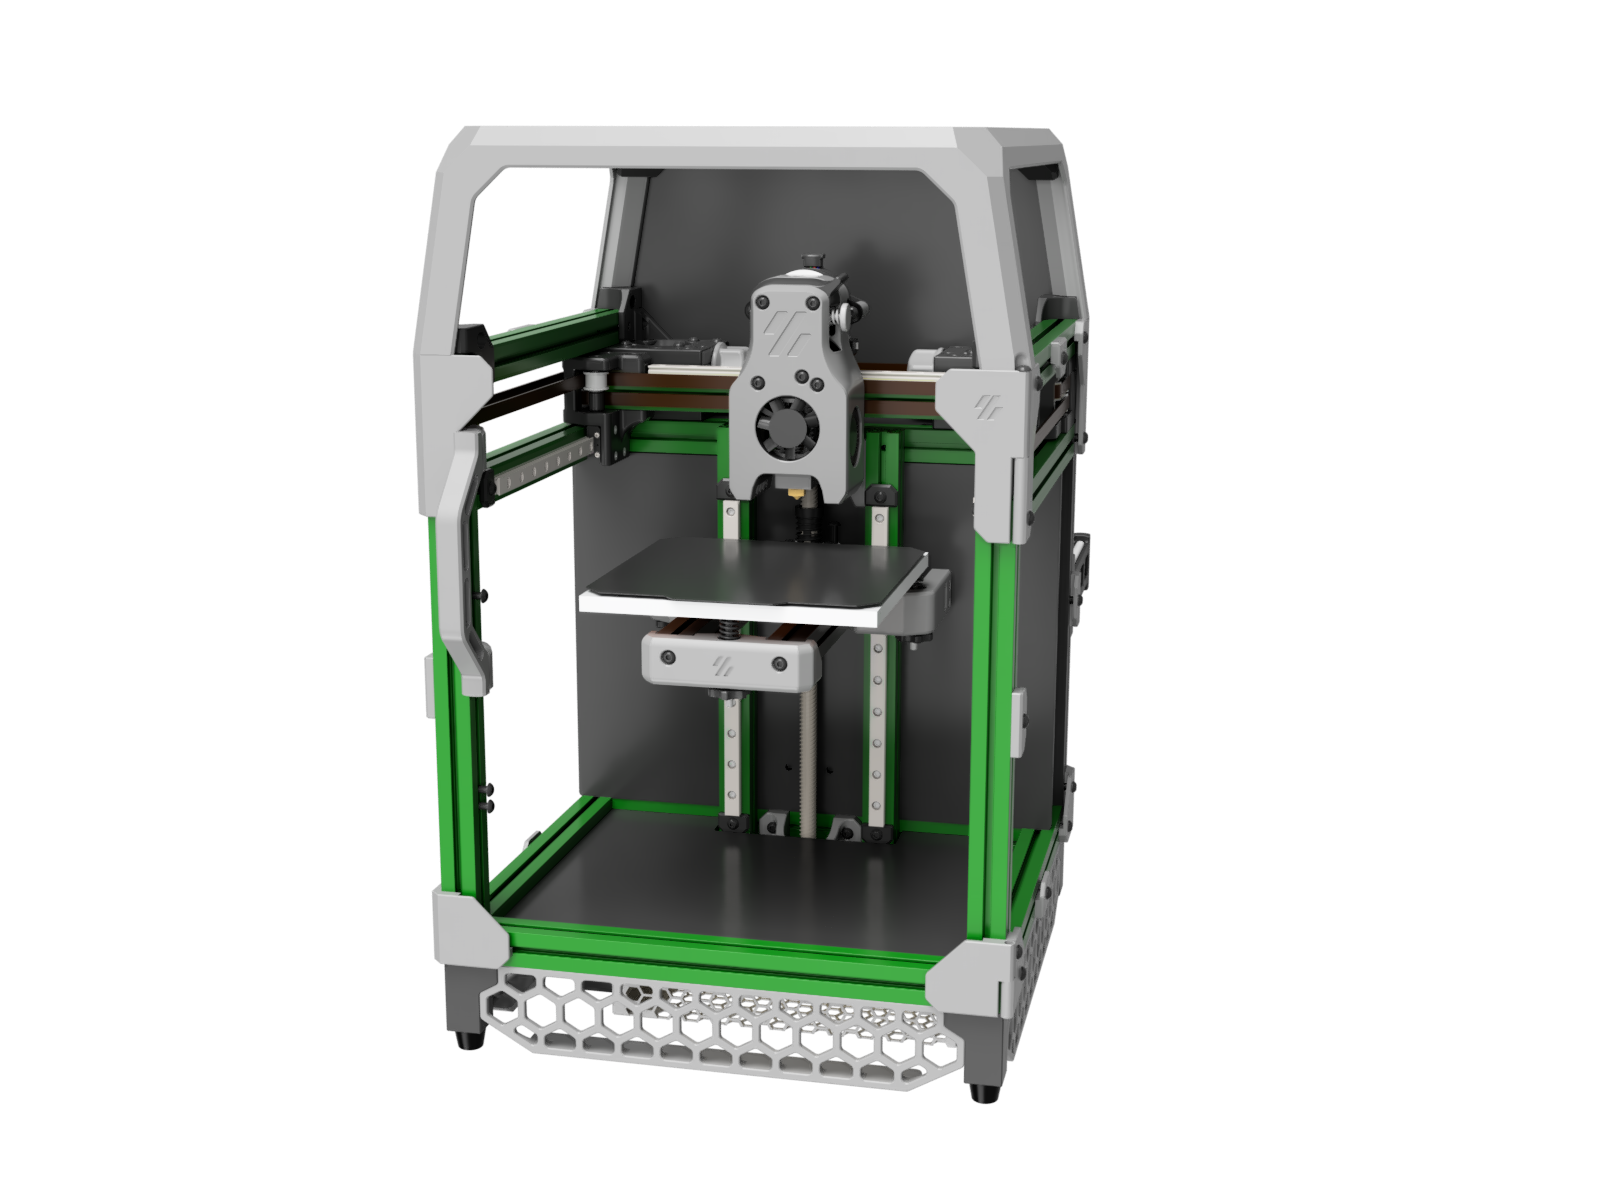 |
The V0 tophat serves its function: to enclose the printer.
But ask a bunch of V0 owners... and let's just say, few will express their undying love for the tophat.
Some actual unsolicited quotes, heard in just the last week:
"Yeah, the tophat is kind of the bane of my V0 experience"
"Can you tell I really dislike the tophat? They started bugging me less after I added a hinged riser that is a solid square. It does not match well enough so it looks bad that way but the stiffness and hinges are what the original should have had."
While I think it looks fine, the V0 tophat creates real quality-of-life issues in practice:
This mod ditches the tophat, moves to a fully-boxed frame, and then updates each part affected by the change to fit best in the remaining space.
You will need additional extrusions to box the frame and make a "fixed tophat". Don't worry though, you can easily add a hinged top panel, or even just pop out toolless-ly when desired.
Here is the extra extrusion content, visualized:
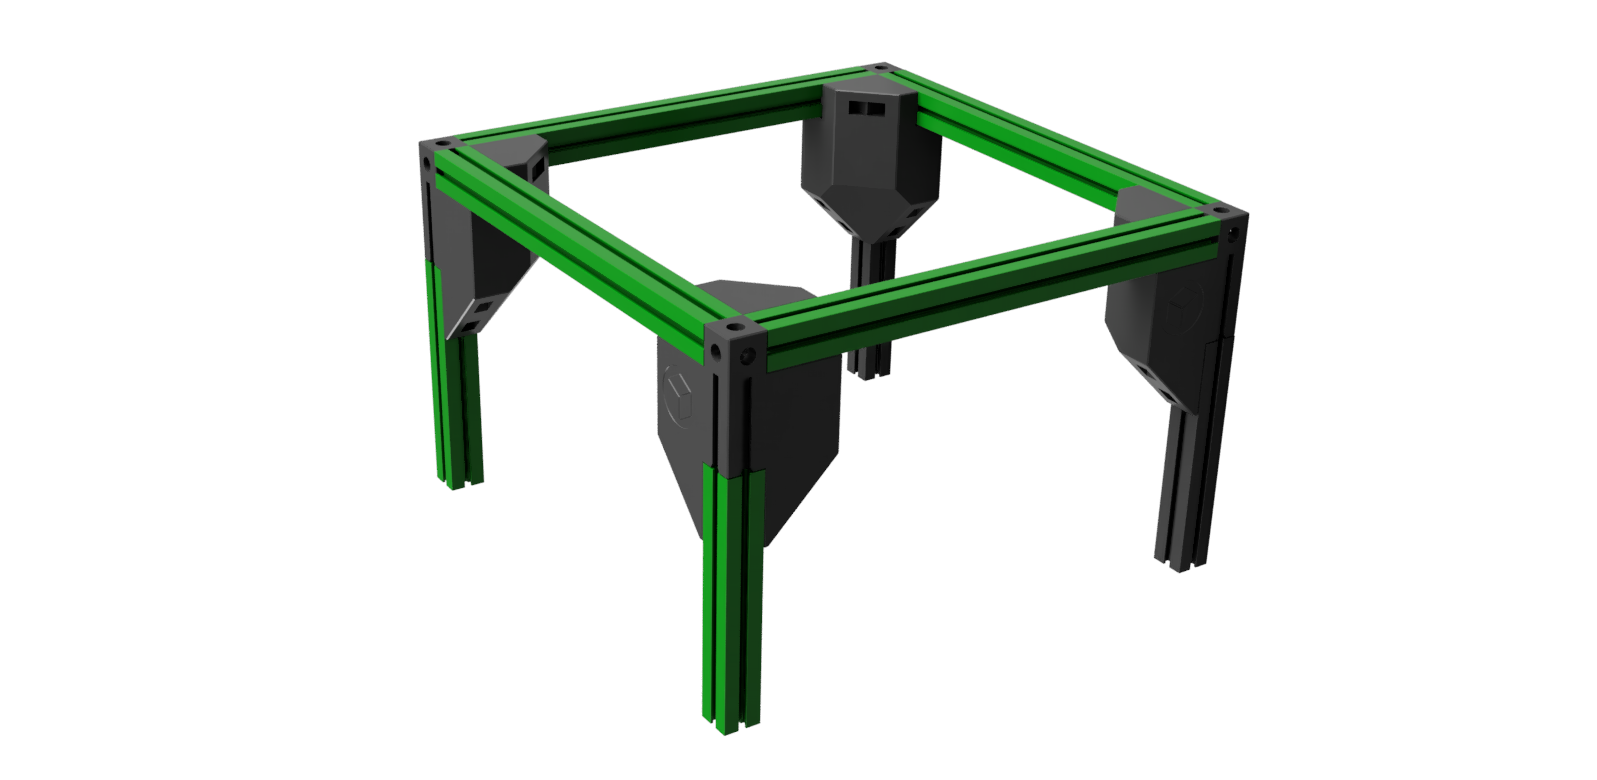
You can keep your colored extrusions from a V0 frame kit by joining 100mm ones from the bed to 200mm ones in the front. This repo even includes a printed "extrusion wrench" to join extrusions without marring the surface.
Or, you can use off-the-shelf 300mm-long 1515 extrusions and add the blind joint holes yourself, easily. With printed corners that add 50mm of height, you'll then have enough clearance for the umbilical.
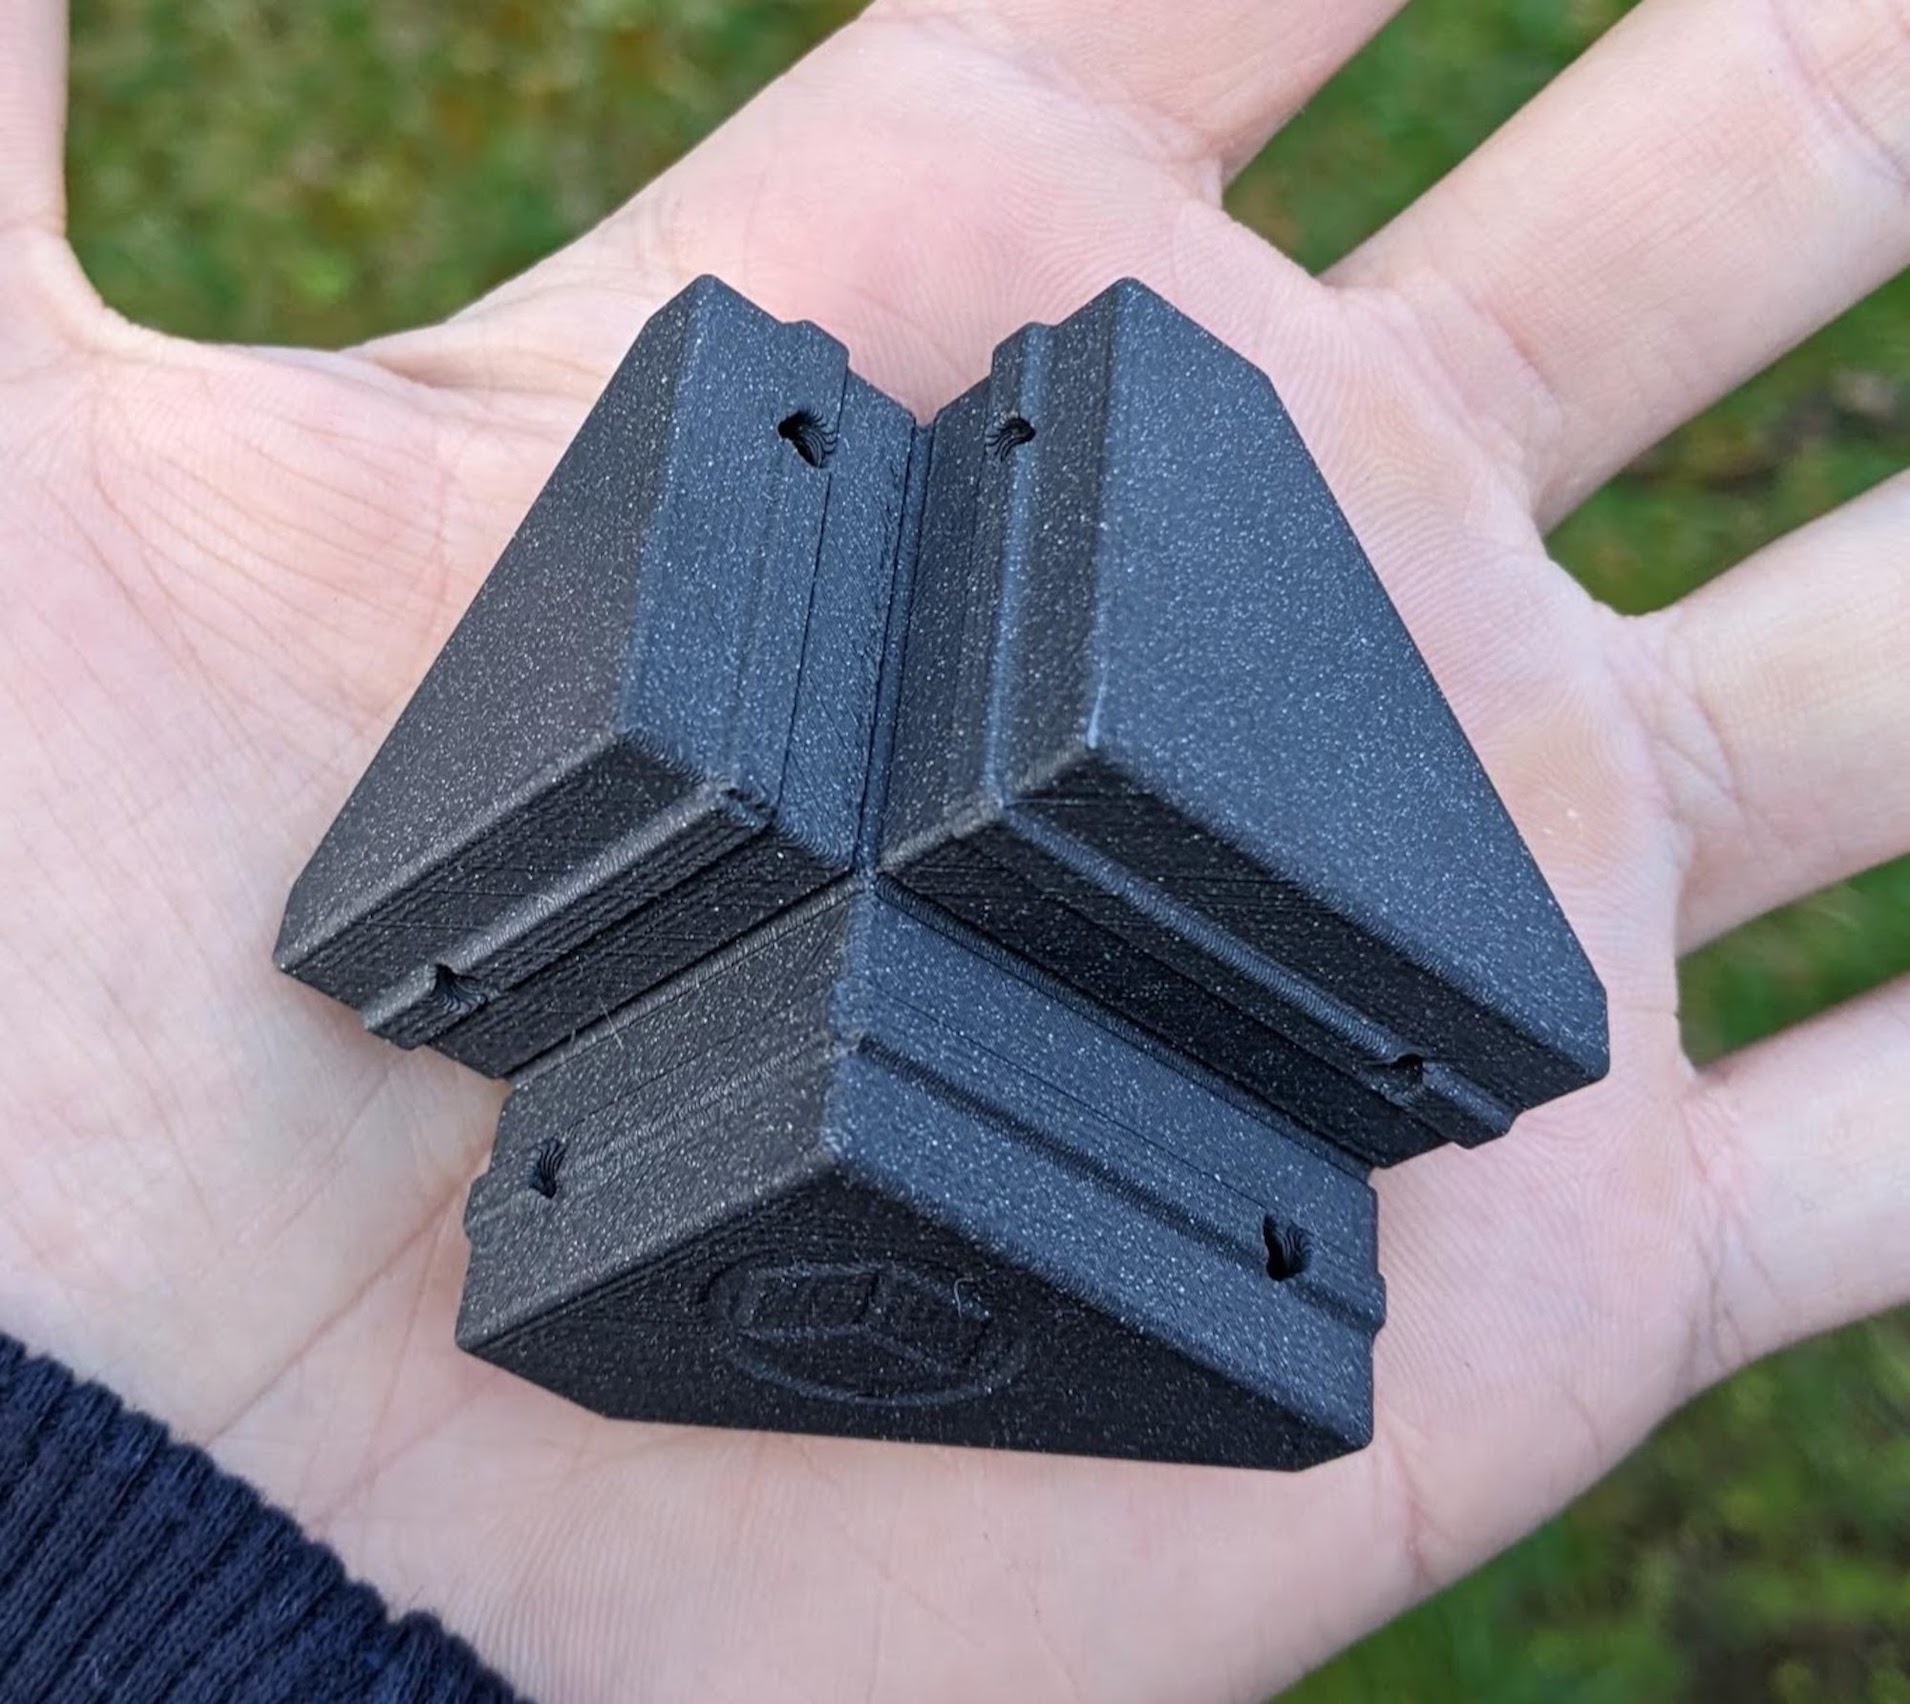
Or, you can use a full-blind-joints frame with taller extrusions (350mm or taller) and optionally strengthen the corners with corner stiffeners. These stiffeners are recommended for larger sizes than V0-stock, especially 250mm-length-extrusion printers.
| Large Corner (adds 50mm height) | Small Corner Stiffener |
|---|---|
|
 |
The V0 side extrusions and bed extrusions get lifted, then other extrusions take their place. There are a few options:
It all depends on what's easiest to source and what you think looks best. You choose. Either way, it should feel super-rigid after.
Note that the corners are asymmetric, with a logo on only one side... we don't want an M1 situation here.
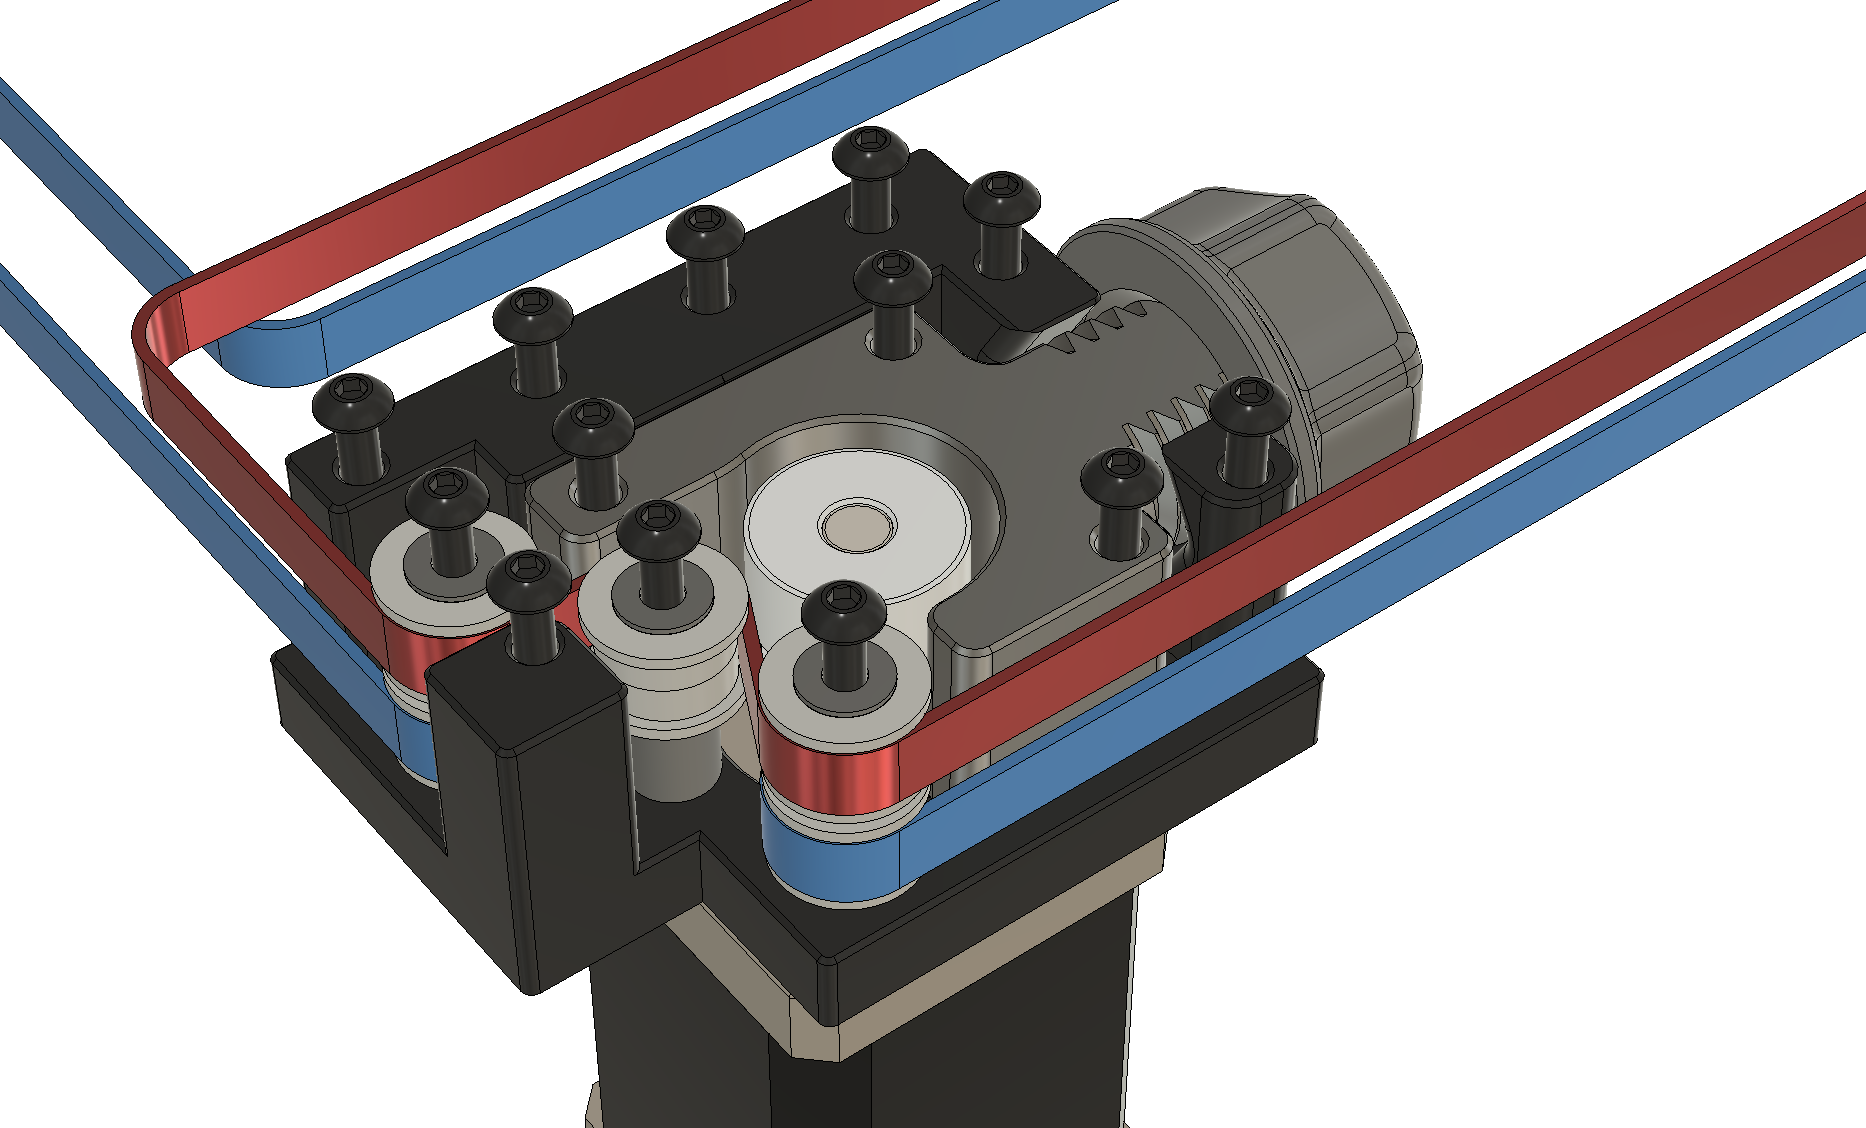
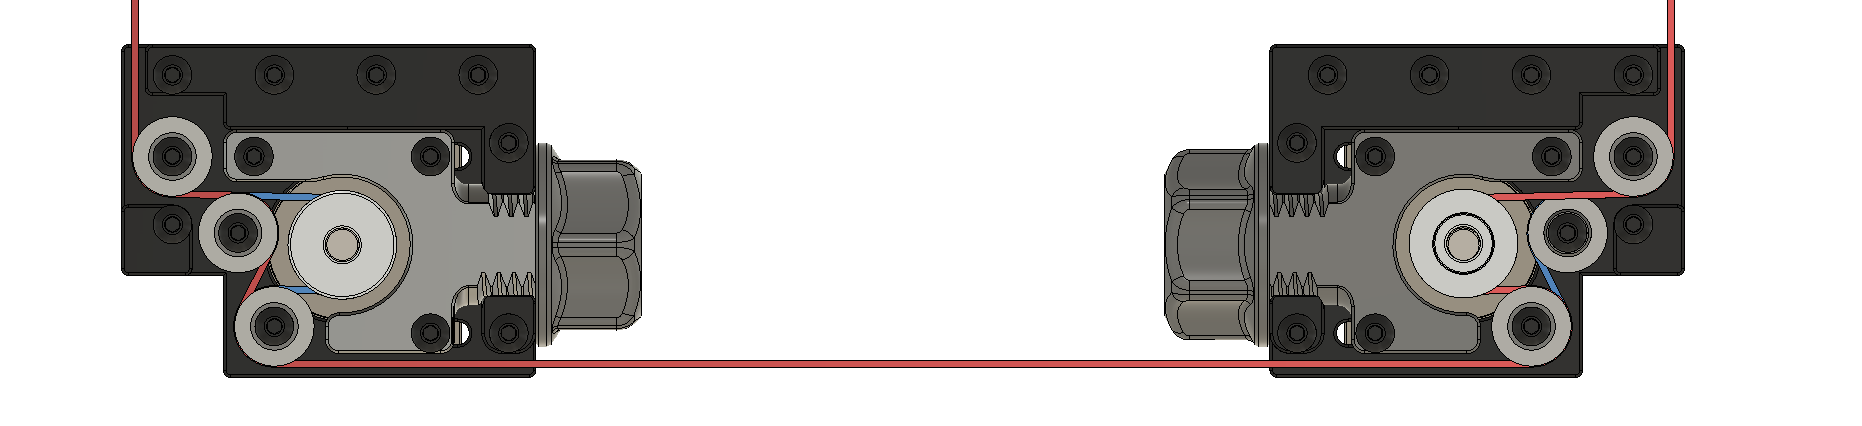
The packaging of the V0 is super-tight, so the big challenge with a full box is fitting the belt path around added frame extrusions. The key insight was to add extra F623 bearings to redirect the belts around the rear extrusion verticals. To free up space for the belt, the sliding motor block had to be chopped, but the 3 remaining screws are plenty to fully secure the motor.
Top view:
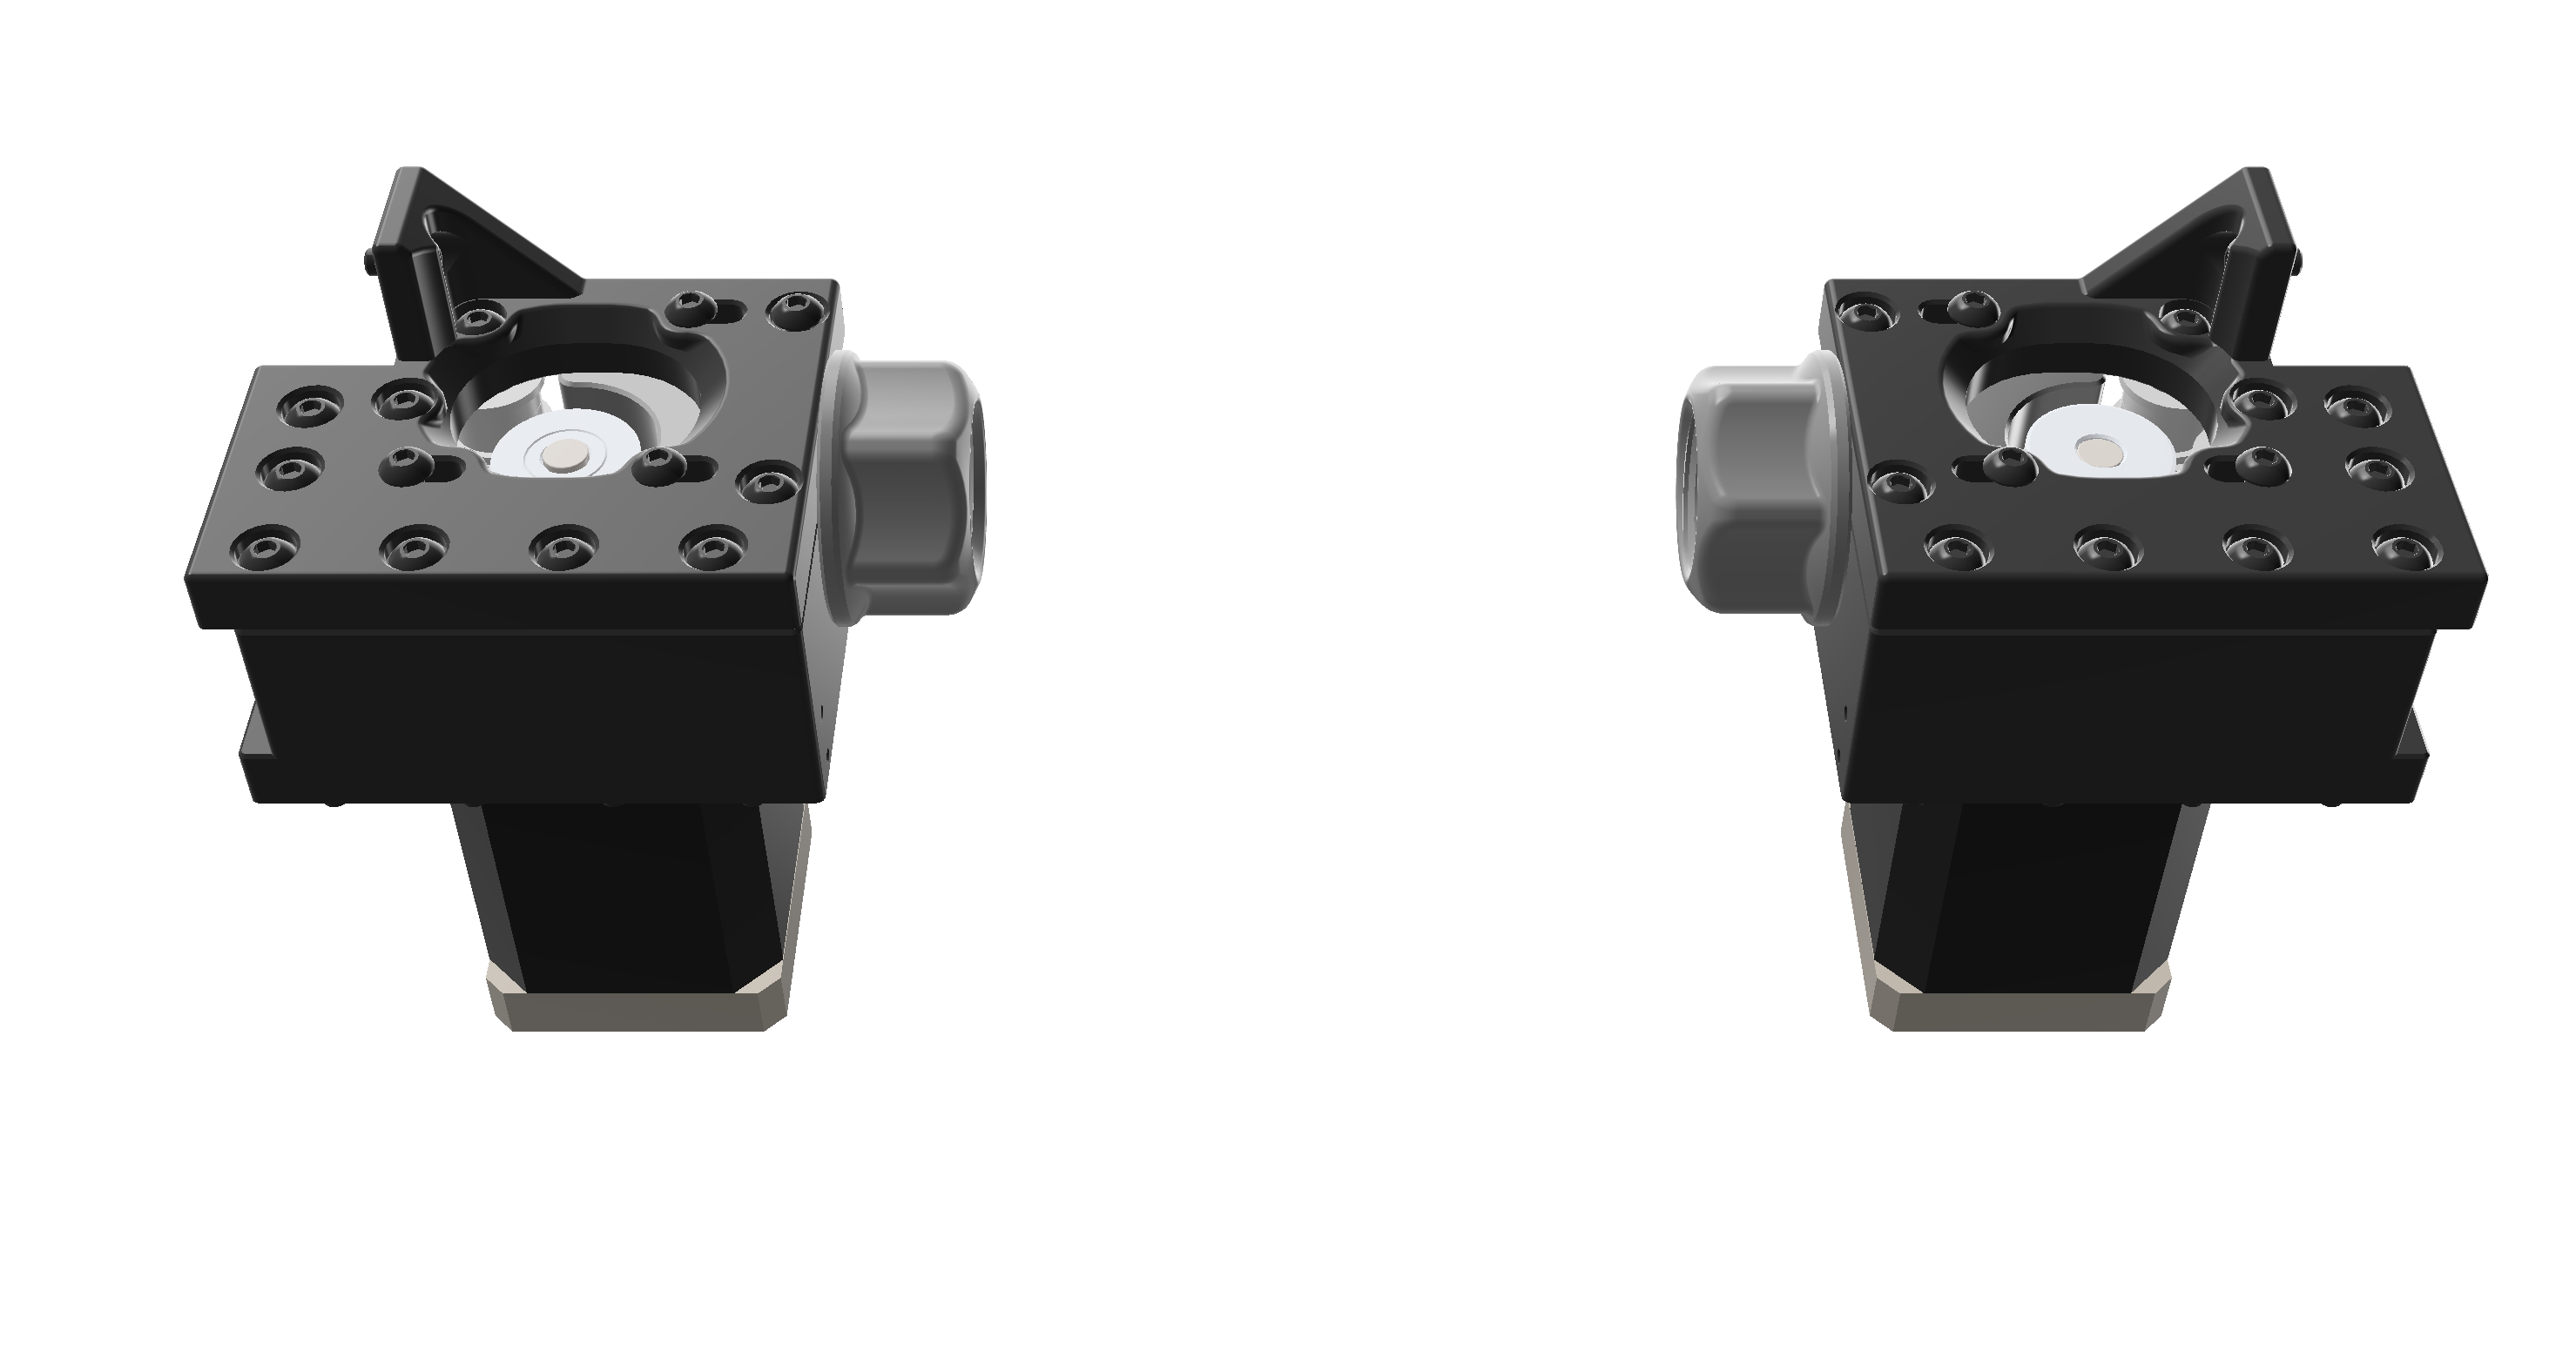
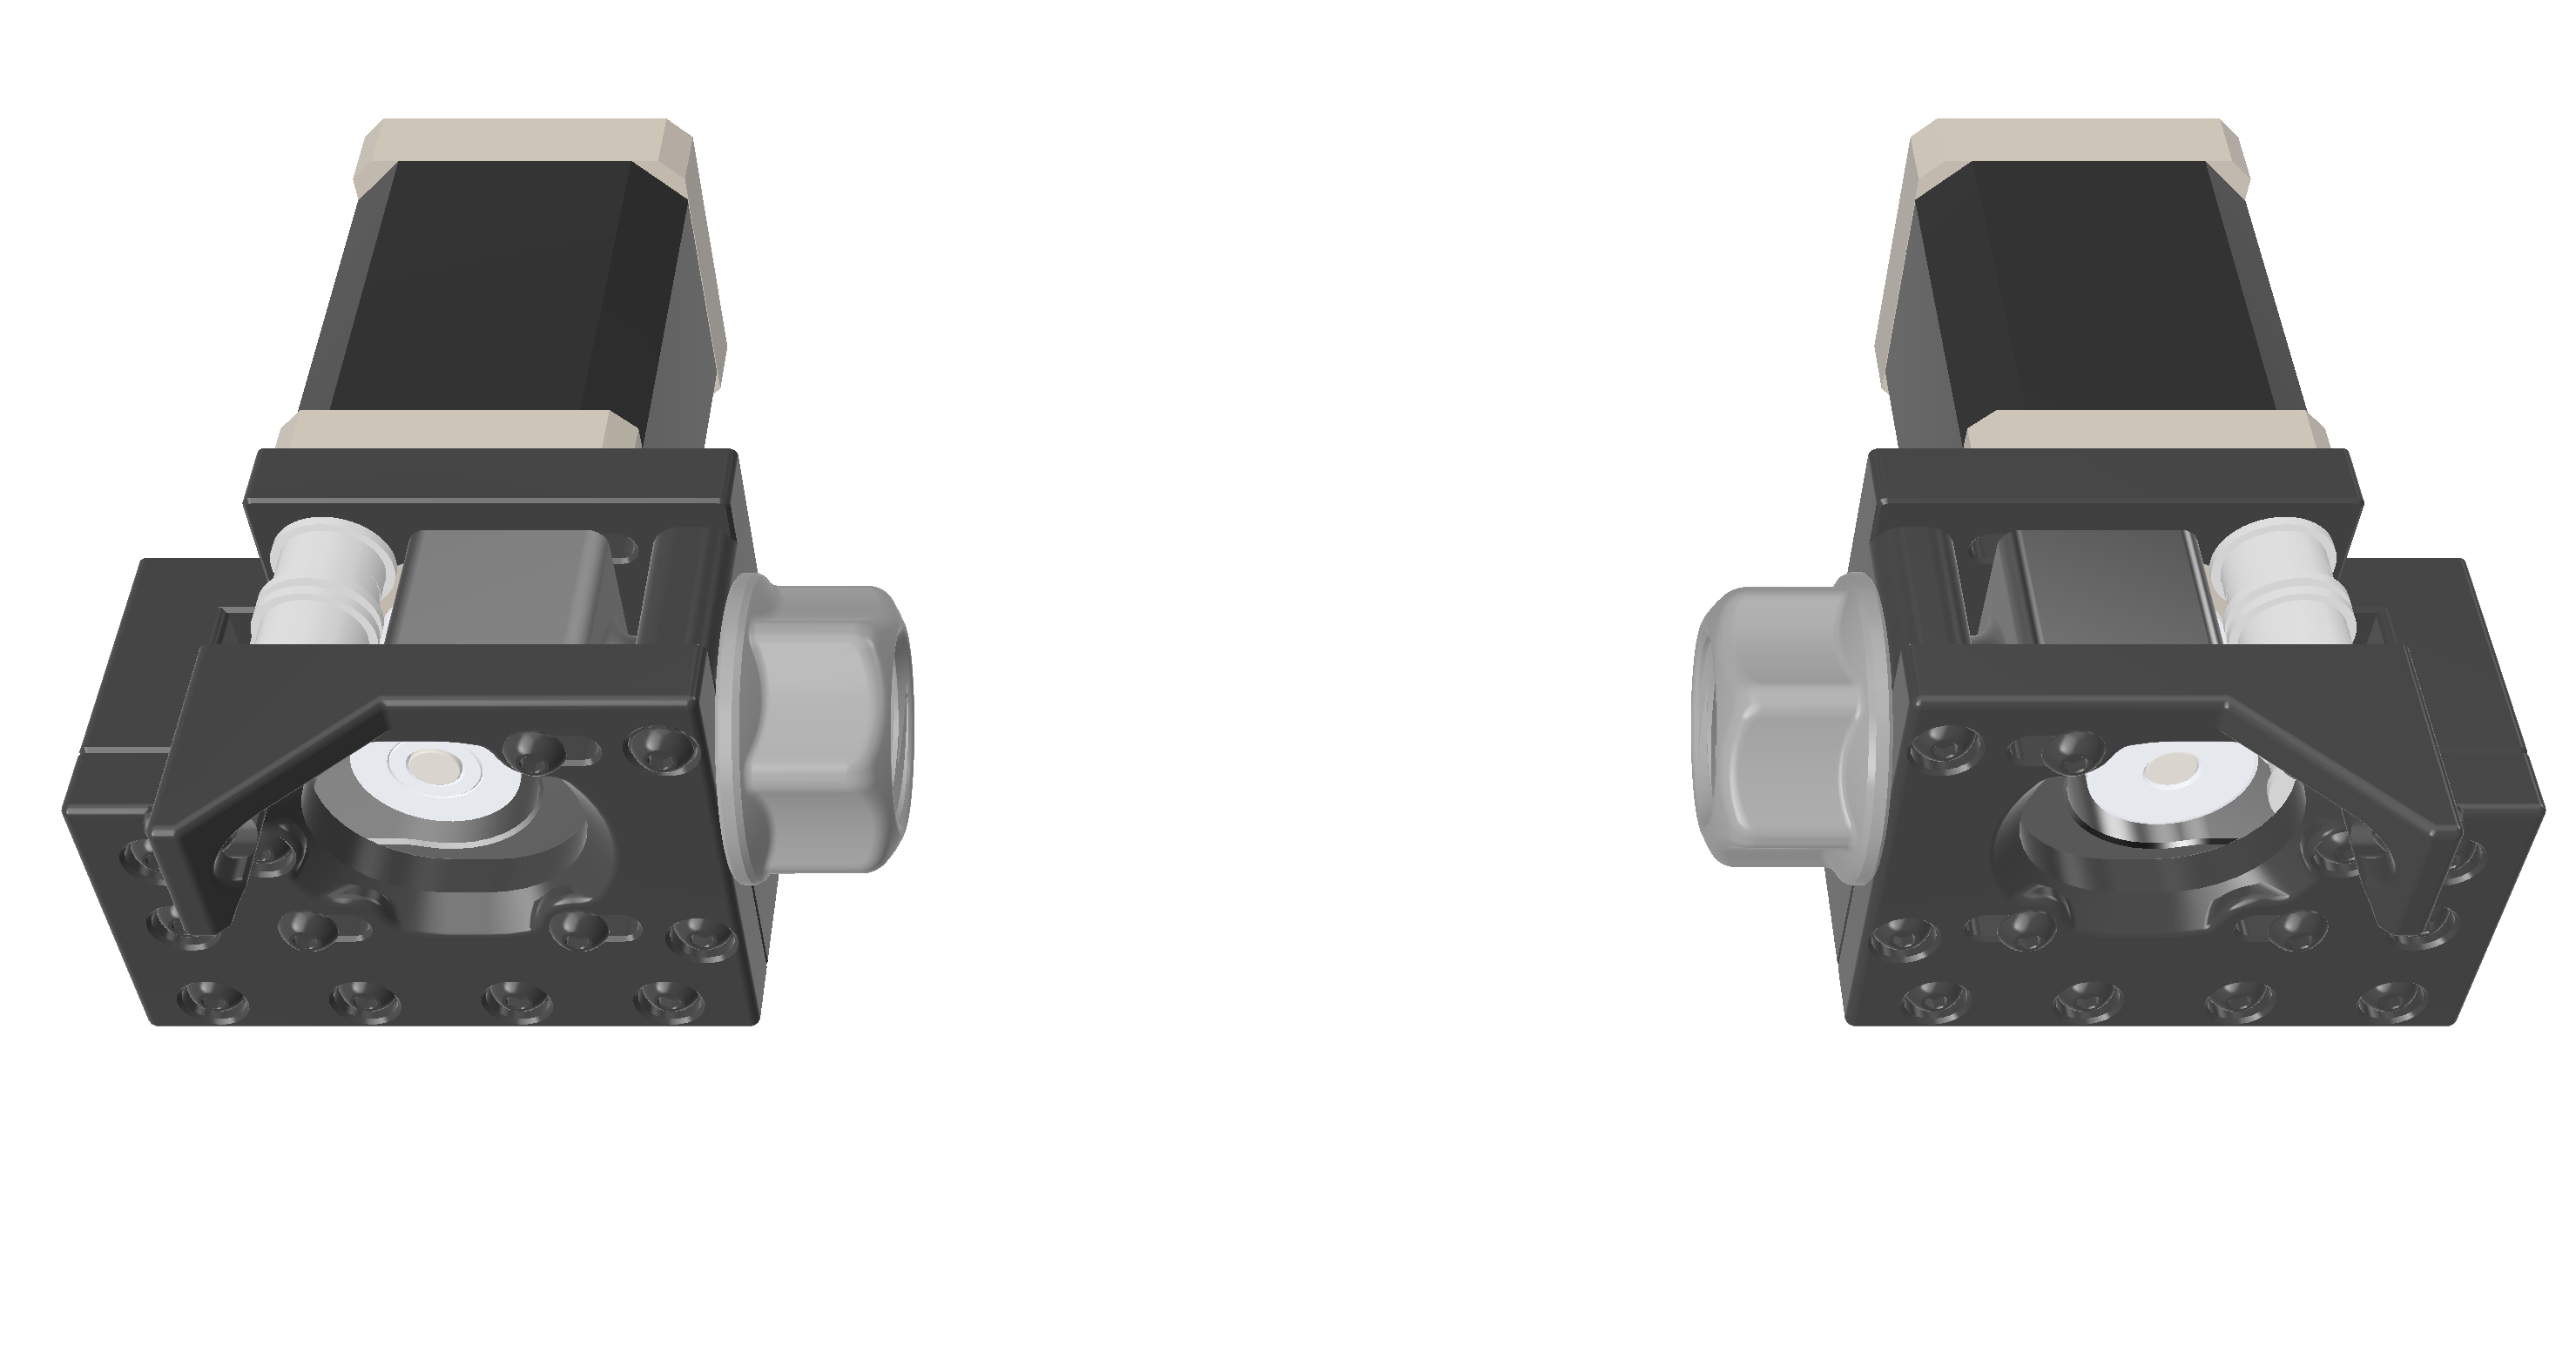
The complete AB blocks:
 |
 |
|---|
The new AB blocks are intentionally set back 3mm from the front, to support future mods to add extra Y travel from an offset gantry, so you'll want to add something to bridge that 3mm gap to the Y endstop. F0 MGN9 spacers are one easy to span it, especially if using a non-levered microswitch.
The hole positions have been moved too, so that all are aligned easily with 15mm No-Drop nuts.
At the front, this mod uses slightly modified Double Dragon front Y idlers for the main belts.
You can use the default V0 enclosure parts, or much better, can move to ZeroPanels, which clip in without screws, nuts, magnets, or tape. They're perfect for this application.
Tecnologic's full boxed-frame enclosure, based on the original ZeroPanels, works perfectly here and even includes high-strength, 270-degree hinges. What's not to love? You can put the hinges on top too... BAM, and you have a fully accessible toolhead, without even needing 5 seconds to clip out a panel.
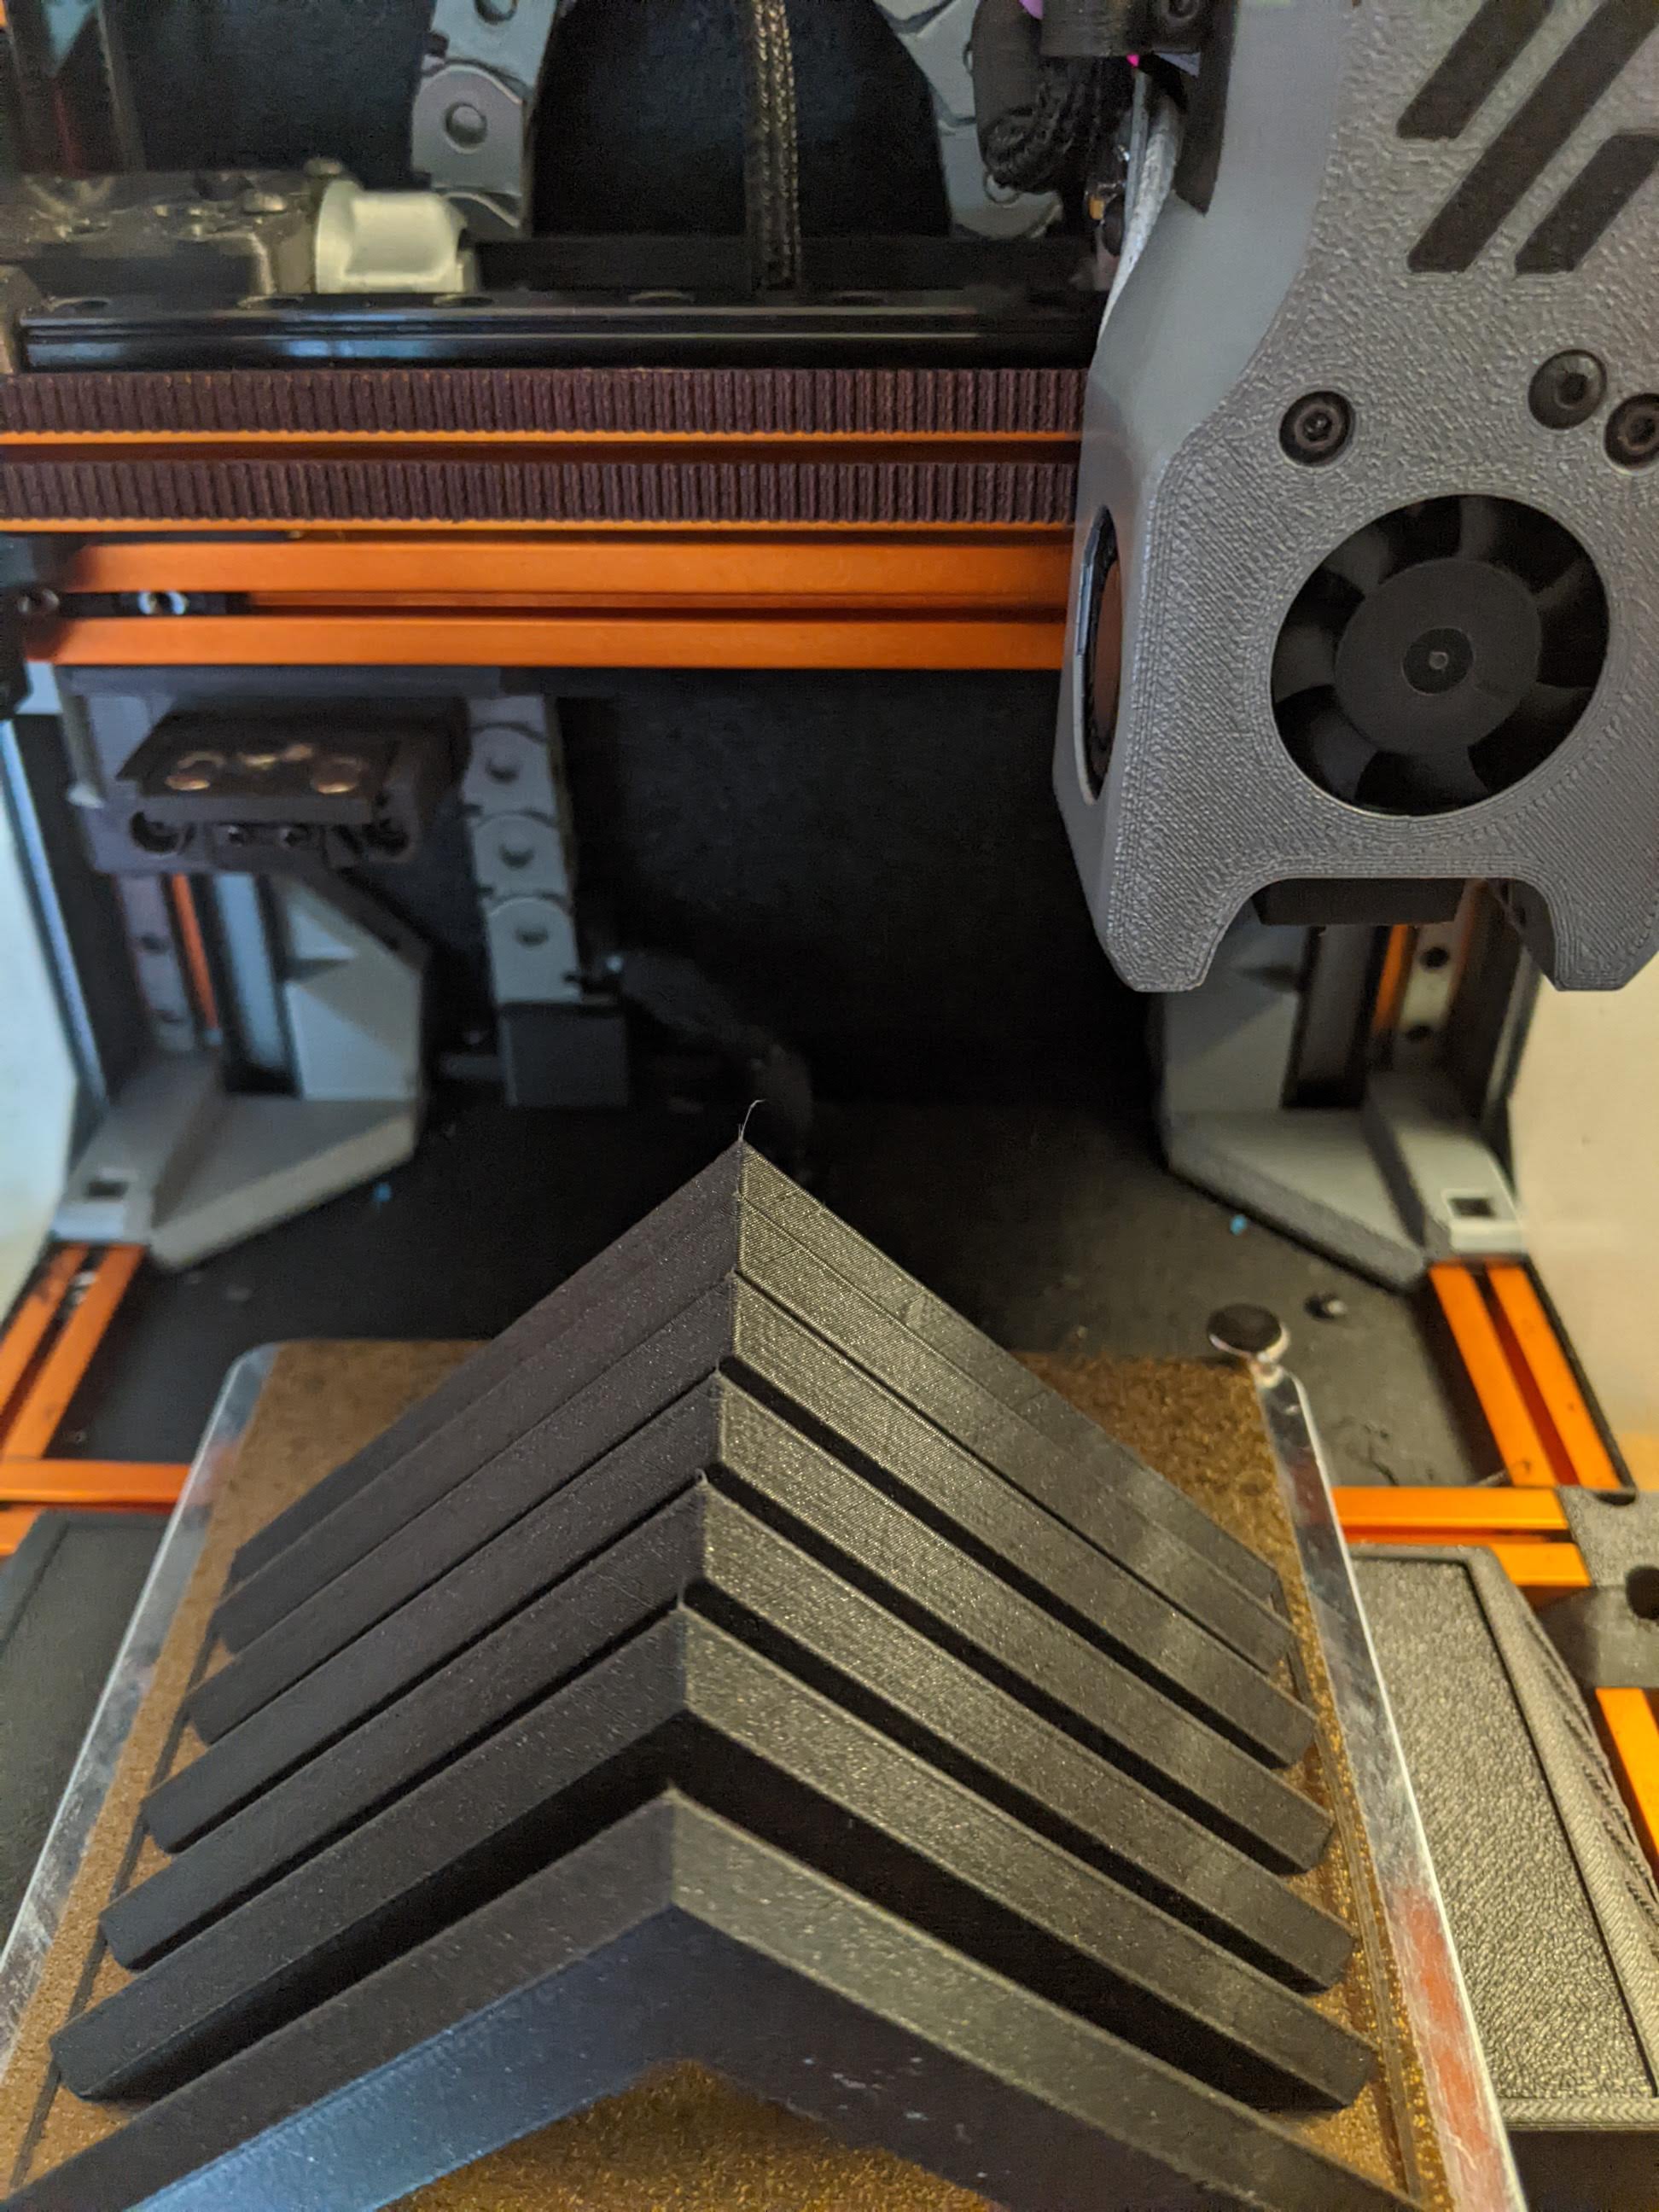
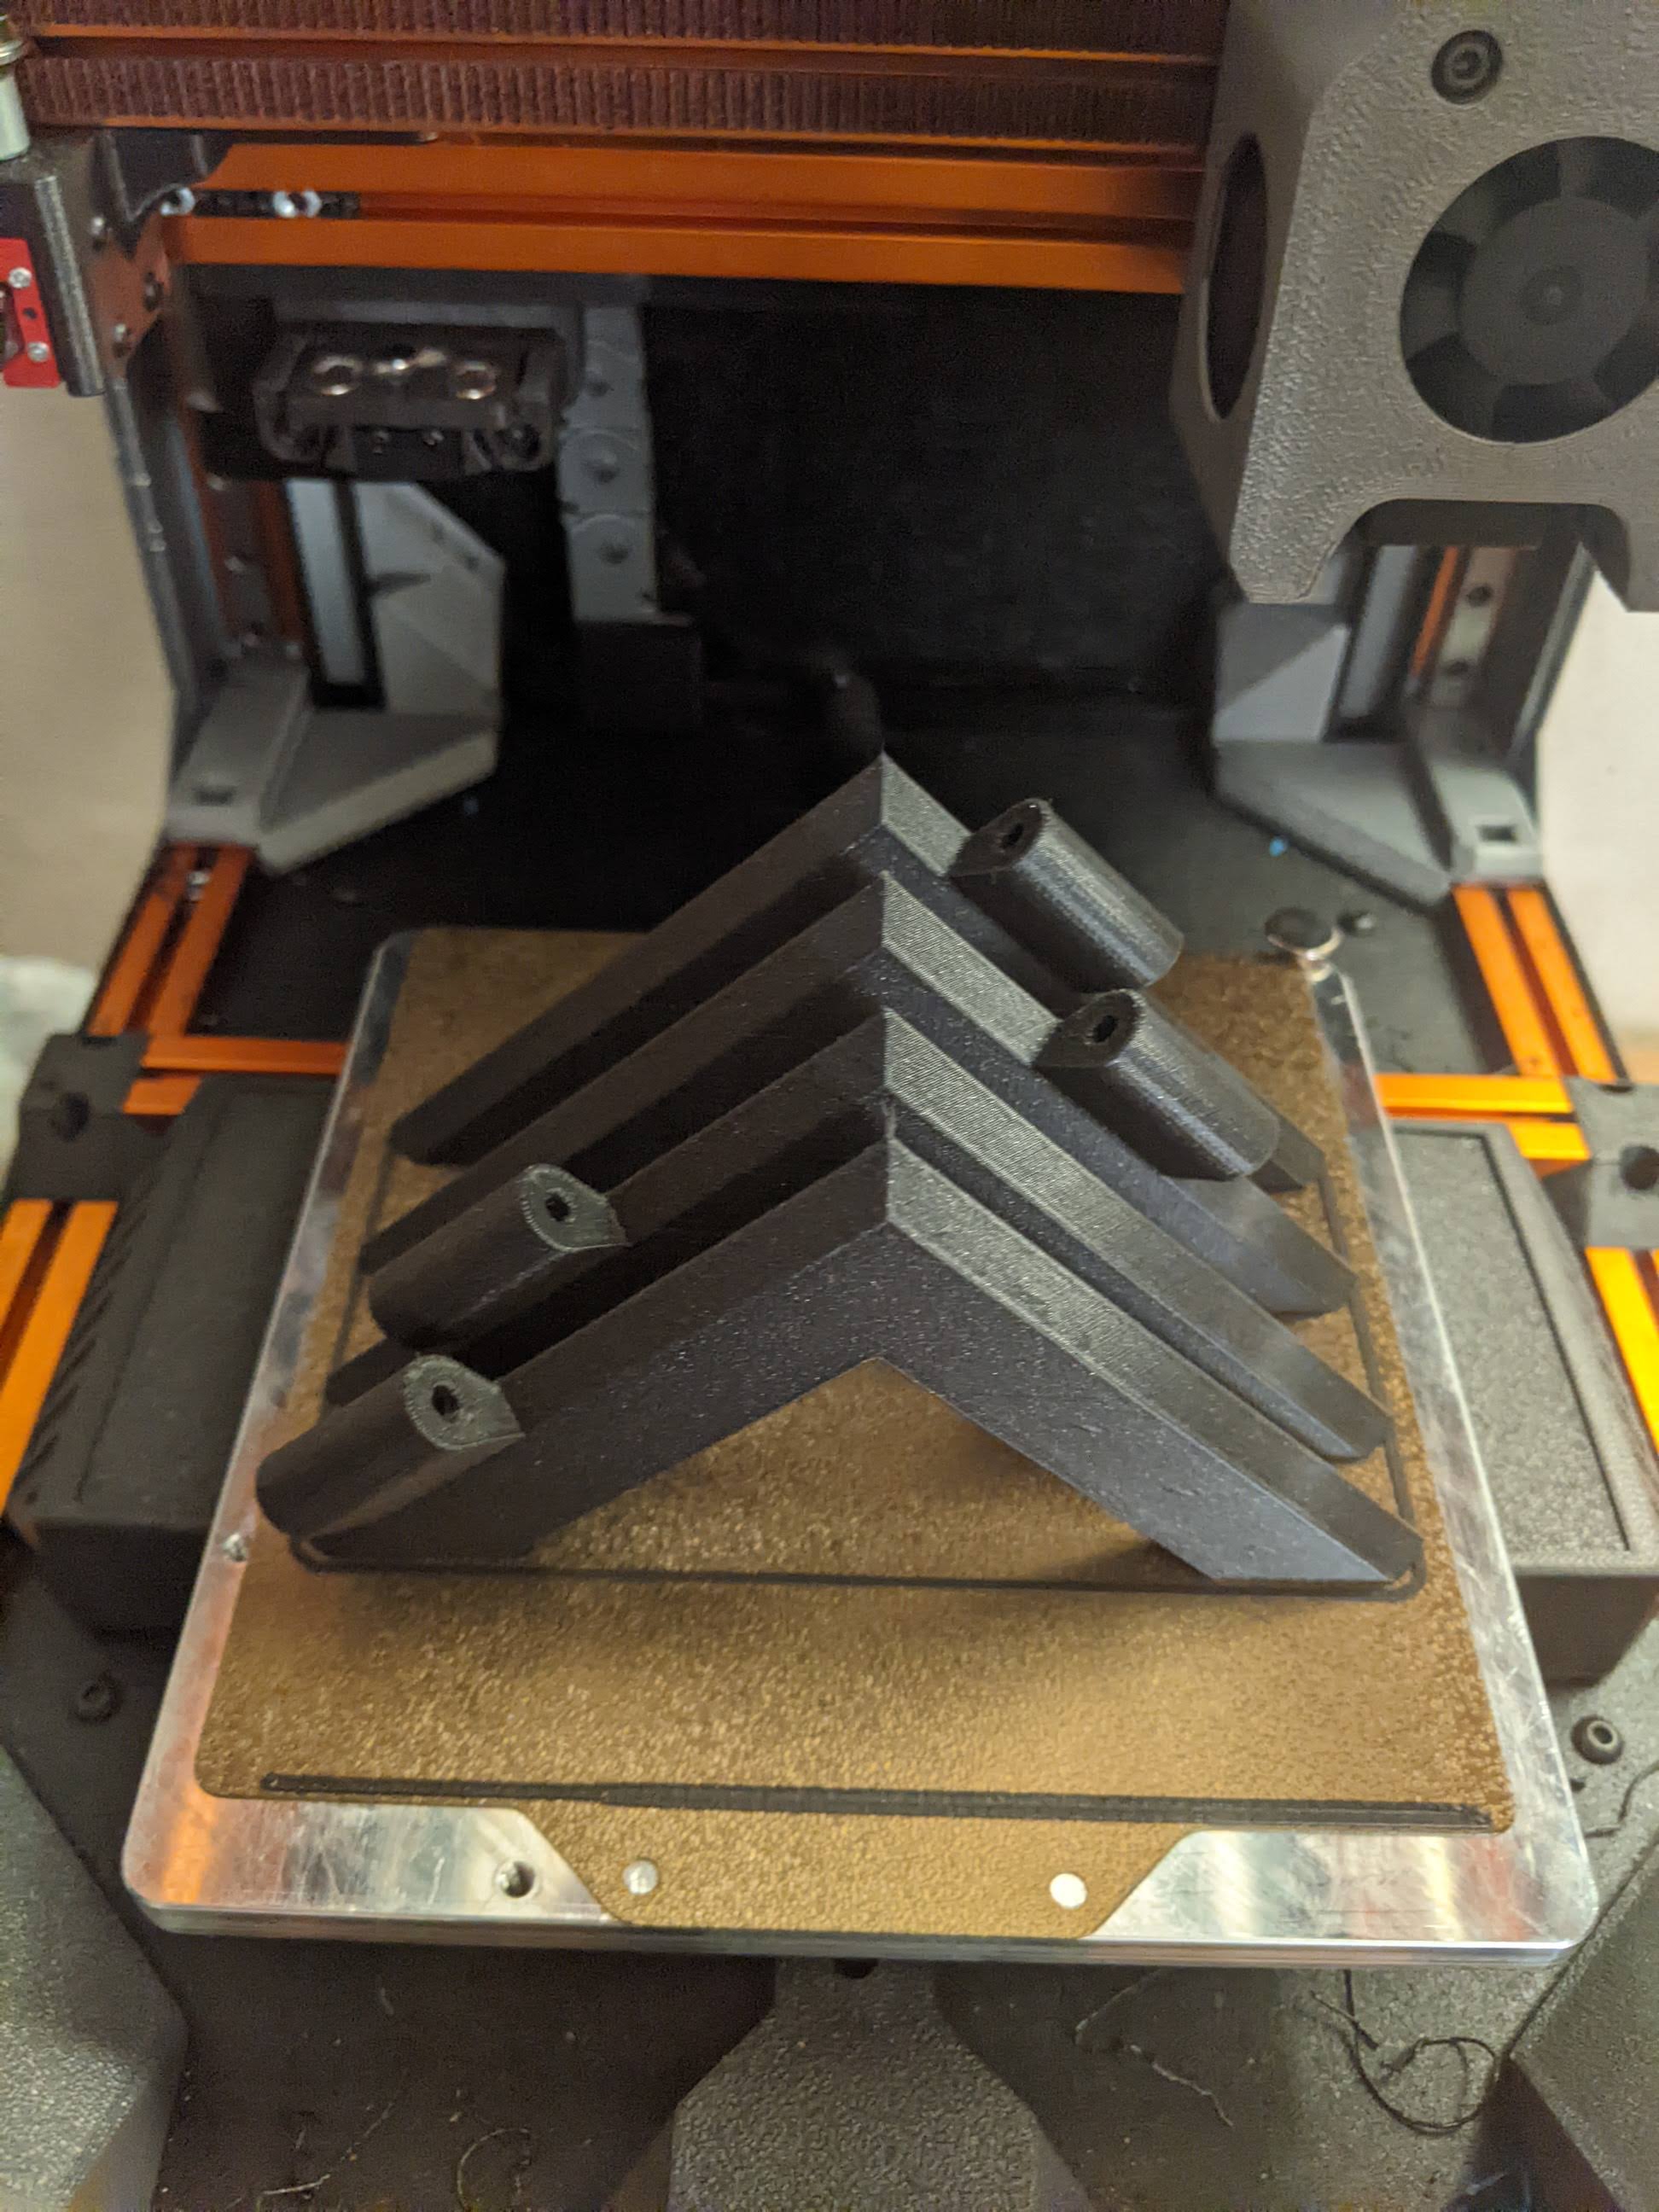
| Main Corners | Hinge Corners |
|---|---|
 |
 |
See a video of ZeroPanels clipping in and out, and then in and out again.
Actually, that's it. The belt path is shorter, so you can reuse and then trim your existing belts. The midplate and baseplate don't change. The rear plate gets lifted up. It's a good thing, anway, to free up air to cool the Pi mounted back there.
These are just the parts beyond those needed for a stock V0. All assume that no parts comes from the tophat, so they may be really conservative.
| Category | Part | Qty | Notes | Link |
|---|---|---|---|---|
| Fasteners | M3x6 BHCS | 8 to 36 | For corners, depending on style, and how many you add. | |
| Fasteners | M3 Nuts | 8 to 36 | For corners, depending on style, and how many you add. | |
| Fasteners | M3x30 BHCS | 2 | For additional bearing stacks in AB blocks | |
| Fasteners | M3 Shims | 6 | Combine with the 2 freed by front idler conversions | |
| Fasteners | M3 Heatset | 12 | For AB blocks | |
| Motion | F623 flanged bearing | 8 | For AB blocks | |
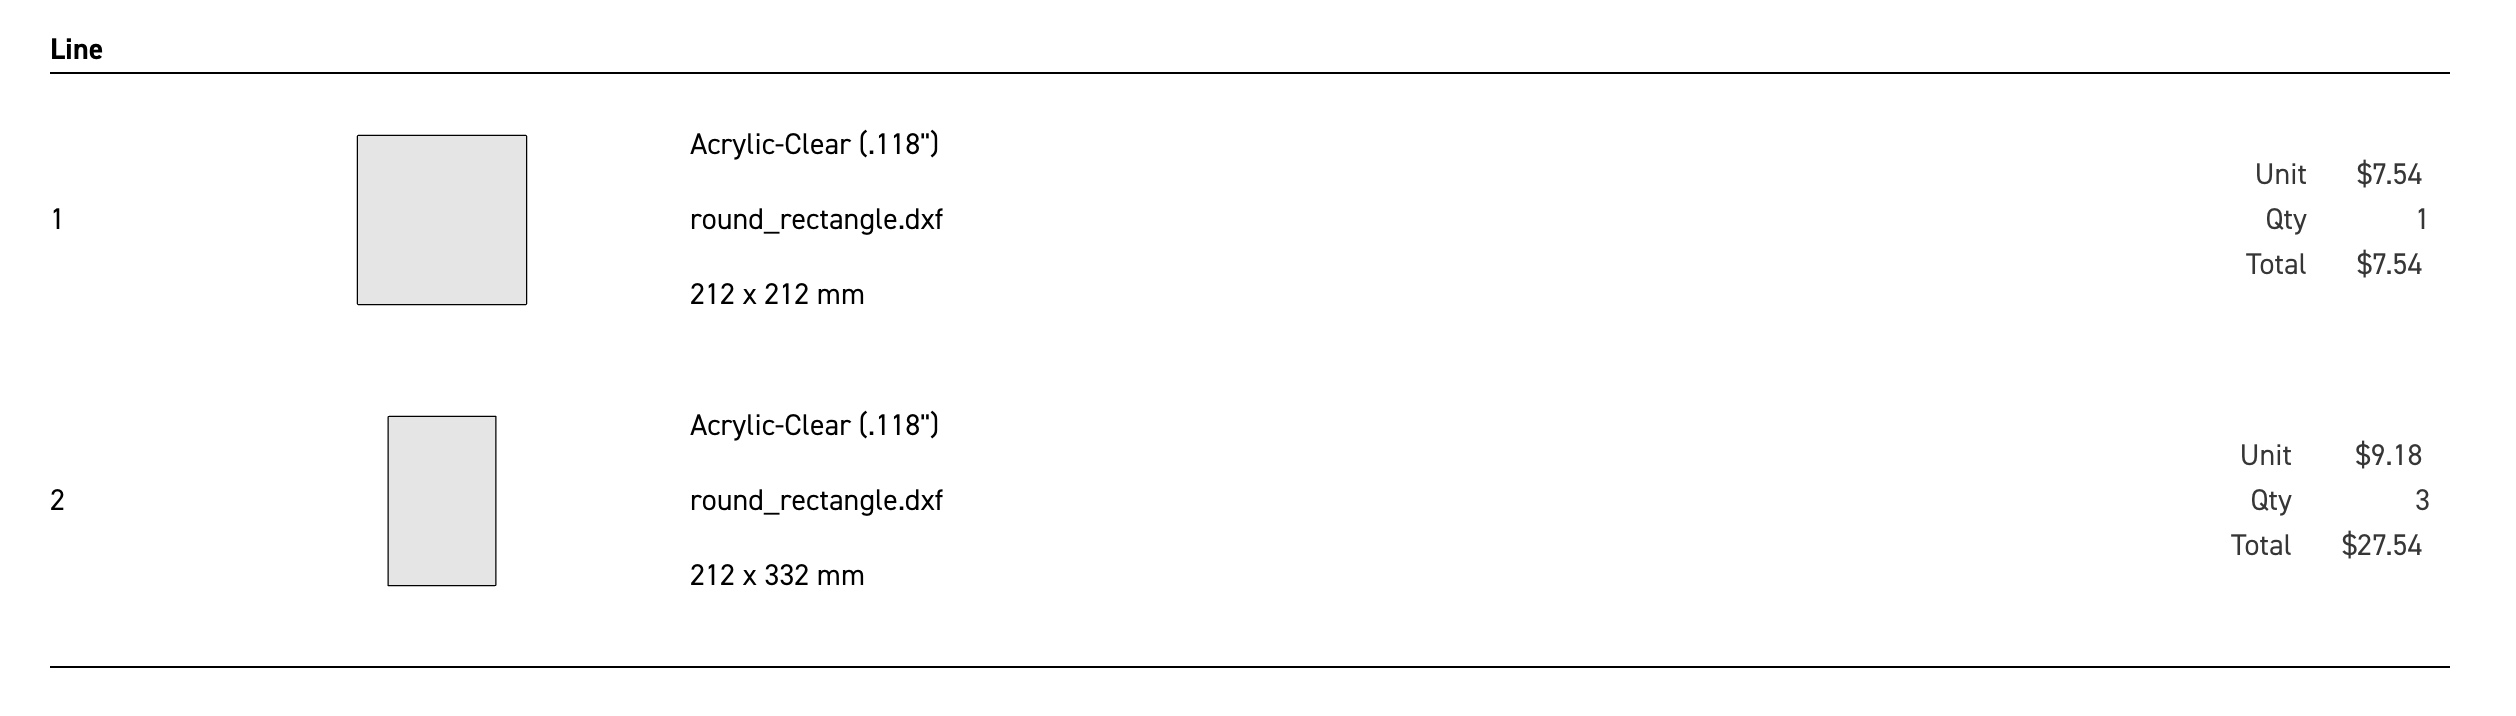
| Panels | 212x332x3mm panel | 3 | Side and front panels, clear acrylic | |
| Panels | 212x212x3mm panel | 1 | Top panel, clear acrylic |
A sample panel order from SendCutSend, without the 15% discount easily found online, looks like this:
For extrusions you have a few choices:
| Category | Part | Qty | Notes | Link |
|---|---|---|---|---|
| Extrusions | 300mm 1515 | 4 | Option A for extrusions | MBXL 300mm |
| Extrusions | 300mm 1515 | 2 | Option B for extrusions | MBXL 300mm |
| Extrusions | 200mm 1515 | 1 | Option B for extrusions | MBXL 200mm |
| Extrusions | 100mm 1515 | 4 | Option C for extrusions | MBXL 100mm |
| Extrusions | 200mm 1515 | 4 | Option C for extrusions | MBXL 200mm |
| Extrusions | 350mm 1515 | 4 | Option D for extrusions | Misumi, other |
| Fasteners | M3x20 set screw | 1 per join | Option B/C: join exts; can chop a screw. 20mm length is ideal, 16 is probably fine, and 12 is on edge. |
If making the ZeroPanels exclosure with hinges, you'll also need screws and locknuts for each hinge pair:
| Category | Part | Qty | Notes | Link |
|---|---|---|---|---|
| Fasteners | M3x50 SHCS | 2 per hinge pair | ||
| Fasteners | M3 locknut | 1 per hinge pair | ||
| Fasteners | M3 washers | 4 per hinge pair | ||
| Tape | Foam Tape | 2mm-3mm adhesive-backed foam tape |
In this repo are all of the STLs needed to do a BoxZero conversion, with just those parts which are not in the V0.1 repo.
All parts should be already be in print-ready orientation, with seam in the +Y dir, and no supports are needed.
Standard Voron settings, or lowered infill and fewer perims, should work fine for most parts:
The AB blocks can be printed with much less infill (20%).
Print the corners (both types) with 3 perims, 10% infill or higher. While this will print happily with zero infill, you don't want flexible edges.
Print all STLs in the quantites noted from this repo, along with STLs from:
Joining extrusions (typically for 100 mm + 200 mm -> 300 mm):
To add a hole for a gantry horizontal extrusion into a 300mm vertical, put the 100mm extrusion against your V0 frame-drilling guide, where the guide has been screwed onto the end. Then, use the hole in the extrusion wrench (see the STLs/Tools directory) for alignment to 7.5mm from the end of the 100mm vertical. Don't forget to drill holes in the other ends of the frame joints, too, if these are fresh extrusions.
For the full-height verticals option, put holes in the ends, 7.5mm from the edge. These are not needed with 300mm extrusions and the frame corners.
Make sure to add all the NoDropNuts you'll need before, before closing up corners.
Both corner block types are designed to be tight, and in fact, matched to fit your exact extrusions!
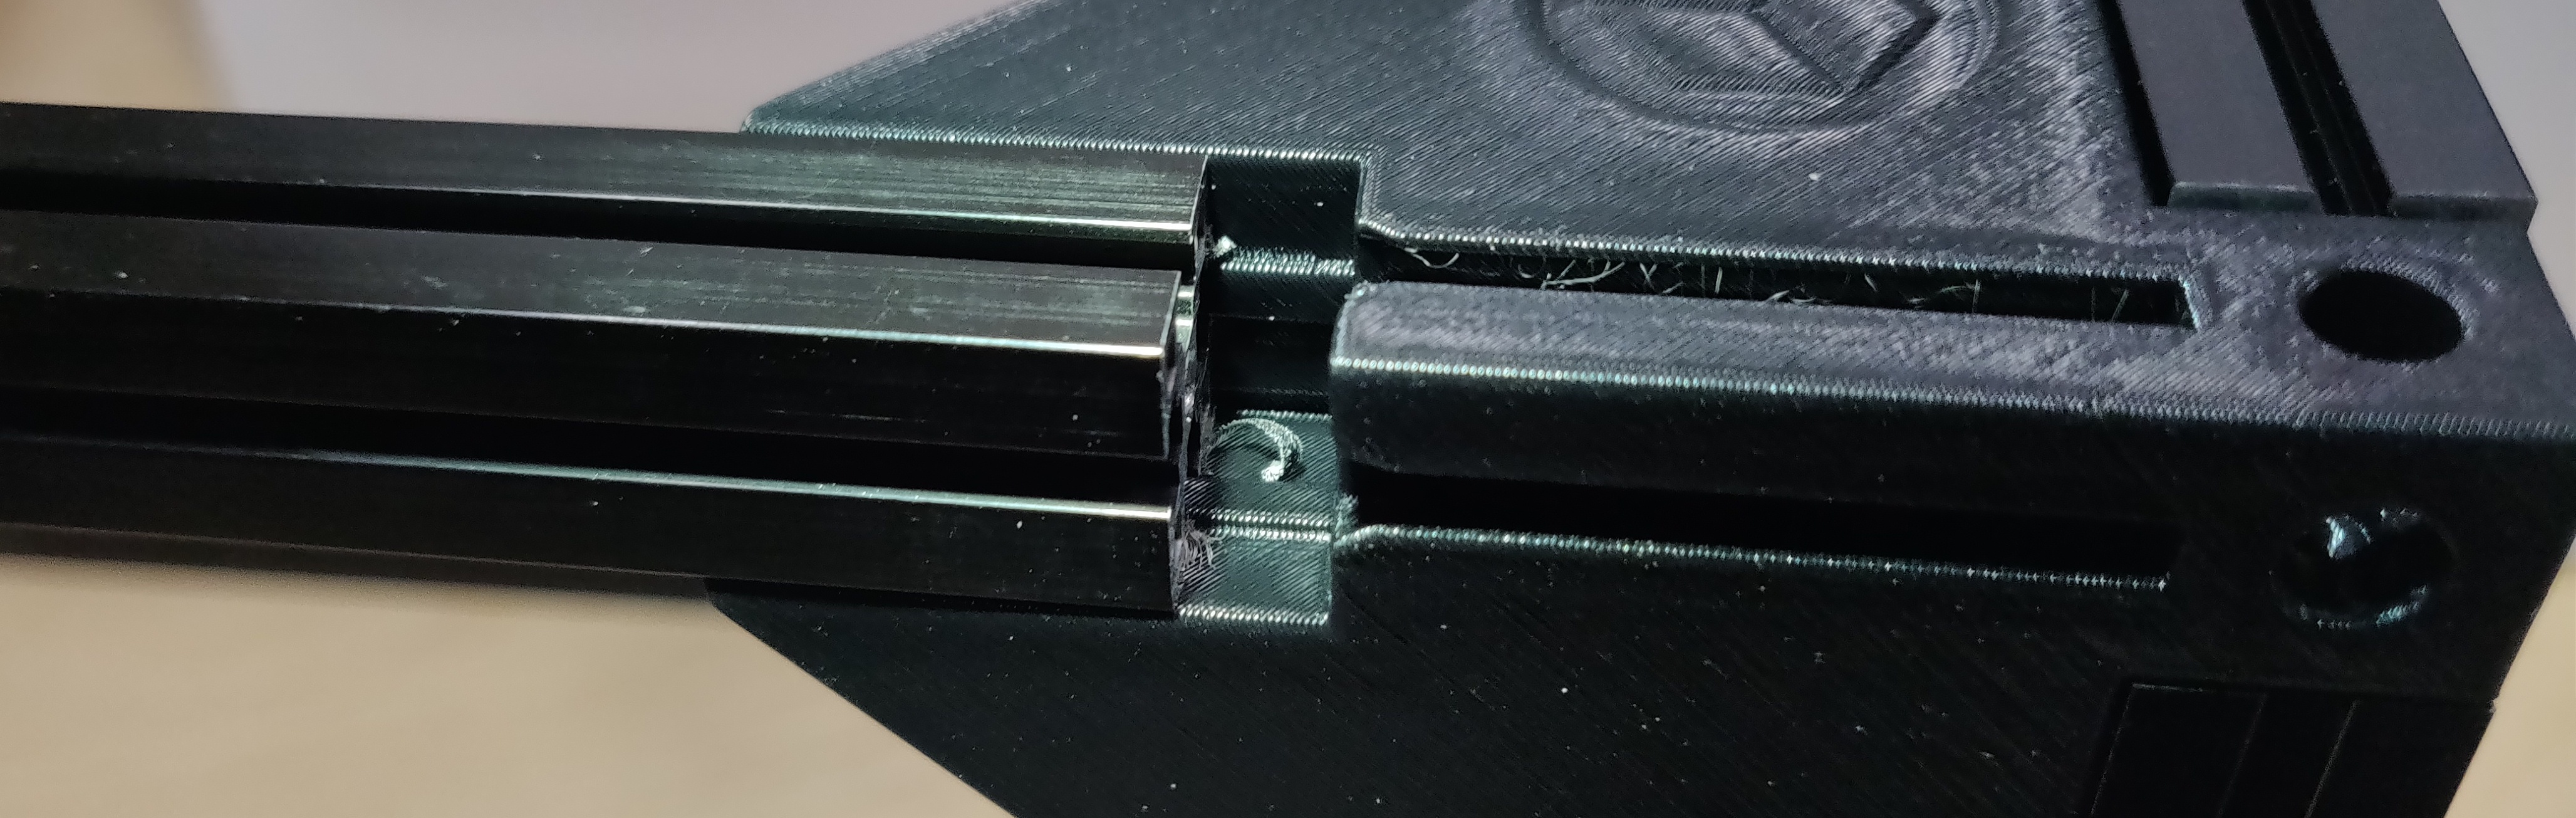
Note the curl above? The flat edge of the inside of the slot, as well the sharp corners, will look like this (good!):
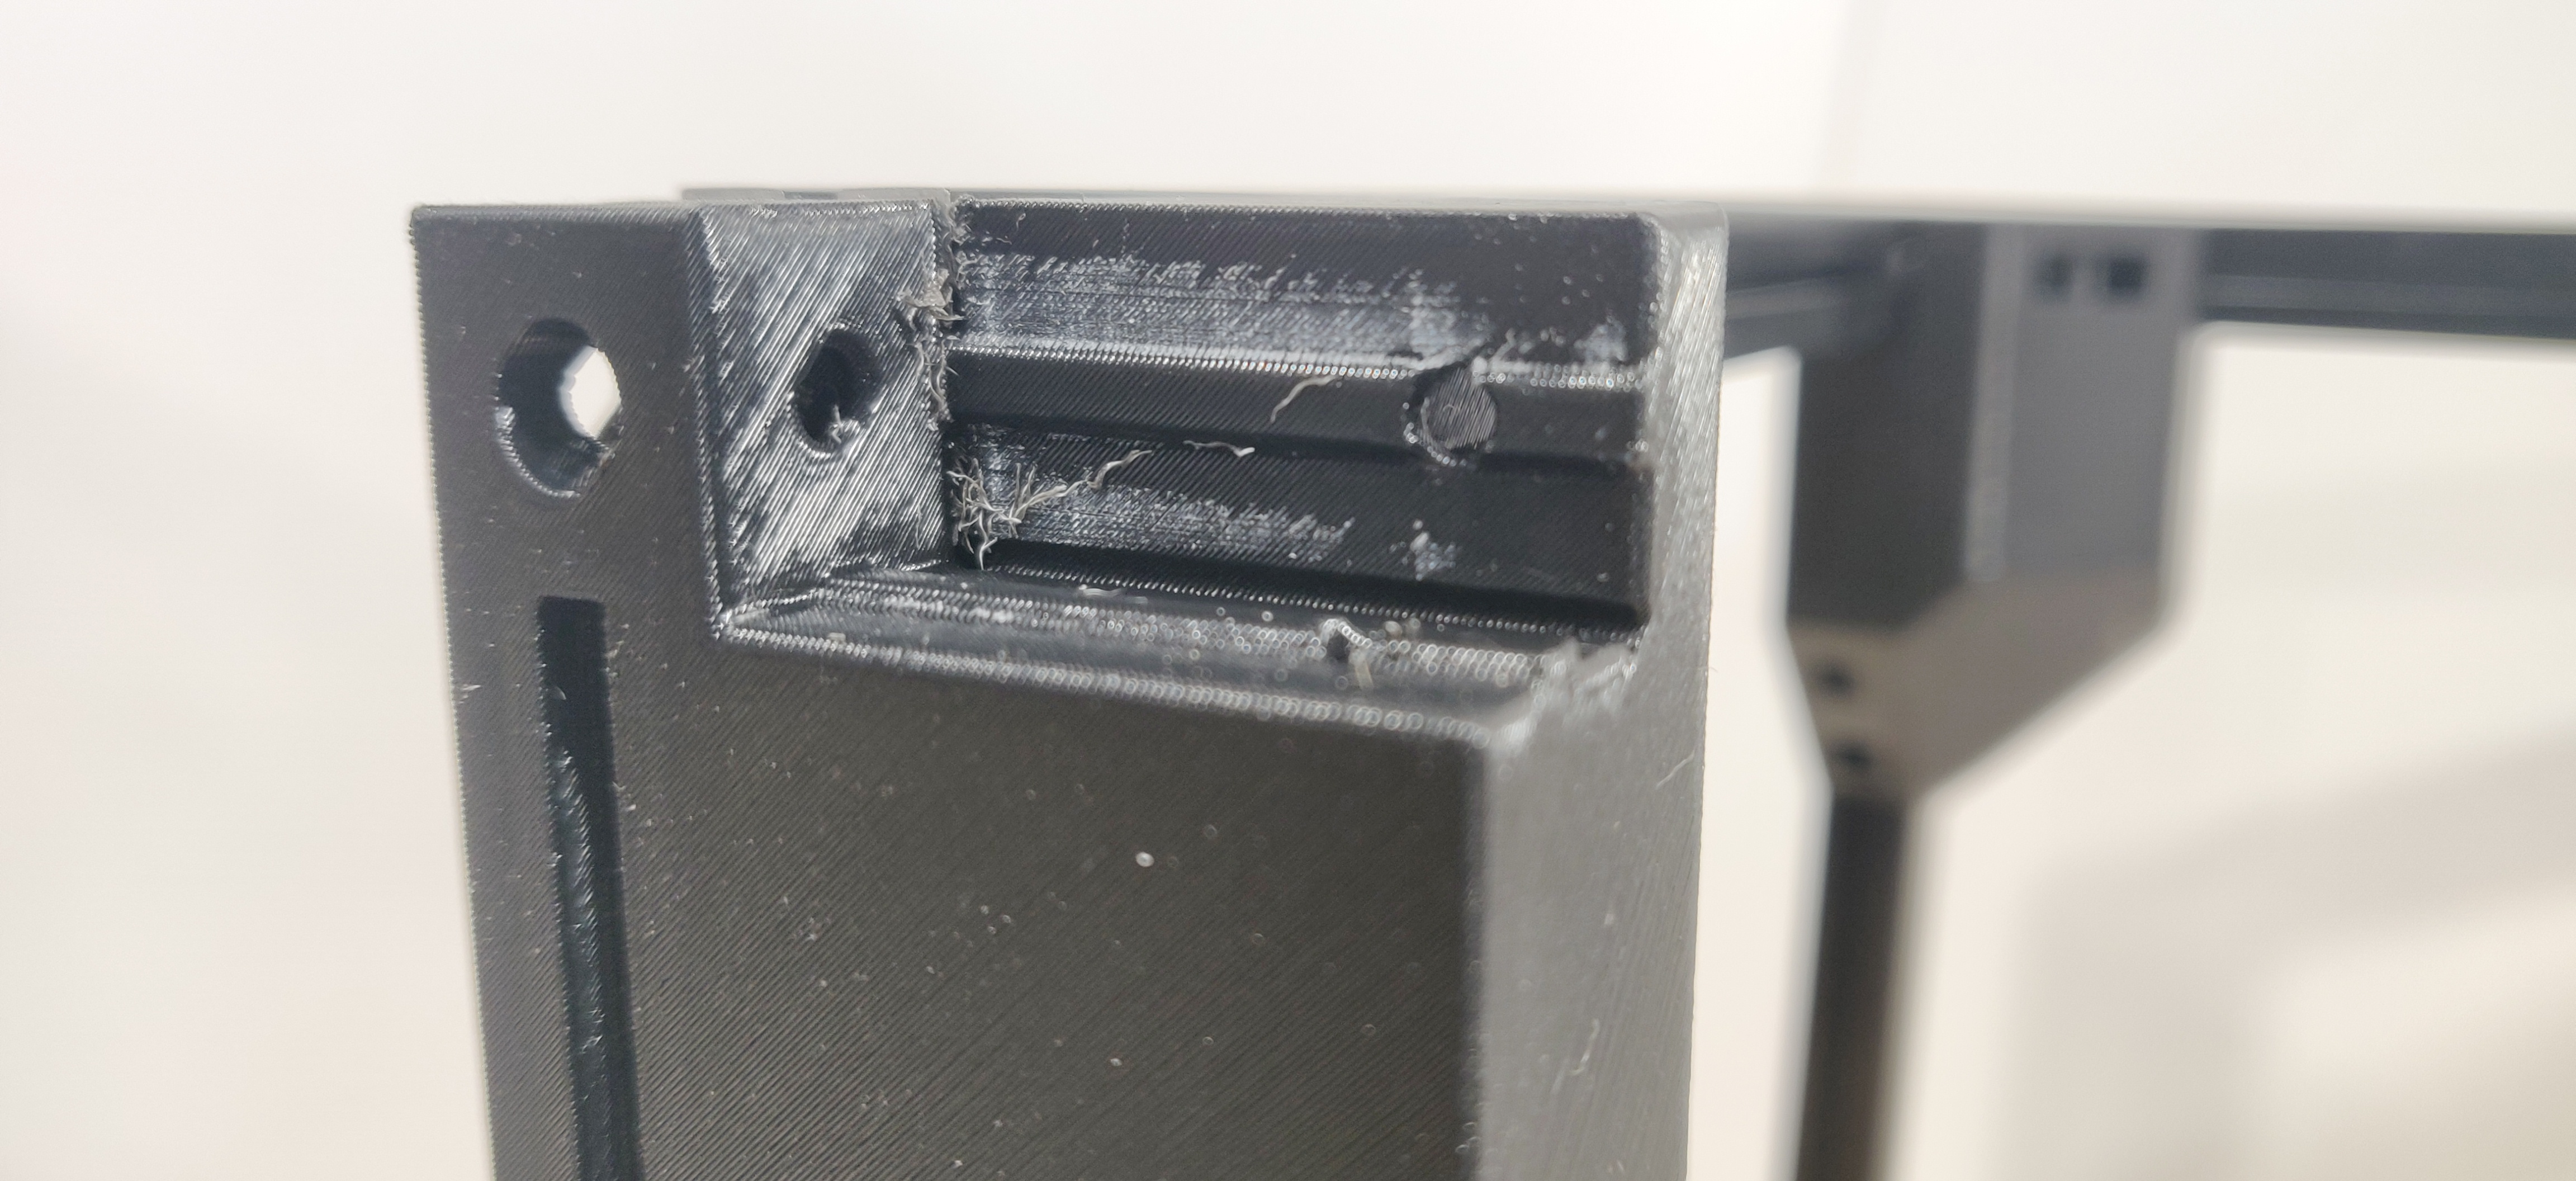
To get the extrusion started into the corner, twist the extrusion into the inner corner to get started, and then keep it parallel. If one side "escapes", start over and work inwards.
The extrusion should fit tightly, without screws.
Look ma - no screws!
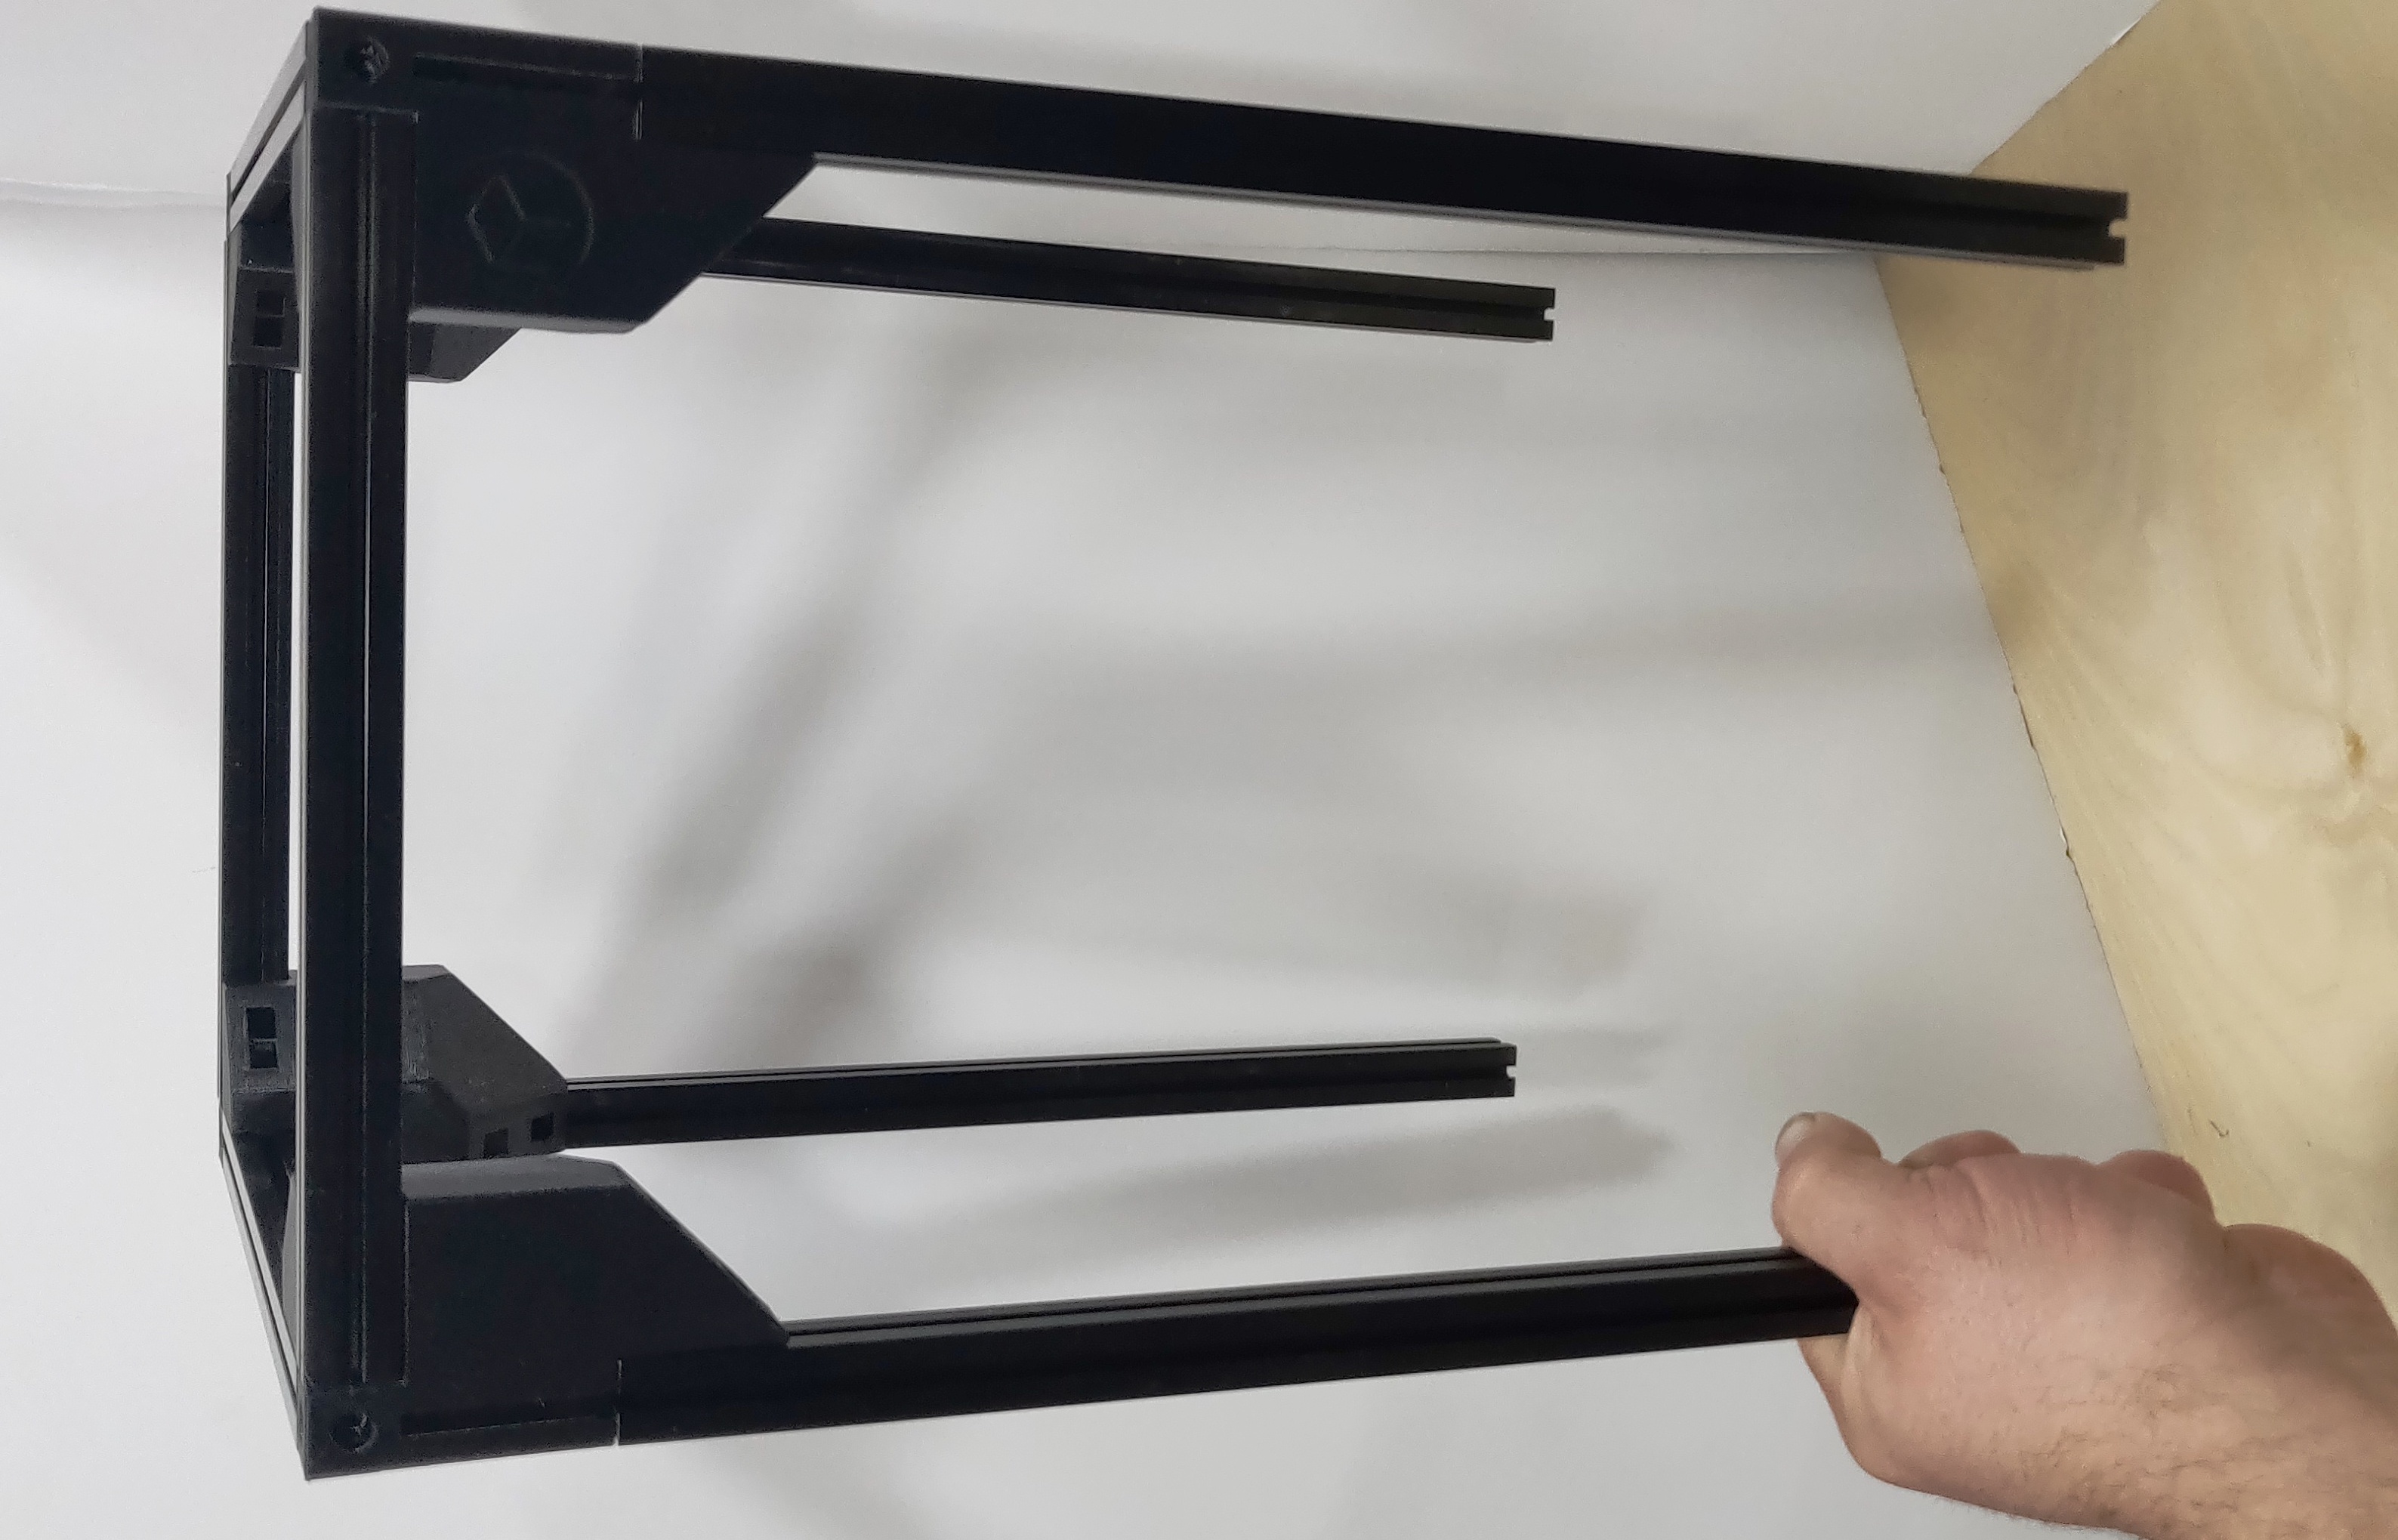
Build the top crown of extrusions and corner blocks, then slide it on top.
Add the screws later whe you're sure all the nuts are in the right place.
If converting, note that you don't need to take the frame apart! Verticals can slide up and out. You can leave all the electronics, gantry, etc. in place.
If using a Mini 12864 display, with a mount like the one used with Tri-Zero, the knob sticks out a bit, and it may interfere with a Tecnologic-style ZeroPanels enclosure hinged front. A workaround is to x-acto around the lower edge of the panels, to create a bit of a gap, or fix it in CAD.
The parts actually work, and have been tested in a working printer. But sizes and parts may change in future releases.
Potentially a less rigid frame when using ZeroPanels, since the panels float in the extrusion slots, vs more rigidly mounted enclosure panels. This is somewhat counteracted by closing the box and adding stiffening corners though. Perhaps some thumbscrews for the panel clips could be a nice middle ground.
The belt path is a bit more twisty and tight around the motor pulleys, so it's more sensitive to alignment errors. You'll know quickly if your pulley is not quite aligned, as it will make a sound when in motion on the side that's running. You can have a pulley that's good enough for a regular V0, but then when converting to BoxZero, the shorter paths may reveal the alignment issue.
A little more cost, at least compared to a V0. Just a little.
It's almost a cost-neutral mod for new builds. The outer enclosure panels get slightly larger, but then you don't need laser-cut trapezoid panels. Add the cost of a few bearings and some extrusion.
The renders and CAD should answer many questions first.
Then, go the DoomCube Discord and ask on the #tri-zero channel.
Still not convinced? For a V0/T0/X0 build, here are the benefits:
Simplicity
Maintainability
Rigidity
more like this
simple generator for 3D-printed frames for a moxon rectangle antenna
GPX 轨迹转 3D 可打印地形模型 | Hiking trail to 3D printable terrain | Electron + Vue。 一款面向户外爱好者与 3D 打印玩家的 Web 工具。将 GPX 徒步/骑行轨迹一键转…
Install and monitor KlipperScreen on Android via DroidKlipp APK, USB ADB forwarding, and WiFi fallback
search projects, people, and tags